Japan adventure - in search of Katagami stencils
On 12th February 2018 I boarded a plane to Tokyo, my second visit to Japan, I went to stay with Bryan Whitehead, an internationally renowned Japanese textiles artist in his home in Fujino in the mountains outside Tokyo, voted one of Japan's 100 most scenic villages.
The purpose of my trip? To immerse myself in Japanese textiles and crafts and to seek out Katagami stencils for my new workshop, more later...
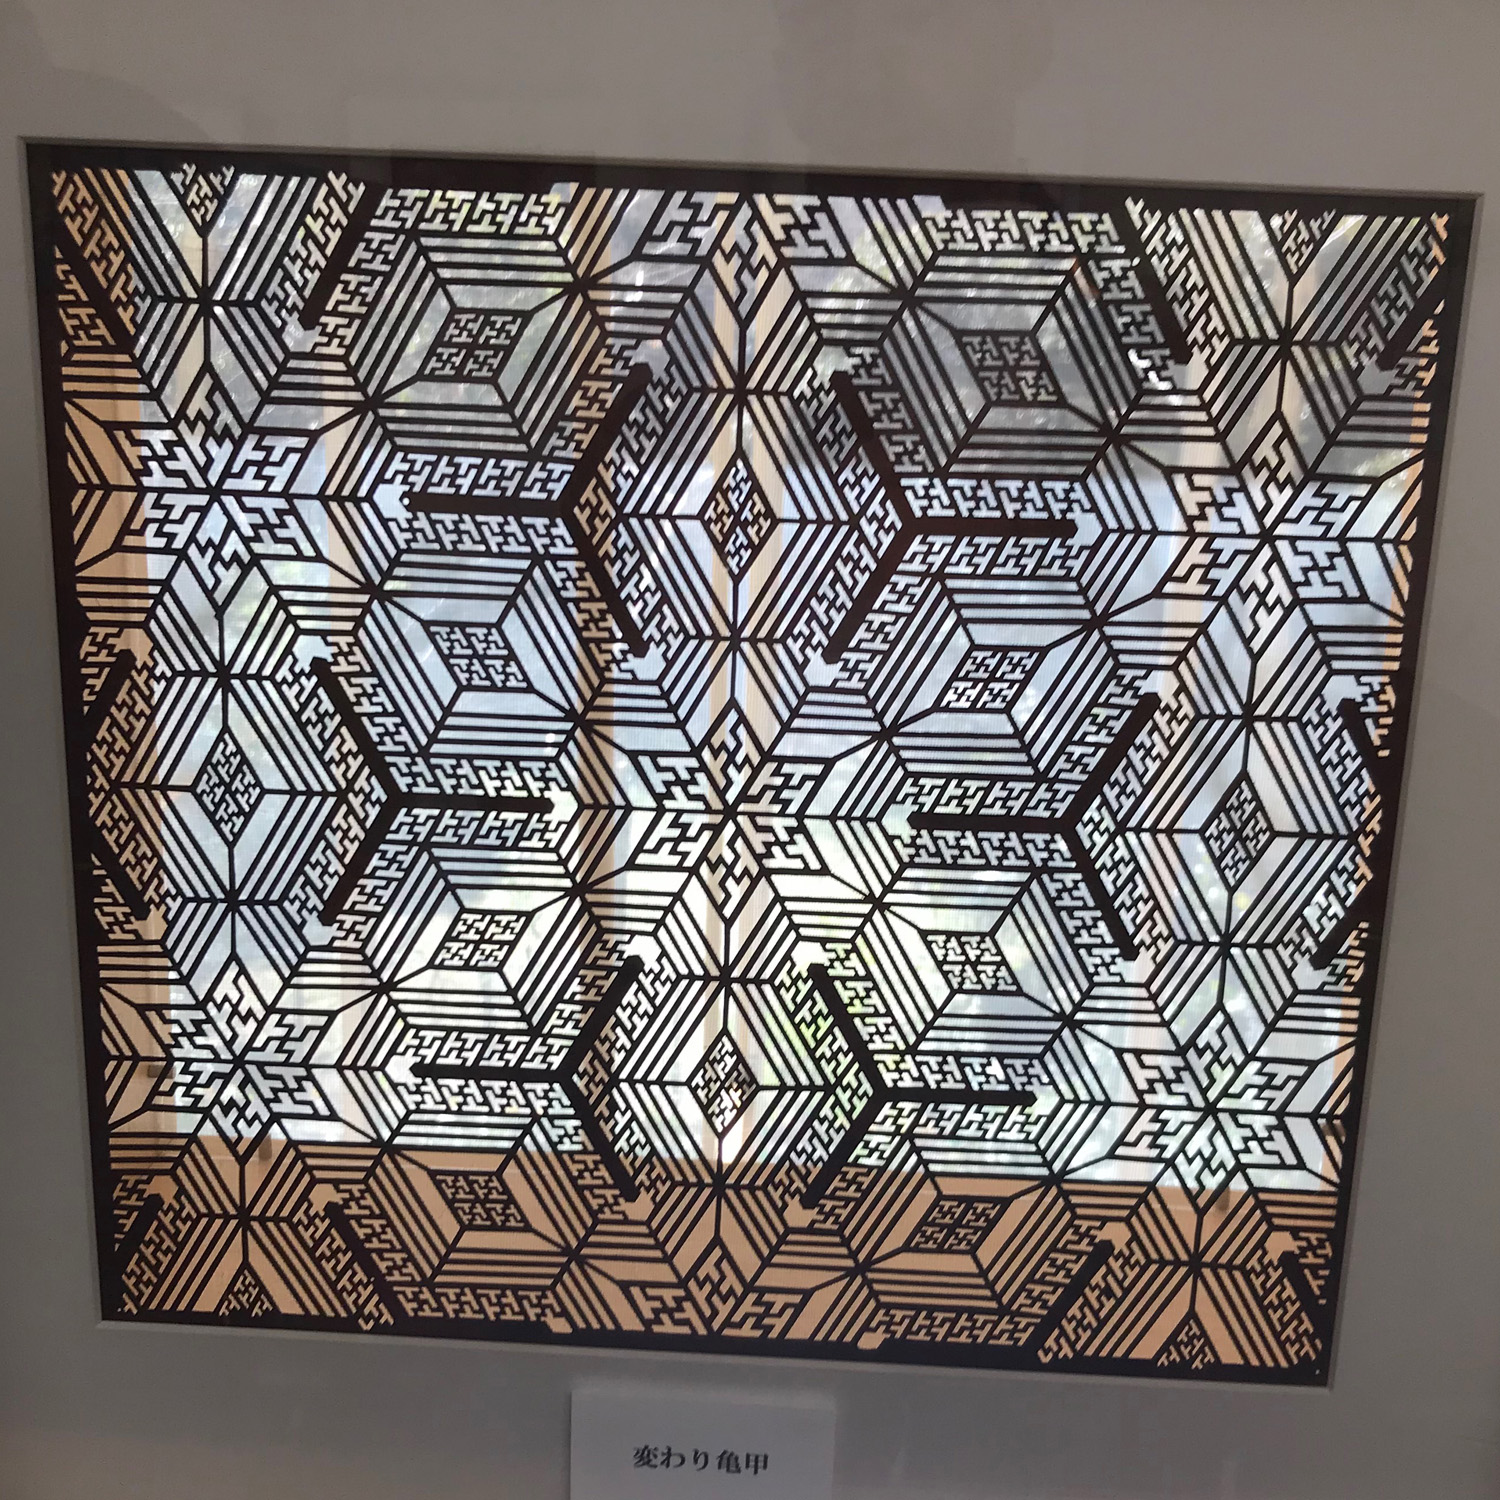
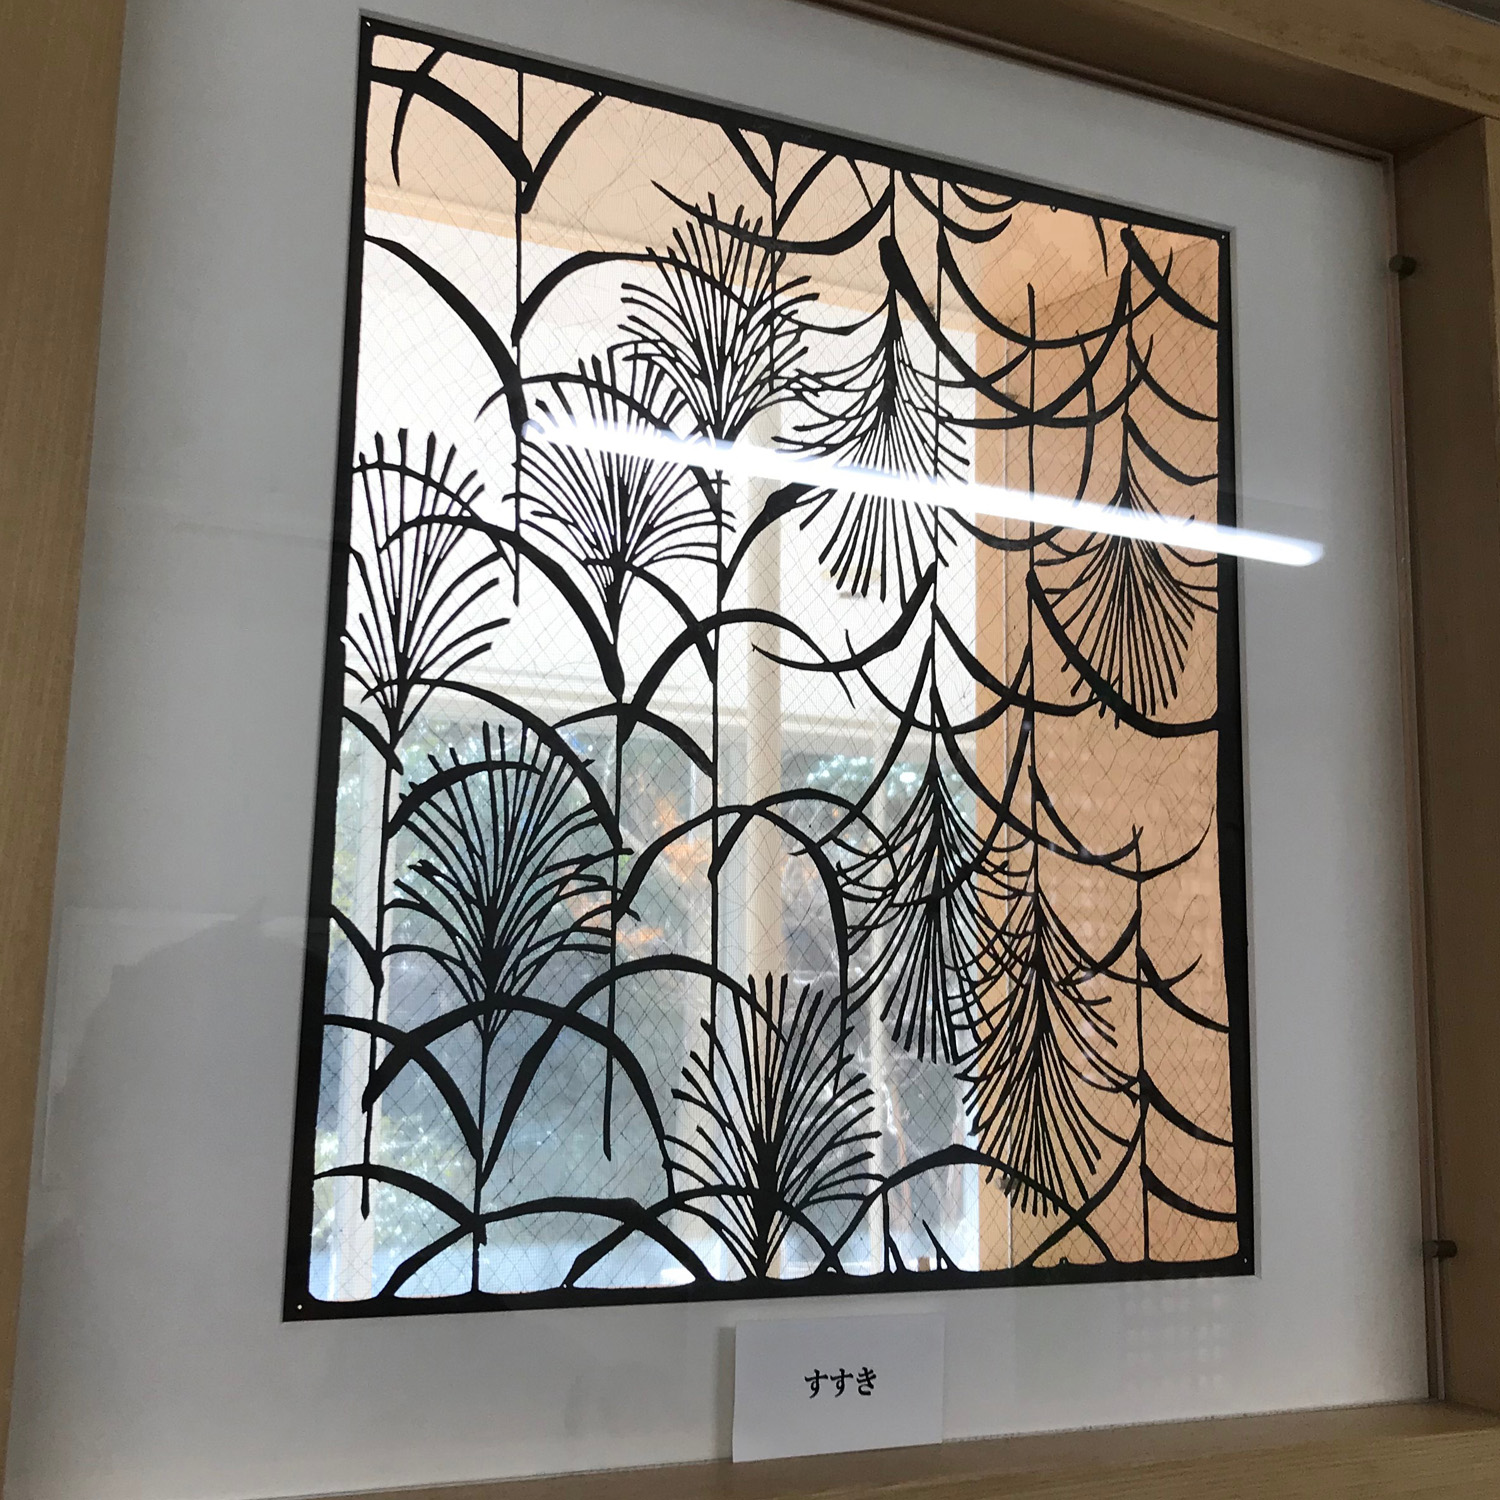
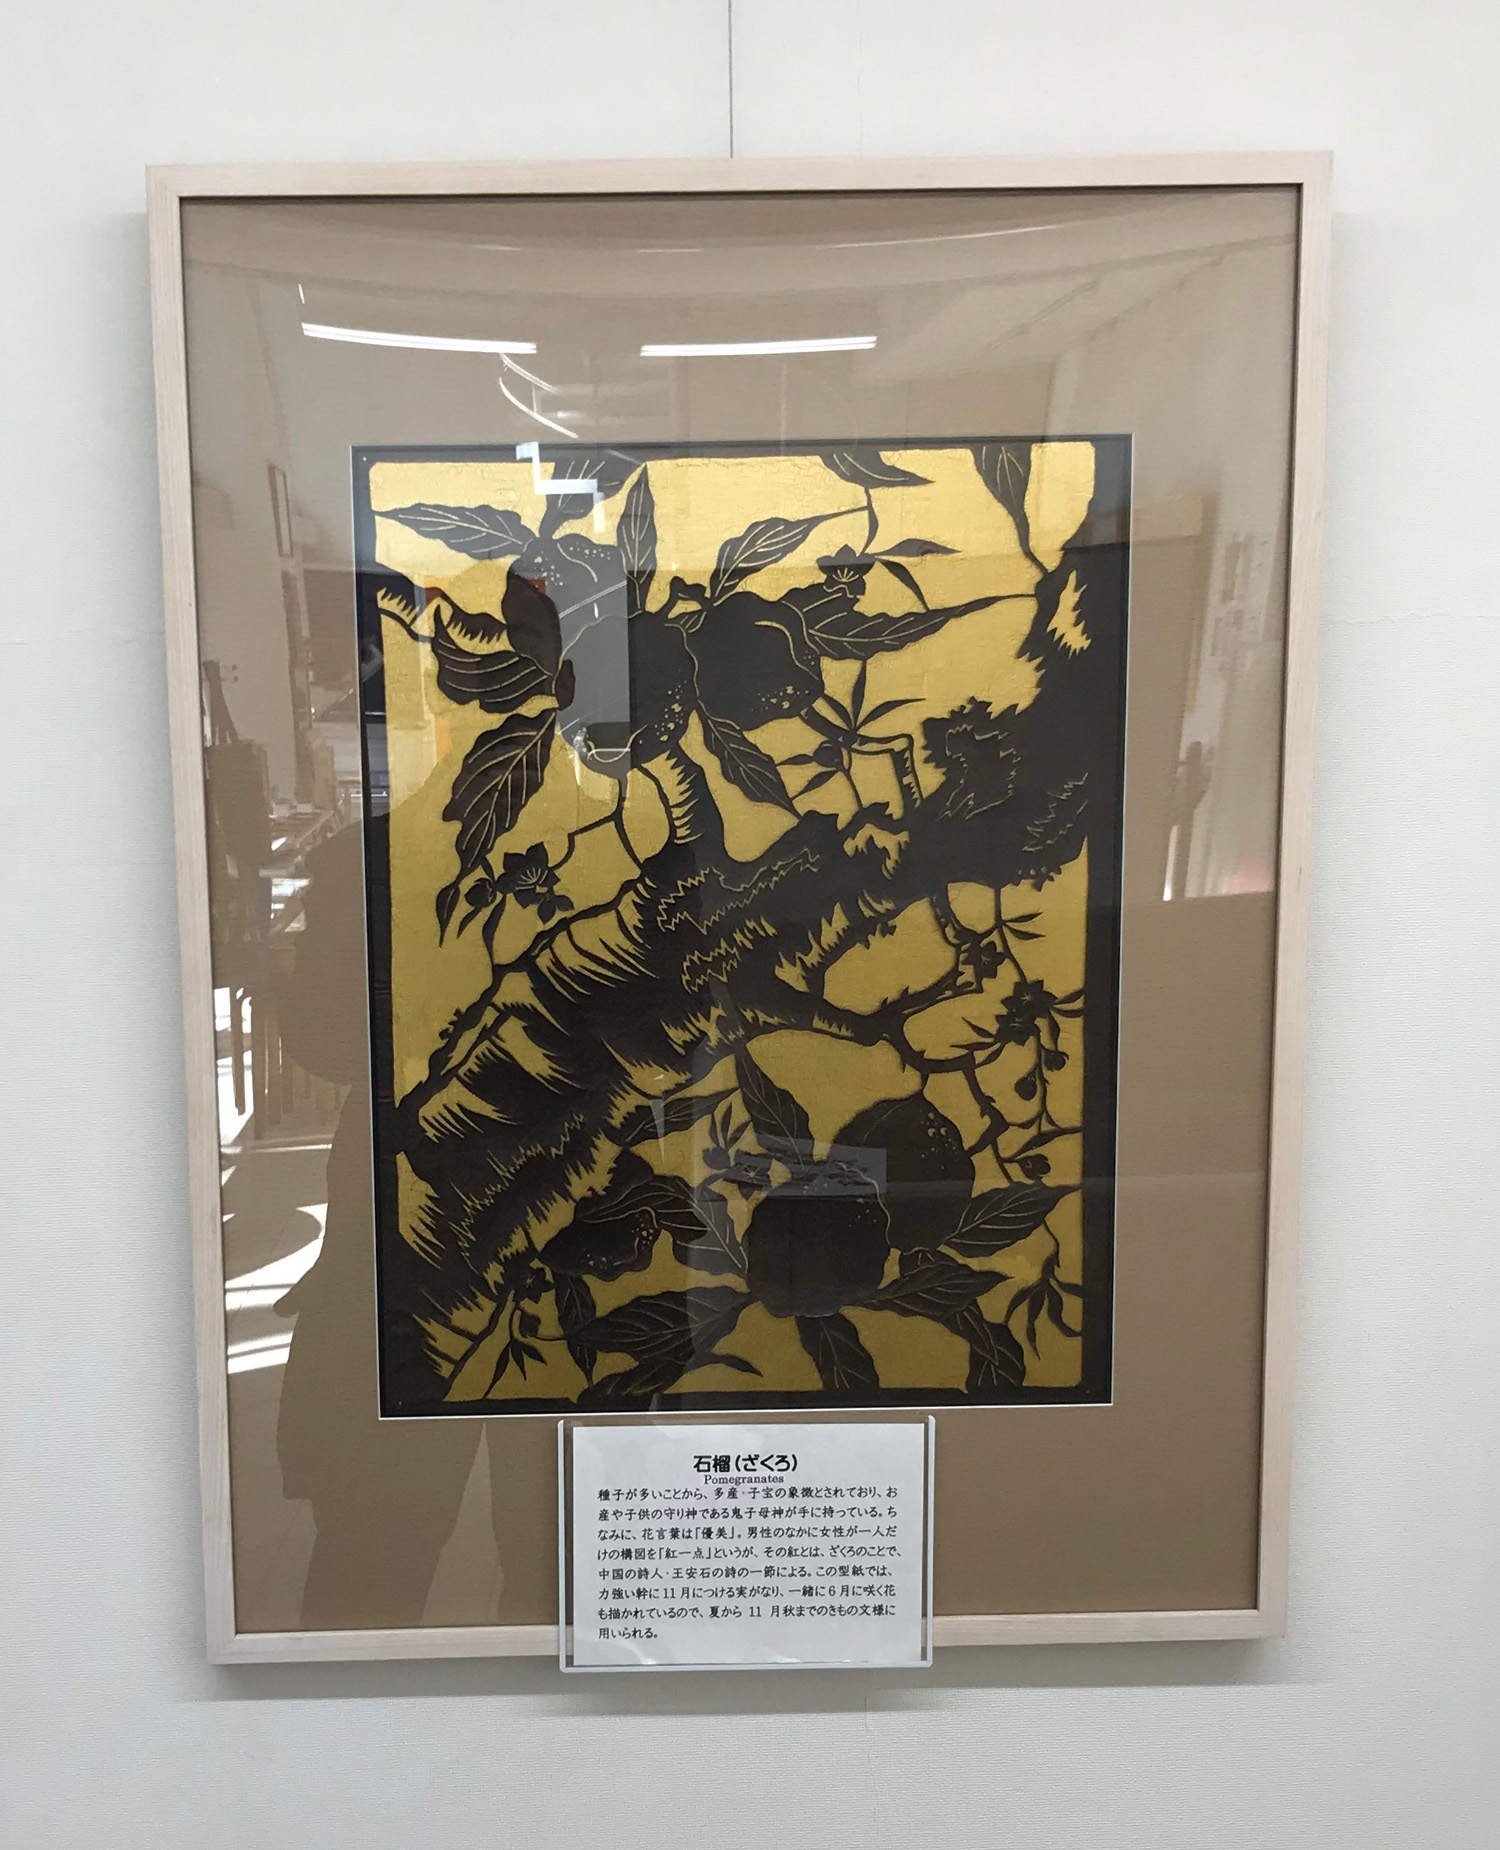
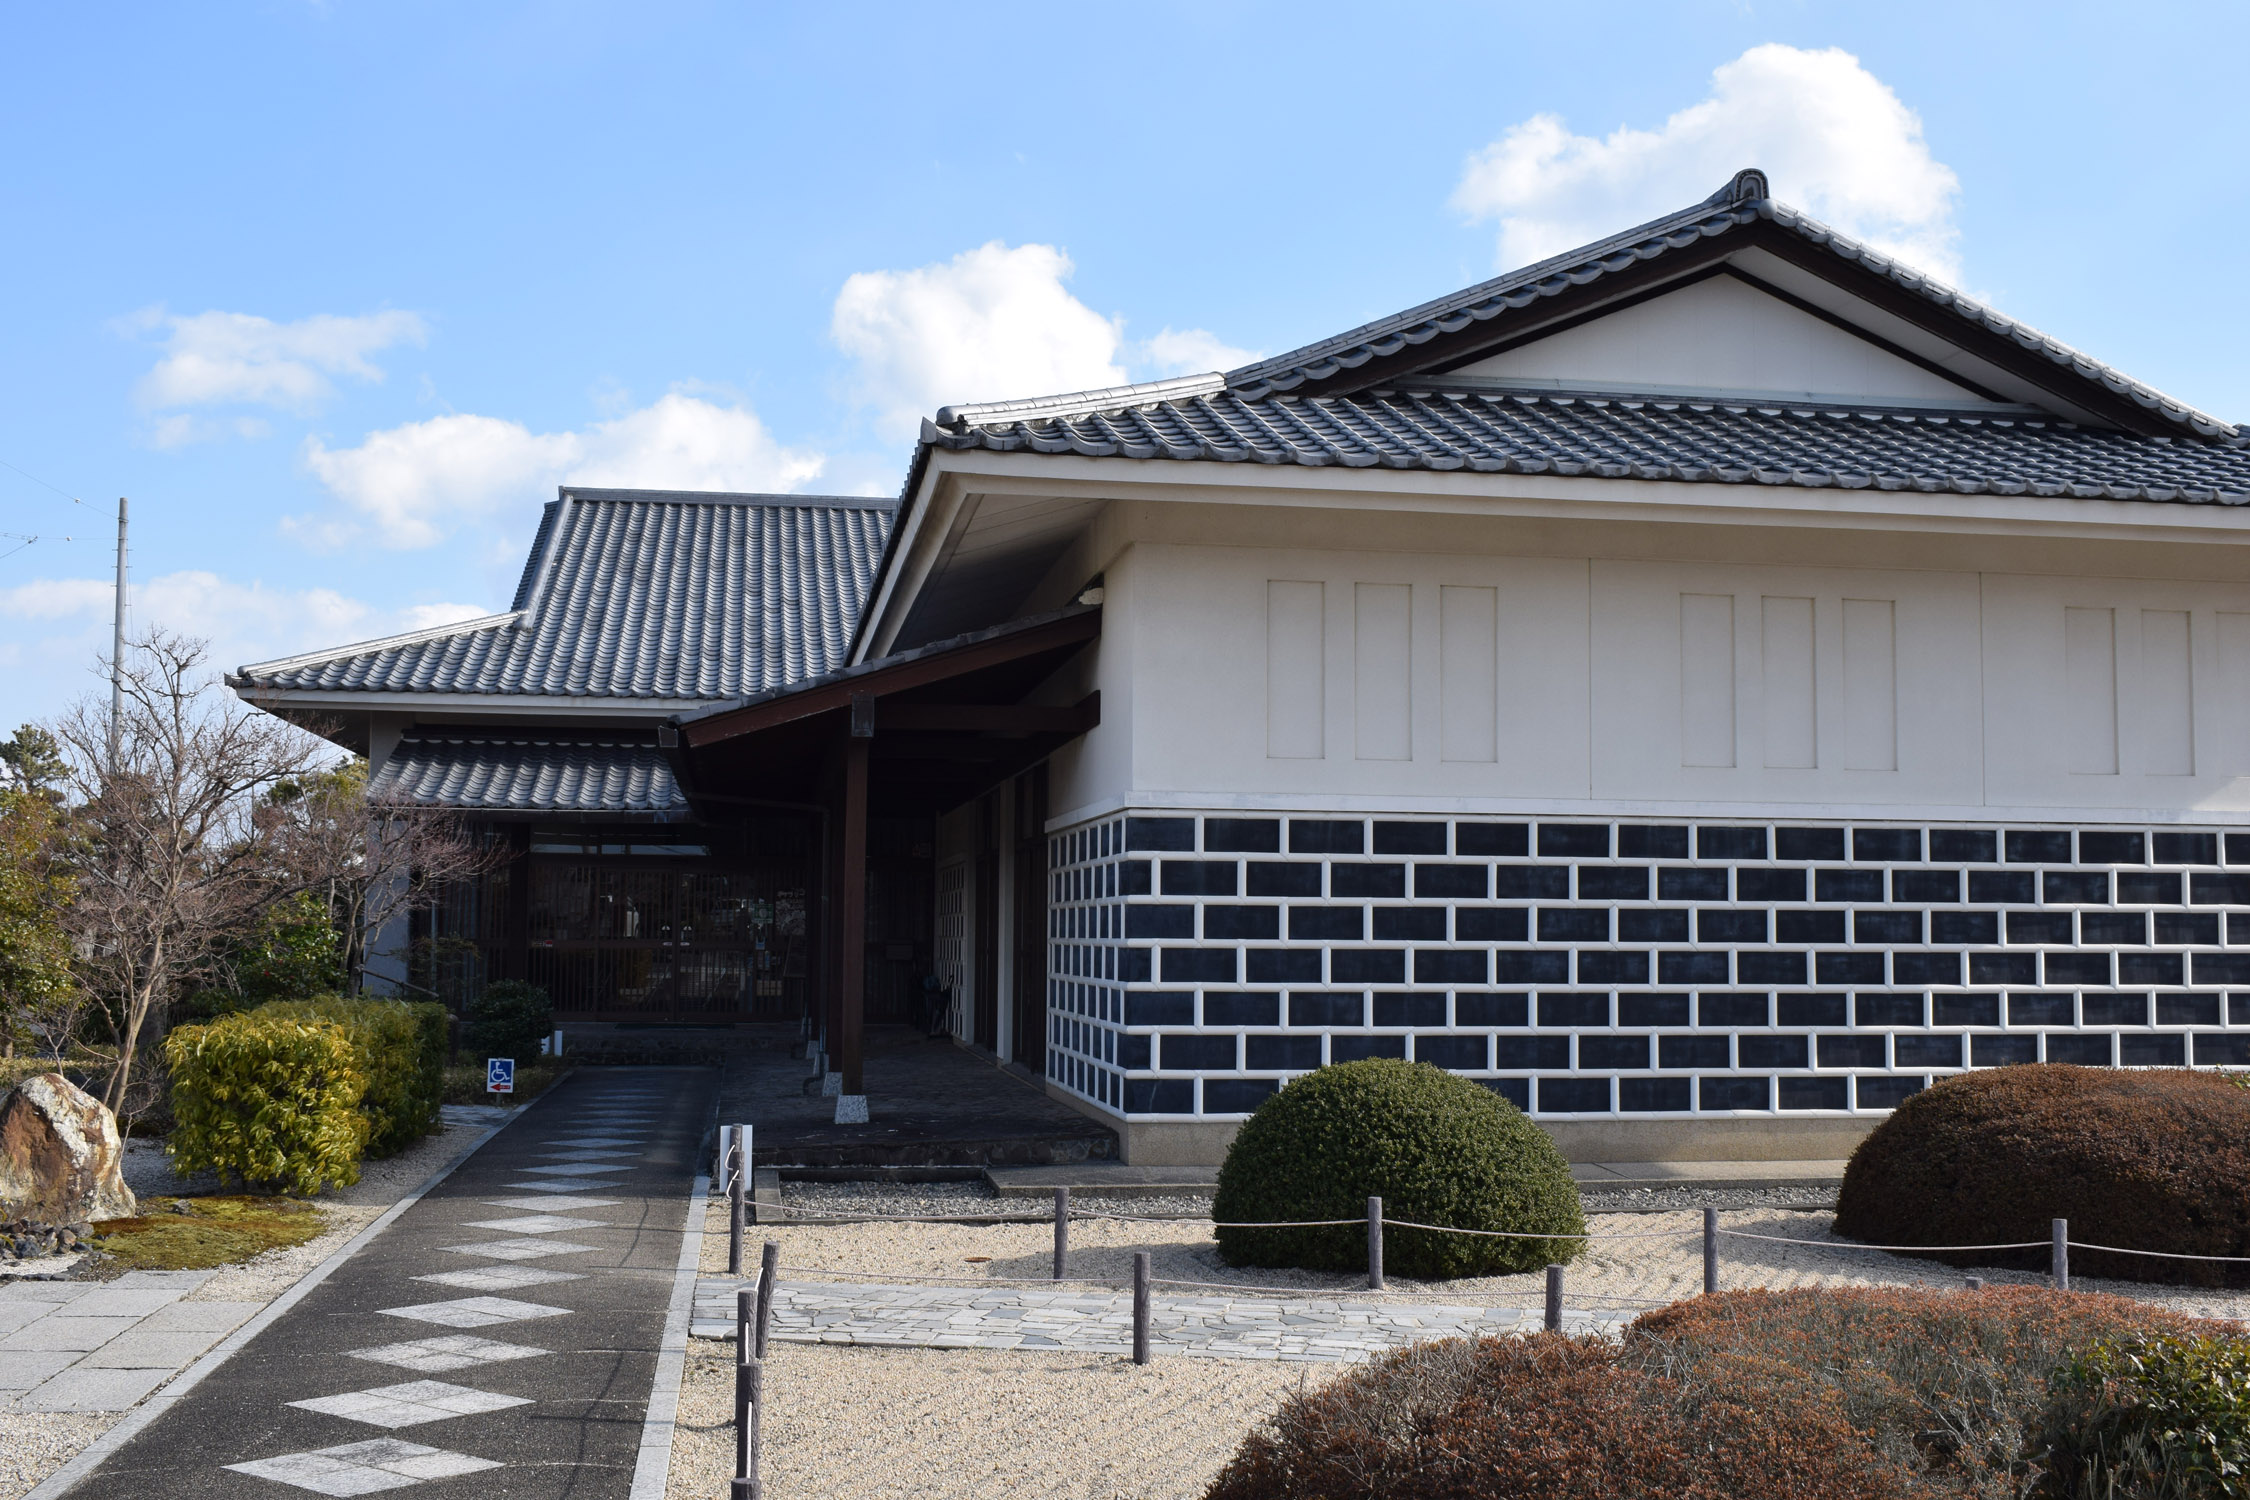
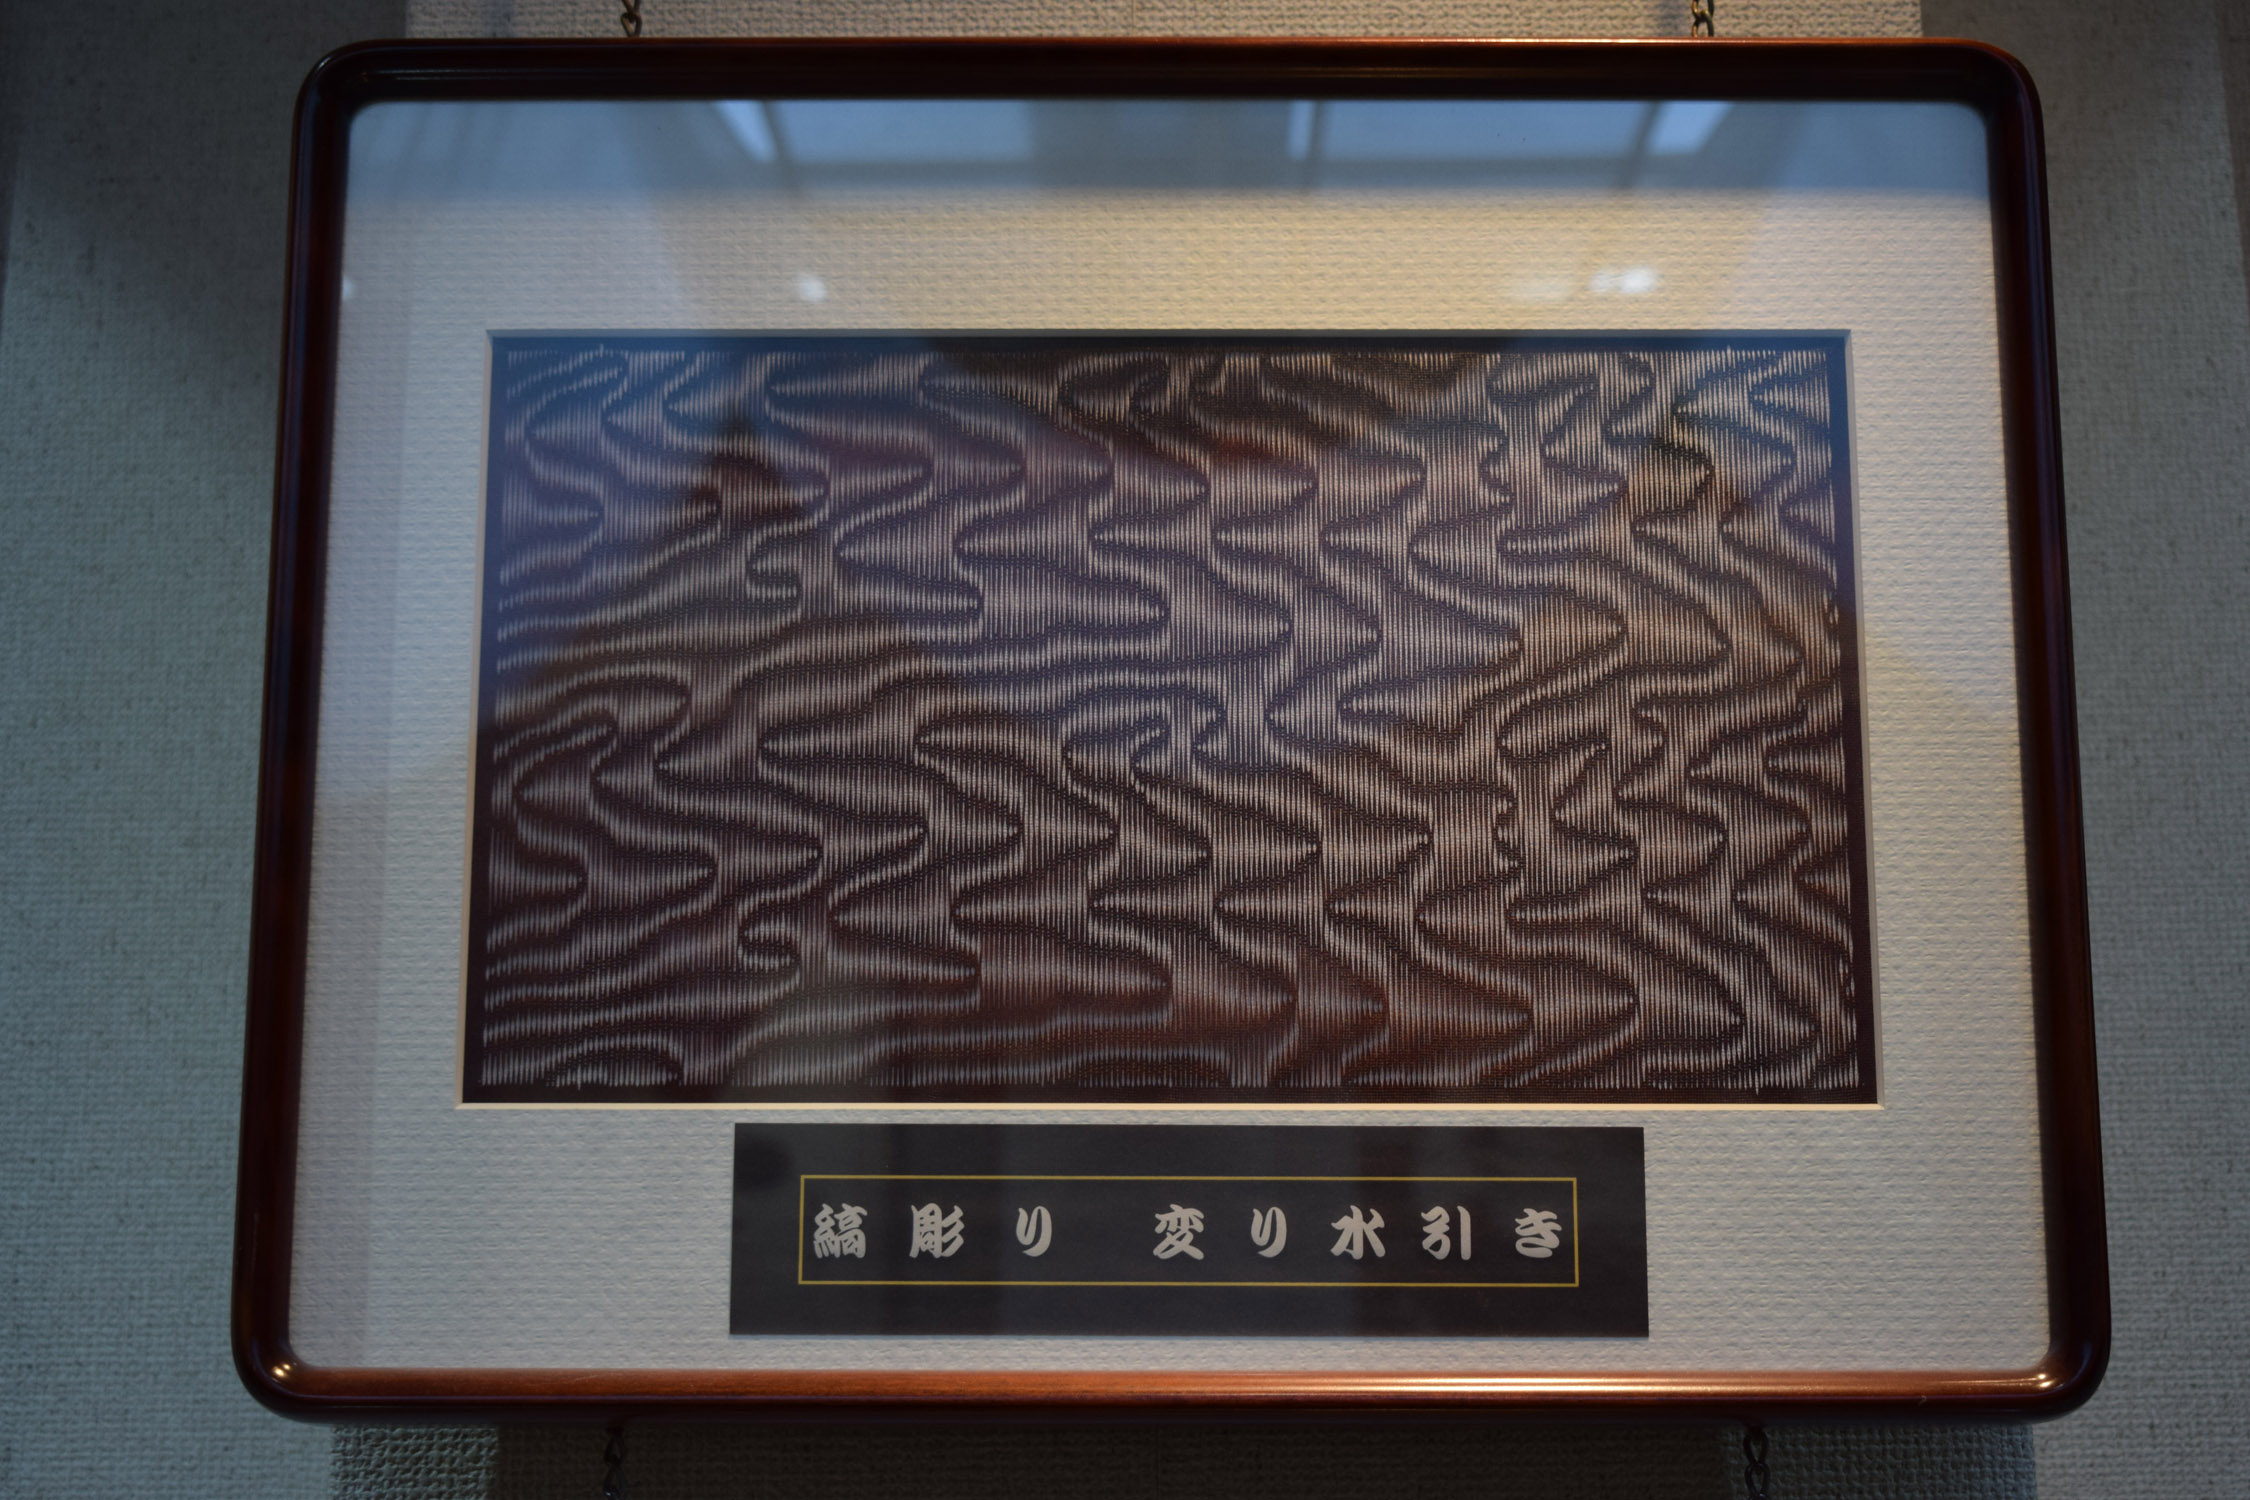
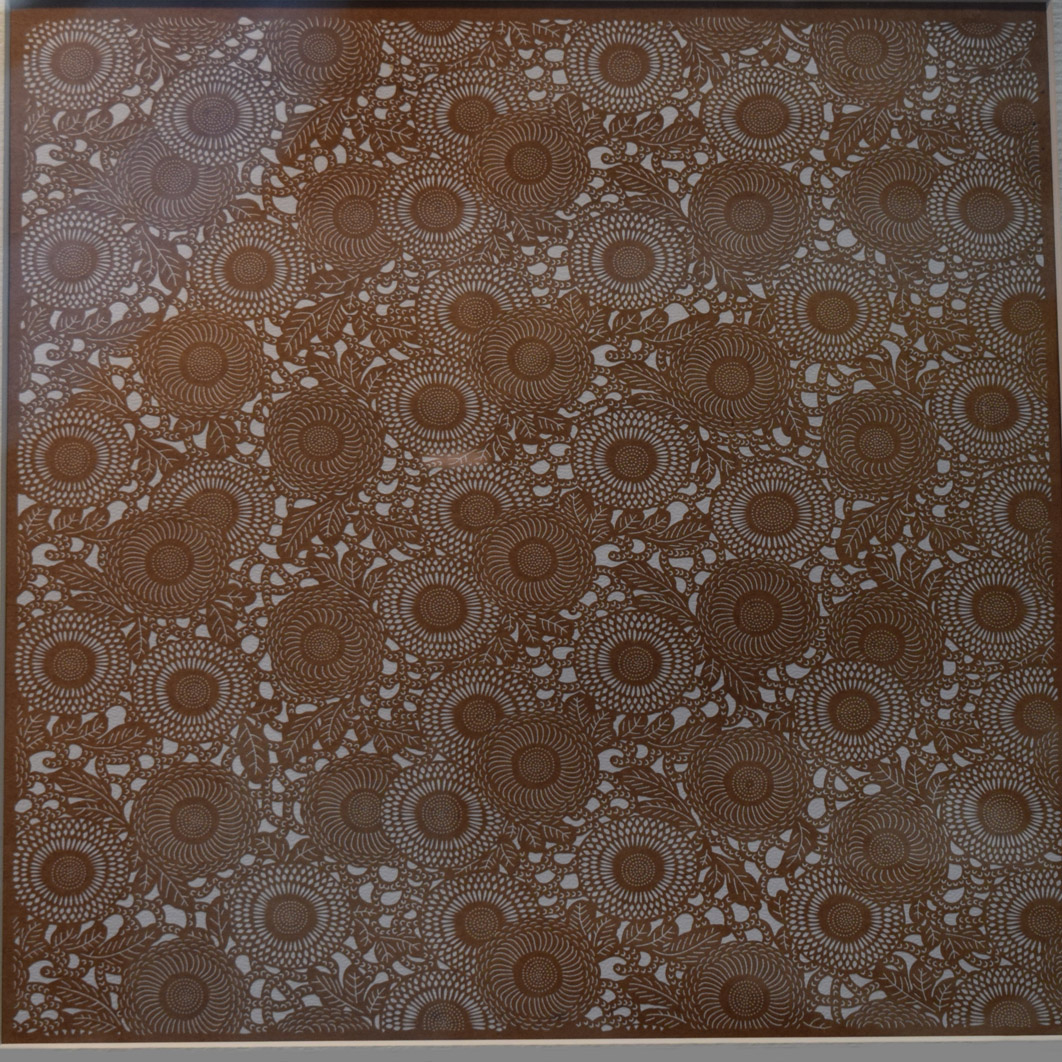
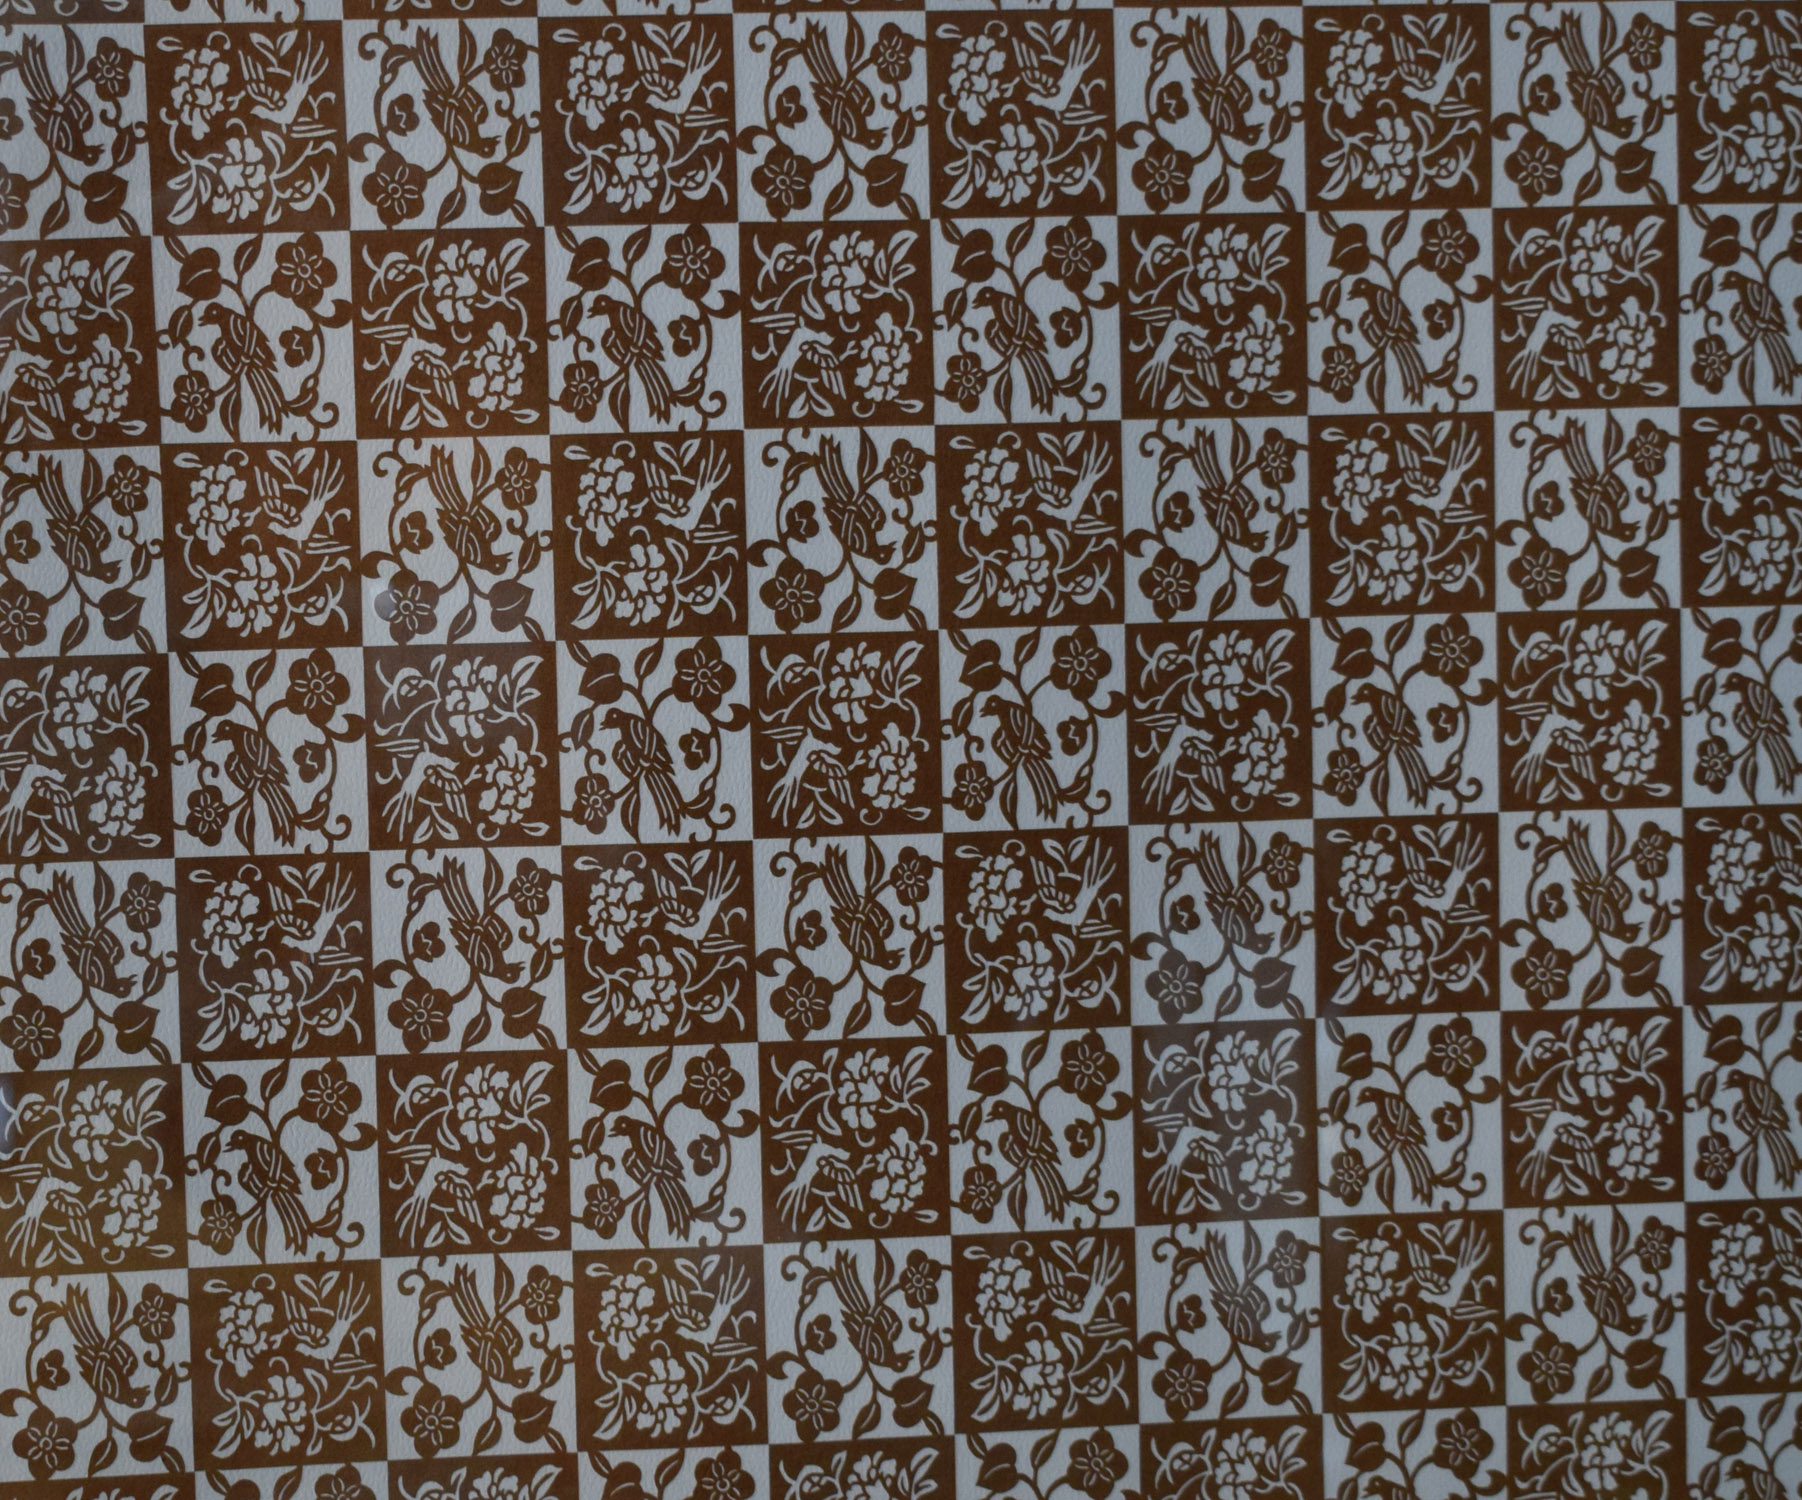
Despite the jetlag we made good use of the first day visiting the Kioi Art Gallery, Edo Ise-Katagami Kimono Museum in Tokyo. The name of the museum is a bit of a misnomer as its actually dedicated to katagami stencils, housing a collection of over 5,000 in total. Technically it was closed to visitors the day we went but they generously let us in for a nose round. Here are a few of the stunning stencils they had on display. Visit their website for a proper look.


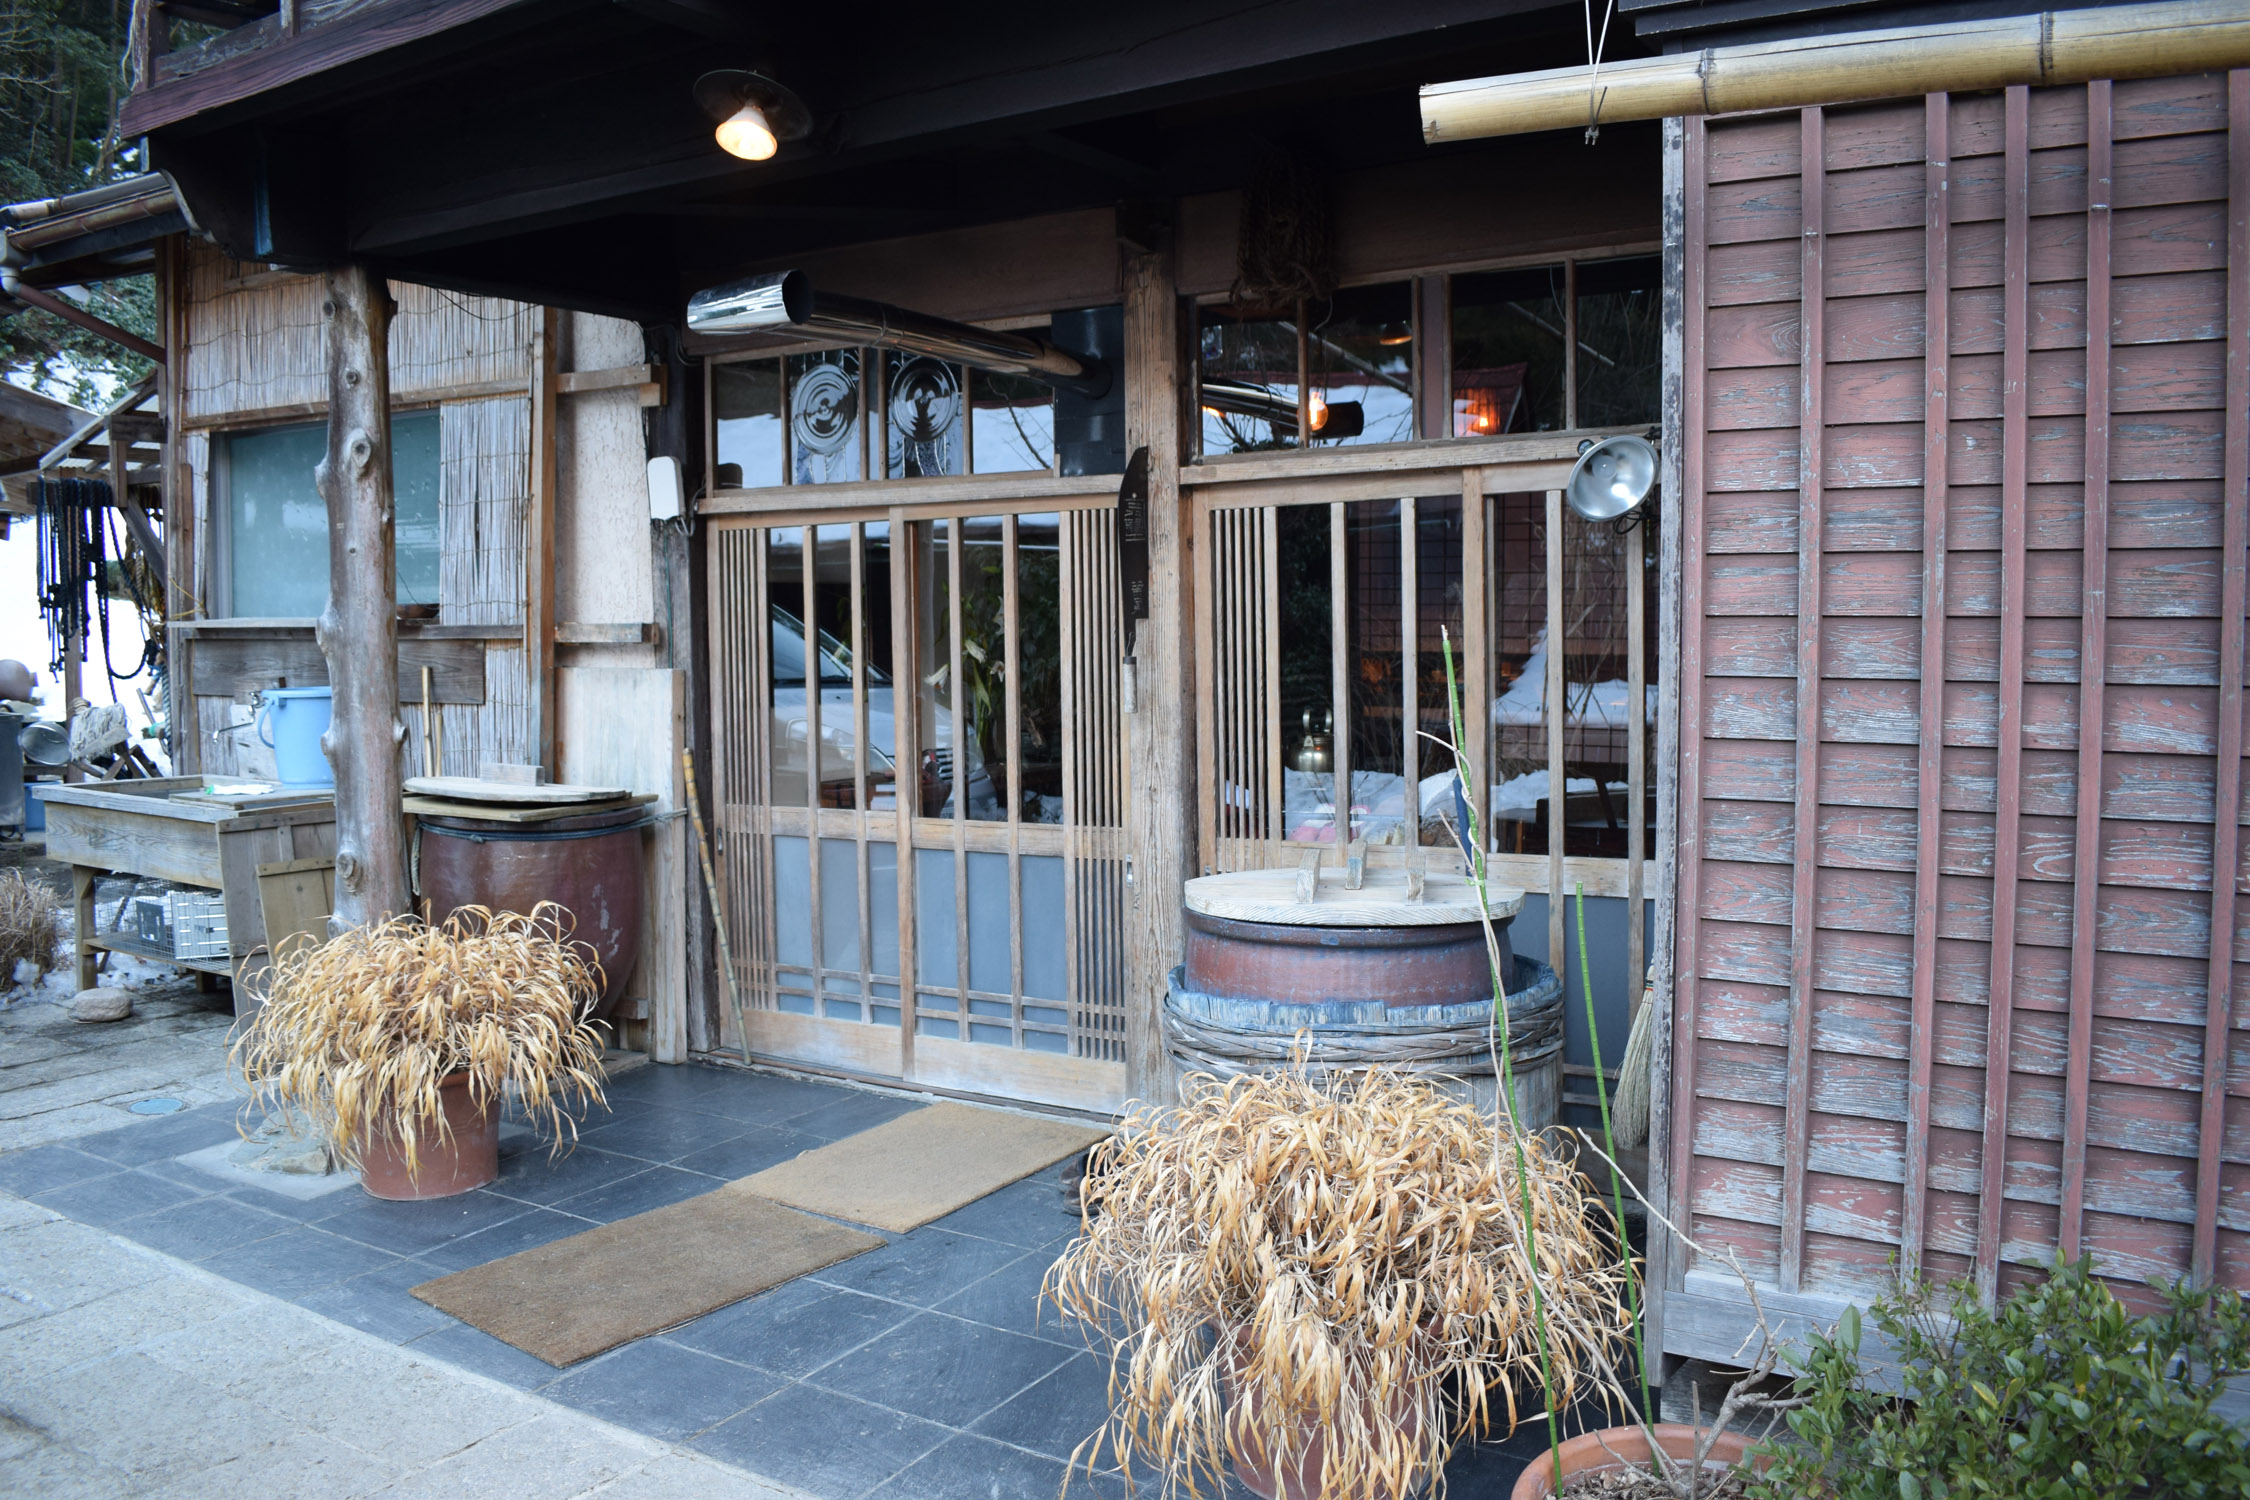
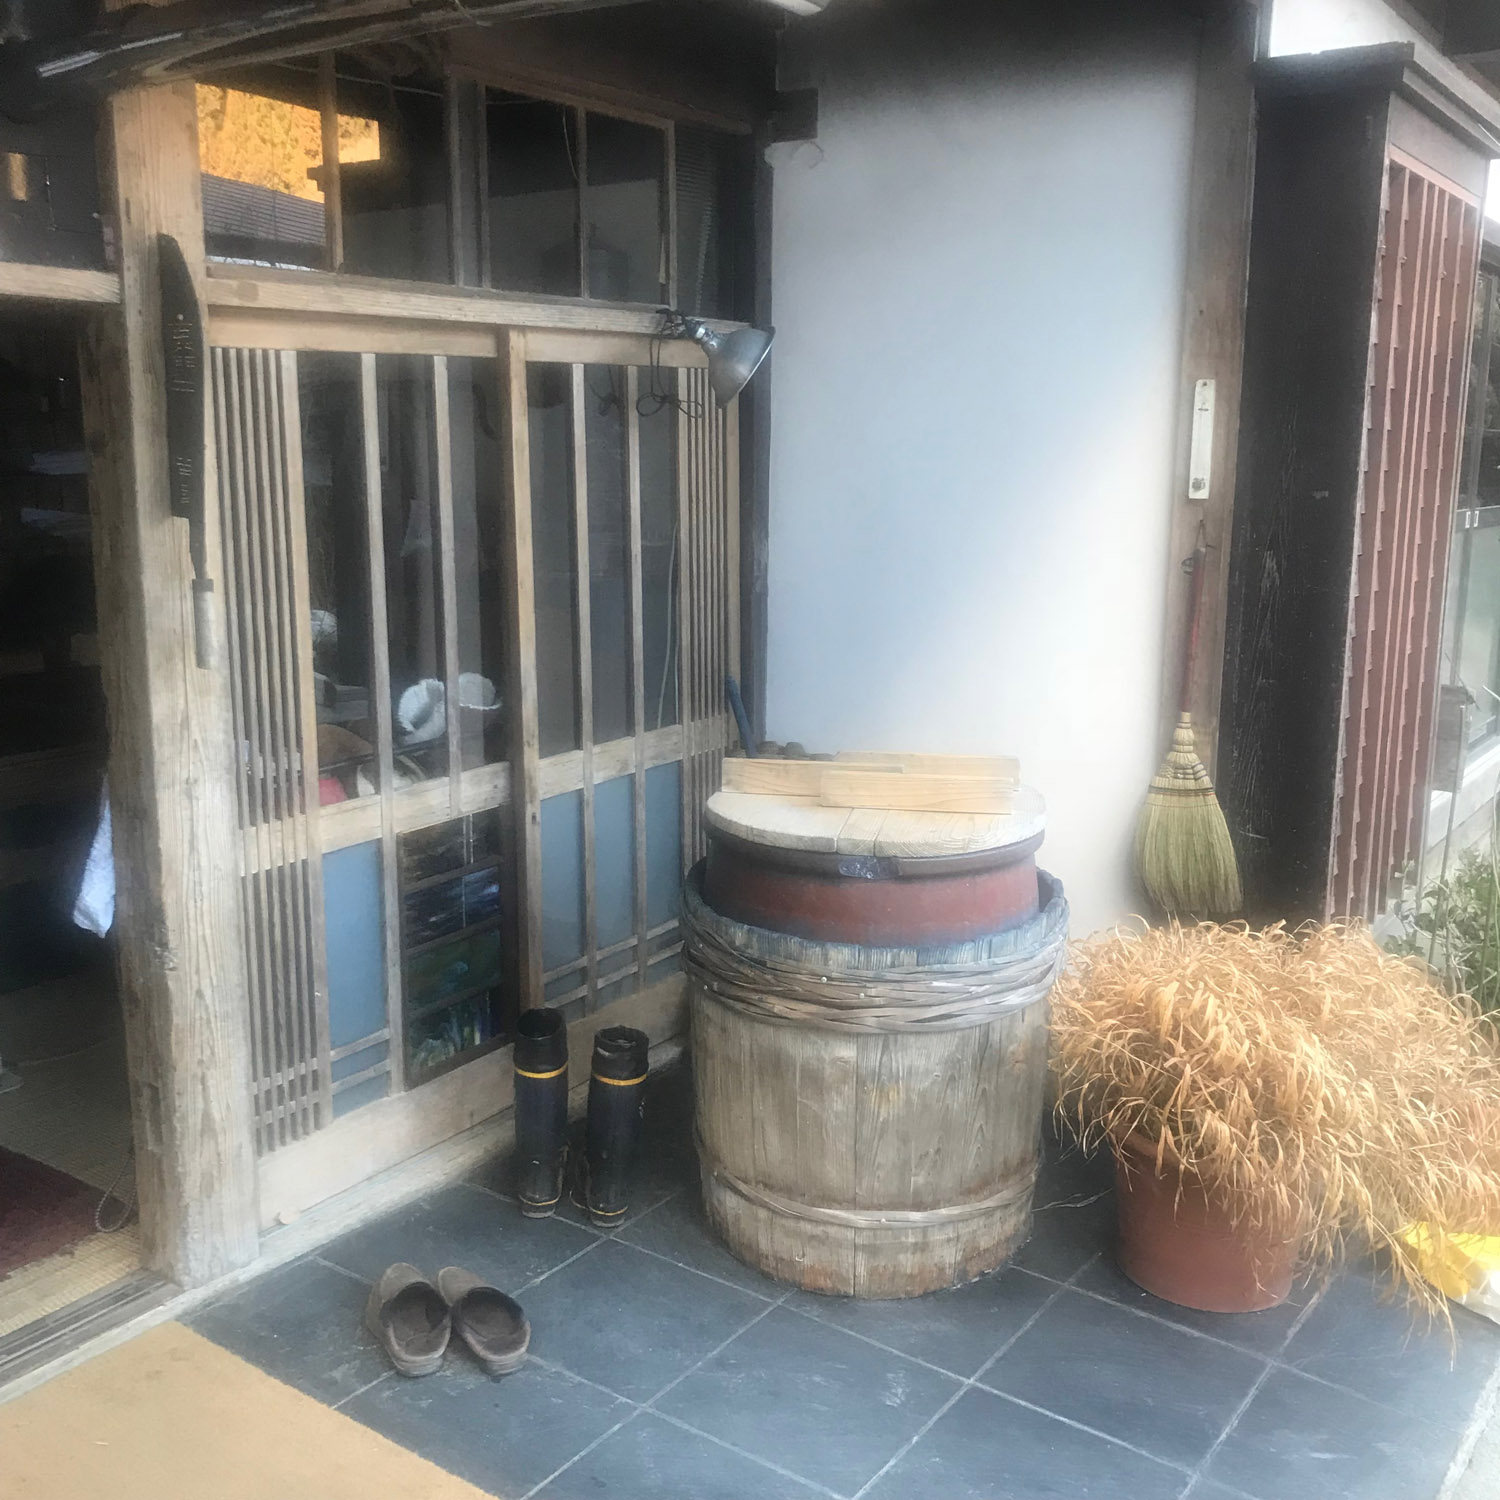
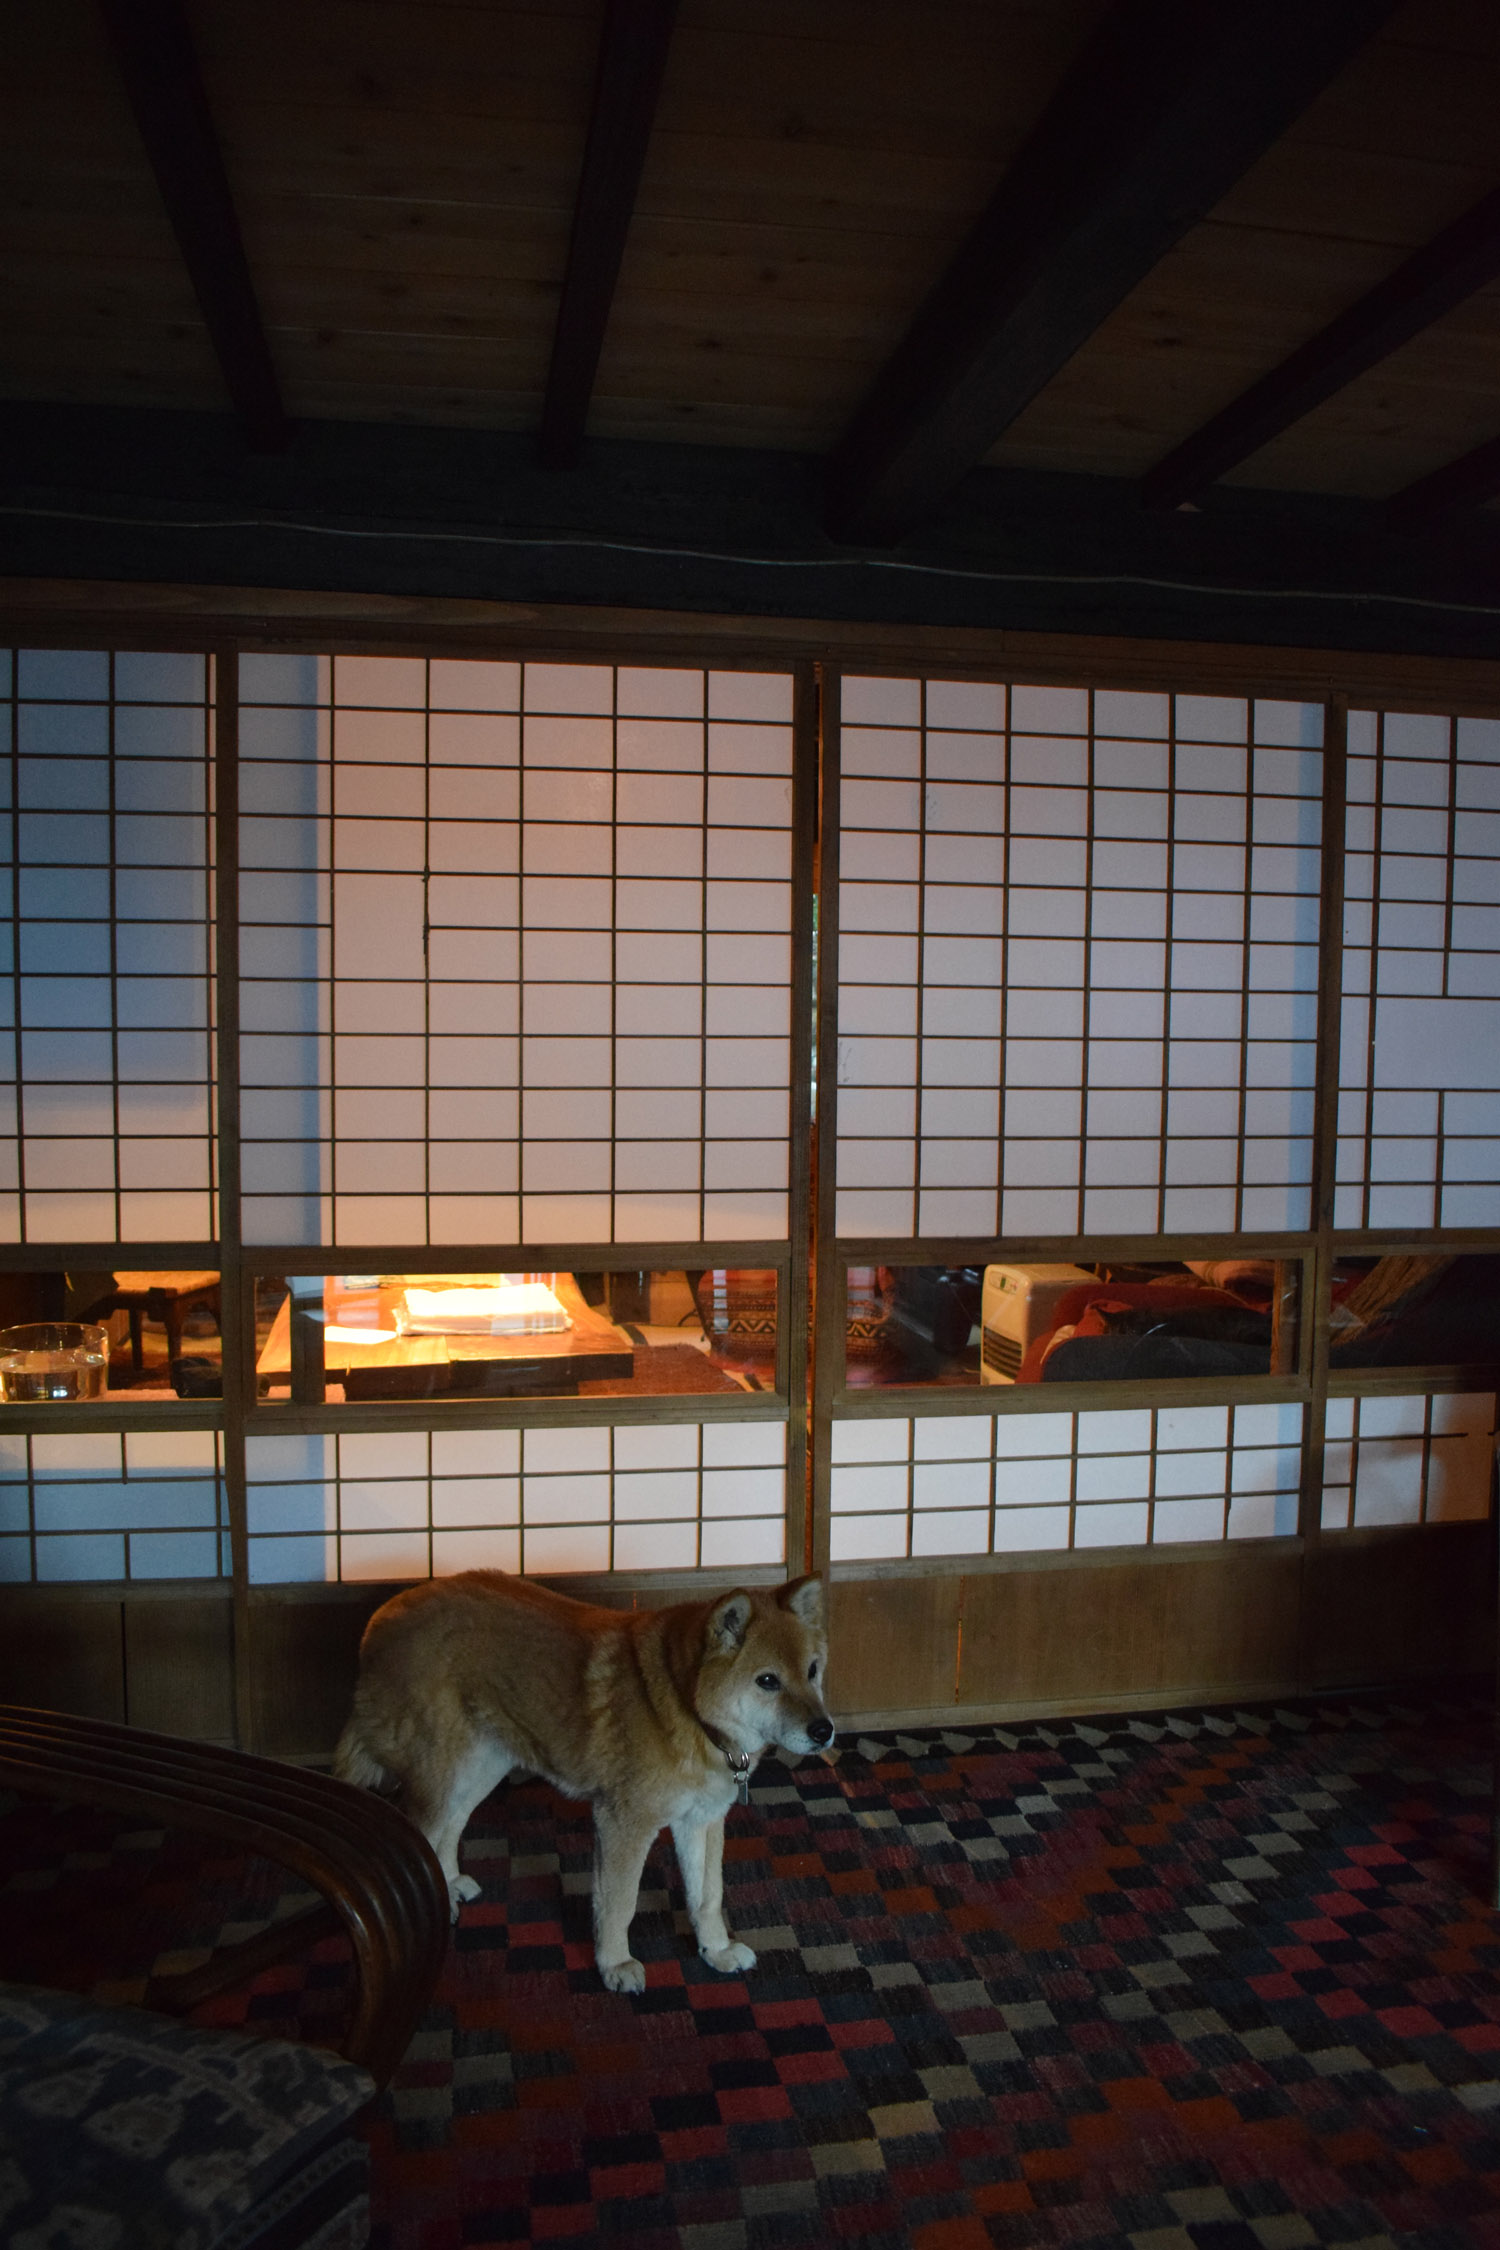
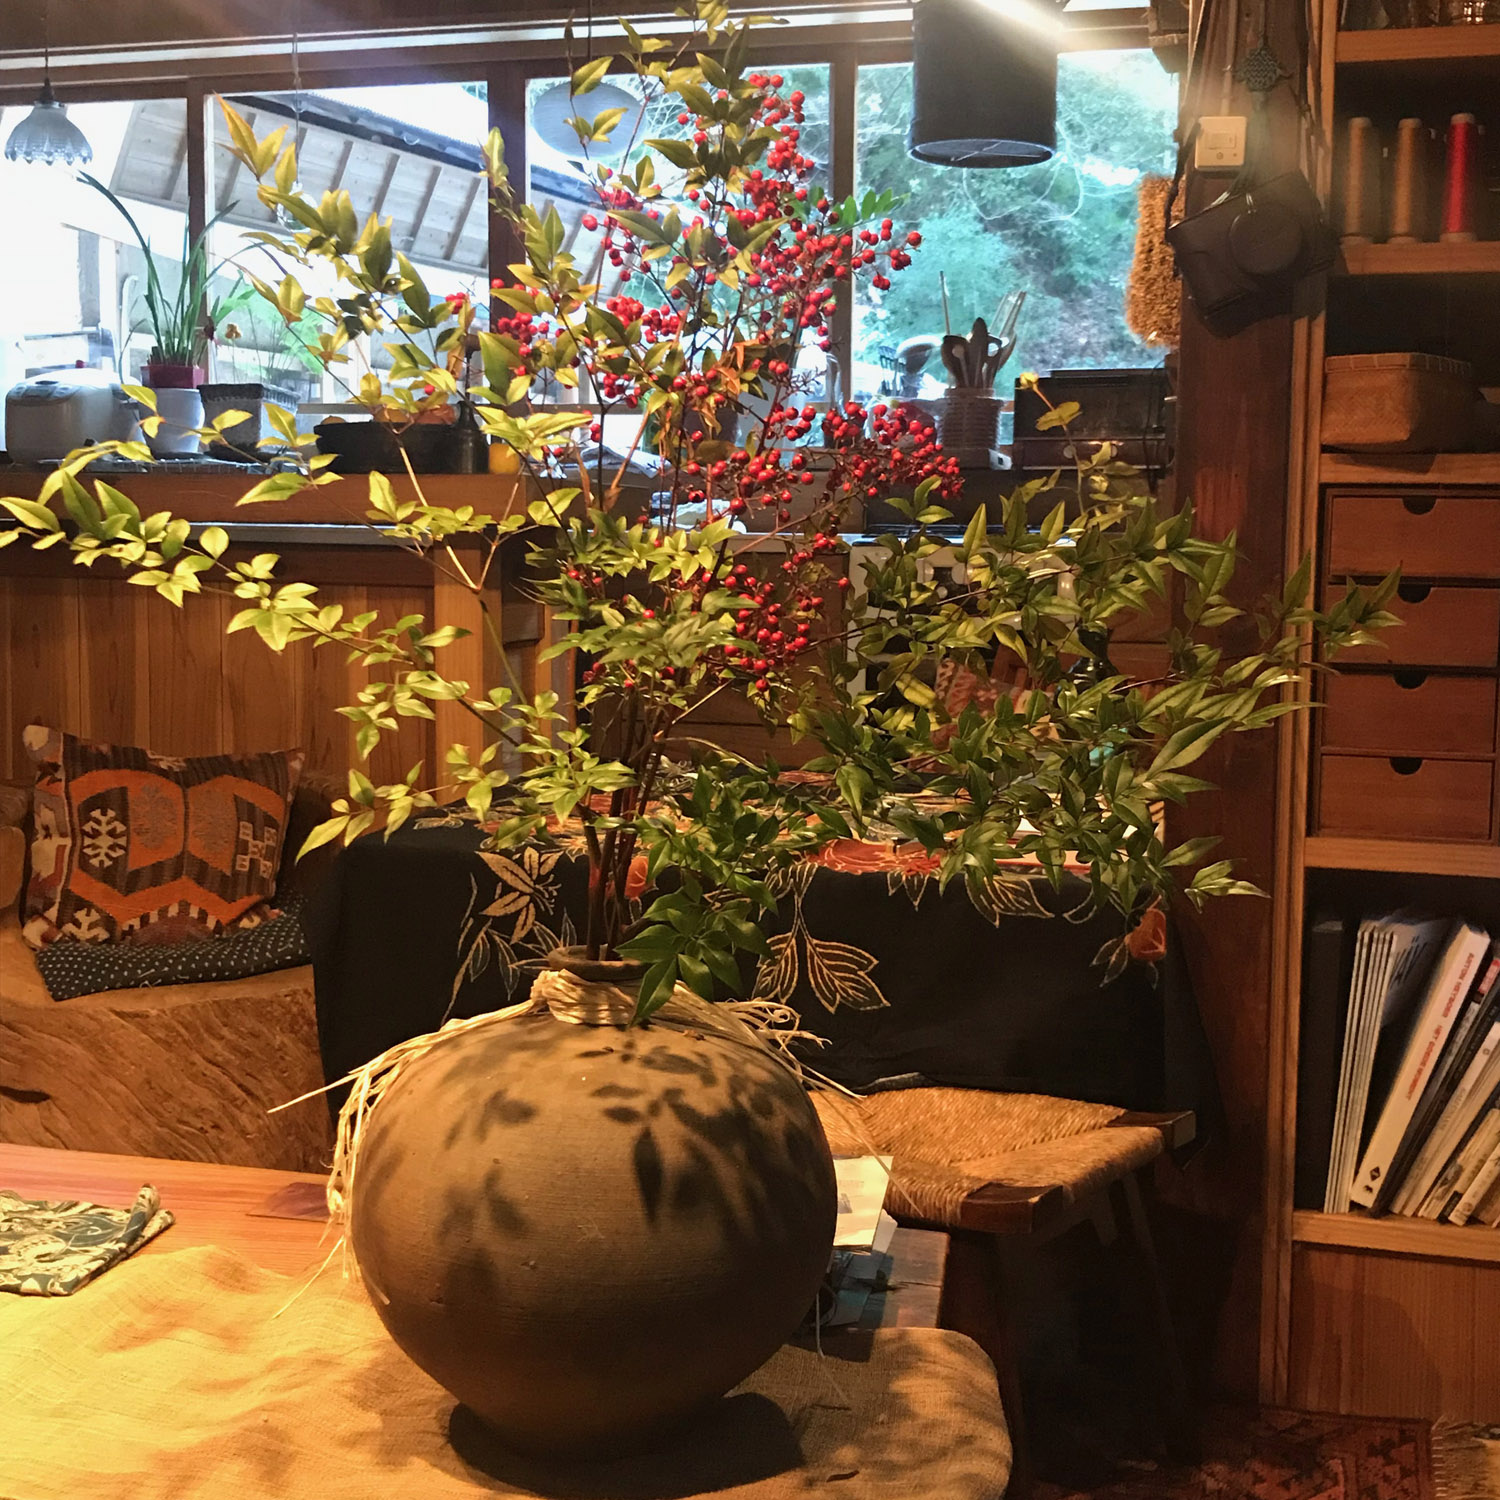
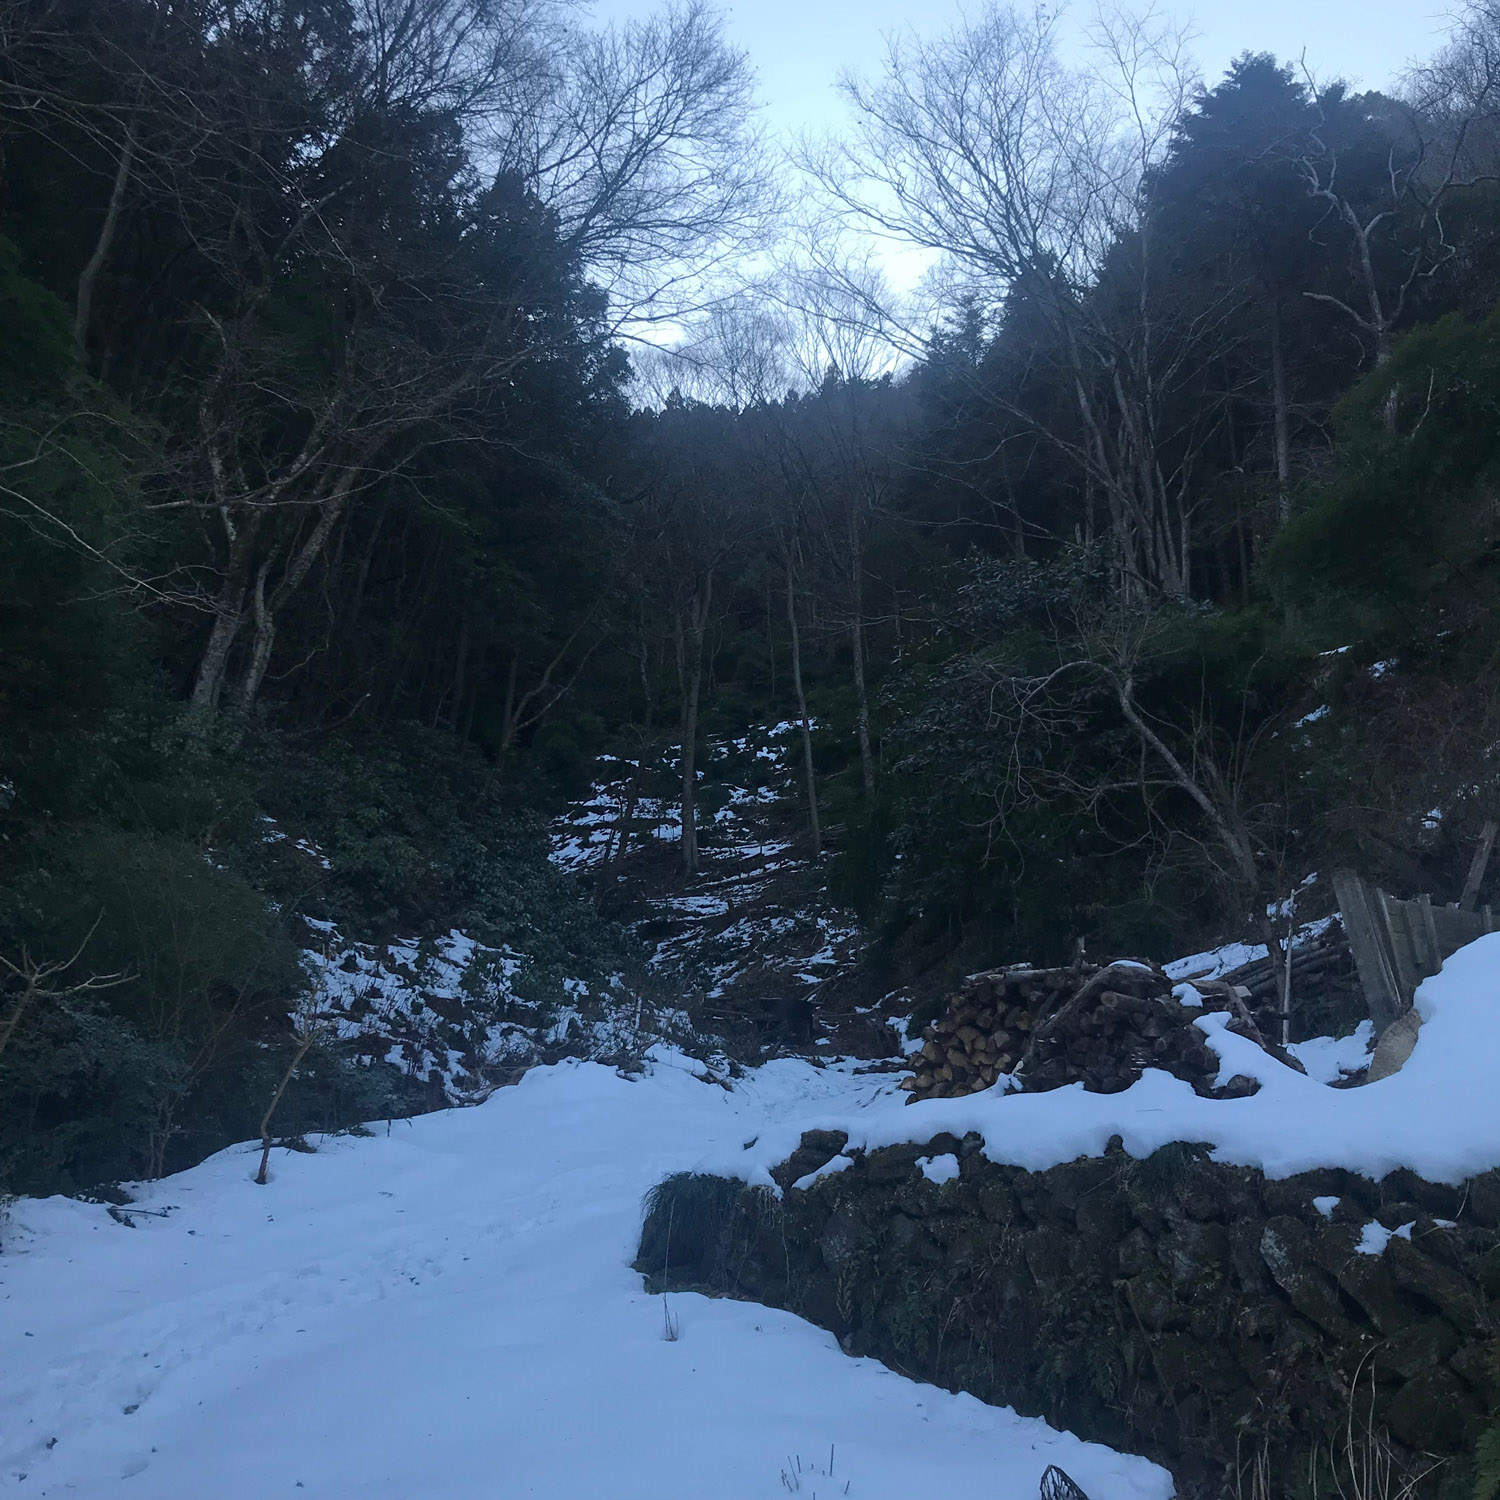
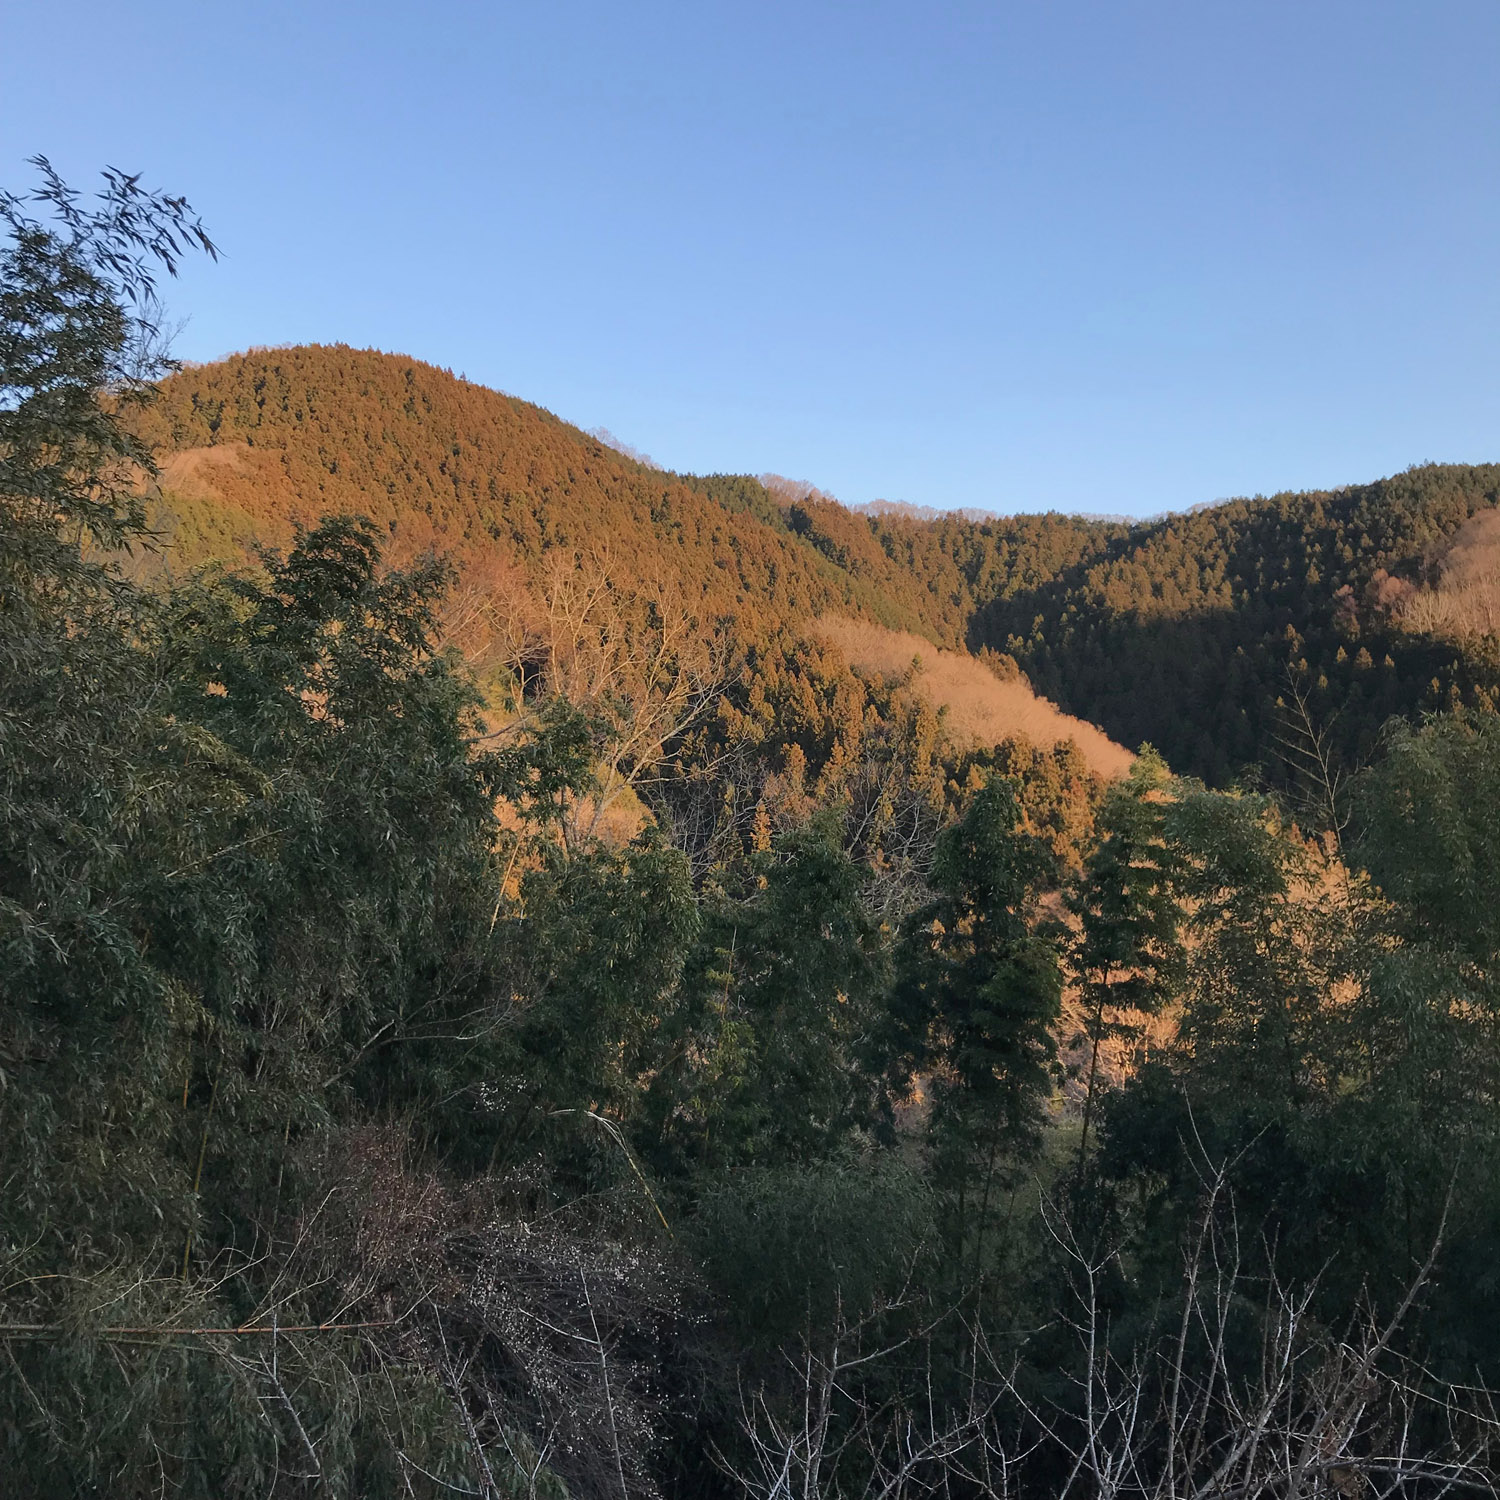
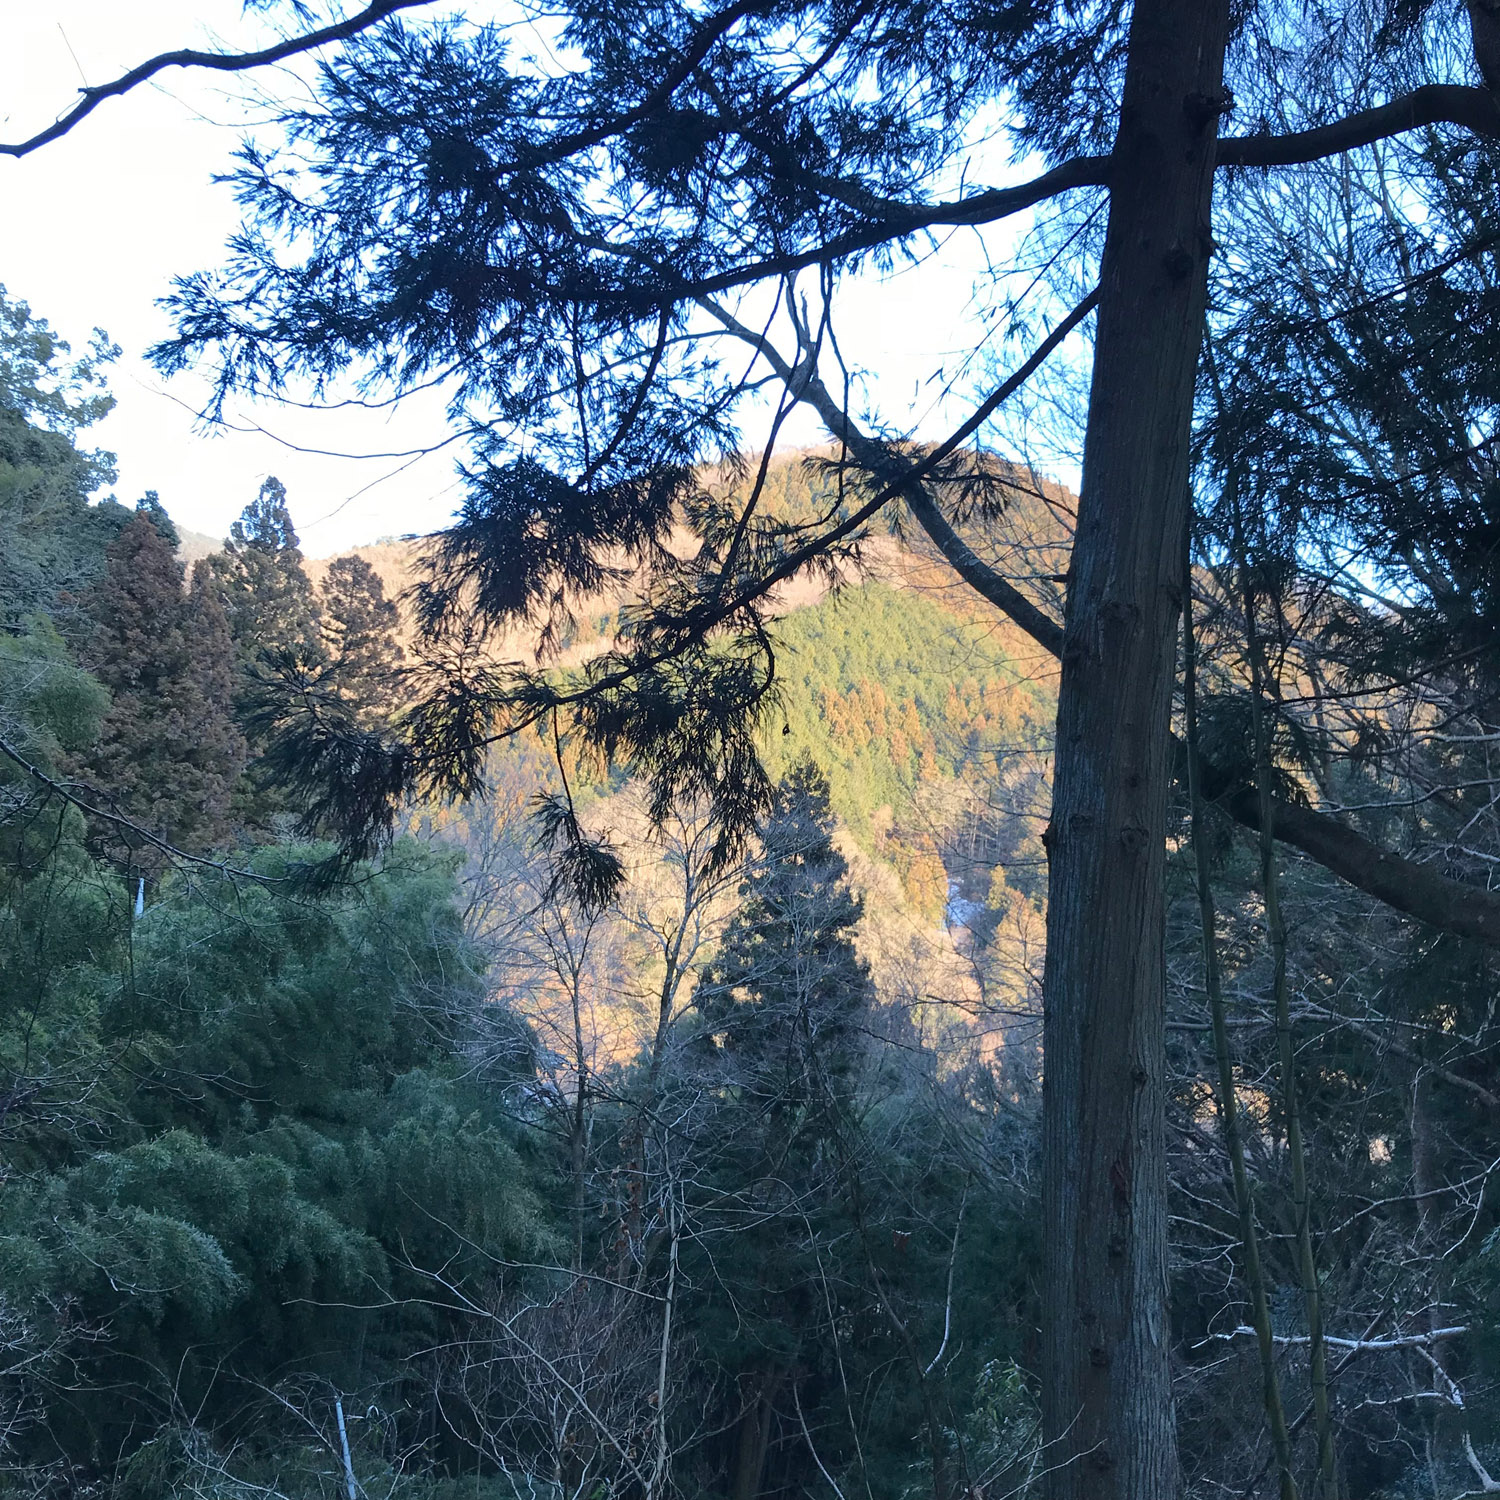
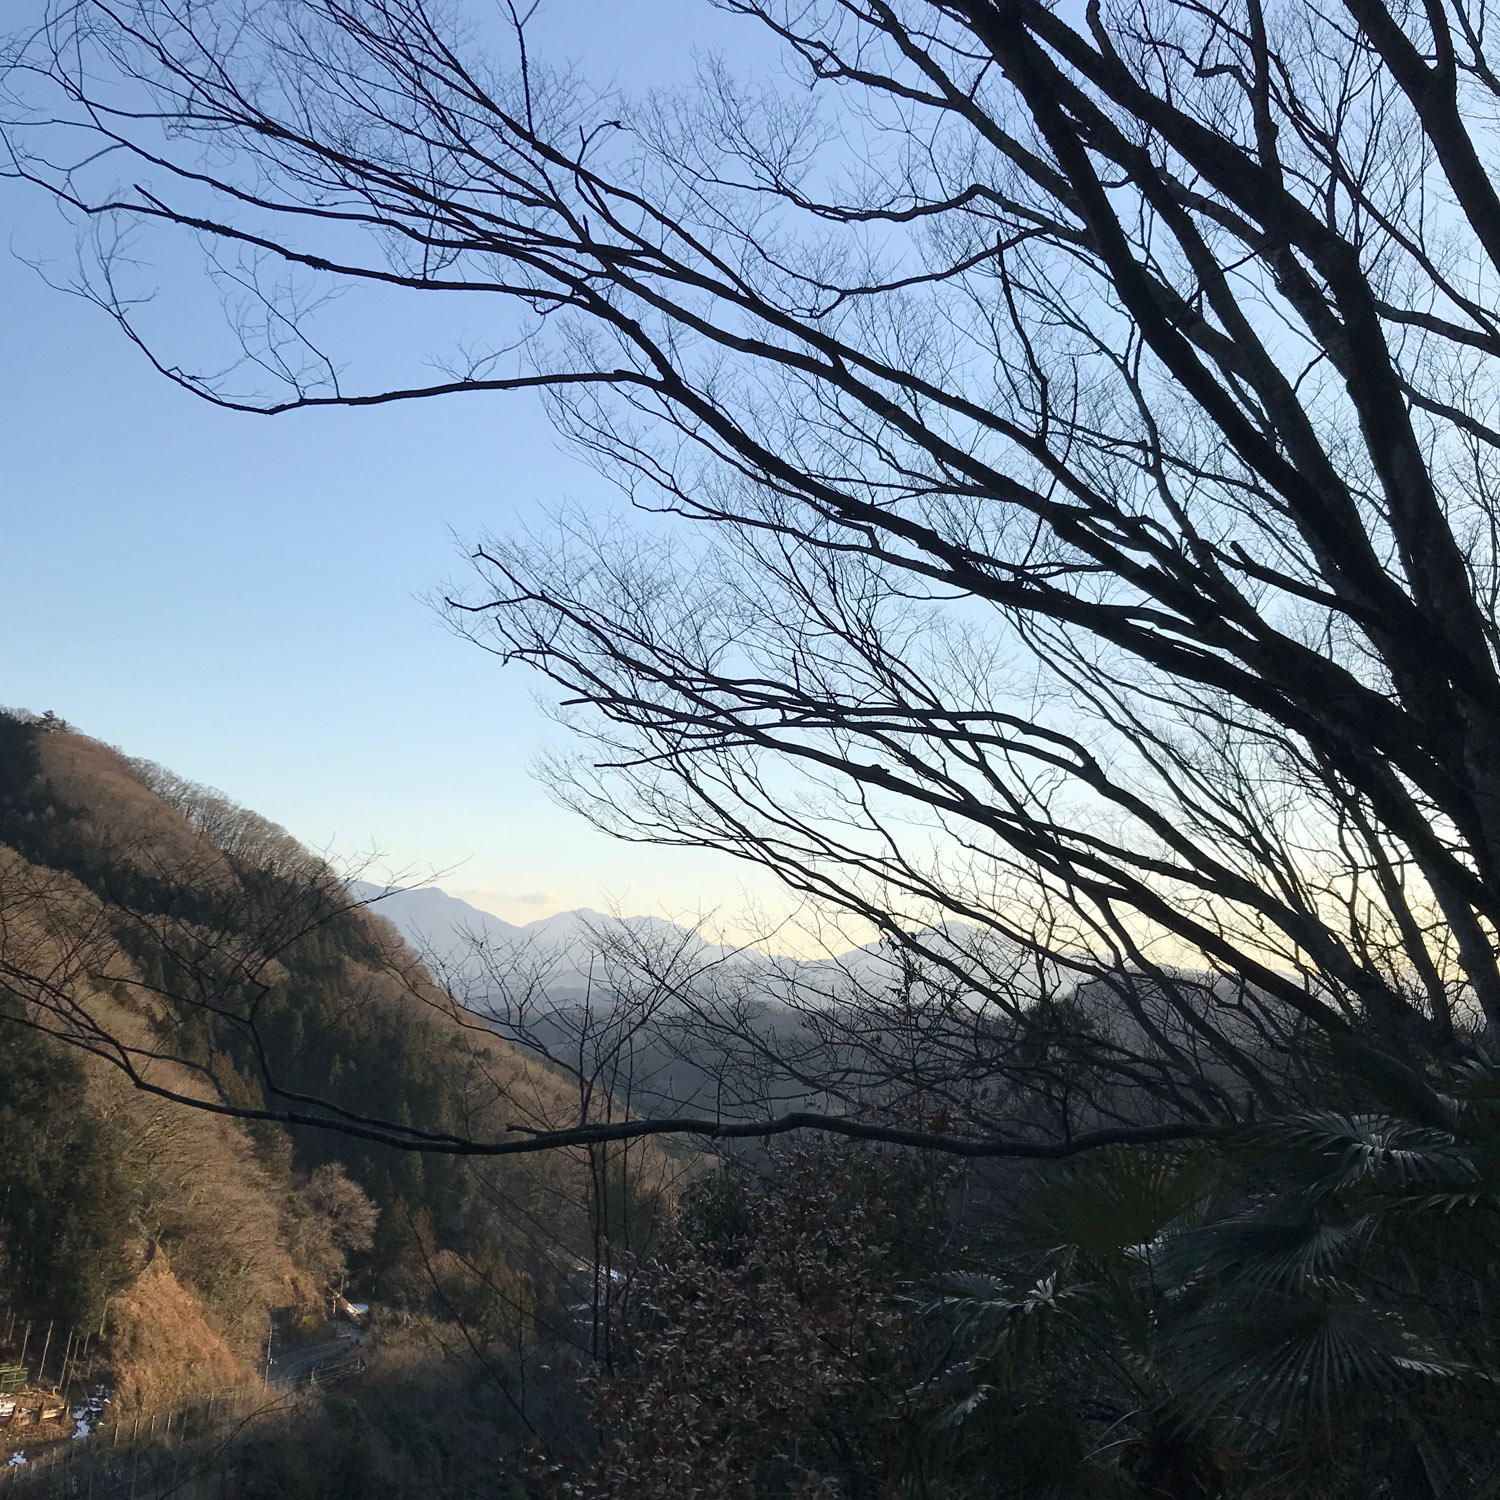
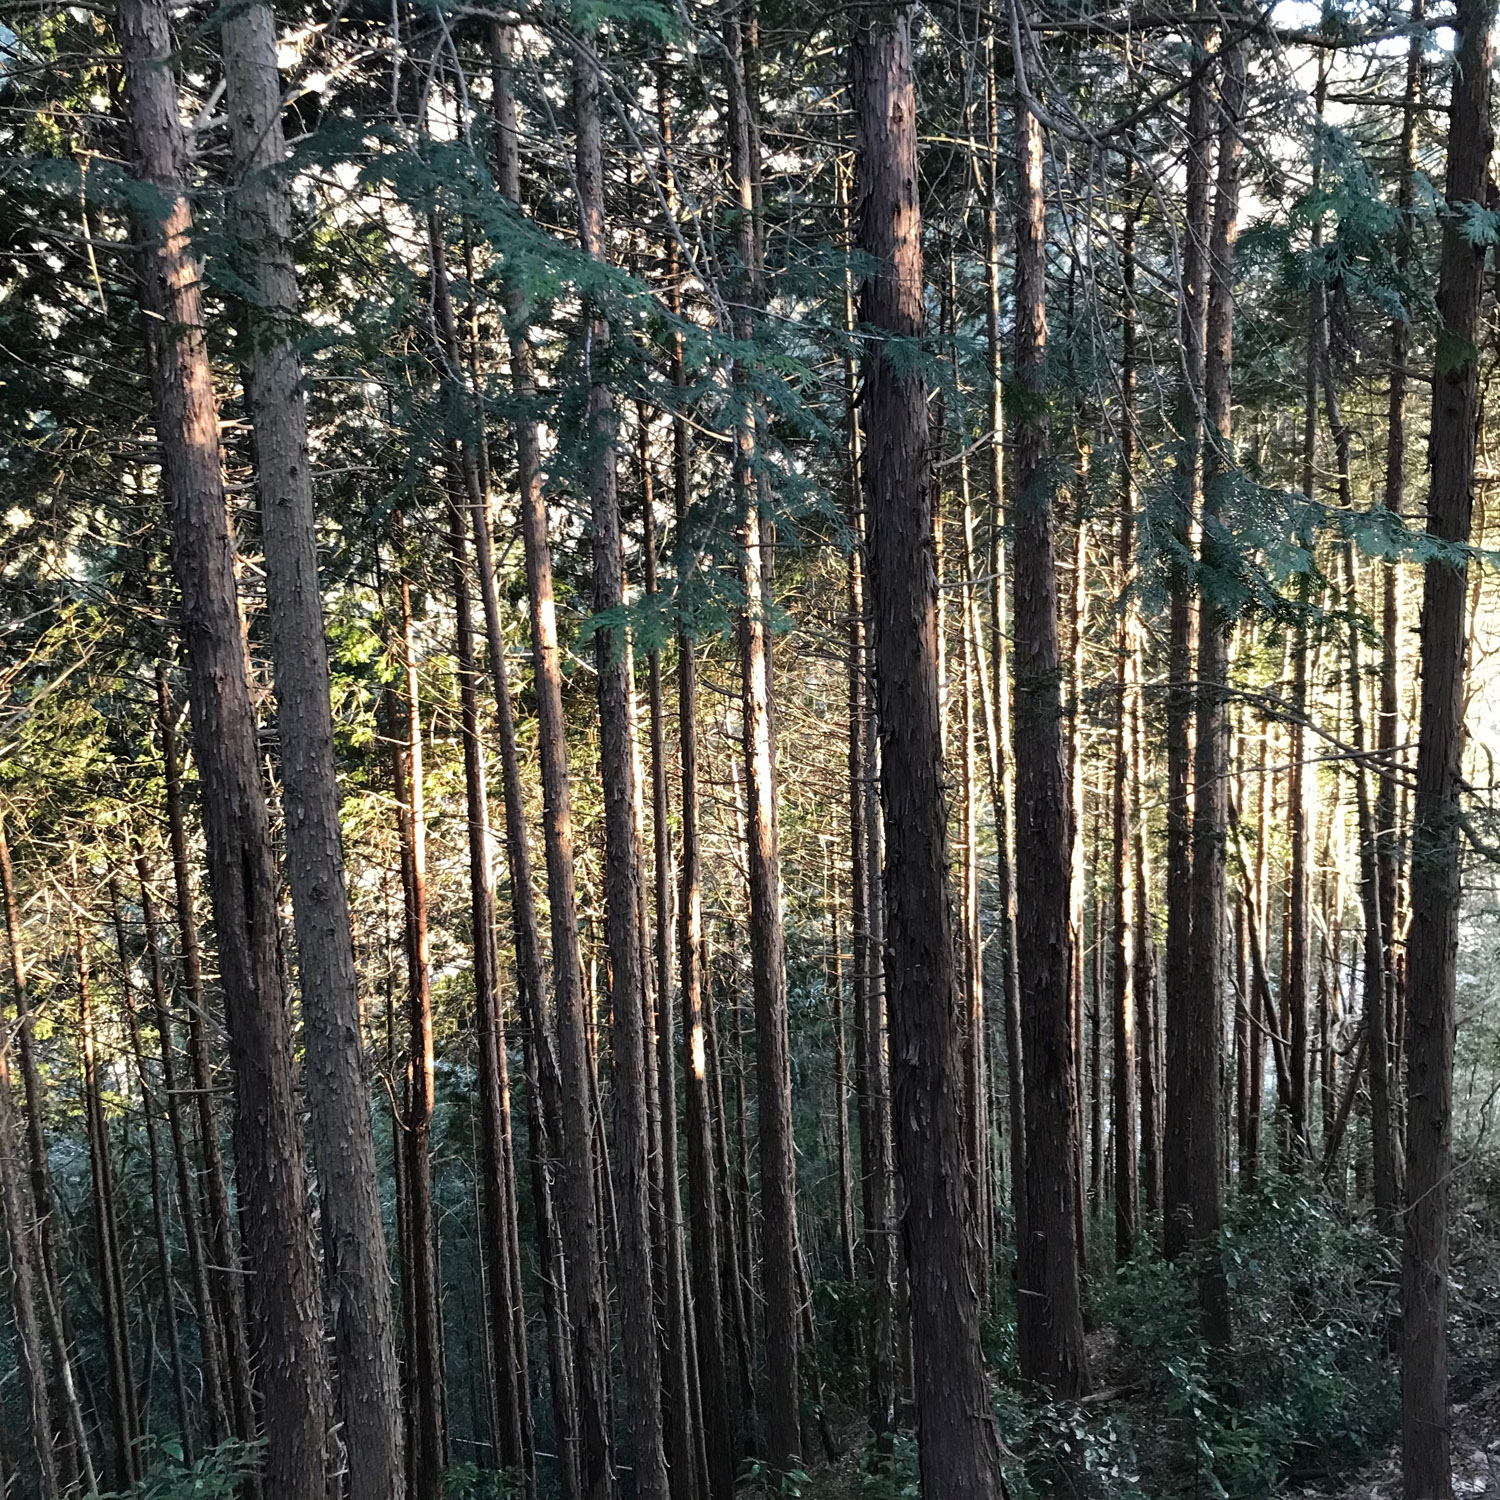
Here's a few pics of Bryan's amazing farmhouse and the views from there. Its a very peaceful and meditative place to be and the air is wonderfully clean and fresh. A great place to stop and think and to create. Bryan runs a series of workshops every year and I am organising a trip for 2020. If you are interested in finding out more and having your own Japanese adventure drop me an email and I'll send you some more information.

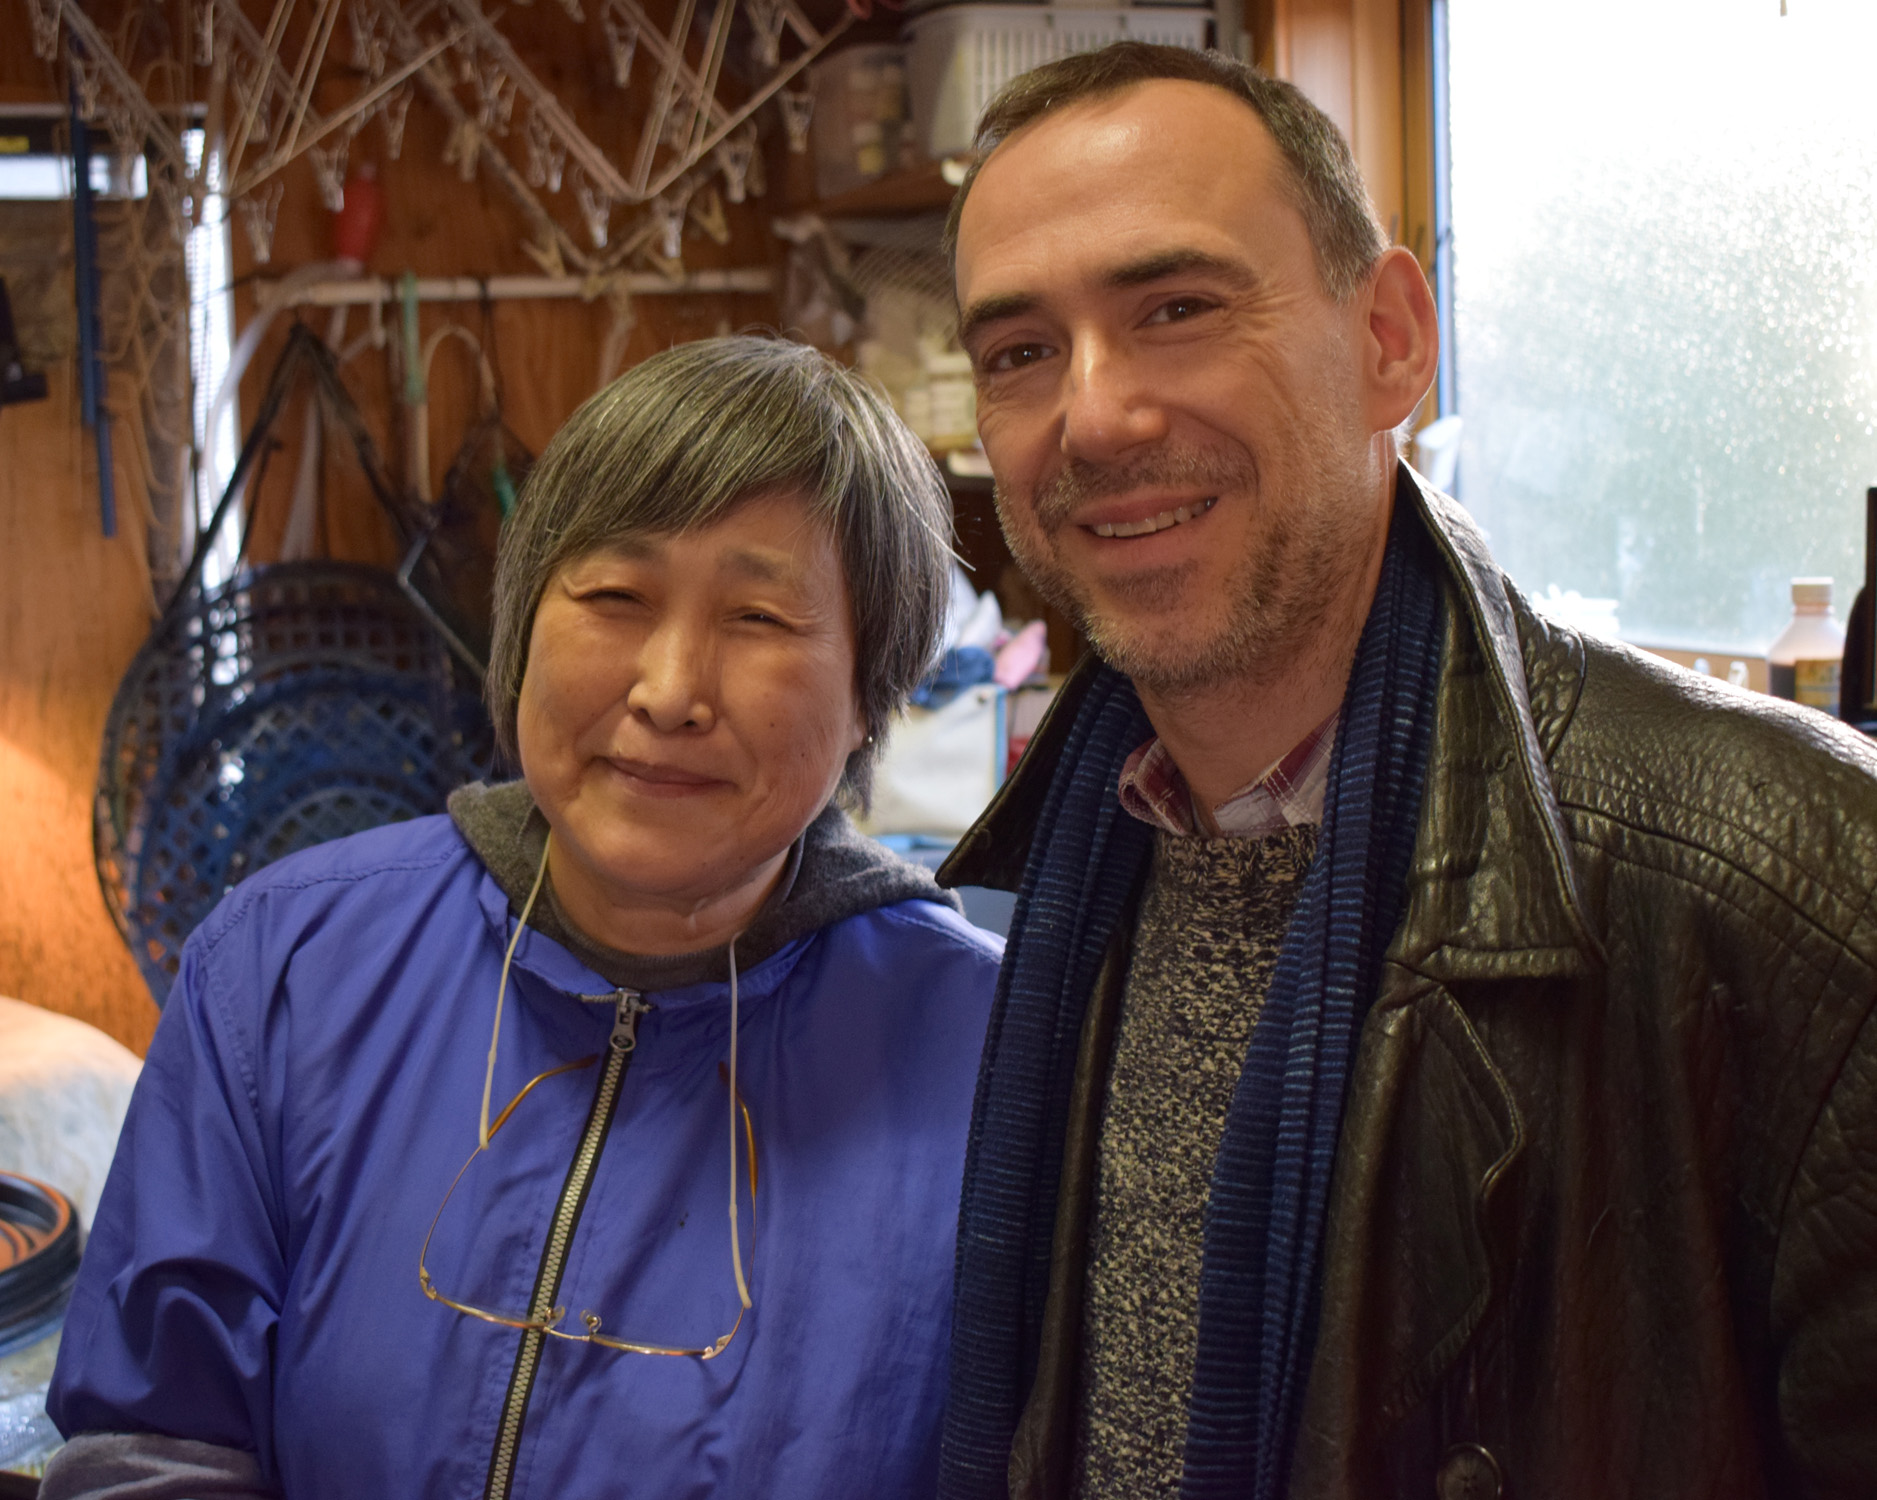
On Valentine's Day Bryan took me over to see Yazaki, a qualified master kimono maker. Yazaki will be coming to West Dean college to teach in 2019 and is trying to perfect her English before then.
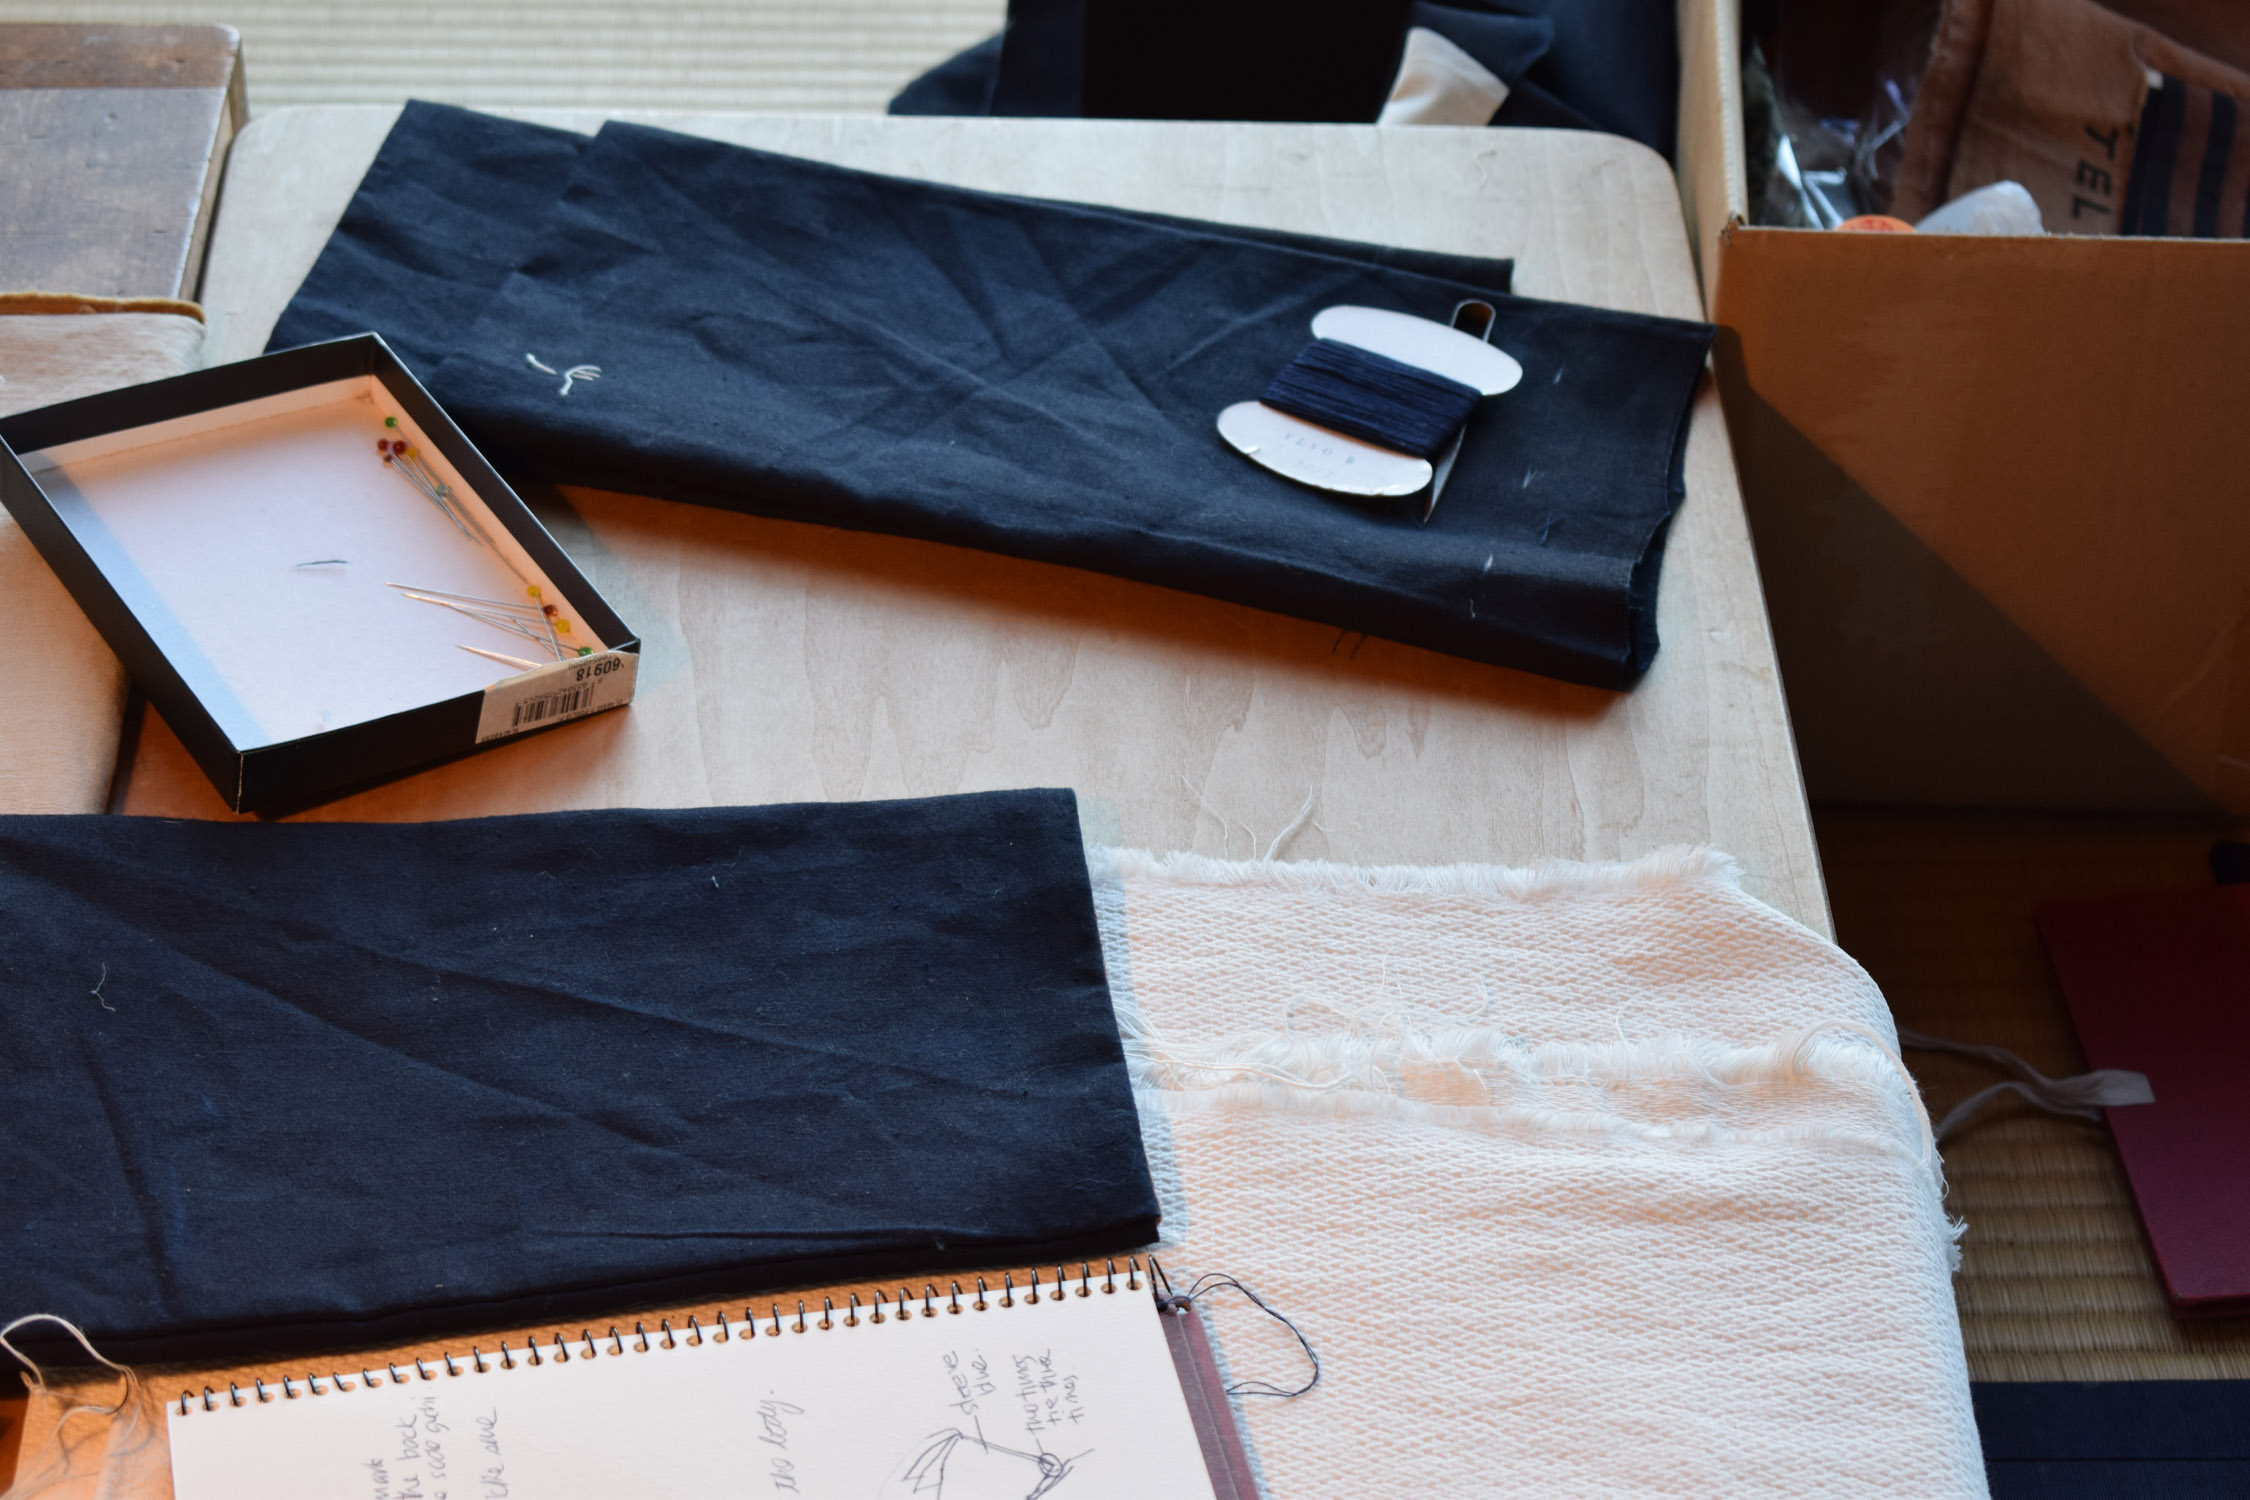
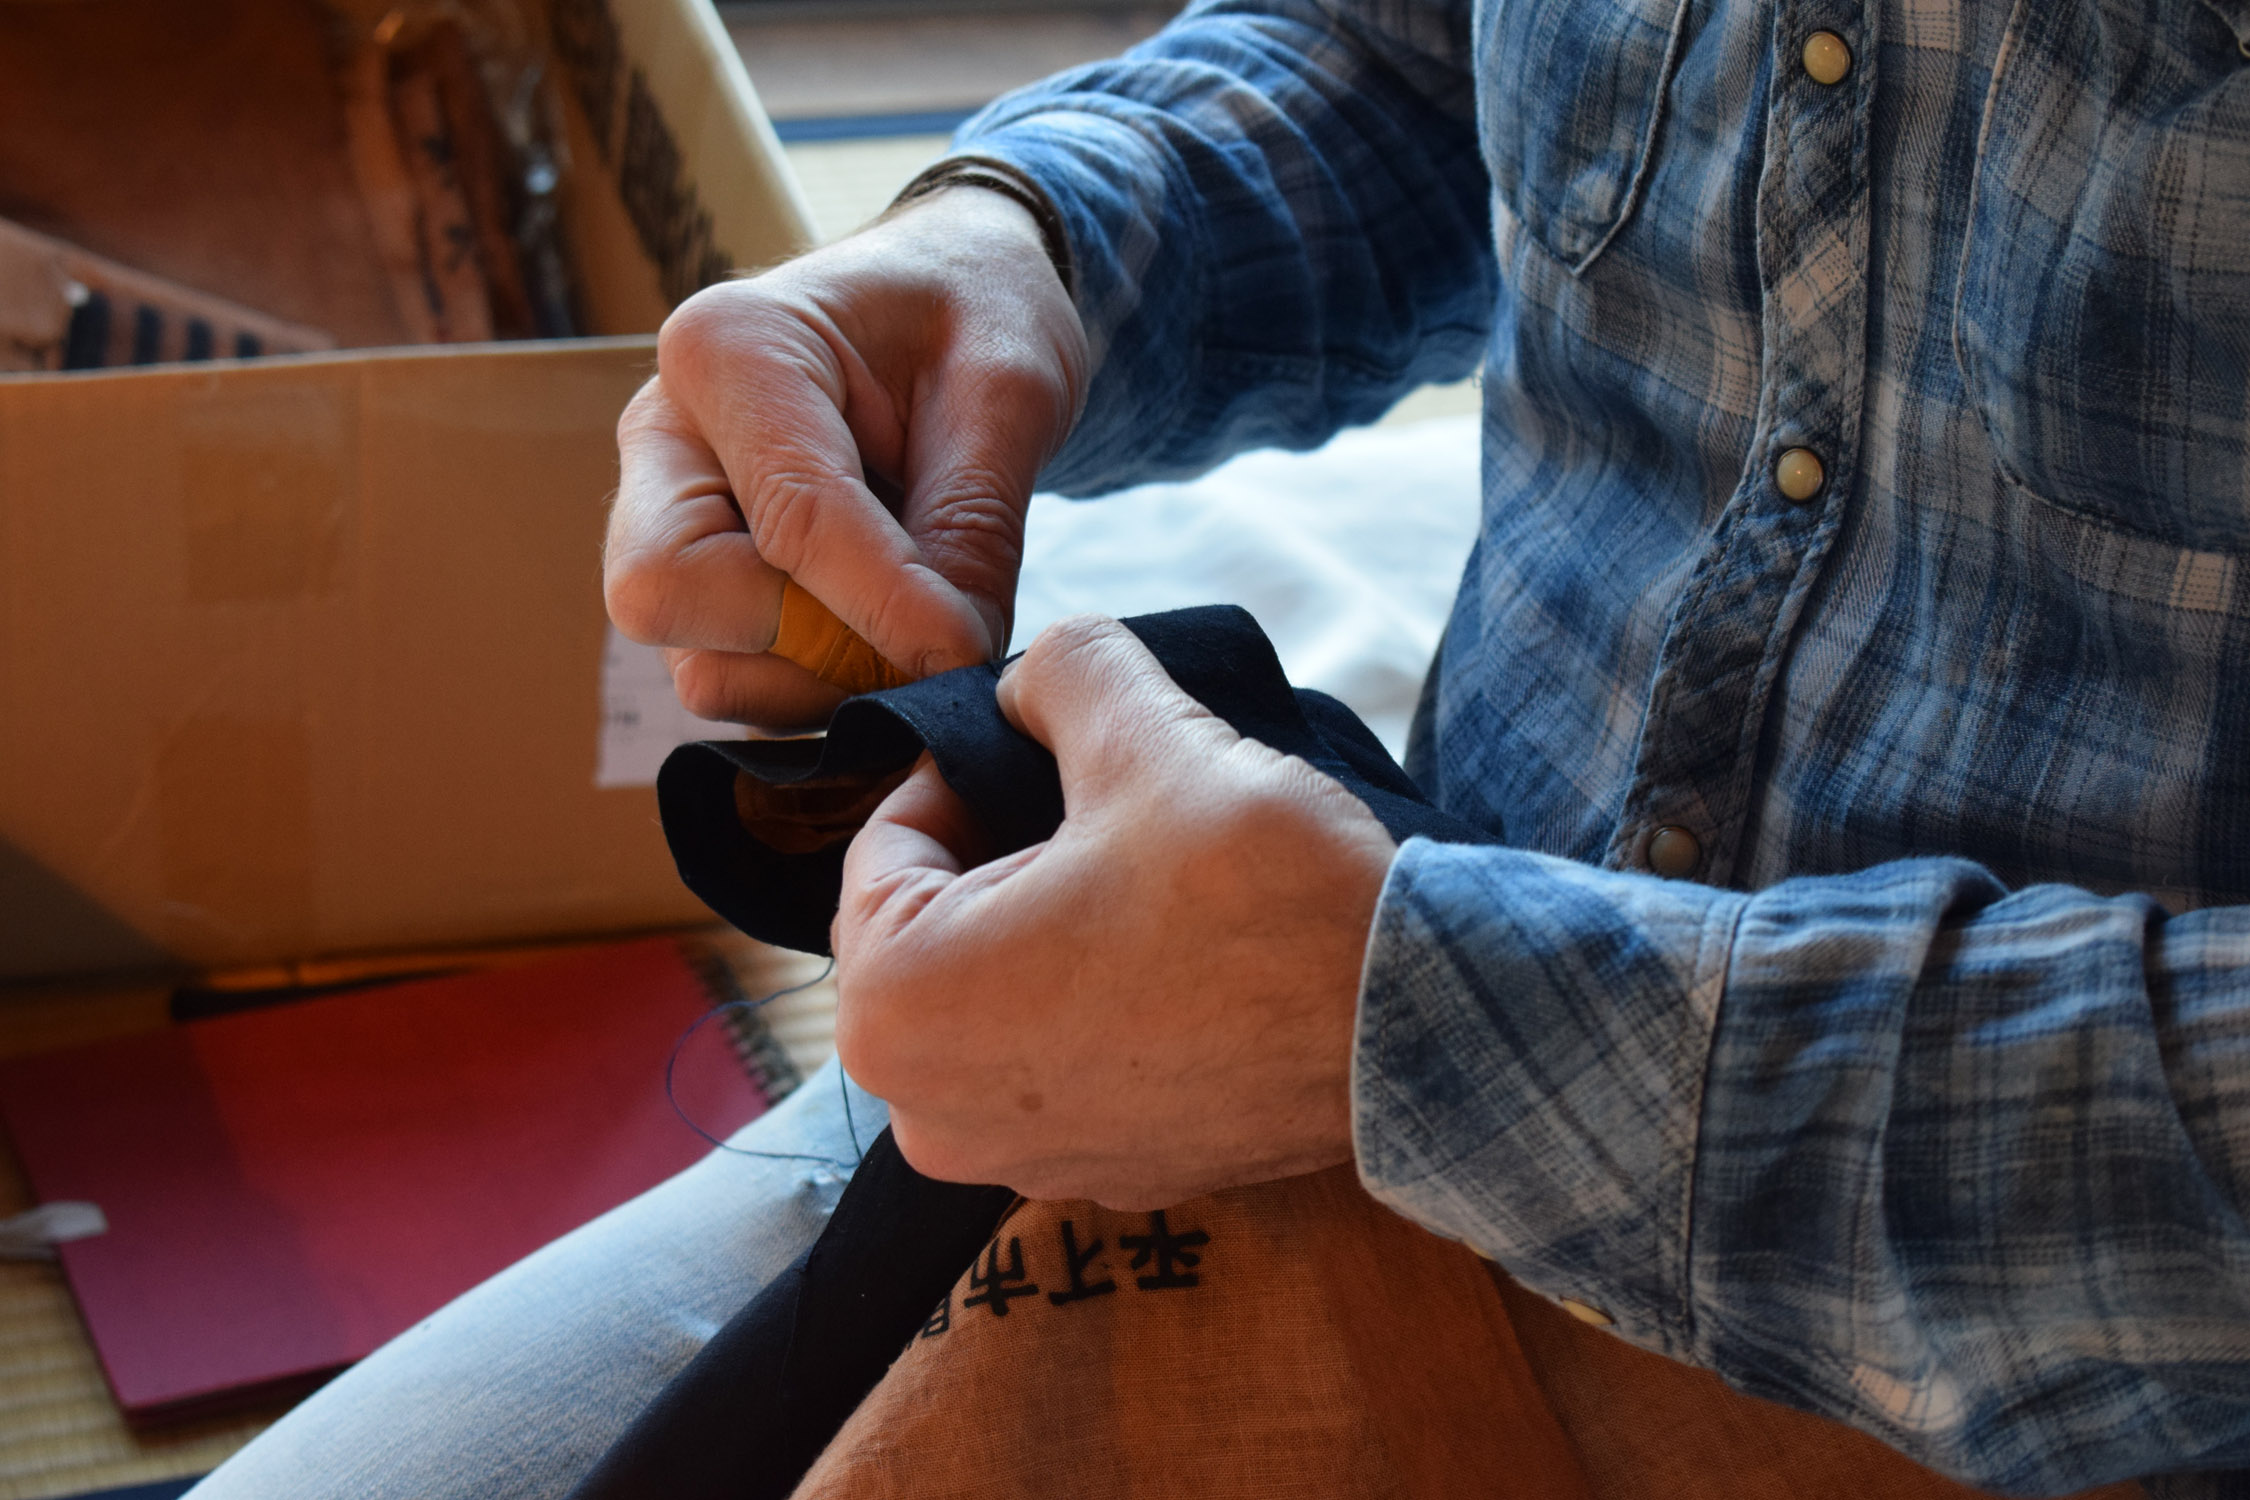
Bryan is making two child's indigo dyed fireman’s jackets lined with persimmon dyed vintage cotton and today is all about attaching the sleeves of the child’s version. In Japan the creation of a kimono is very precise and was decided a thousand years ago. It’s actually a very architectural process where every measurement and seam allowance is prescribed and very precisely measured.
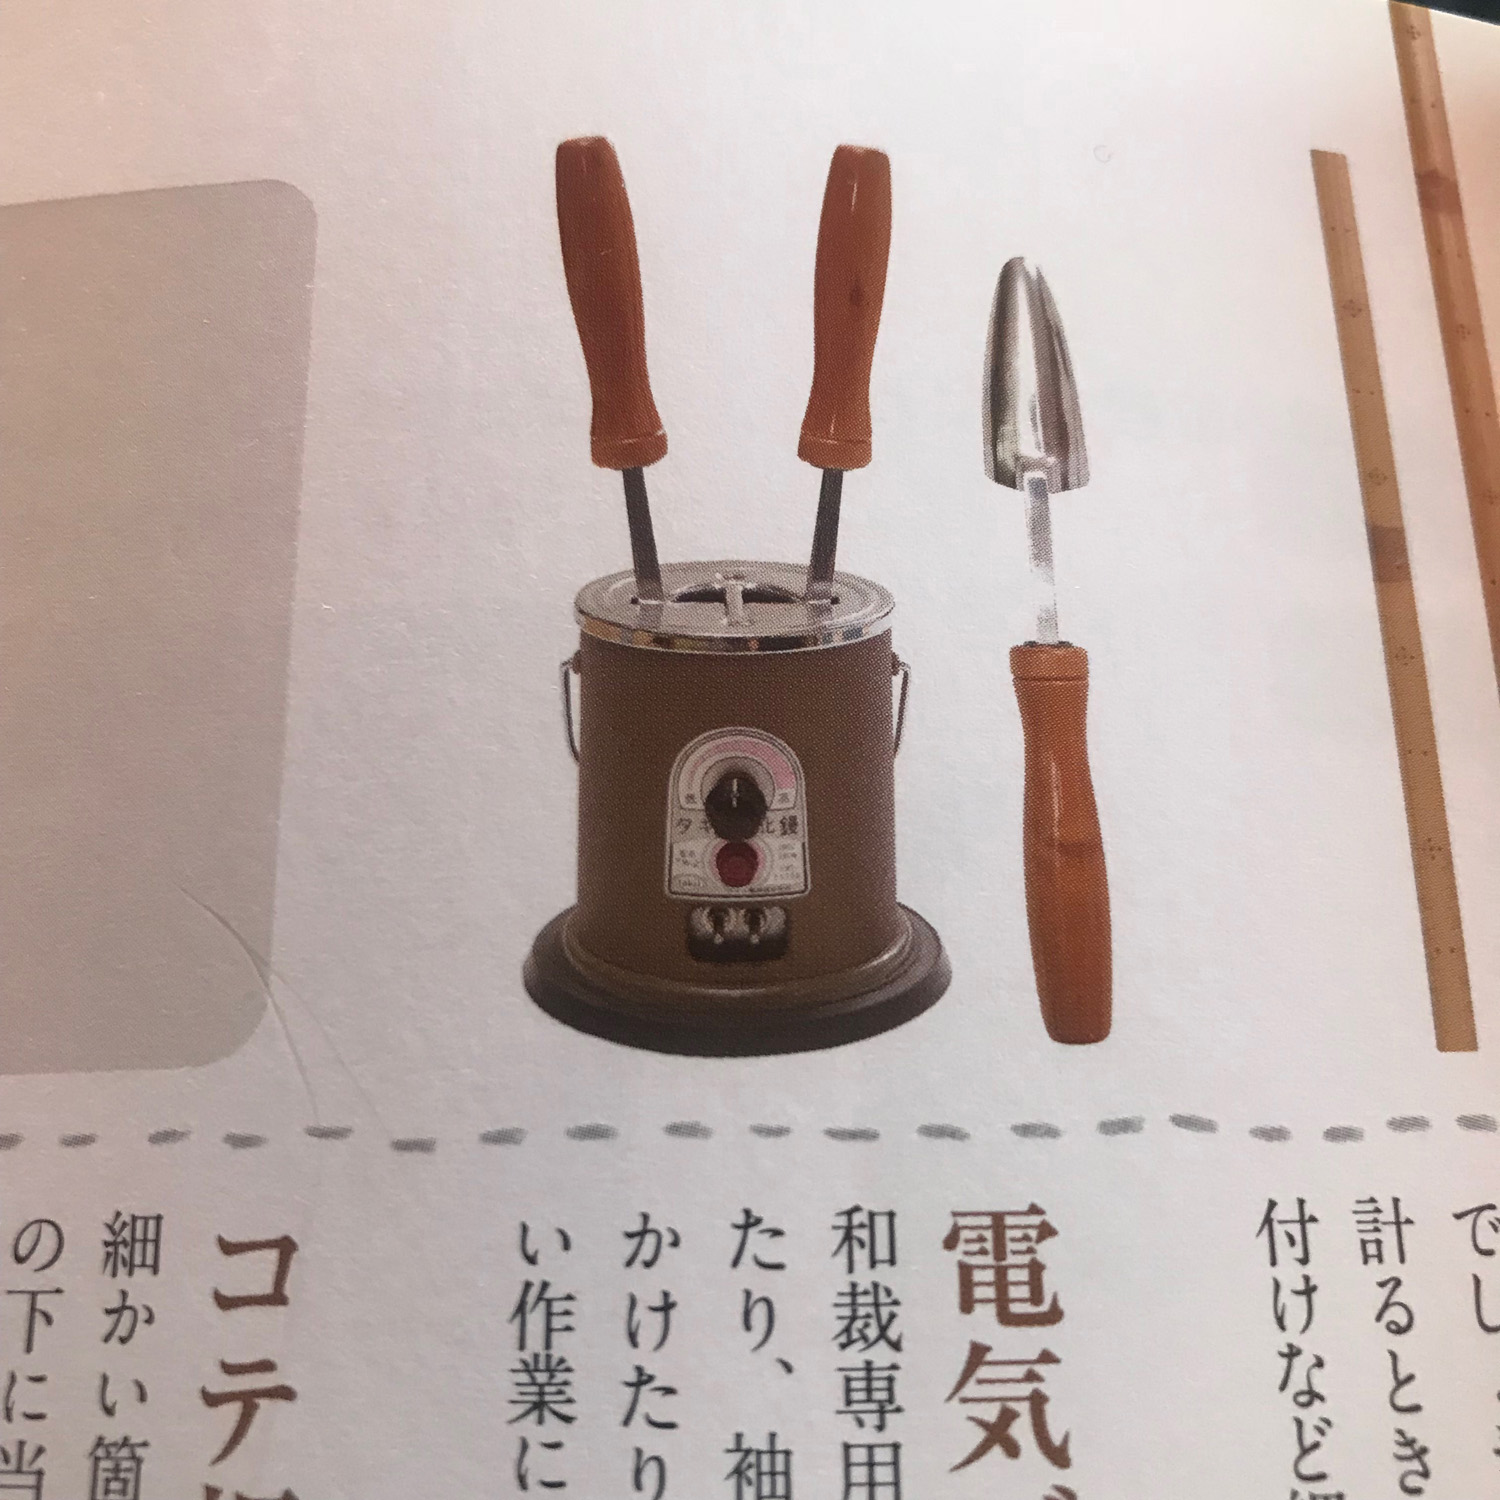
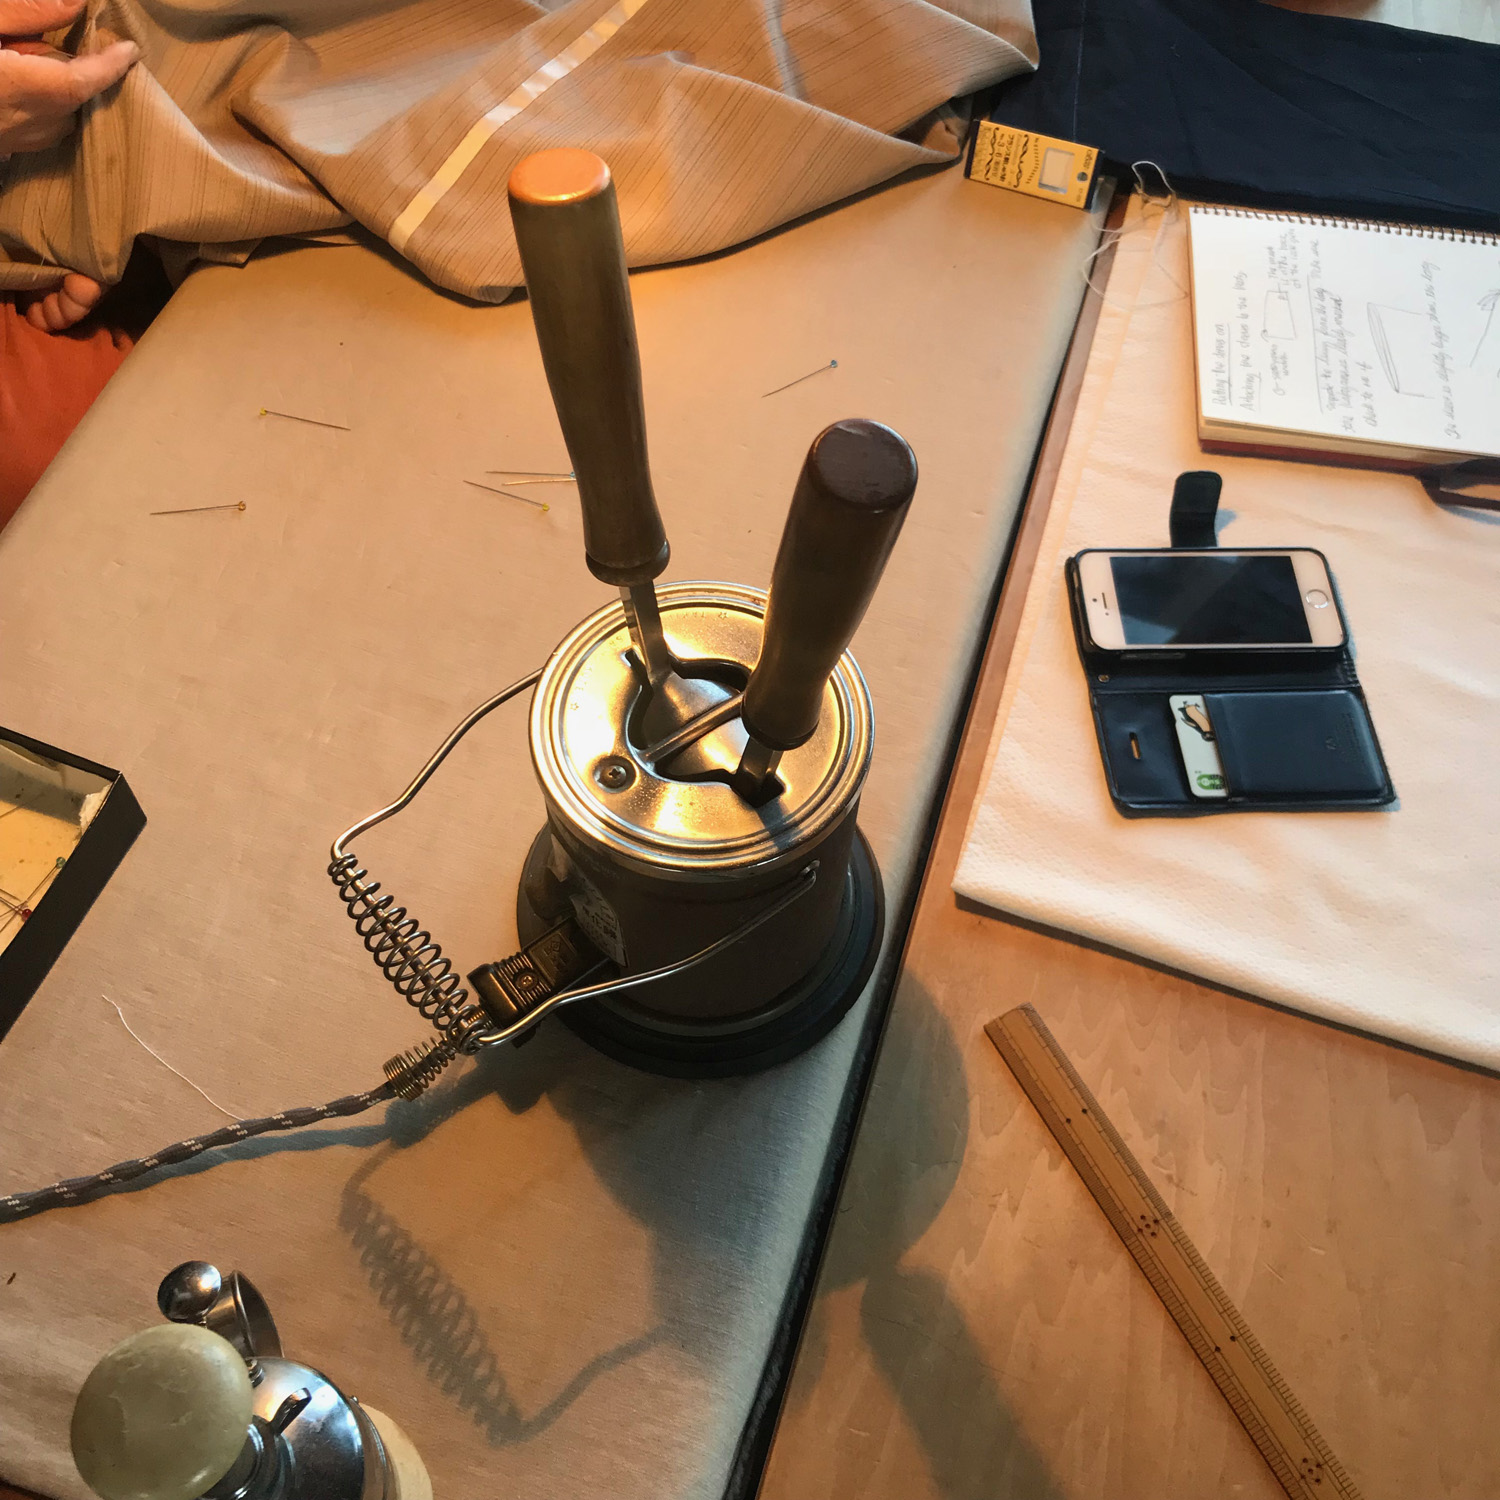
Kimono makers use a very neat mini iron called a kote; the top of which leaves semi-permanent creases, meaning you don’t need to use chalk or marker pens.
The other lady at the class was making a naga juban (silk undergarment). Sewing this silk was clearly a very skilled job! The only part of the naga juban that would be seen is the collar. These are therefore ornate and beautifully embroidered. Typically they would be removed and swapped for one in a different colour as the seasons change.
When a kimono needs to be cleaned it is essentially dismantled into its component parts, cleaned and then reassembled, often using the same threads it was sewn up with in the first place. The Japanese have a concept ‘mottainai’, which basically means ‘waste not, want not’, so the reuse of these threads is part of that aesthetic.
Making beautiful fabric by hand is inevitably a long process so wasting anything doesn’t make sense. It’s why cultures around the world that make their fabrics avoid cutting it up as much as possible. Think Japanese kimono silk, Indian saris and, closer to home Scottish and Irish kilts.
Tokyo shopping spree! First stop - Omote Sando, Tokyo’s Designer district. Ignoring Prada and the others I ventured off the main drag to find independent designers and antiques stores around every corner!
My first stop was Gallery Kawano, a veritable treasure trove of kimono silk and cotton offcuts with haori jackets, obi belts and full kimonos too. I rummaged through huge piles of silk rolls in search of the good stuff and was eventually rewarded with three good pieces, including two lovely bits of genuine shibori (a lot of later pieces are prints of shibori patterns). I then retraced my steps toward the station to second hand clothes store, Chicago. At first it didn’t look at all promising with expensive second hand American tees, baseballs caps and hoodies but, at the very back, there’s a whole section of silk and cotton kimonos at very reasonable prices. I was delighted to find a shibori kimono (perfect for a customer I’d been asked to source) and a stunning haori jacket with a distorted traditional hemp leaf pattern I’m going to keep for inspiration!
In the afternoon I wended my way through a maze of back streets to the Ishii collection. Mr Ishii was charming and patient as I sorted through his entire (extensive!) Katagami stencil collection! I bought a large selection, a few pics below, to whet your appetite. So, if you fancy coming along when I get my new stencilling class going, send me a message and keep an eye on my workshops page on my website. By this point I was ready for a cup of tea and a sit down at “Granny Smiths”.
Revived I crossed the road to visit Morita Antiques where the owner and his wife stock a huge range of boro, woven cotton and indigo, kimono silk, art objects and a great little art textiles book they wrote themselves. I was immediately drawn to their stunning boro pieces and their many samples of woven cotton and silk, many of which have made their way home to London! I then stopped for some Okonomayaki (cross between a pancake and an omelette) which they cook on a hot plate in front of you and made my weary way home.
On day 2 in Tokyo I started the day visiting the three Kapital shops which are all a short walk from each other in Shibuya. Kapital are perhaps the world’s coolest and chicest denim brand, combining innovative cuts with the best Japanese indigo dyed denim and old and newly made boro textiles to make beautiful contemporary and desirable items (sadly out of my price range currently although I do have a pair of jeans I bought in New York in 2015 from them!) The rest of the day was spent visiting Nippori, Tokyo’s fabric district and getting stencilling and indigo supplies from Seiwa.
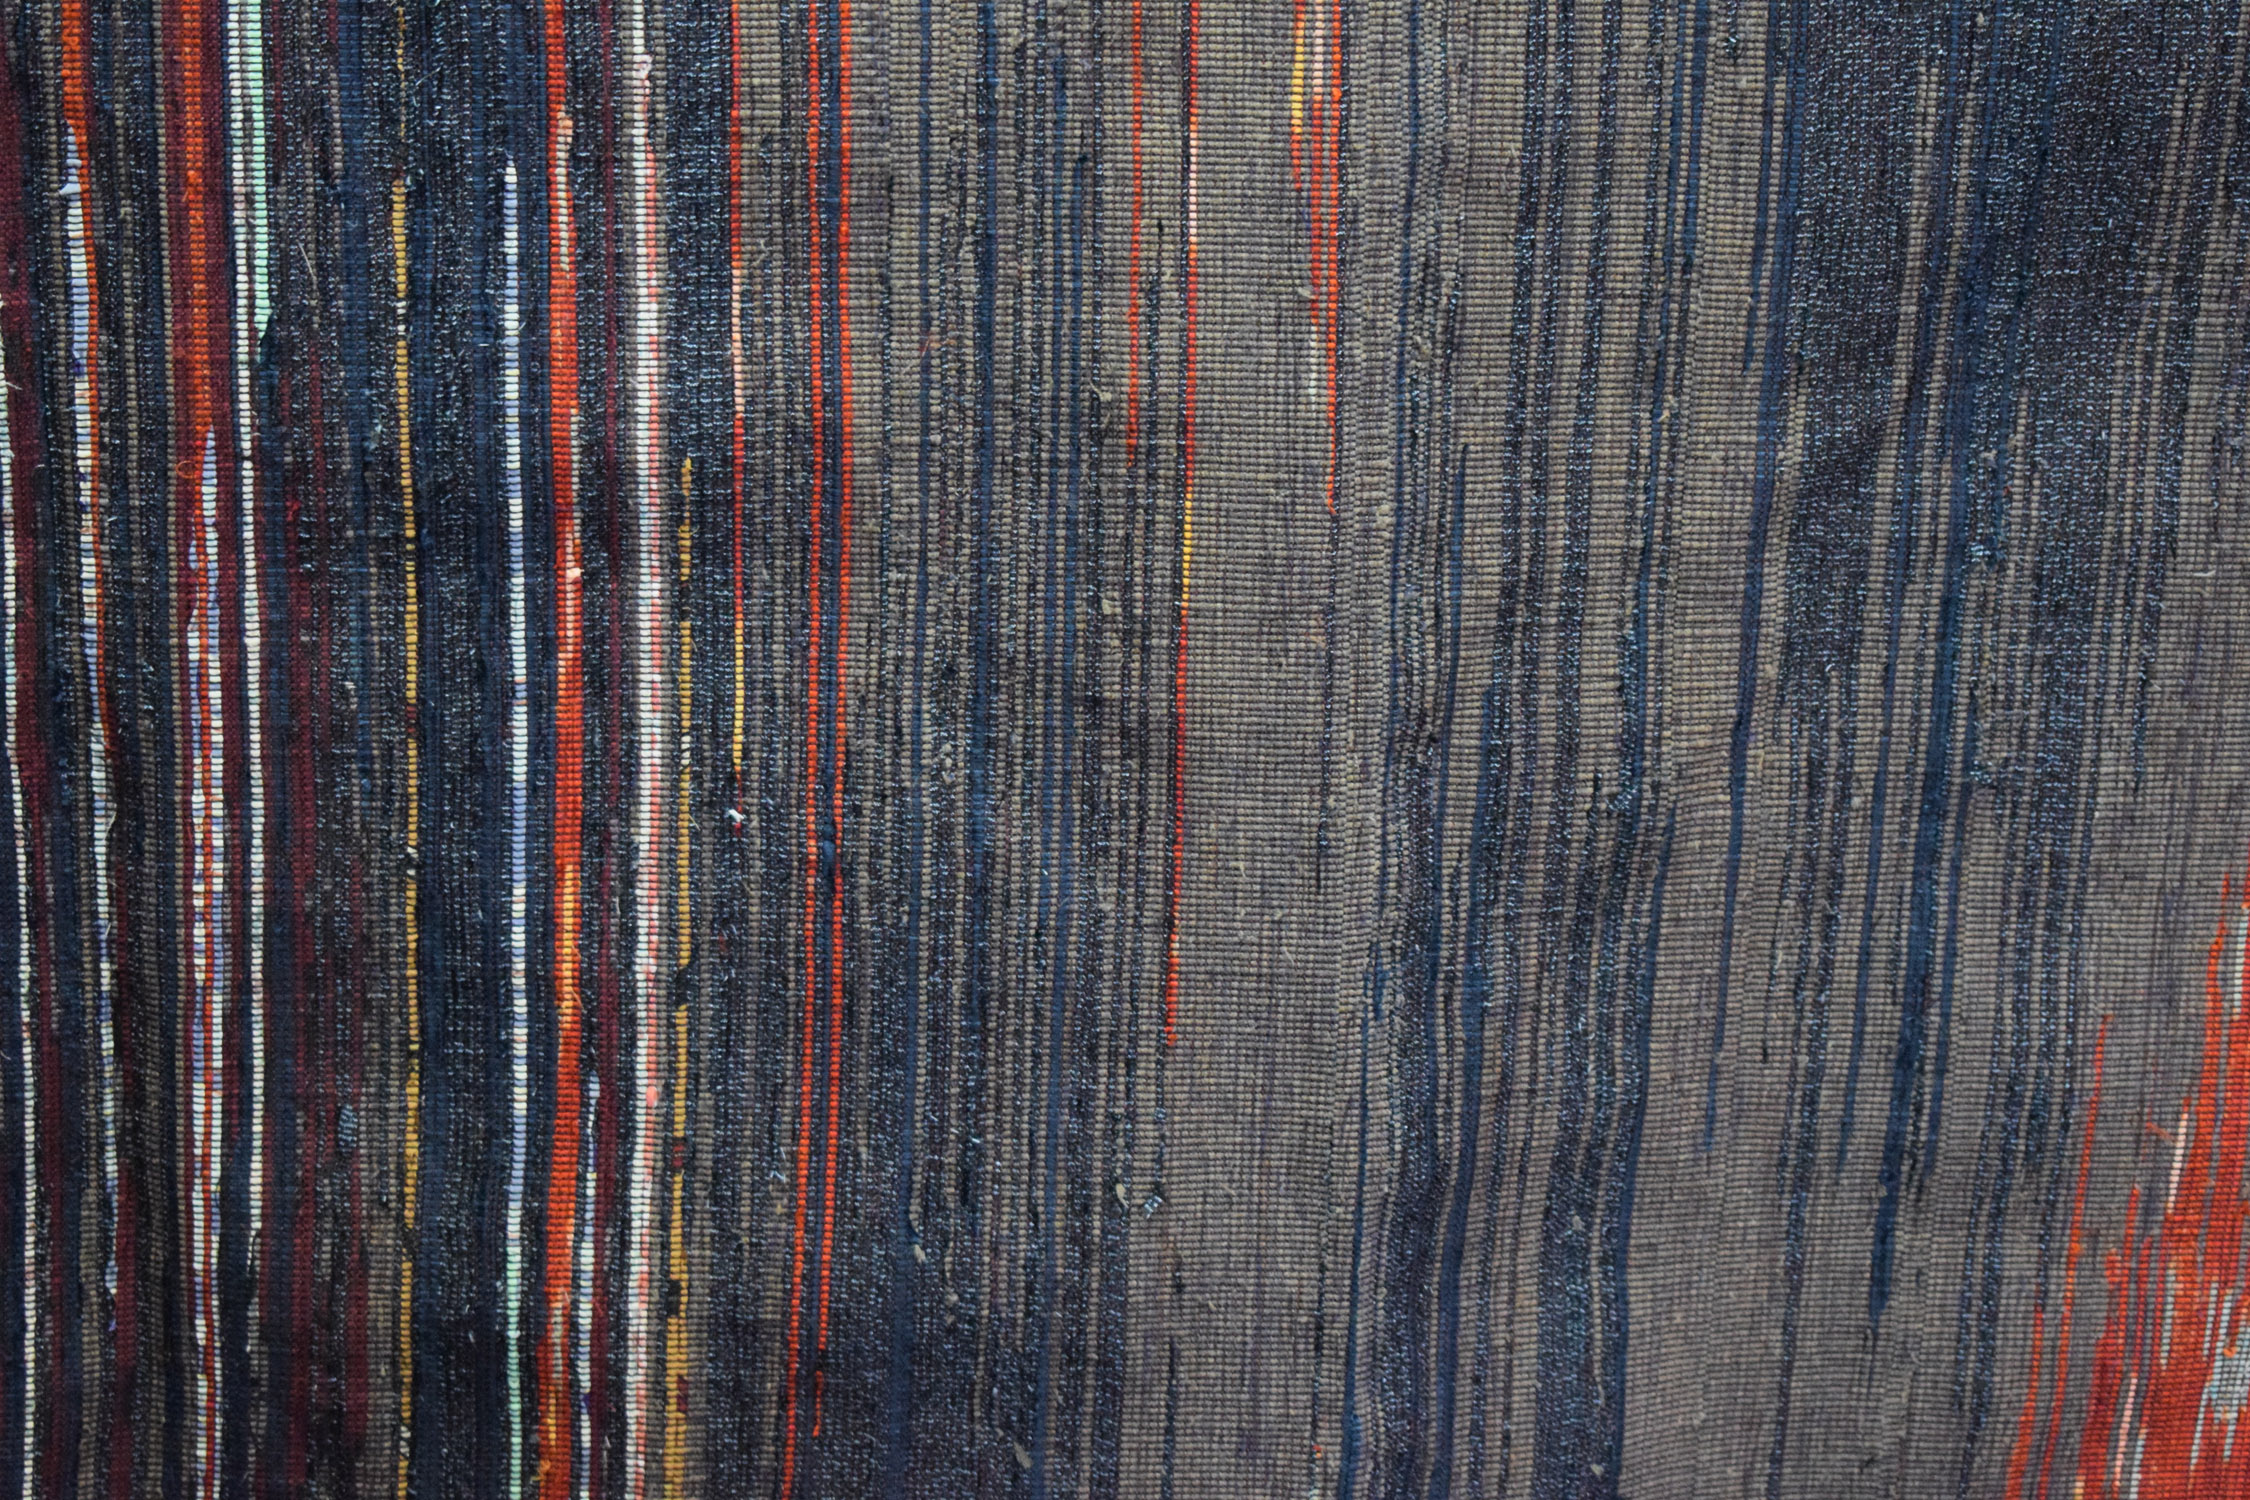
Nippori is a dangerous place to visit for the textiles fan! Full of small and large outlets selling anything from bolts of vintage and modern cotton through to obi belts, whole kimono and everything in between. Needless to say I succumbed and bought loads including two nice haori jackets, obi belts, vintage silk, fine cotton and soft cotton fabric.
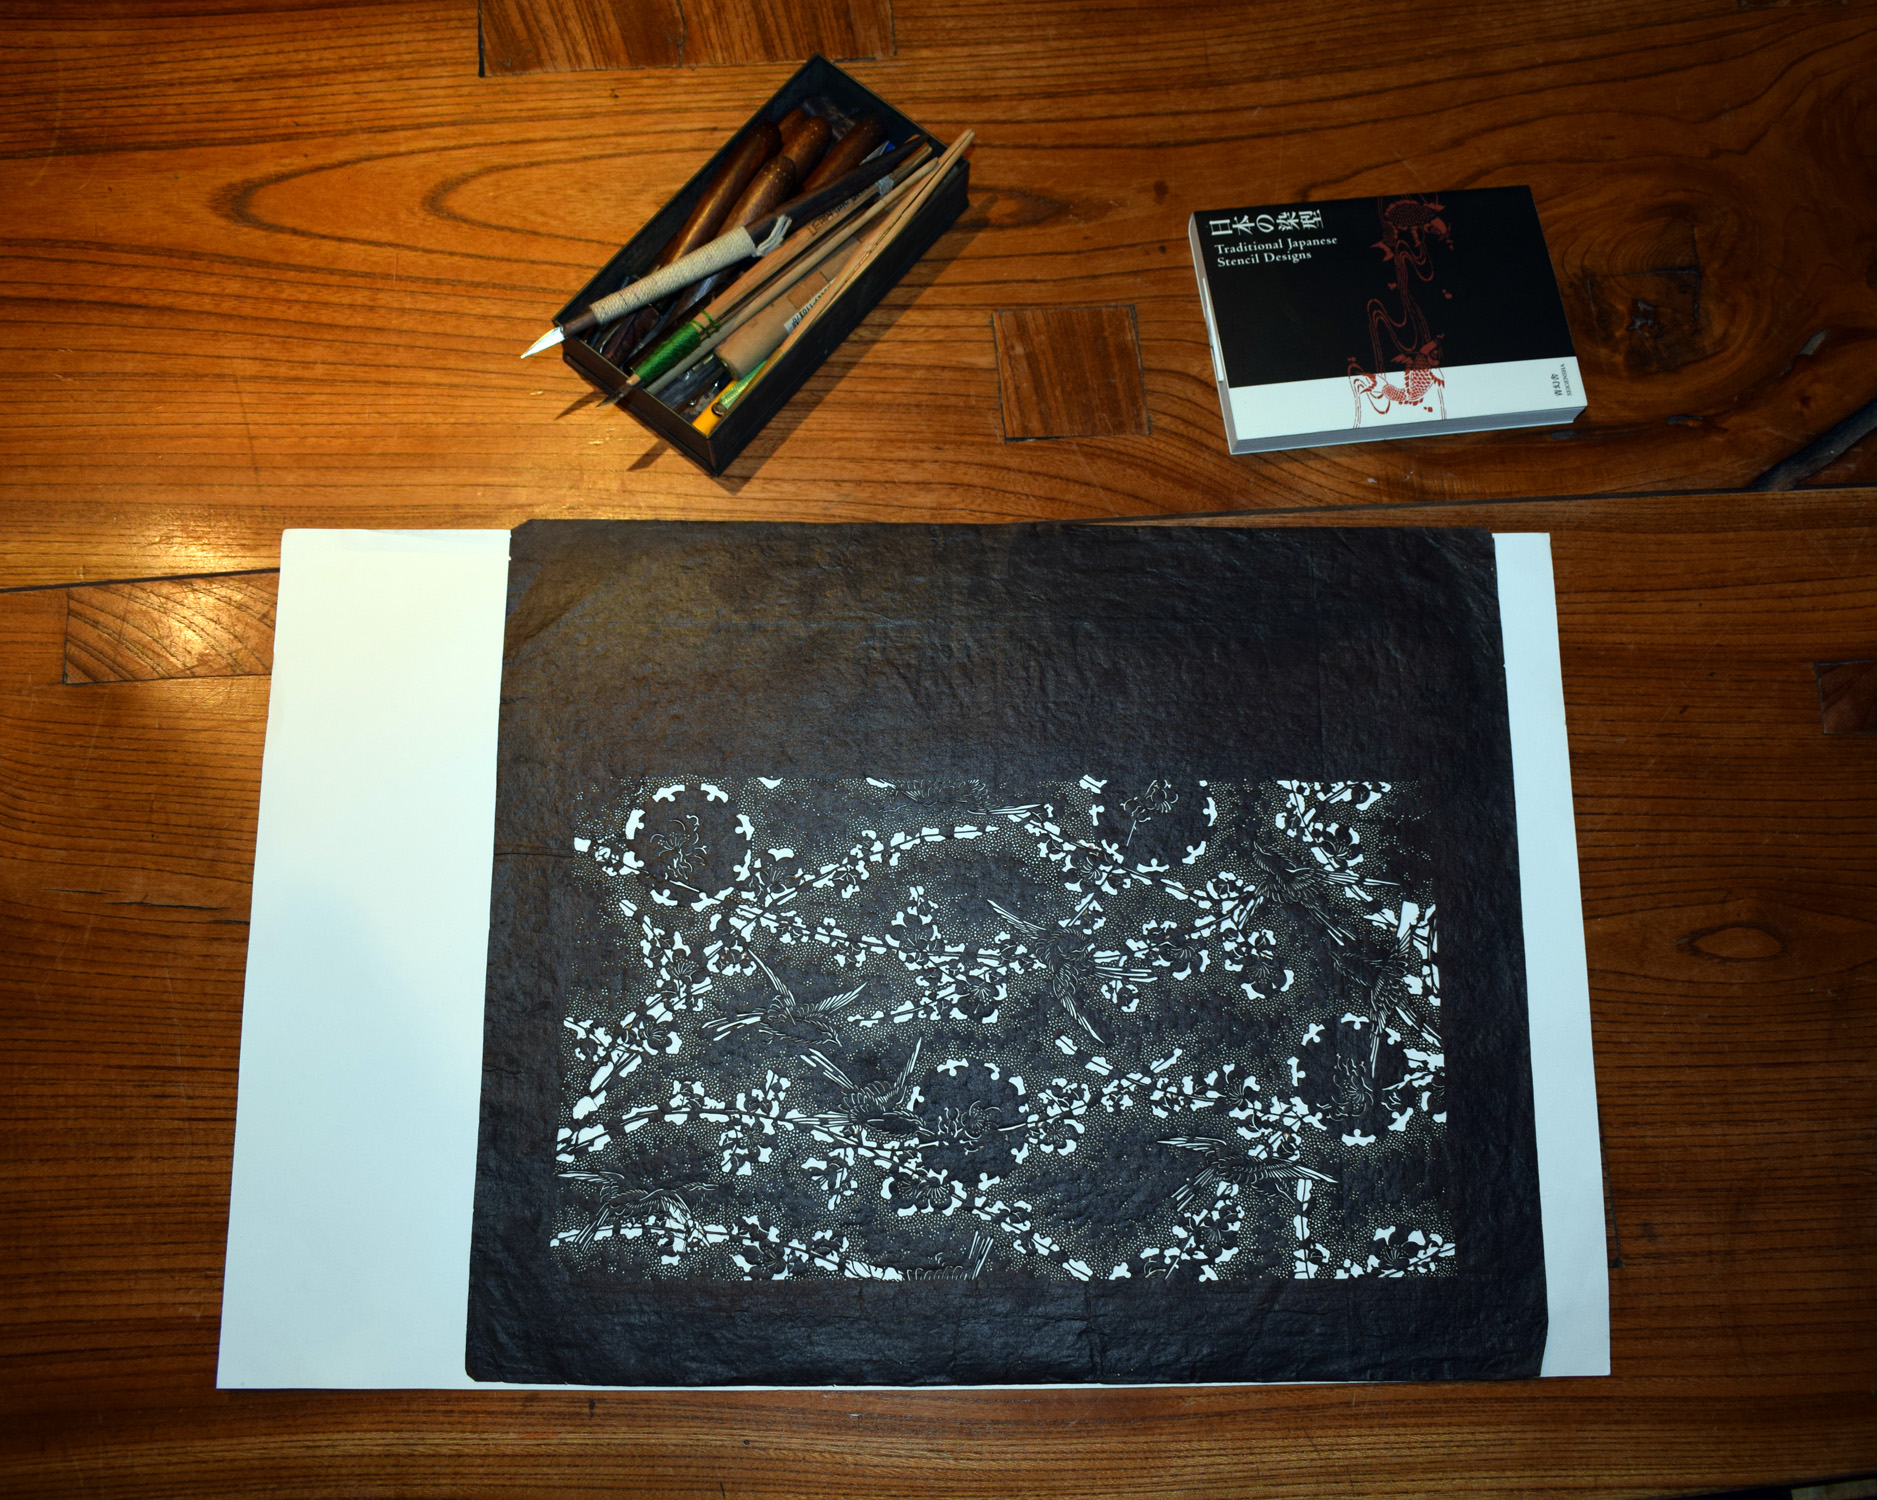
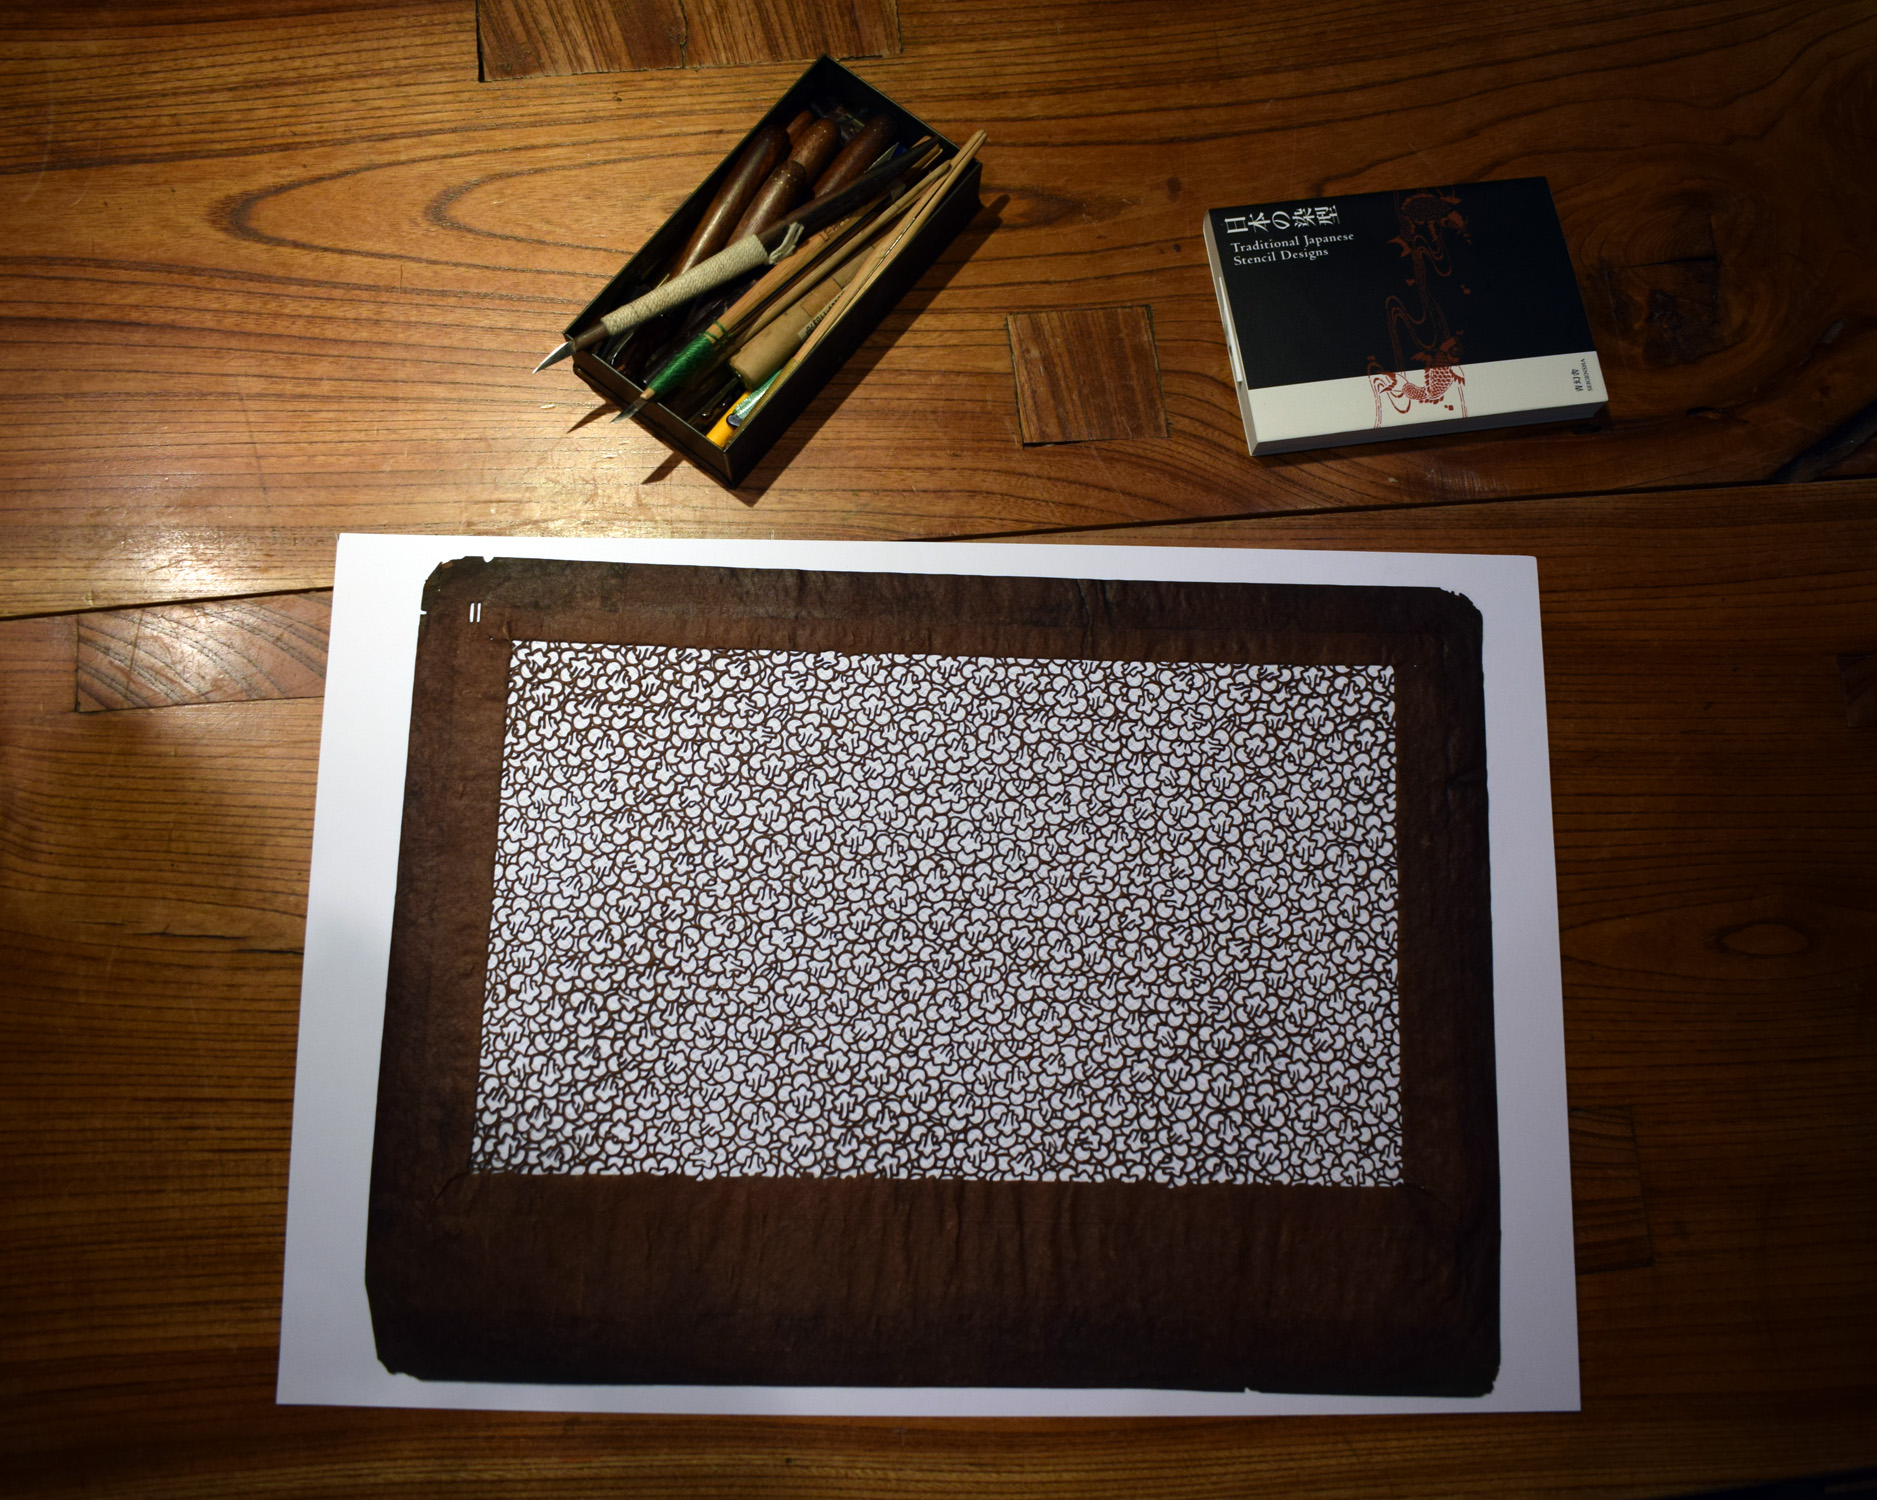
Seiwa, although a little difficult to find in Takadonobaba, is well worth the effort. I picked up top notch Japanese indigo and chems and a load of stencilling kit for my new class, including persimmon paper to cut, tenterhooks, paper cones for freehand work, rice paste (made up and component parts), pre-reduced indigo, paint brushes for applying sumi ink, fine mesh and creosote to attach to the back of cut stencils and a couple of great books - Traditional Japanese Stencil Designs, which has loads of great pics and The Complete Japanese Tie-Dyeing, which is actually a fantastic reference book for shibori techniques with step by step pictures.

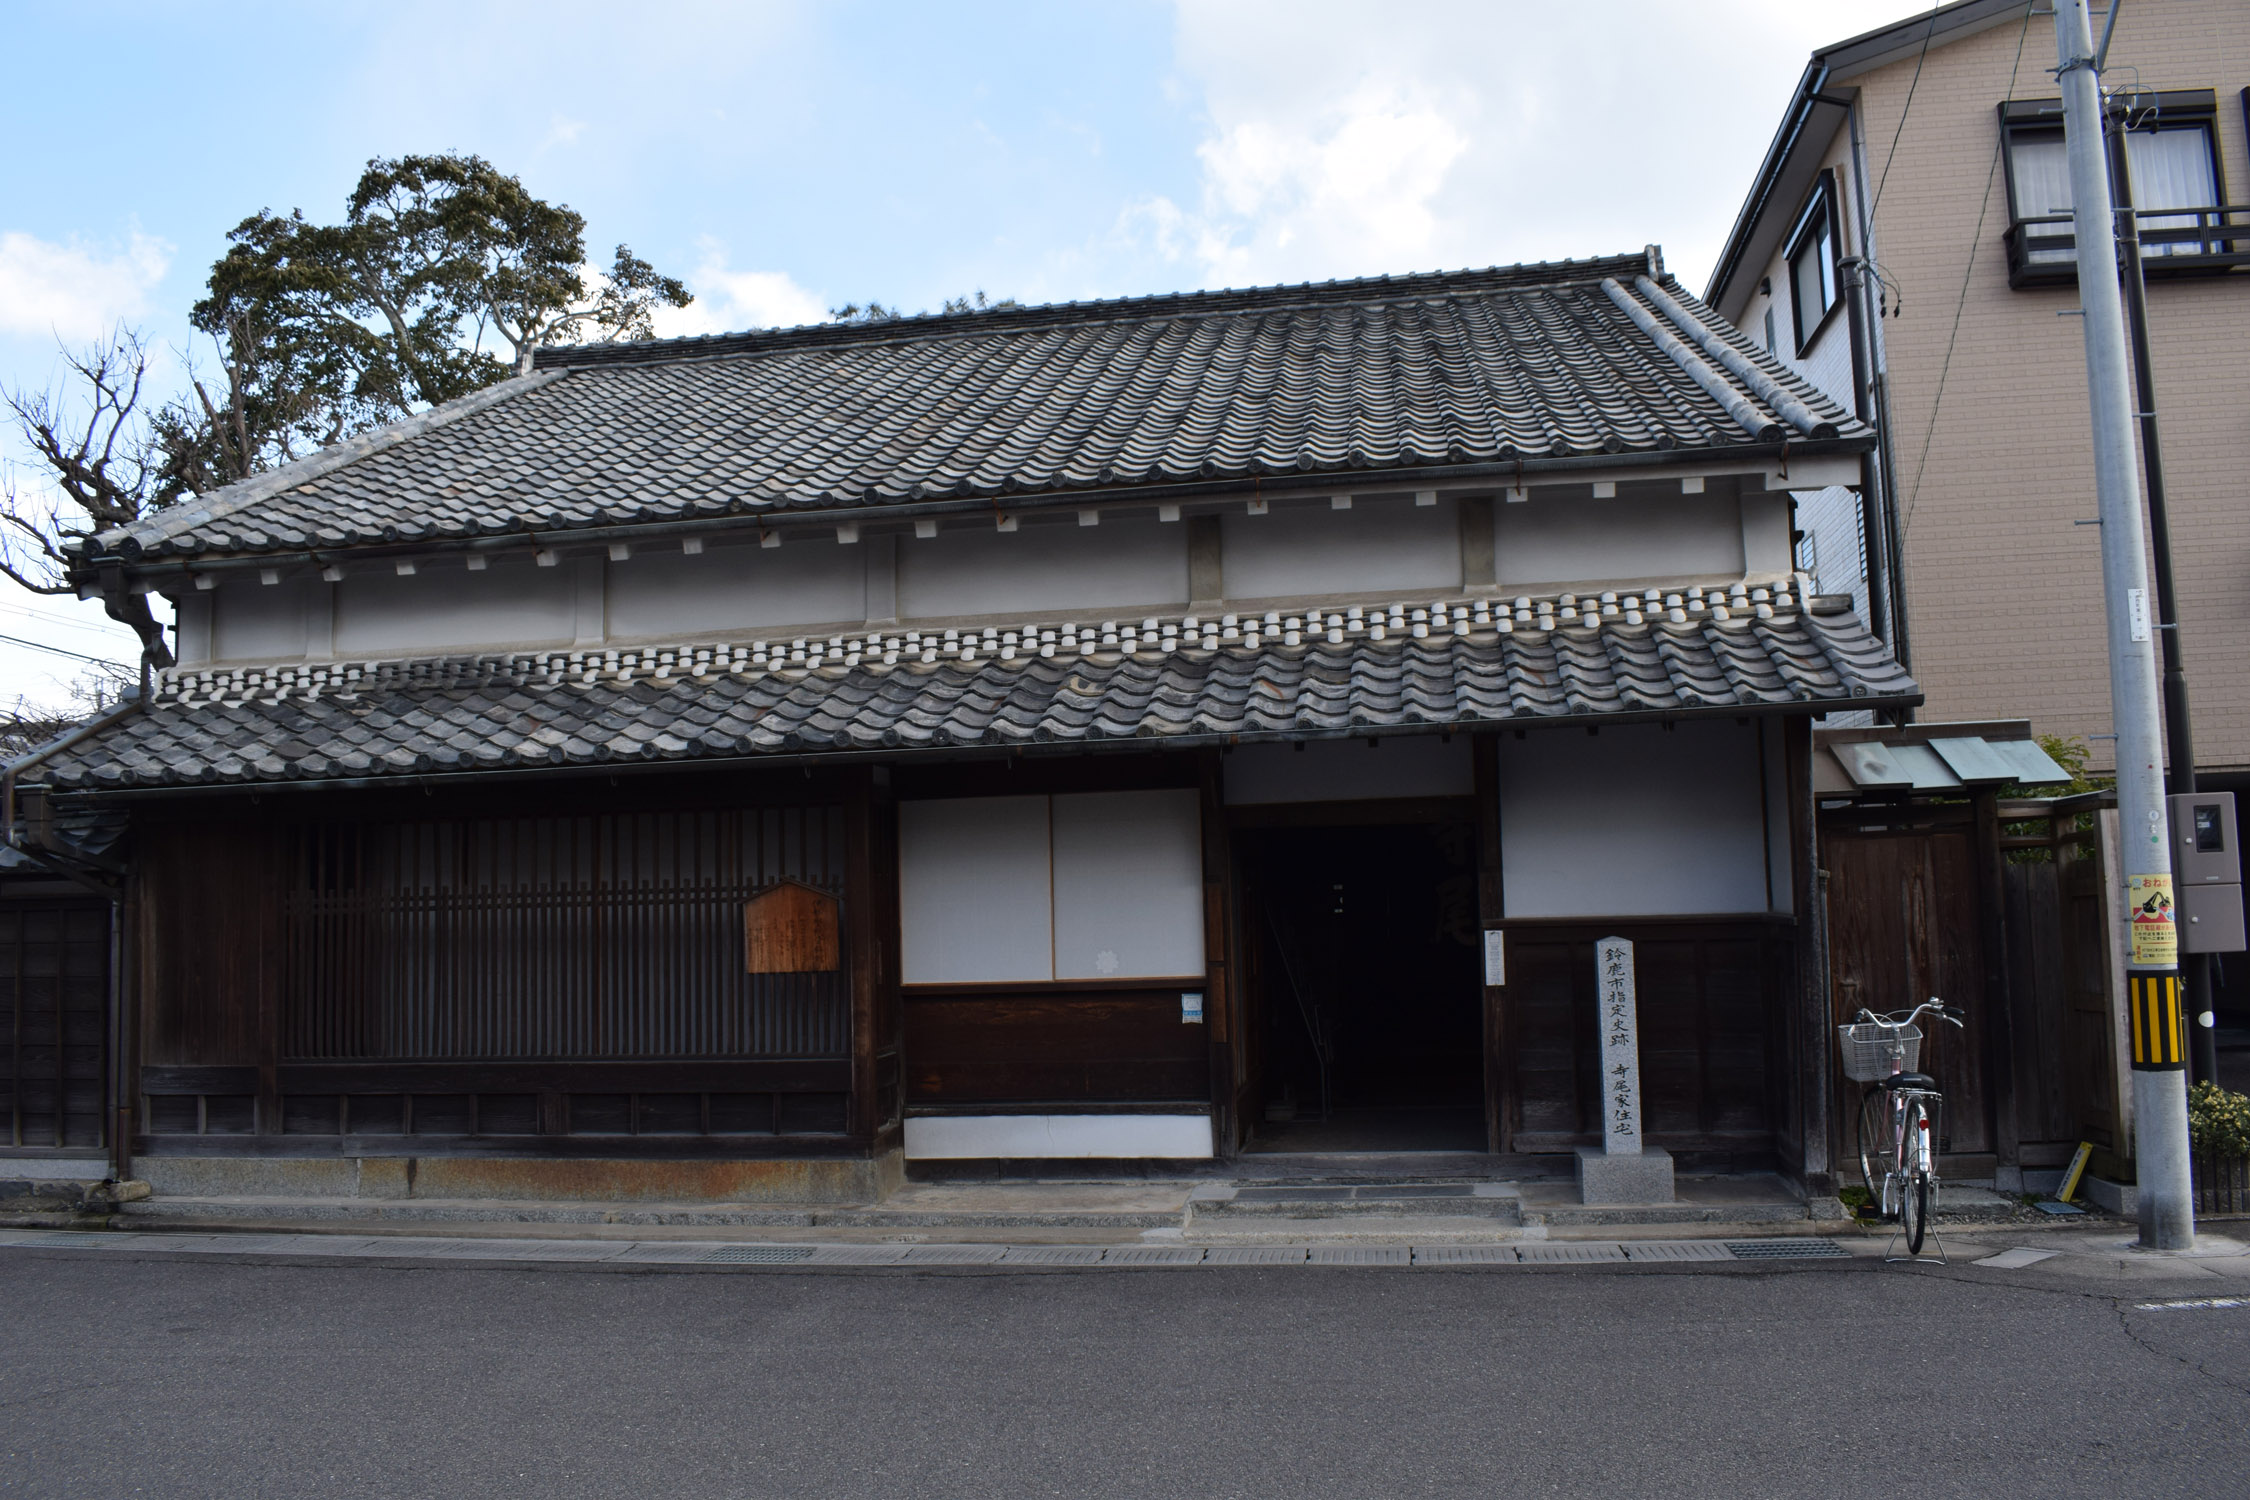
Ise, home of katagami stencilling... I was up at 5am to go Ise, home to Katagami stencilling and sumi Ink production and Japan’s most famous Shinto shrine. Two local trains to get to the Shinkansen bullet train in Tokyo which made short work of the 280 mile trip getting me to Nagoya in an hour and 40 minutes!! Final leg was a fast train to Ise where I stayed the night.
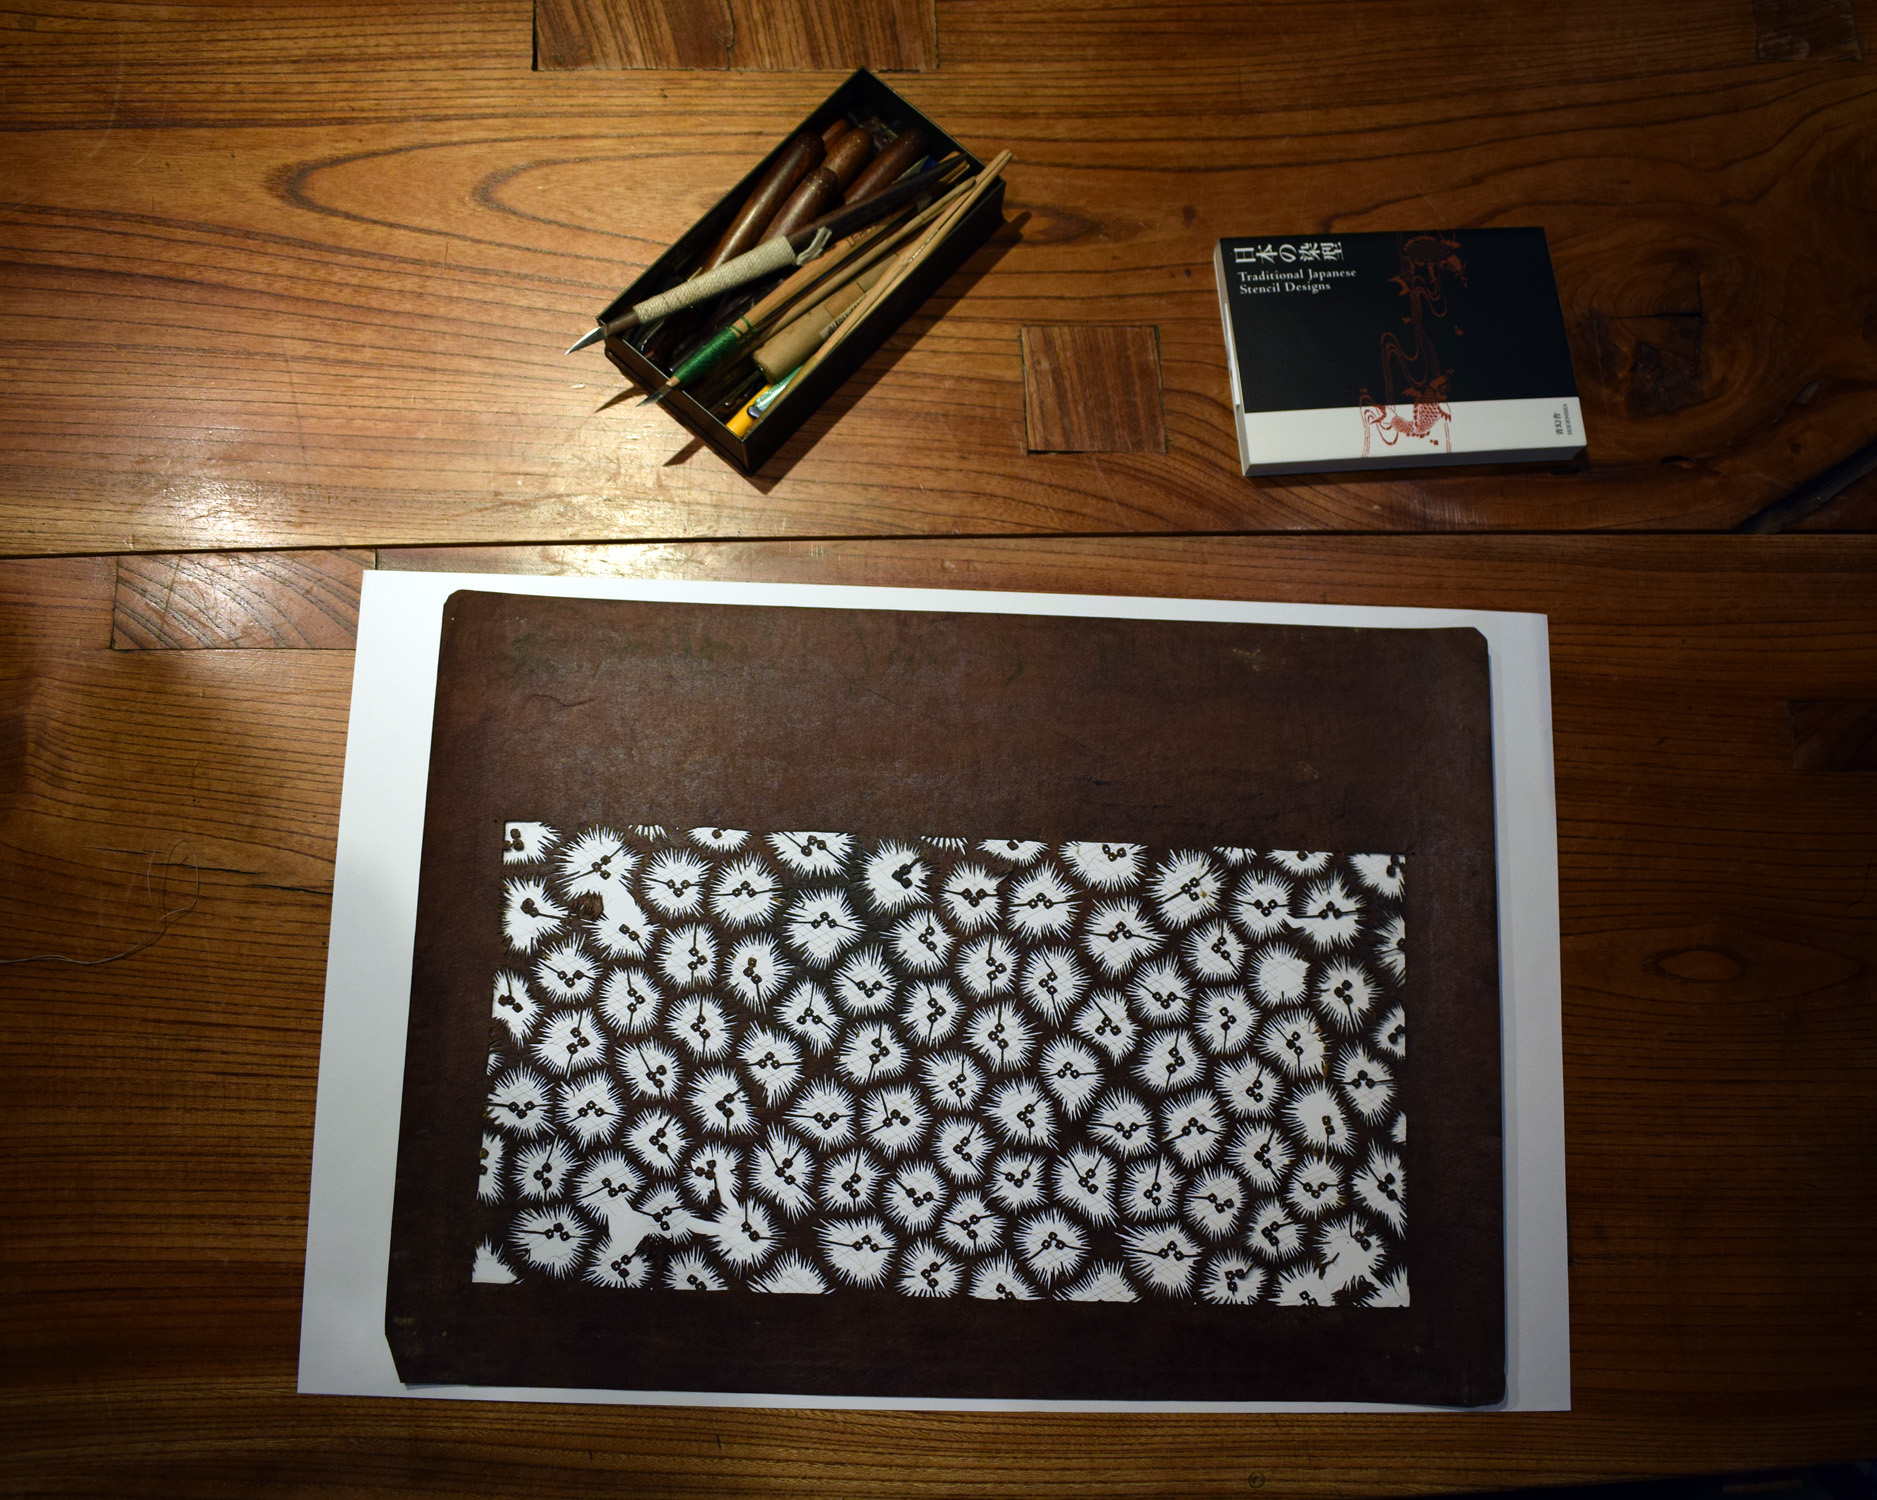
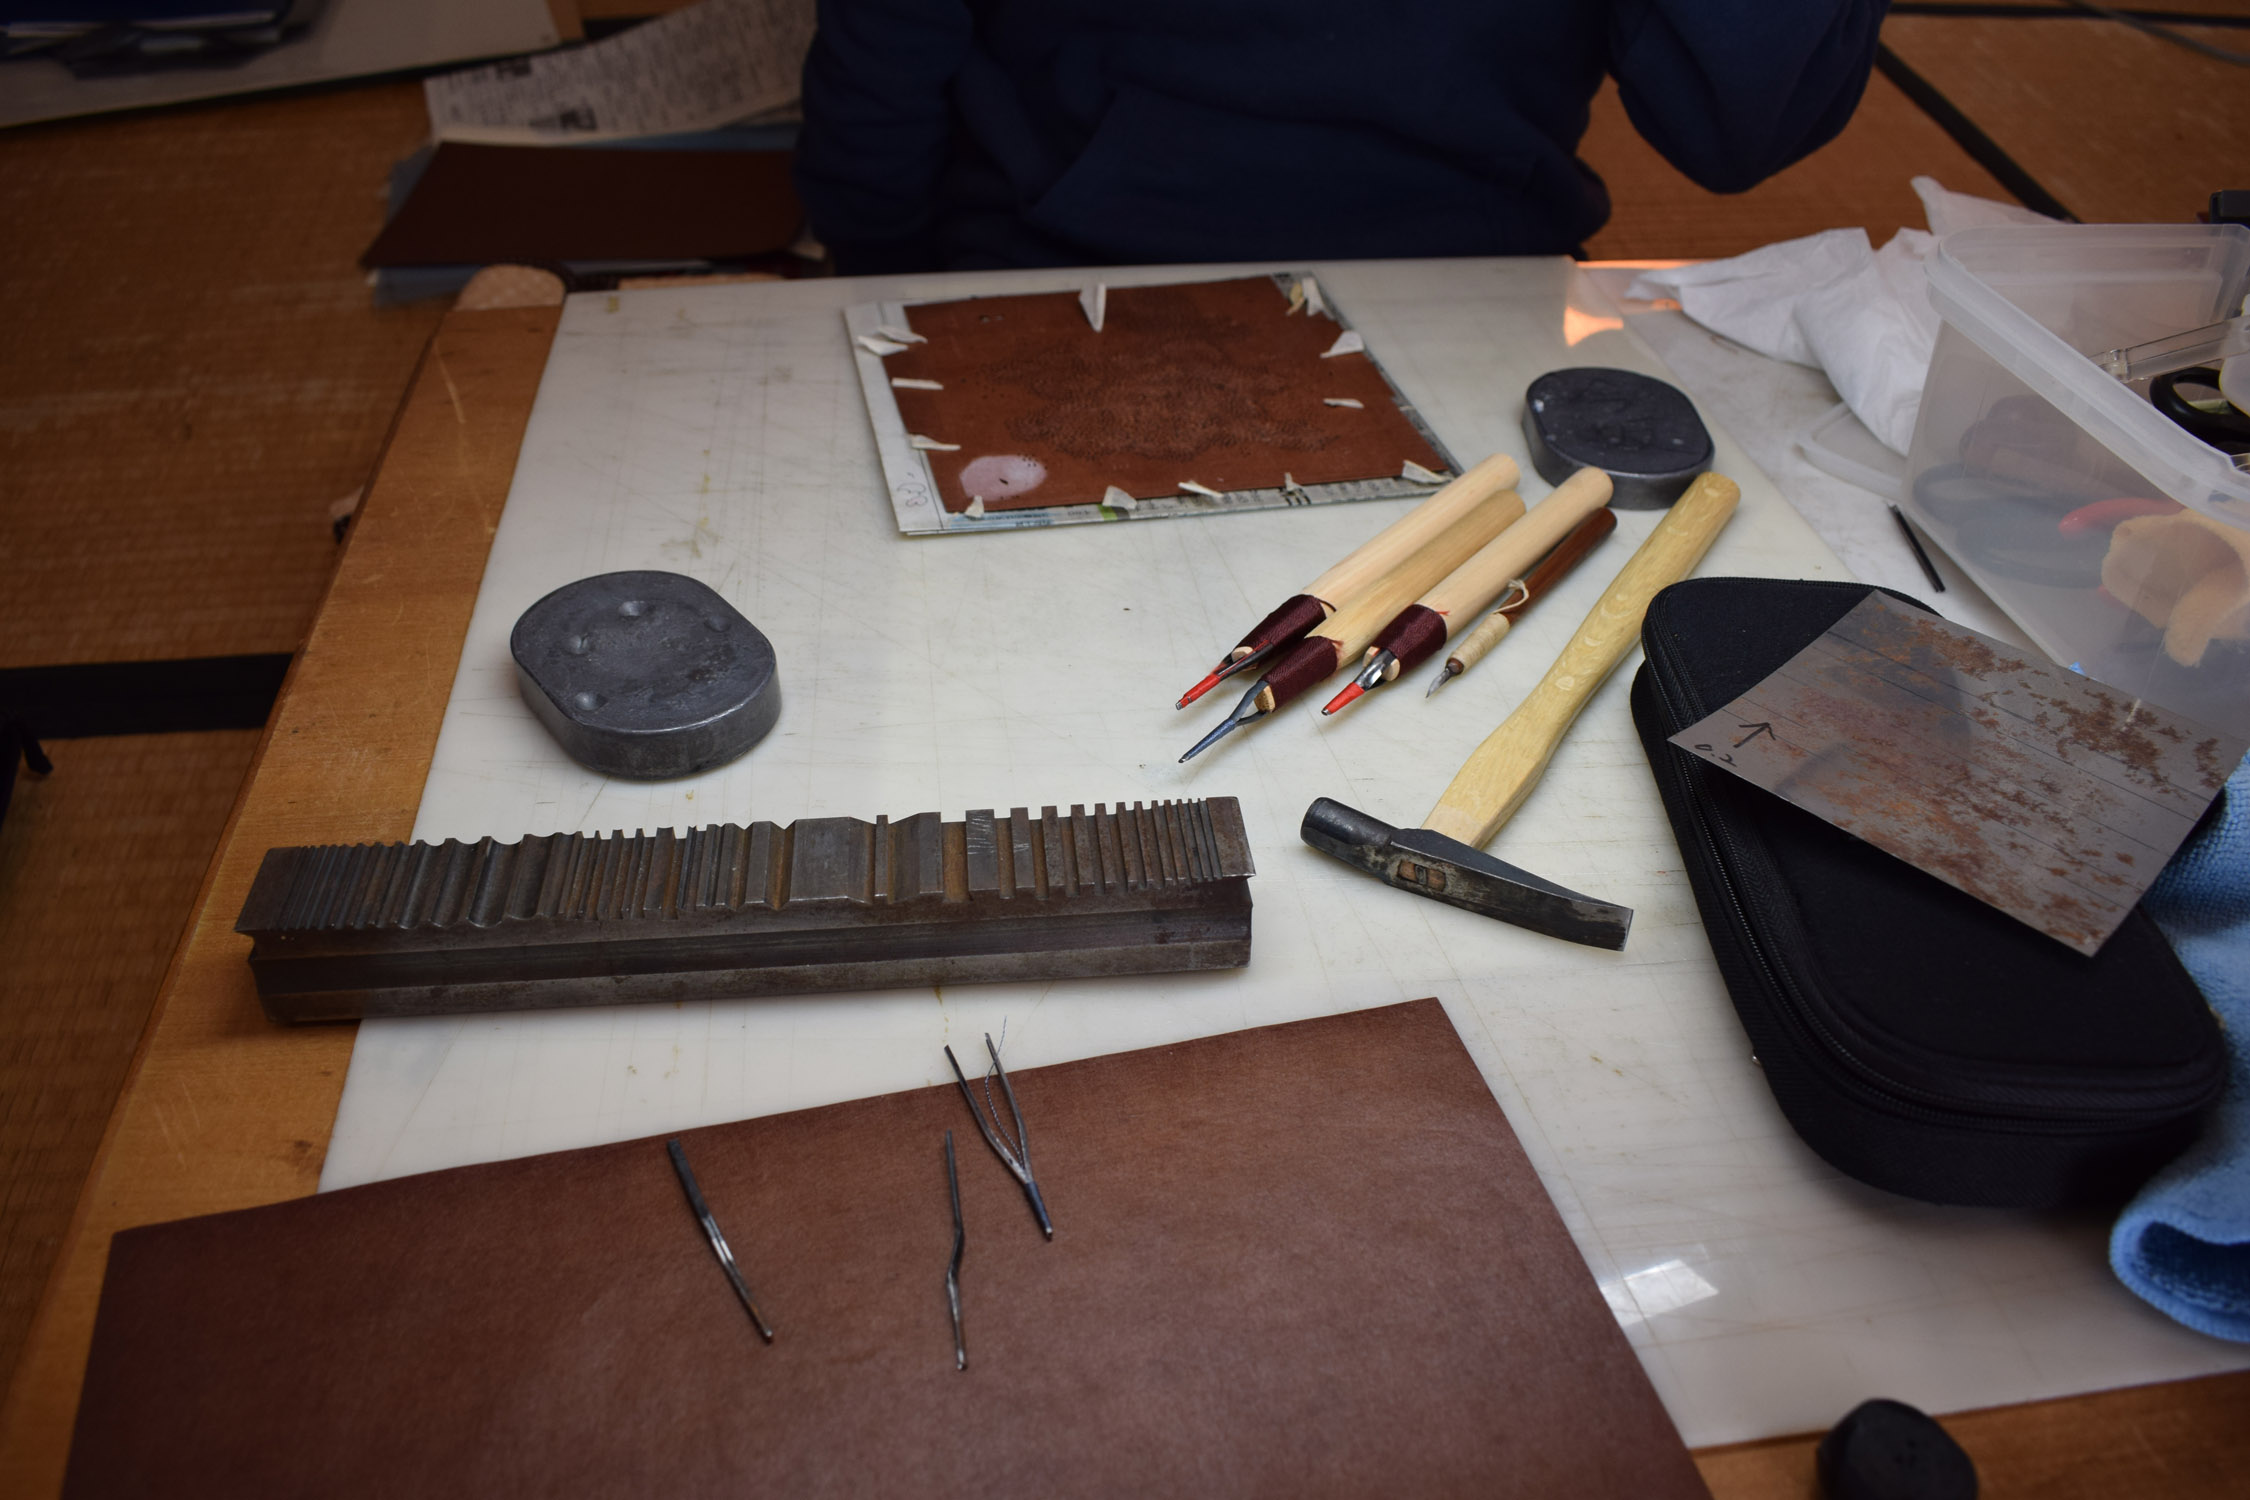
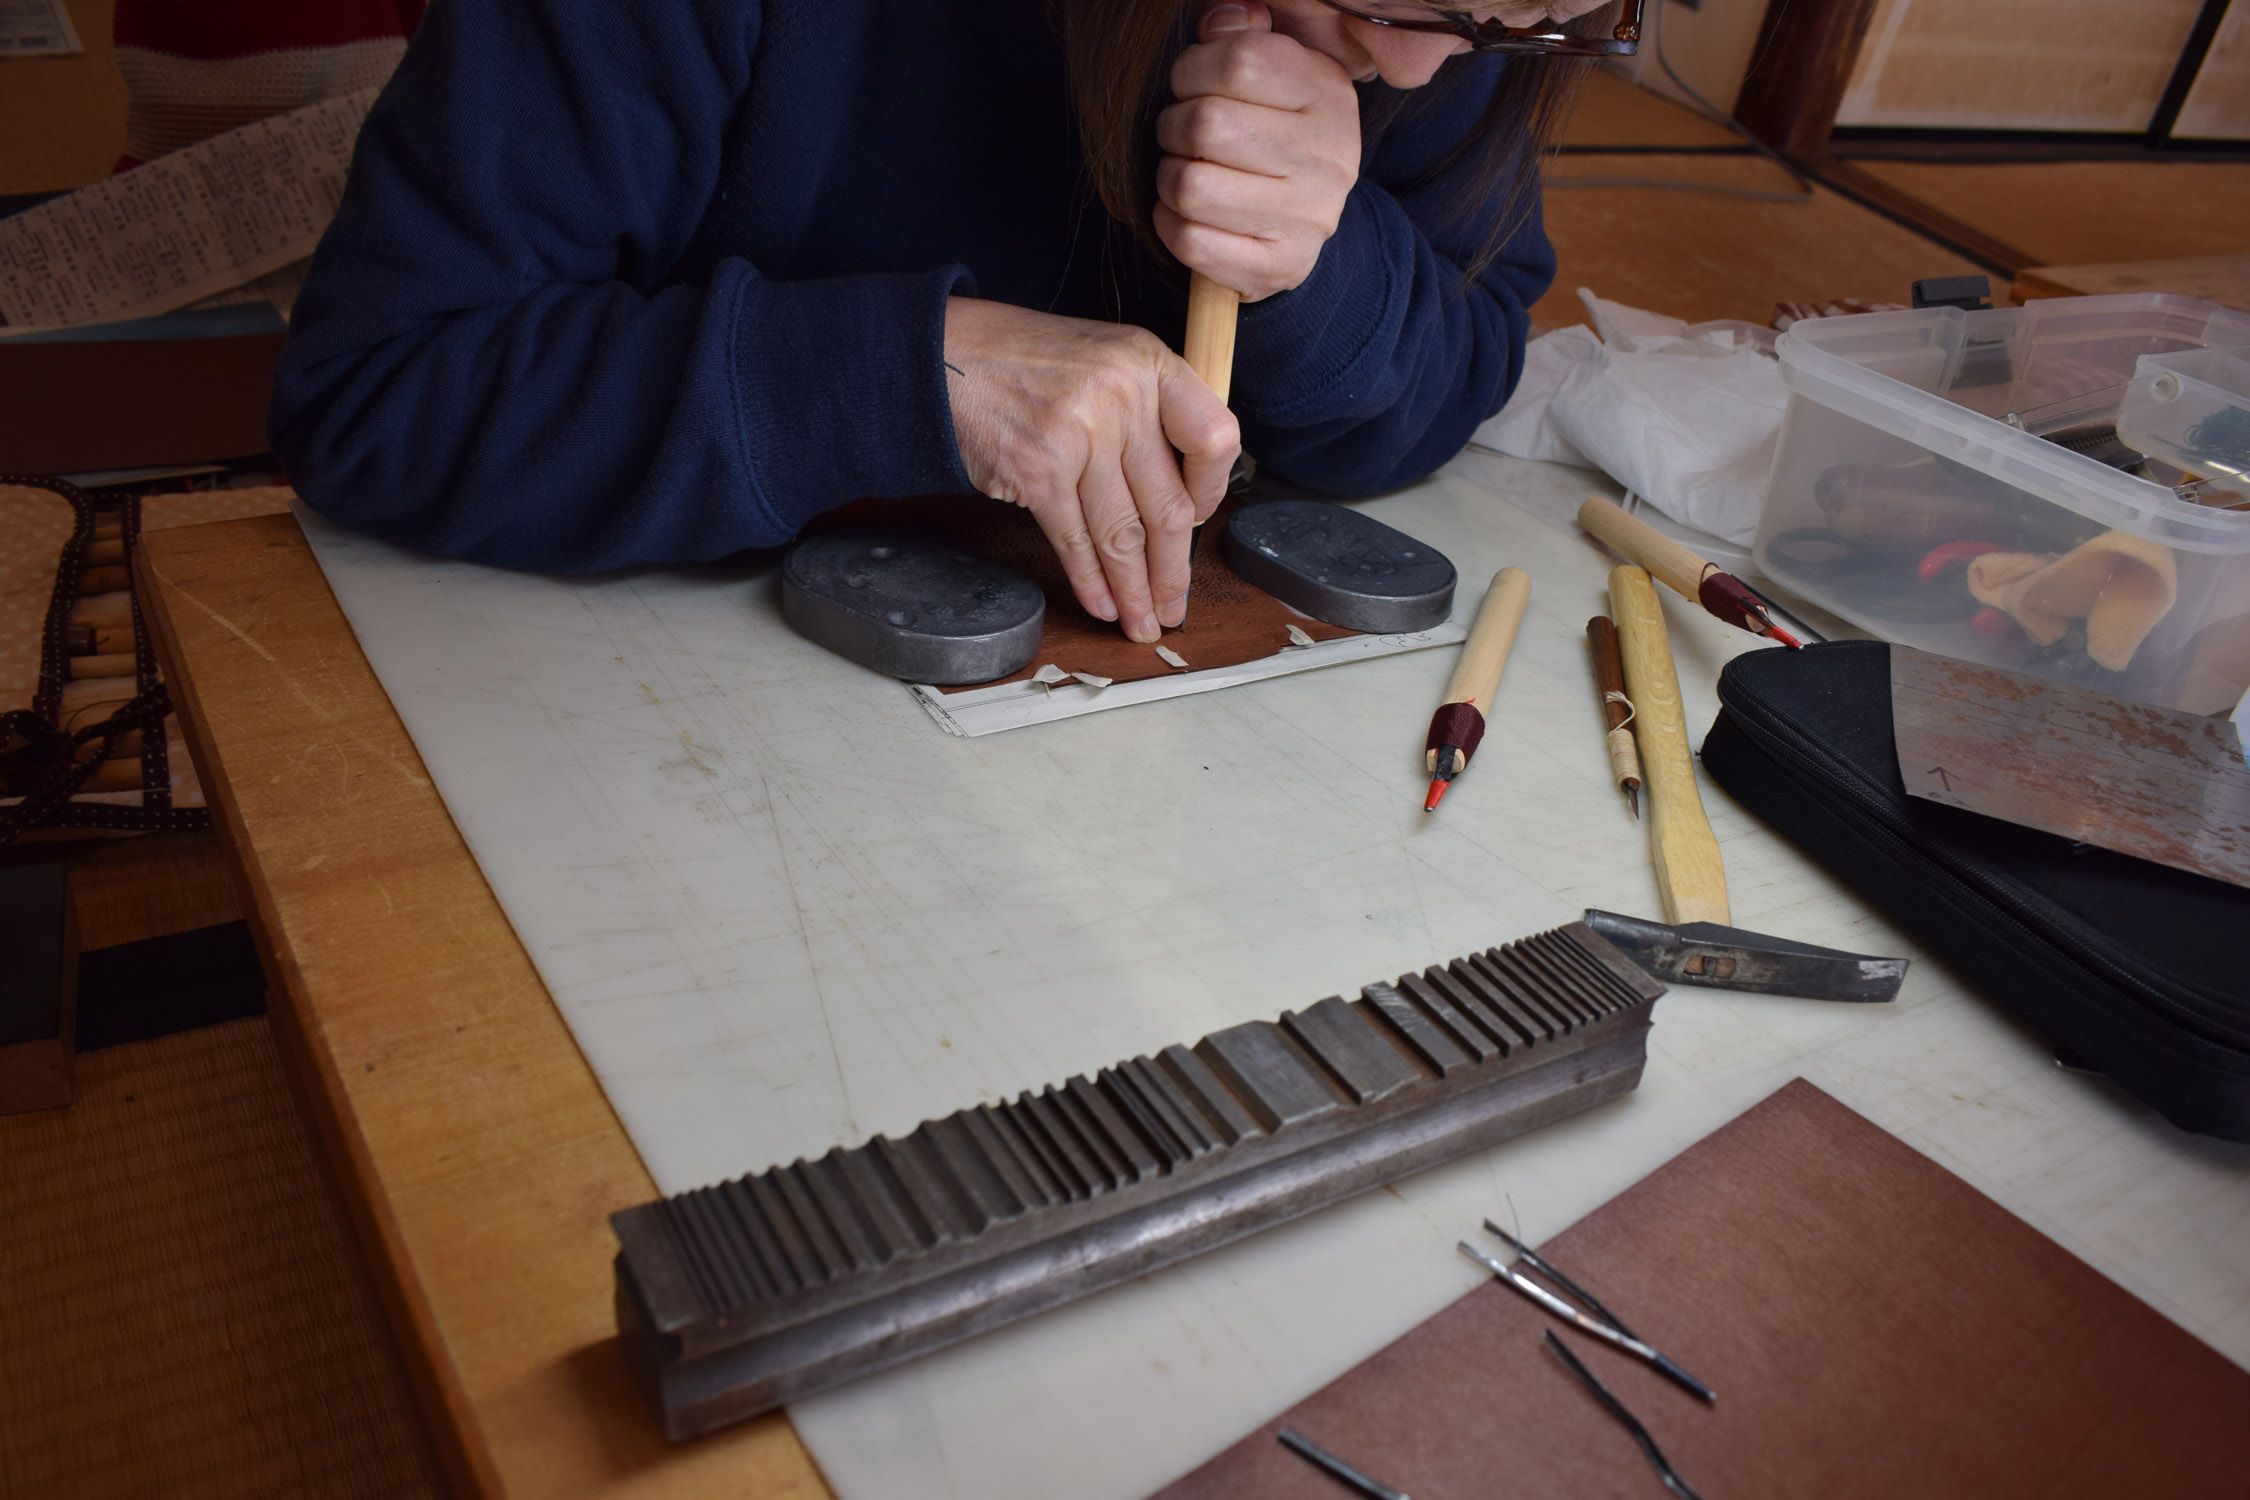
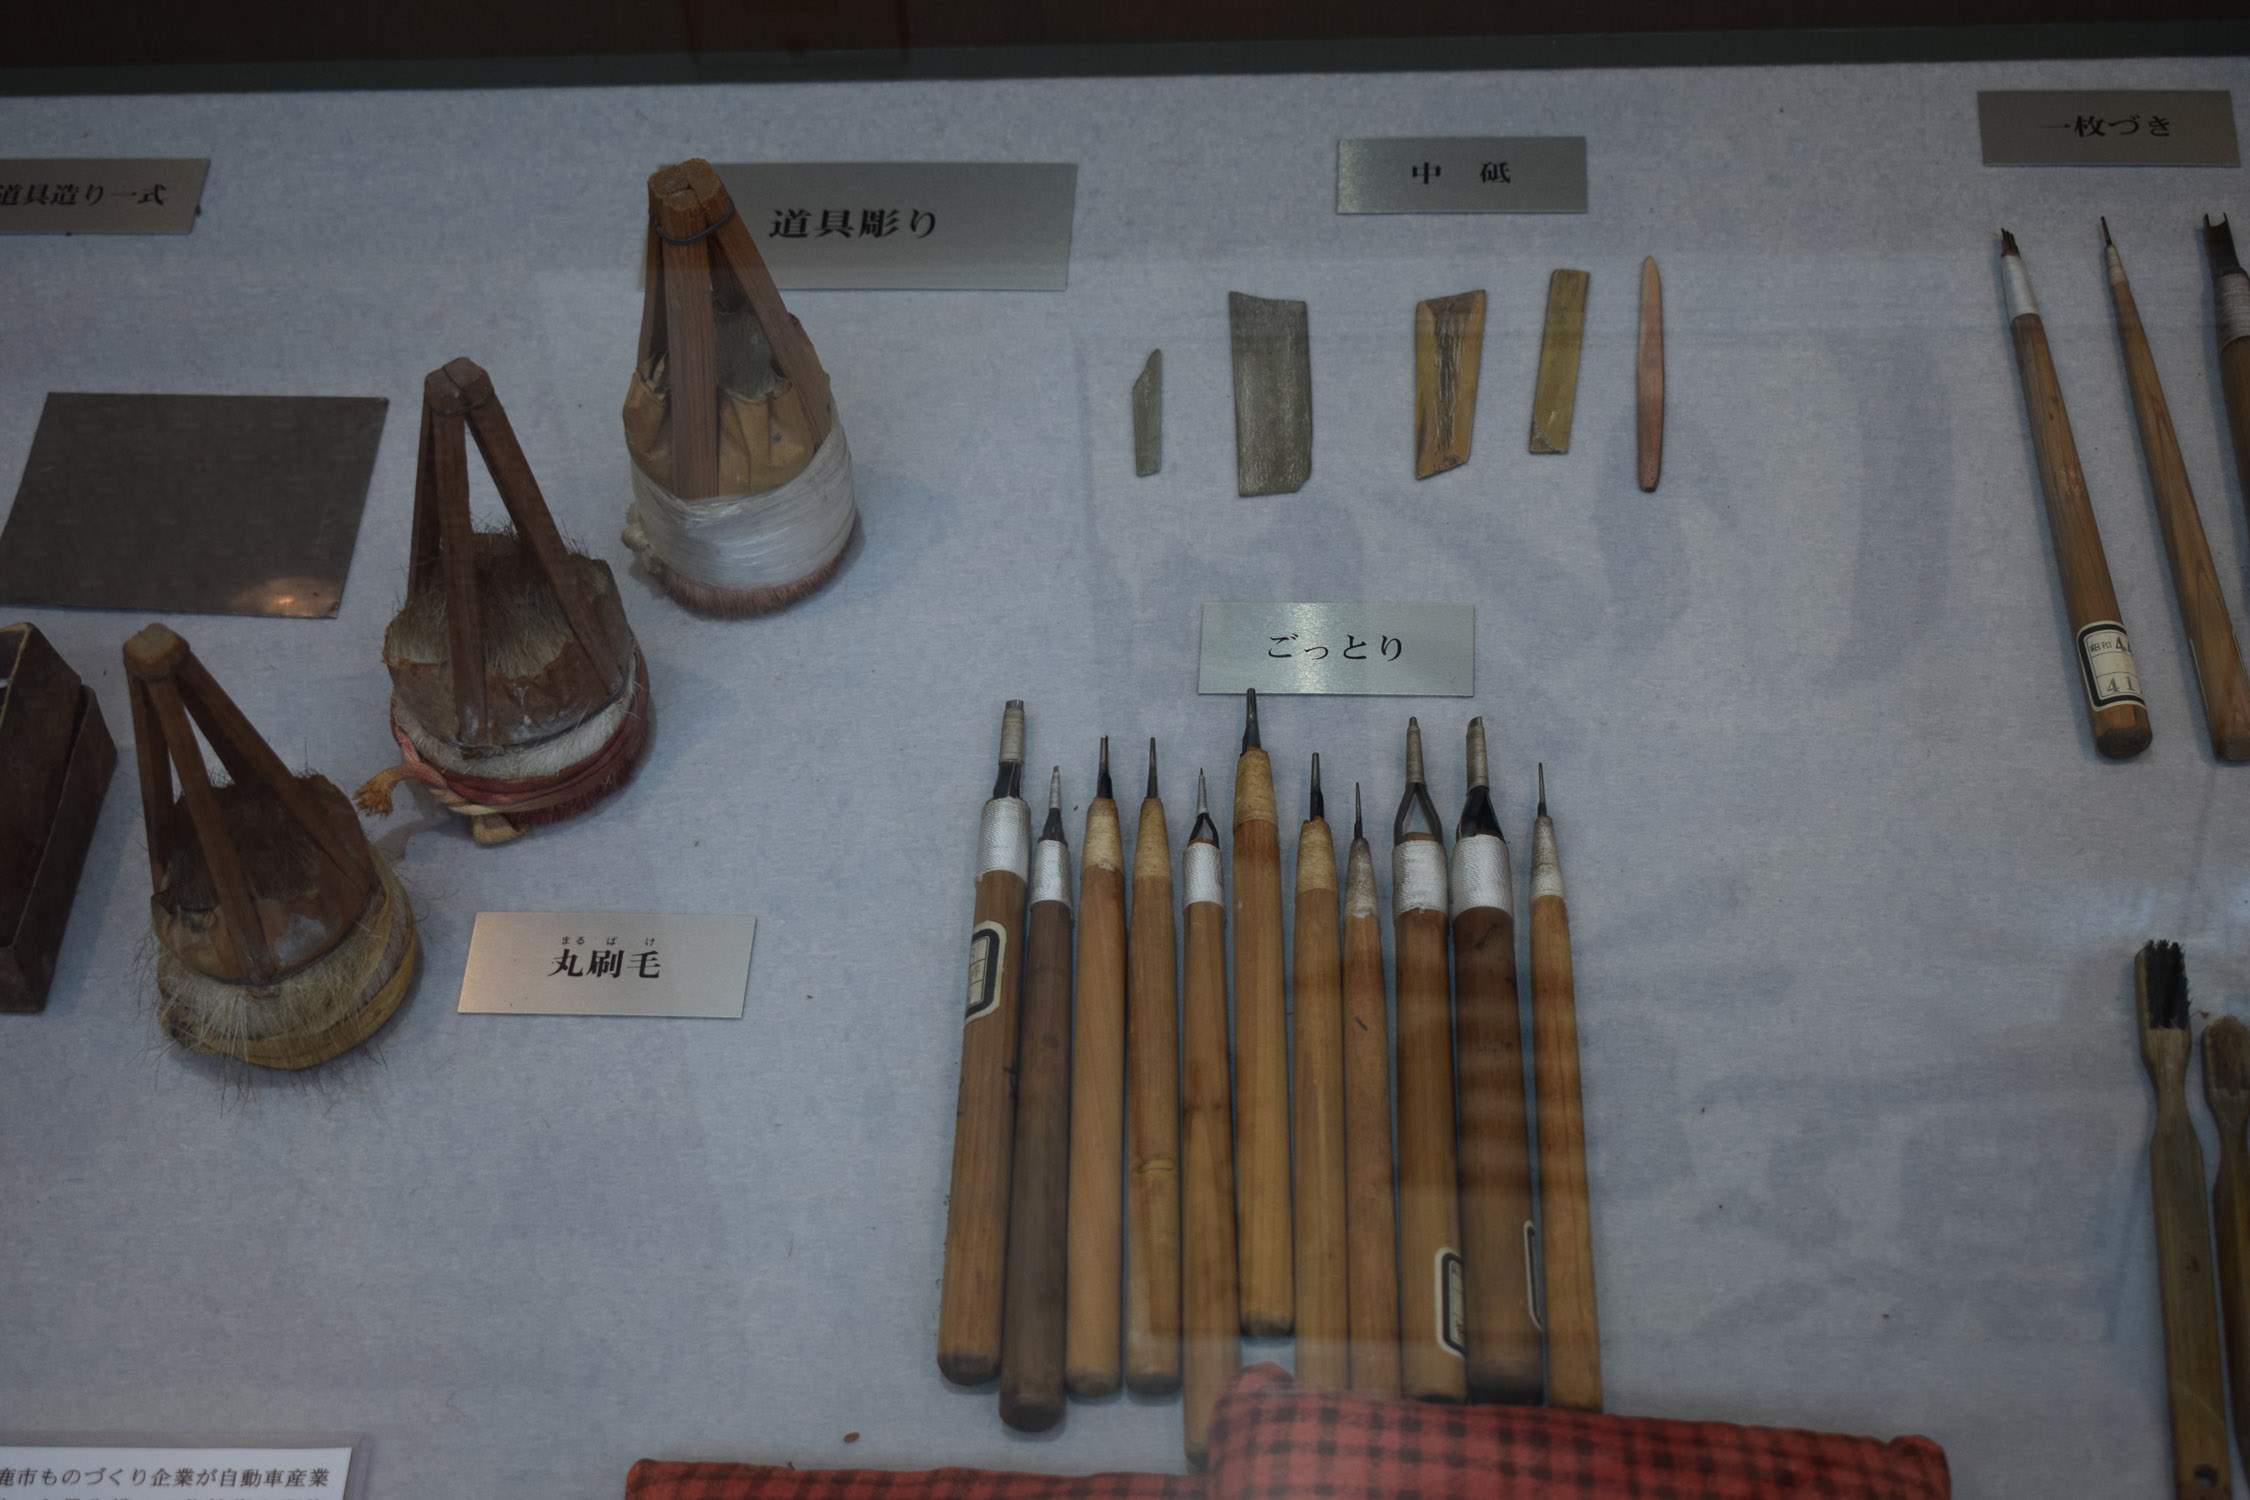
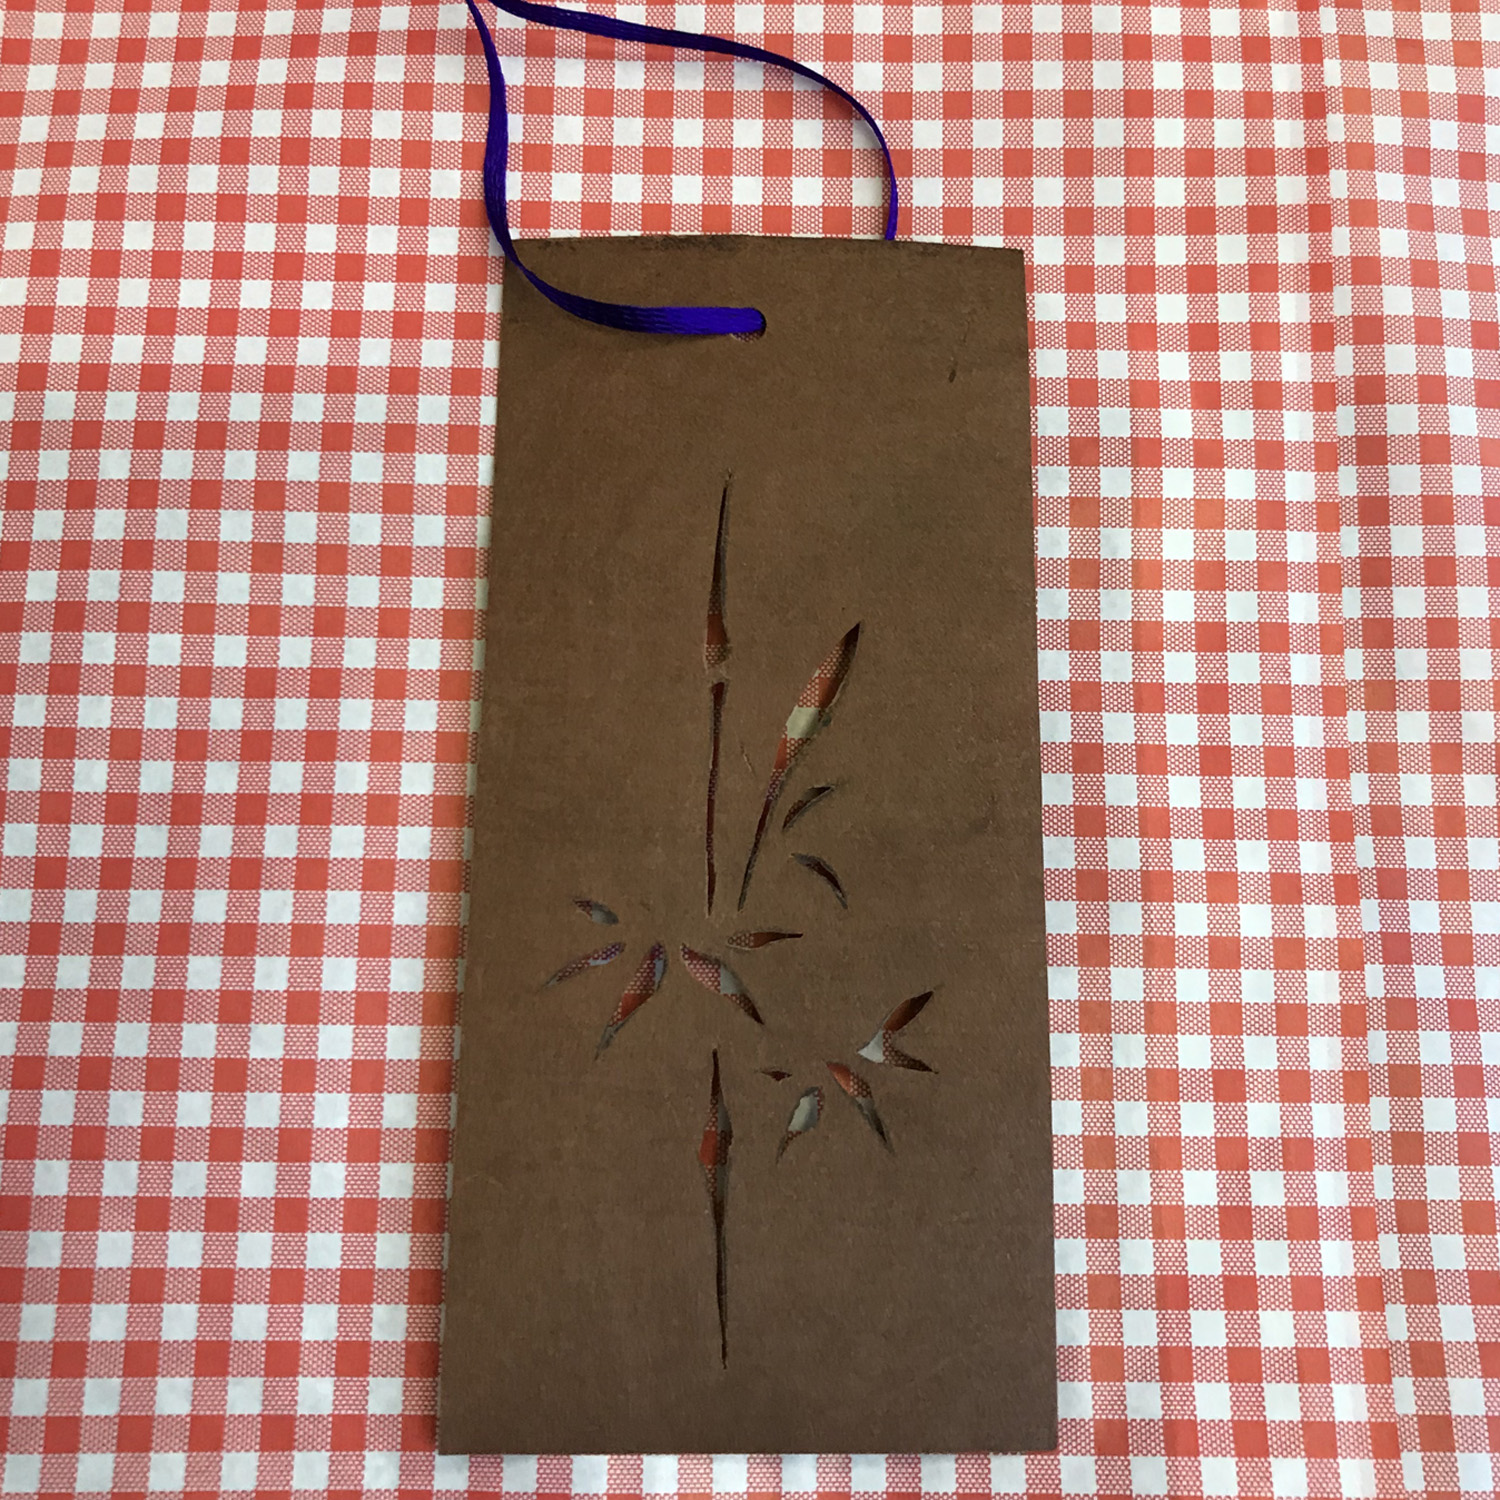
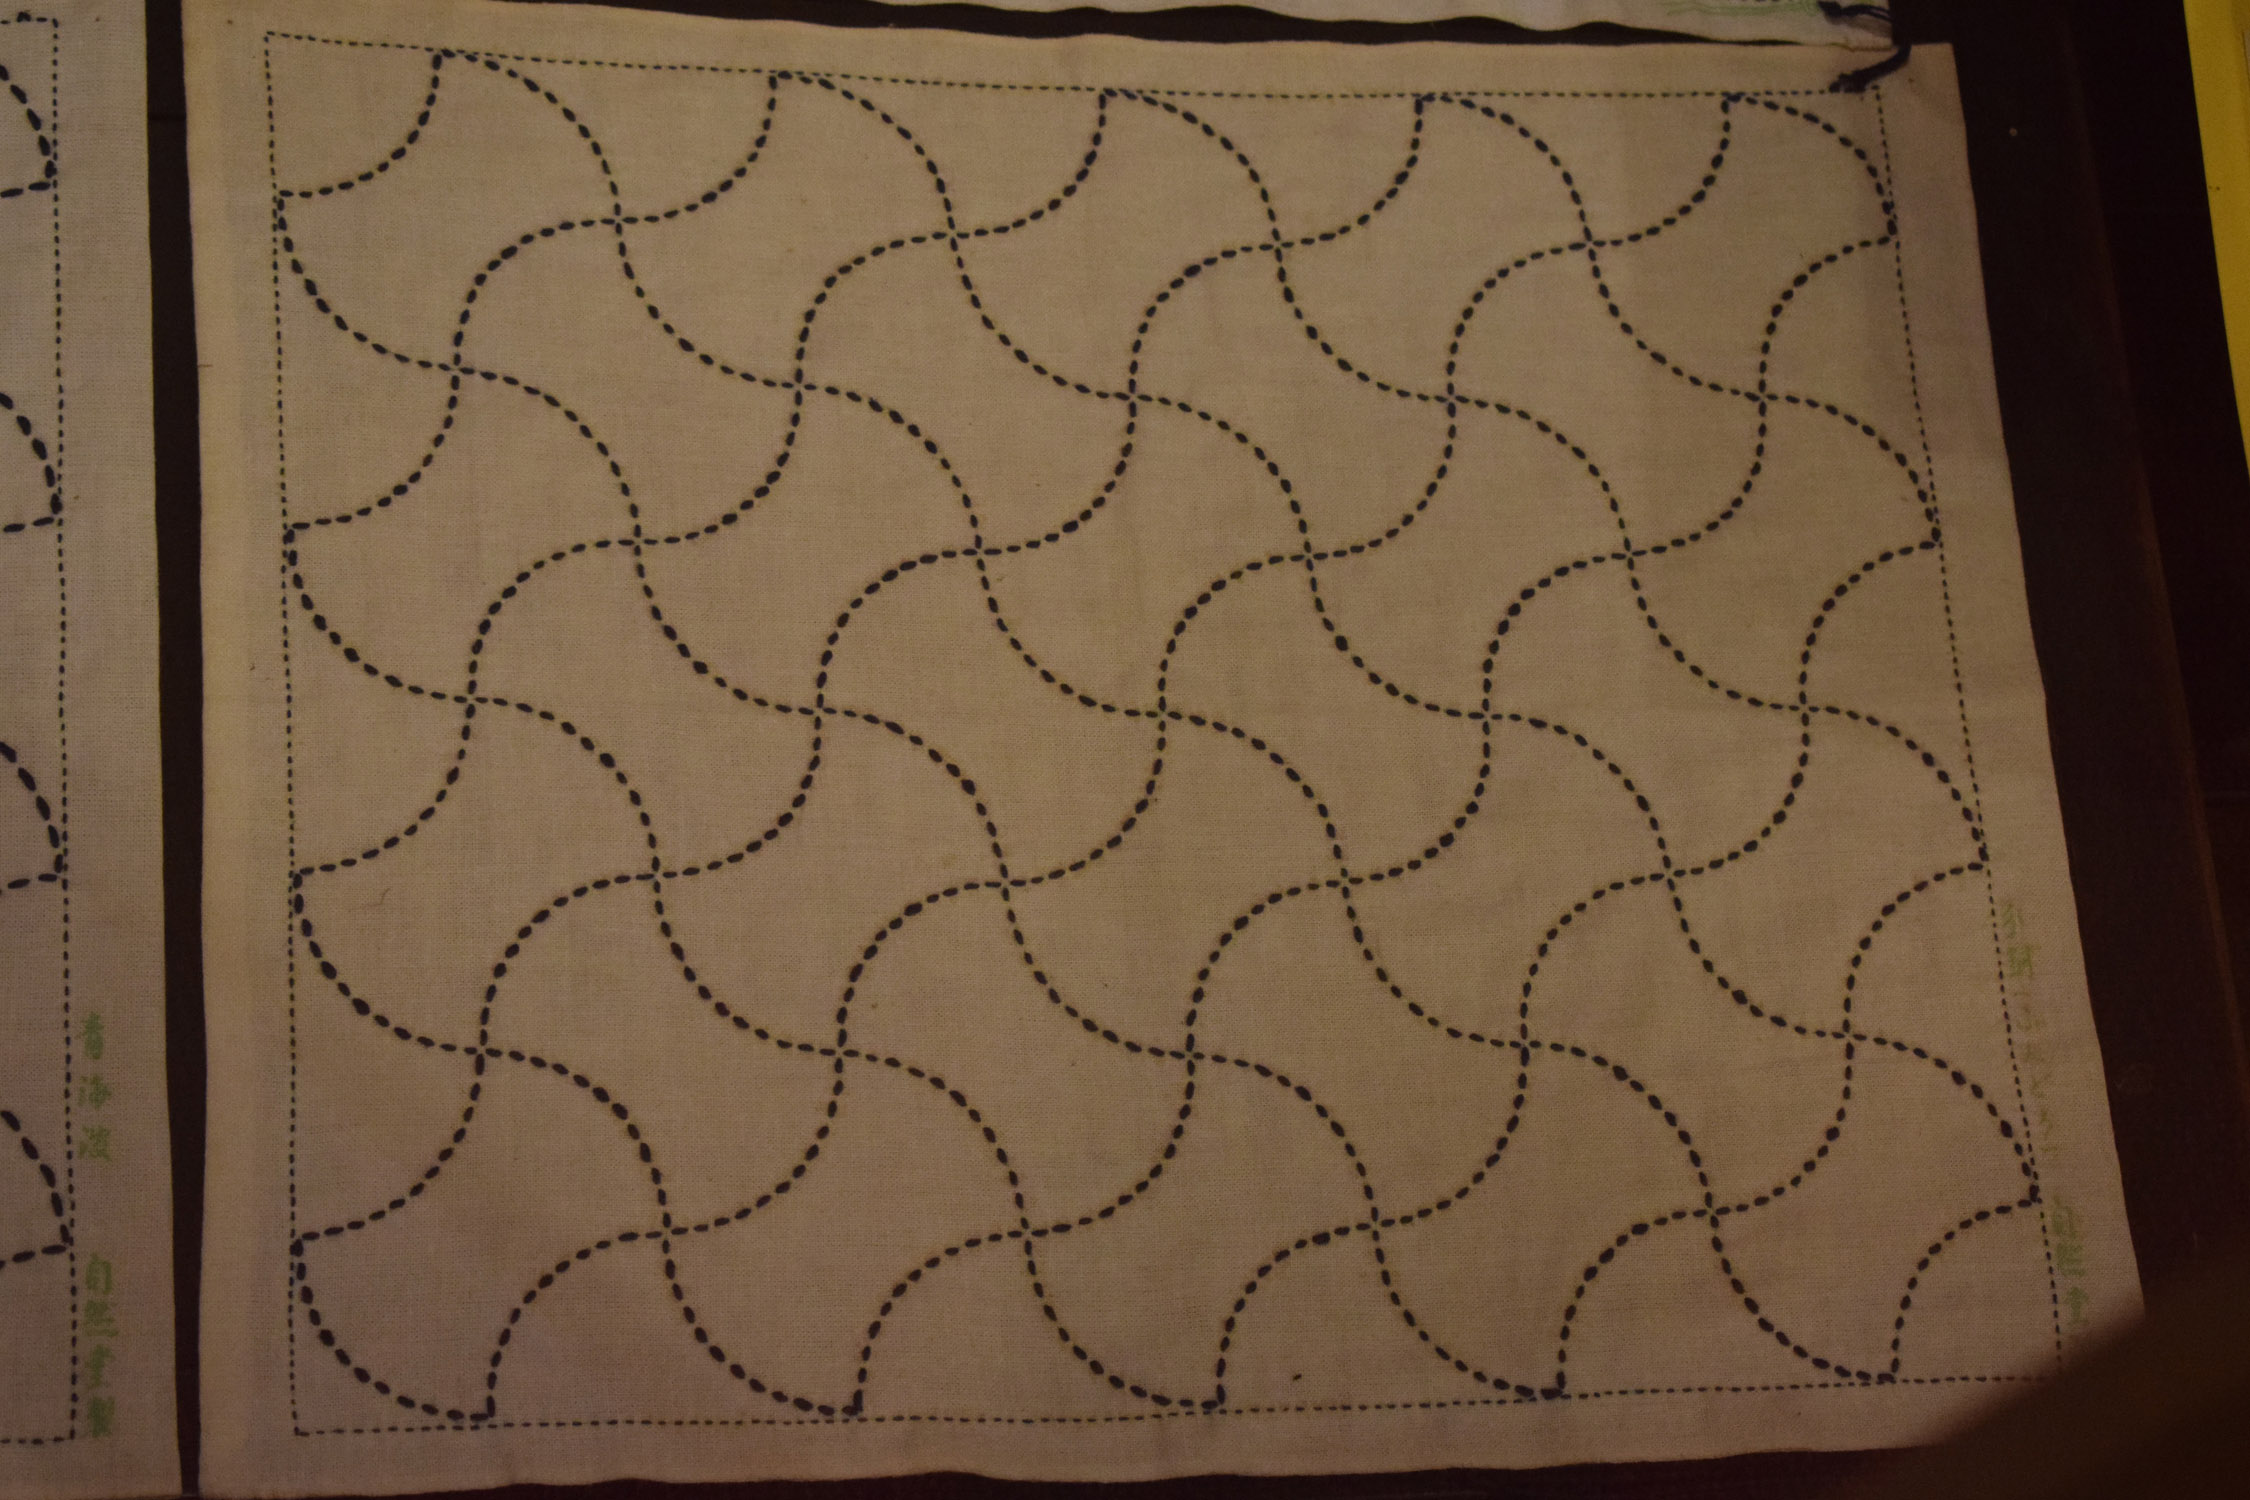
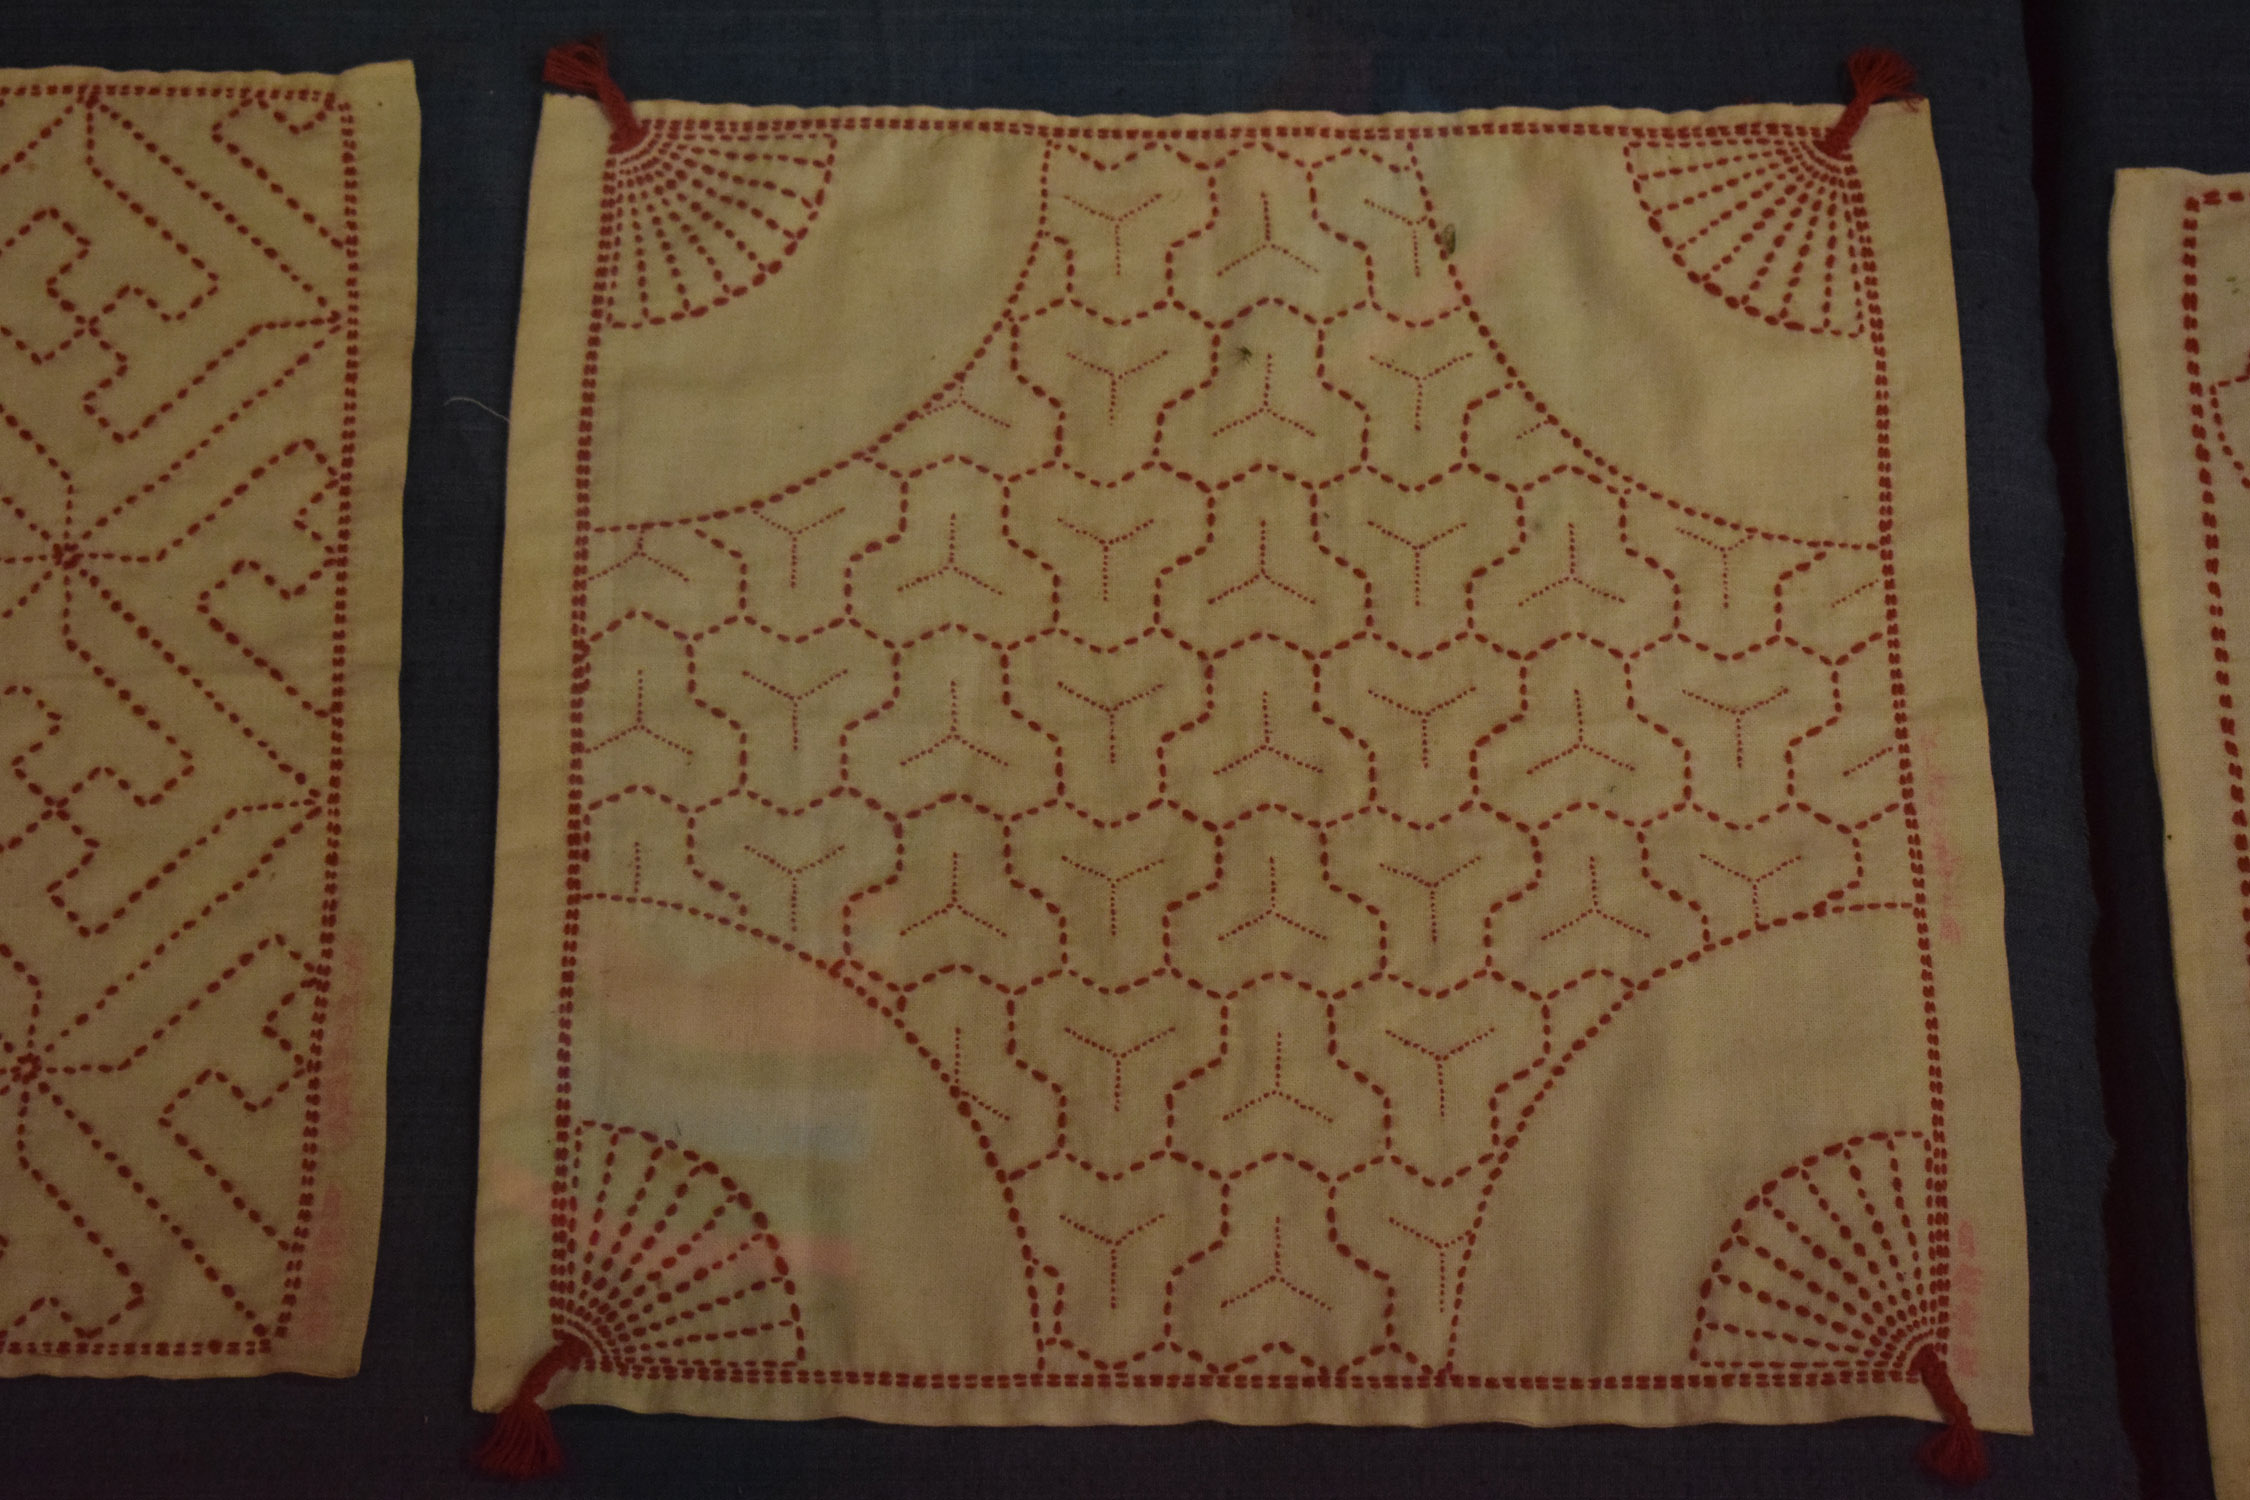
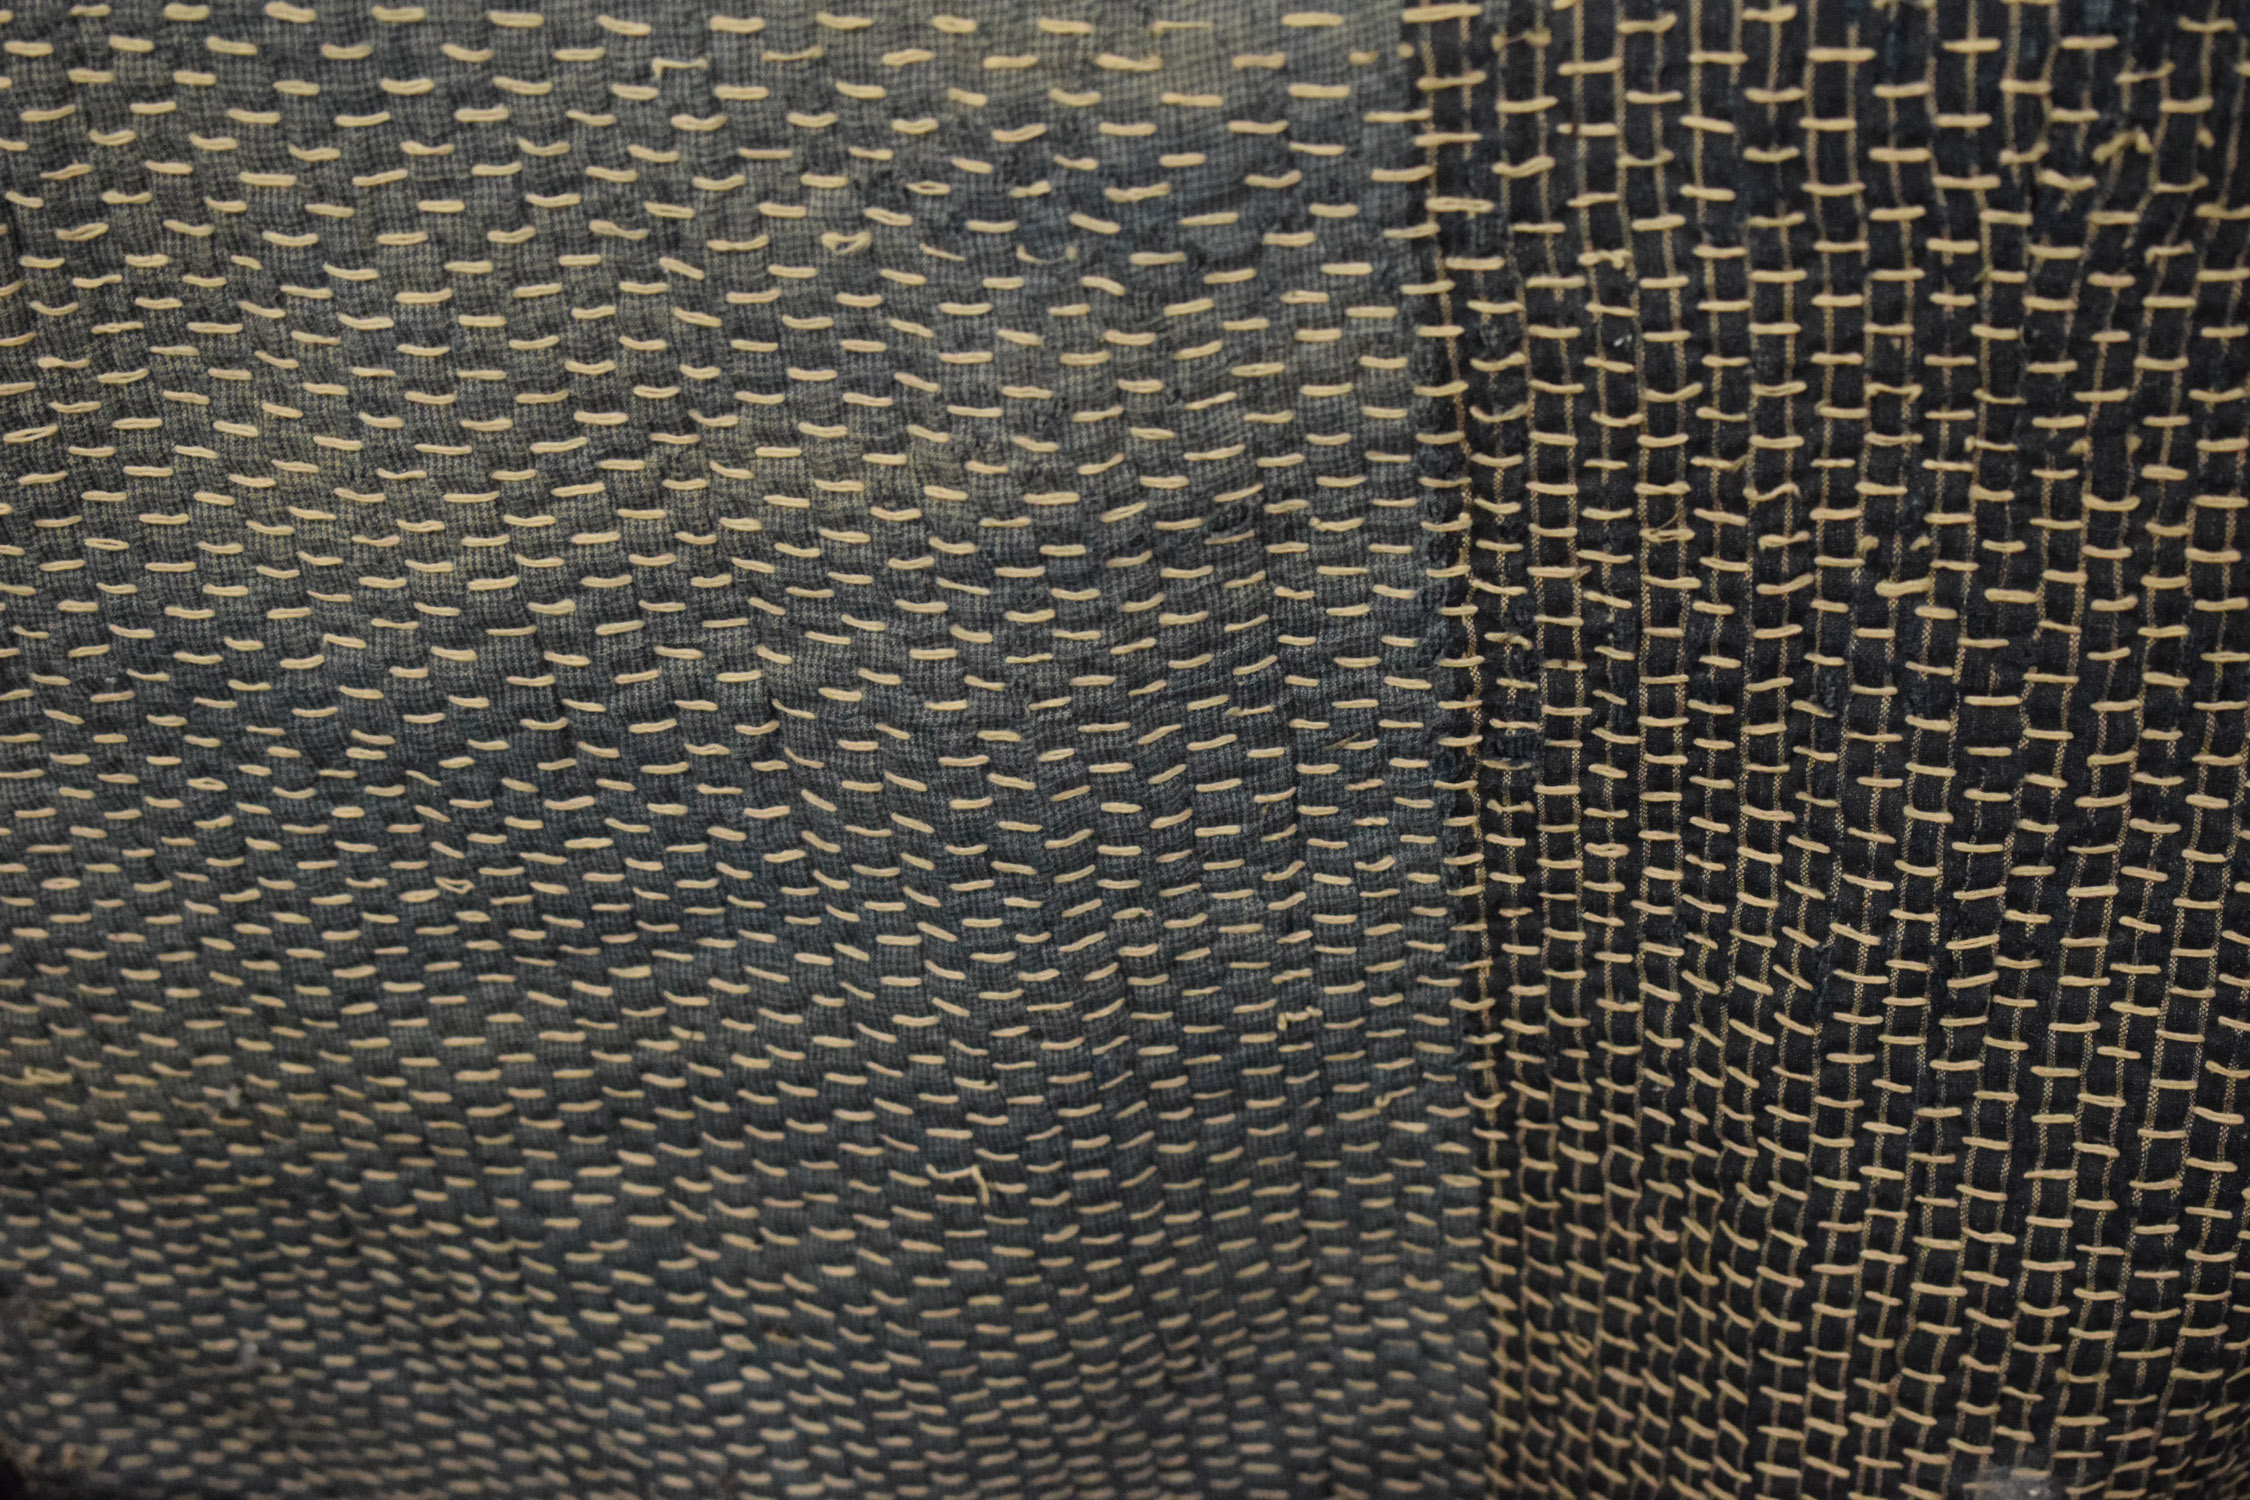
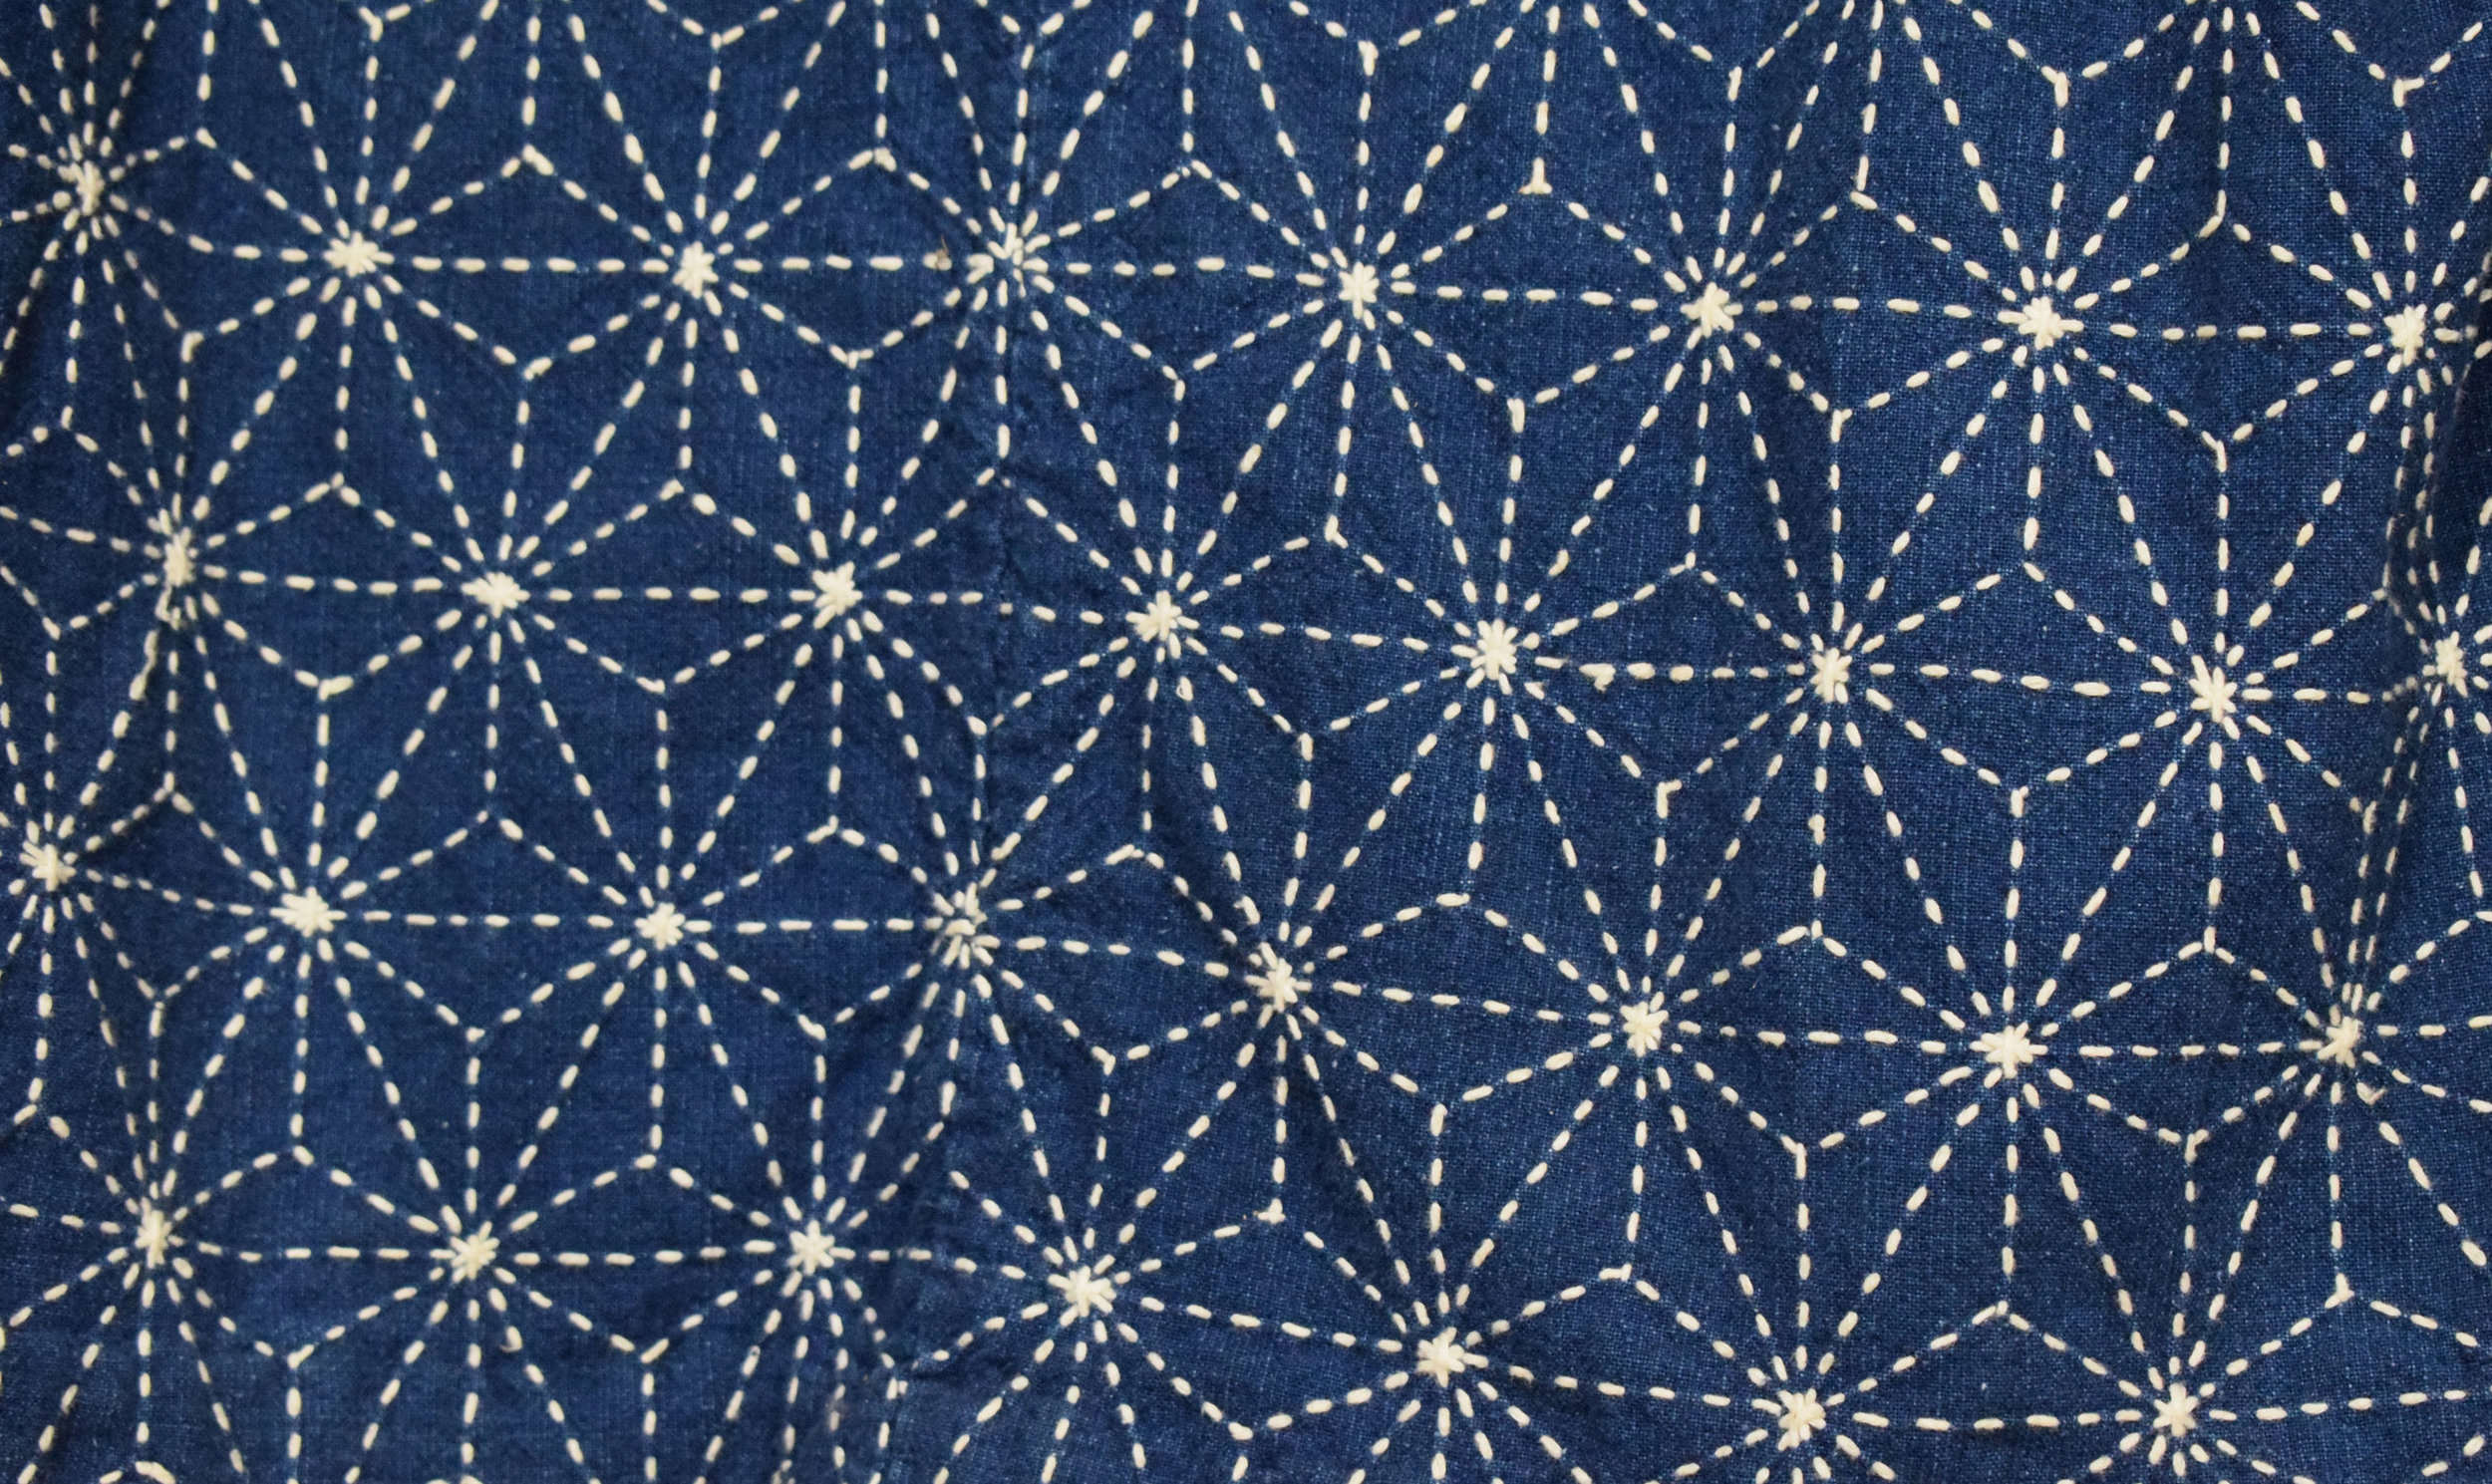
Having found a hotel I jumped back on the train to Shiroko, home to the Ise Katagami stencil museum and the Ise paper museum. They both had some stunning stencils but the stencil museum’s were better and they’d used them on silk and cotton to make really beautiful fabrics (see pics). I was also very fortunate to be allowed to briefly sit in on a Dogoburi (tool pumching) master’s class. He’d trained for 40 years to become a master but the students had only been doing it for a few years, ten is typical to be considered any good! There are a number of different specialisms within Katagami stencilling and Dogubori is the one focussed on using special tools to cut little shapes such as hearts, triangles, etc. Students have to make their own tools out of thin steel sheet so there’s a lot more to it than just cutting the stencils... the blue sample I’ve shown is practice for an A4 sheet of the same size which took him 20 days to cut!! I then made my way over to the Susuka City Traditional Industries museum which was much larger and had used the stencils in creative ways, such as for lampshades and even in front of panes of glass in windows (see pics). Having seen an old lady being given her own stencil to cut, I asked if I could go one too and the little bamboo leaf stencil you can see is the result. I also managed to stock up on persimmon paper and bought a few more stencils so I’m totally ready to run my new class now when I get back! I also visited the Ise shrine, the biggest and most important Shinto shrine in Japan.
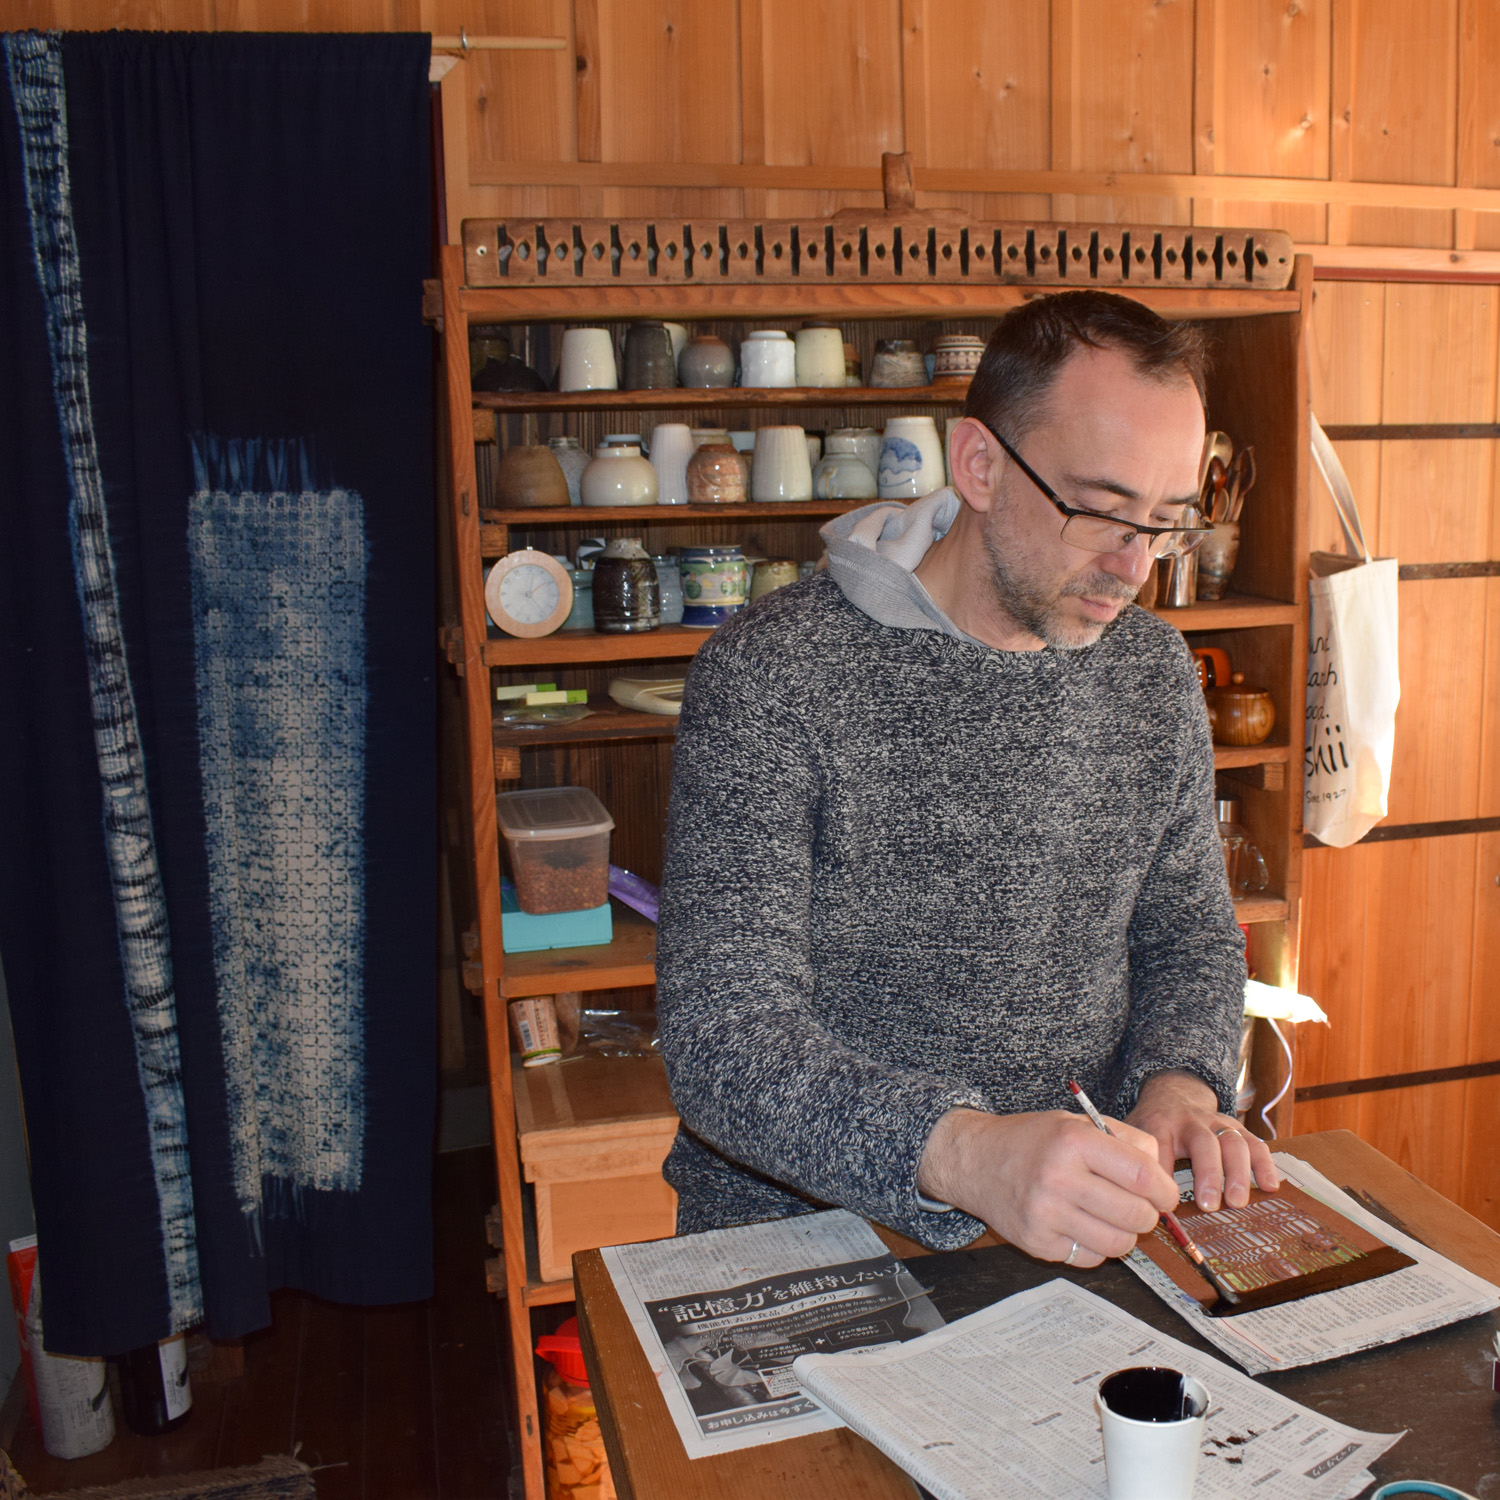
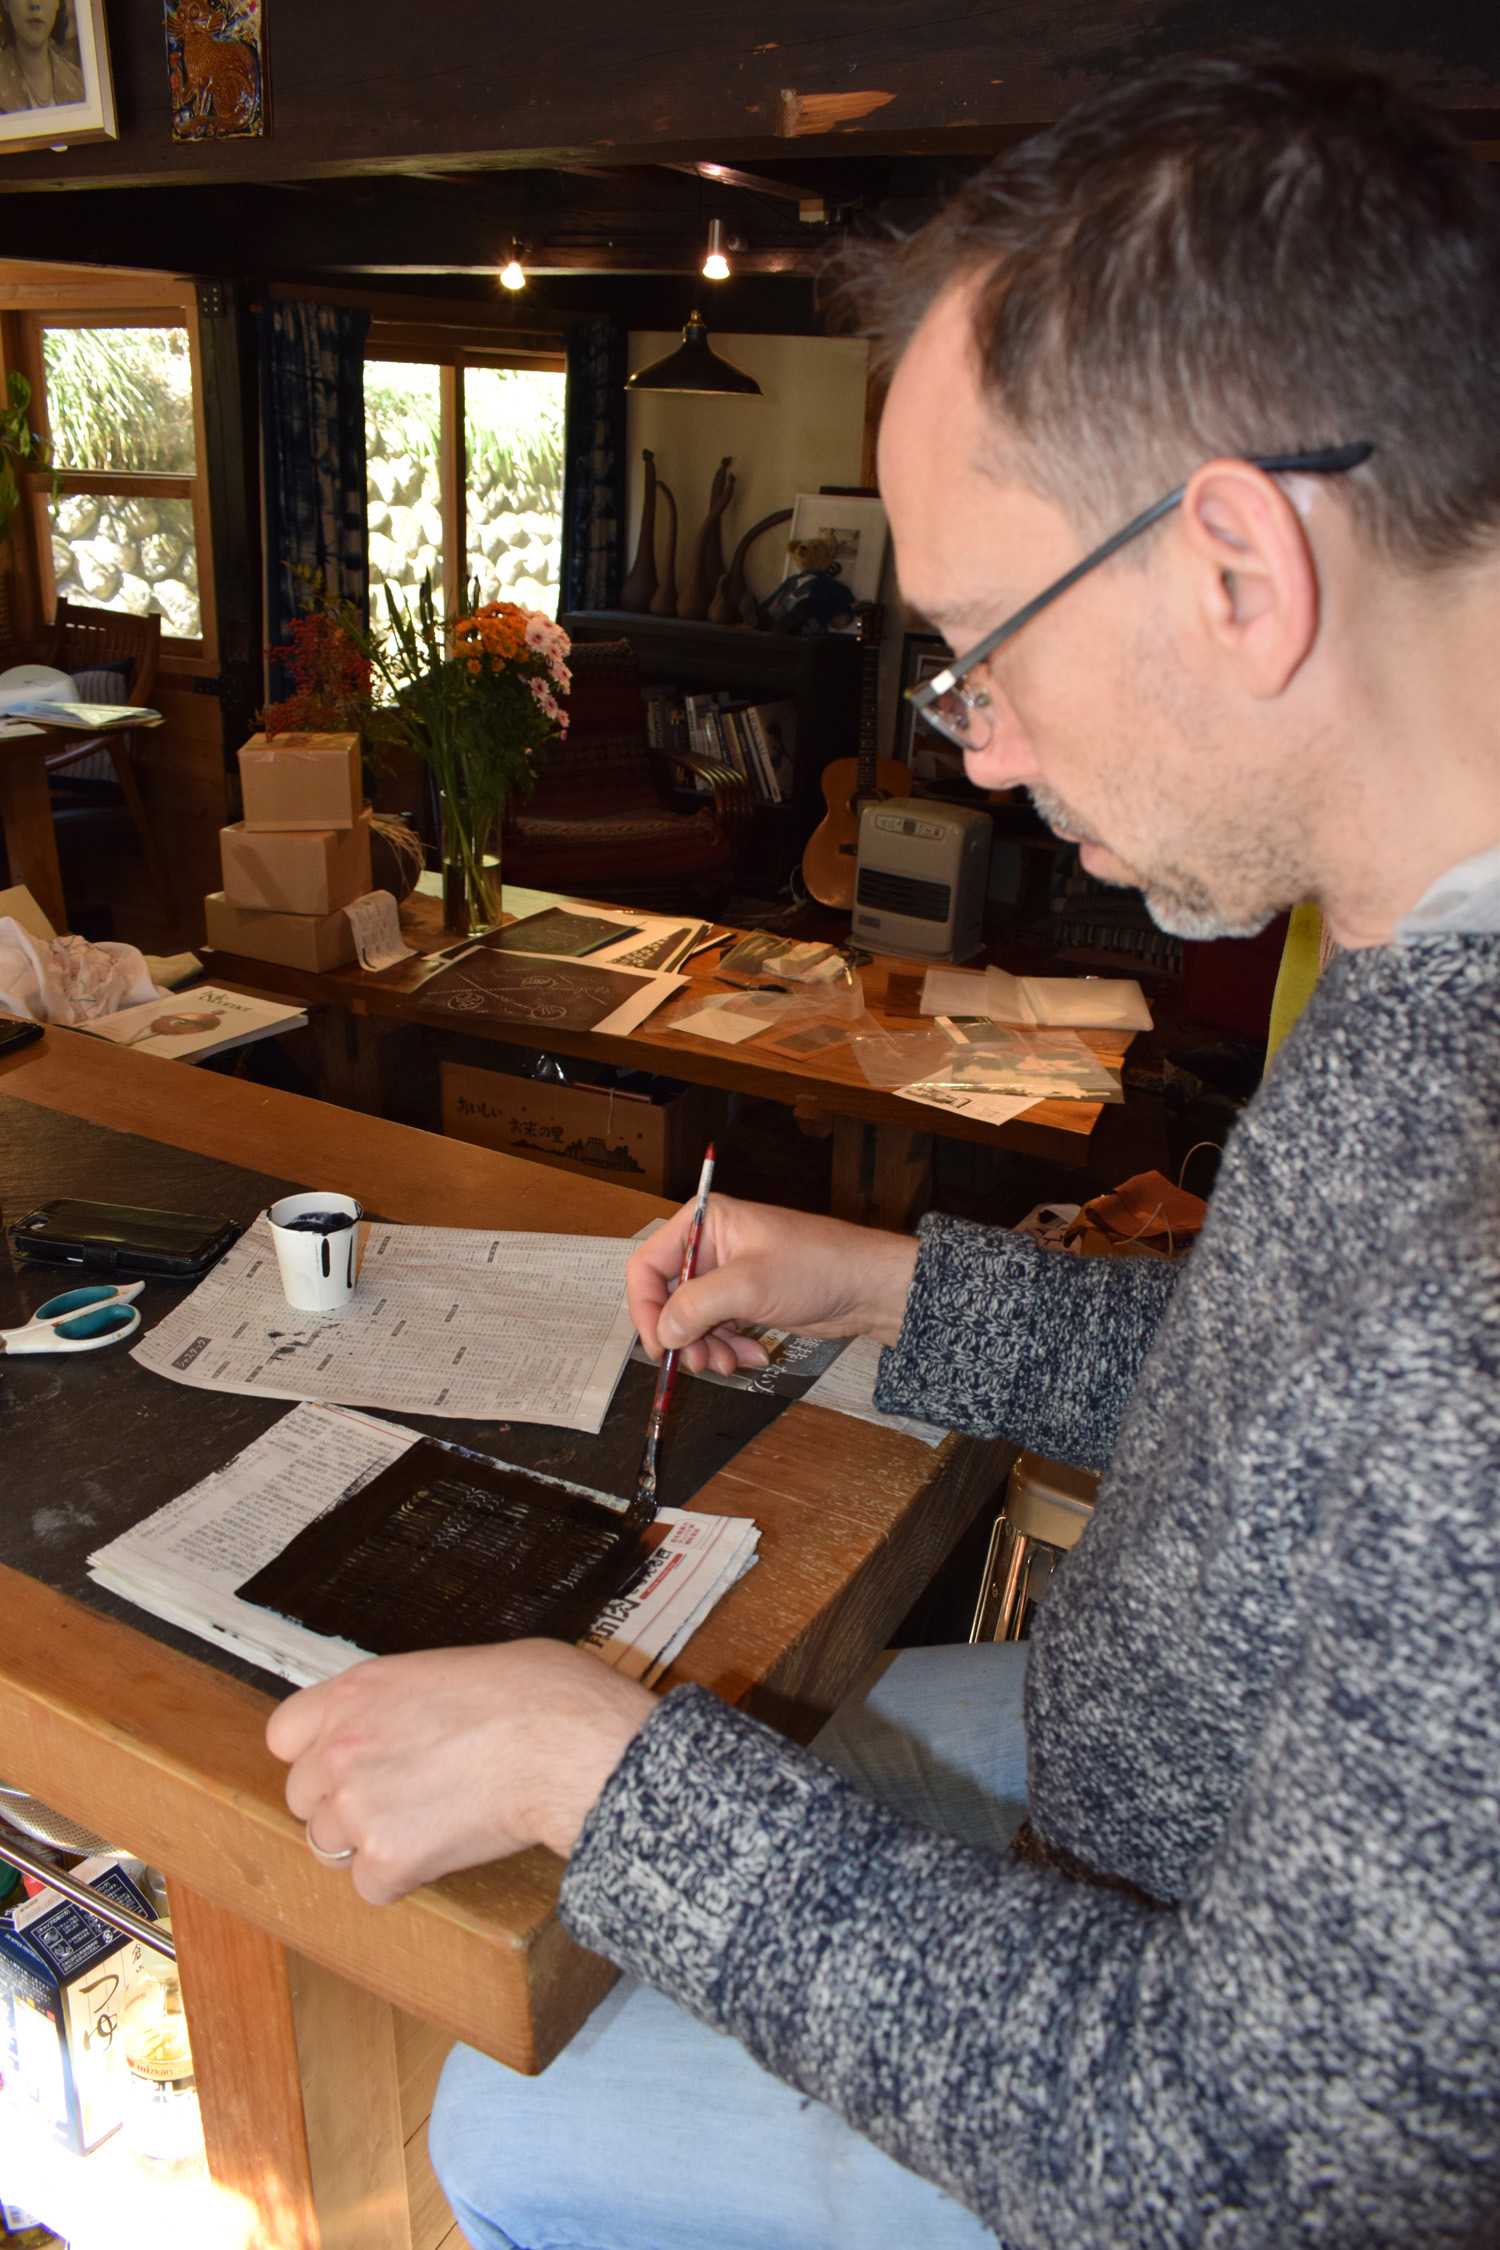
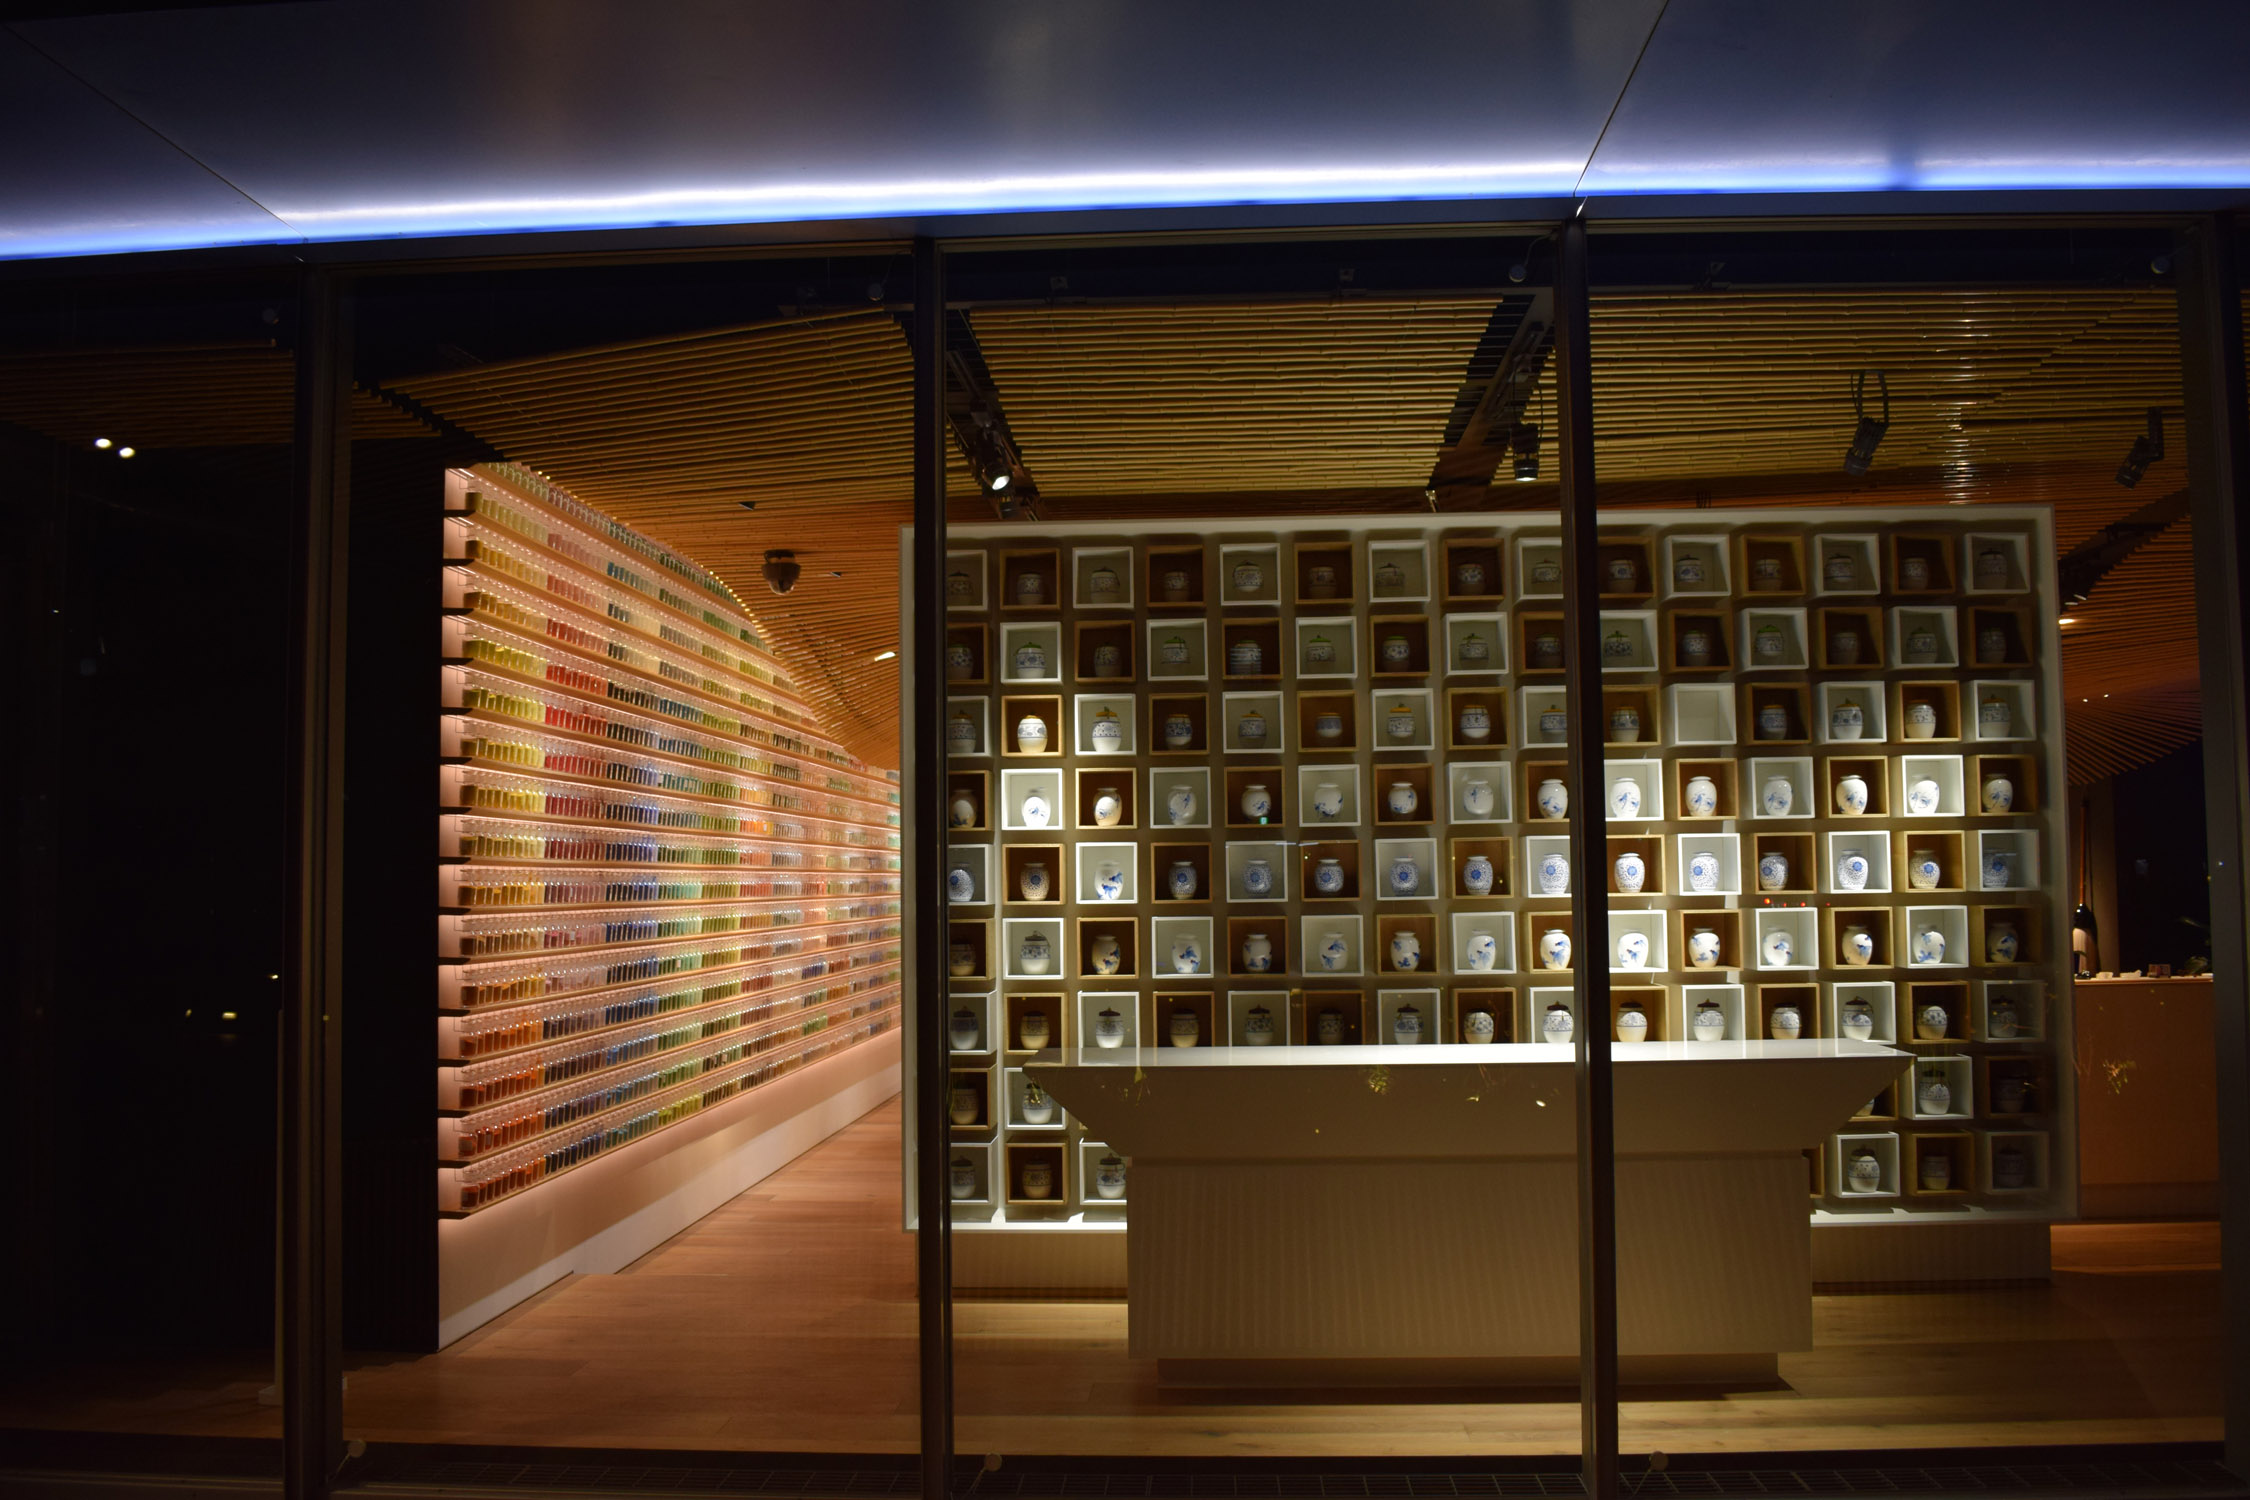
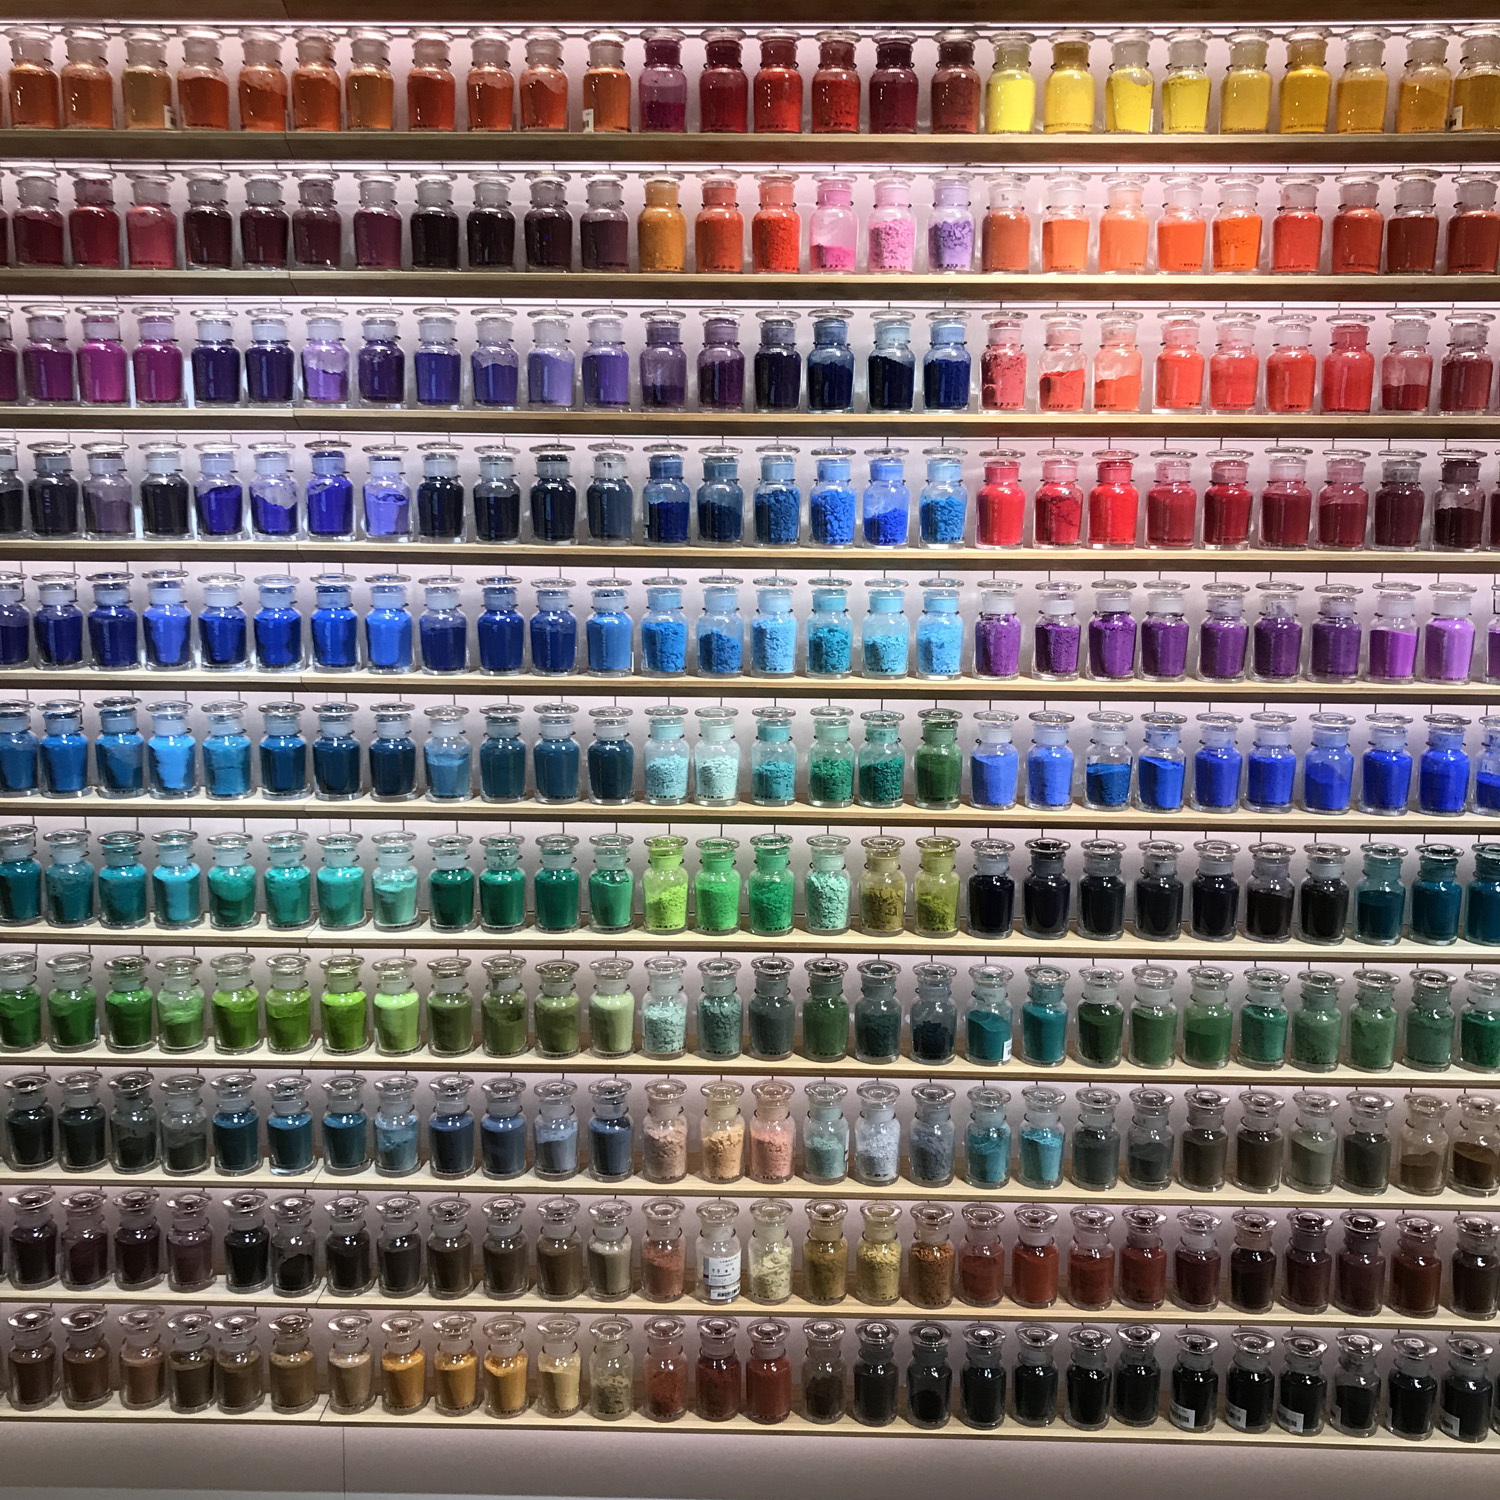
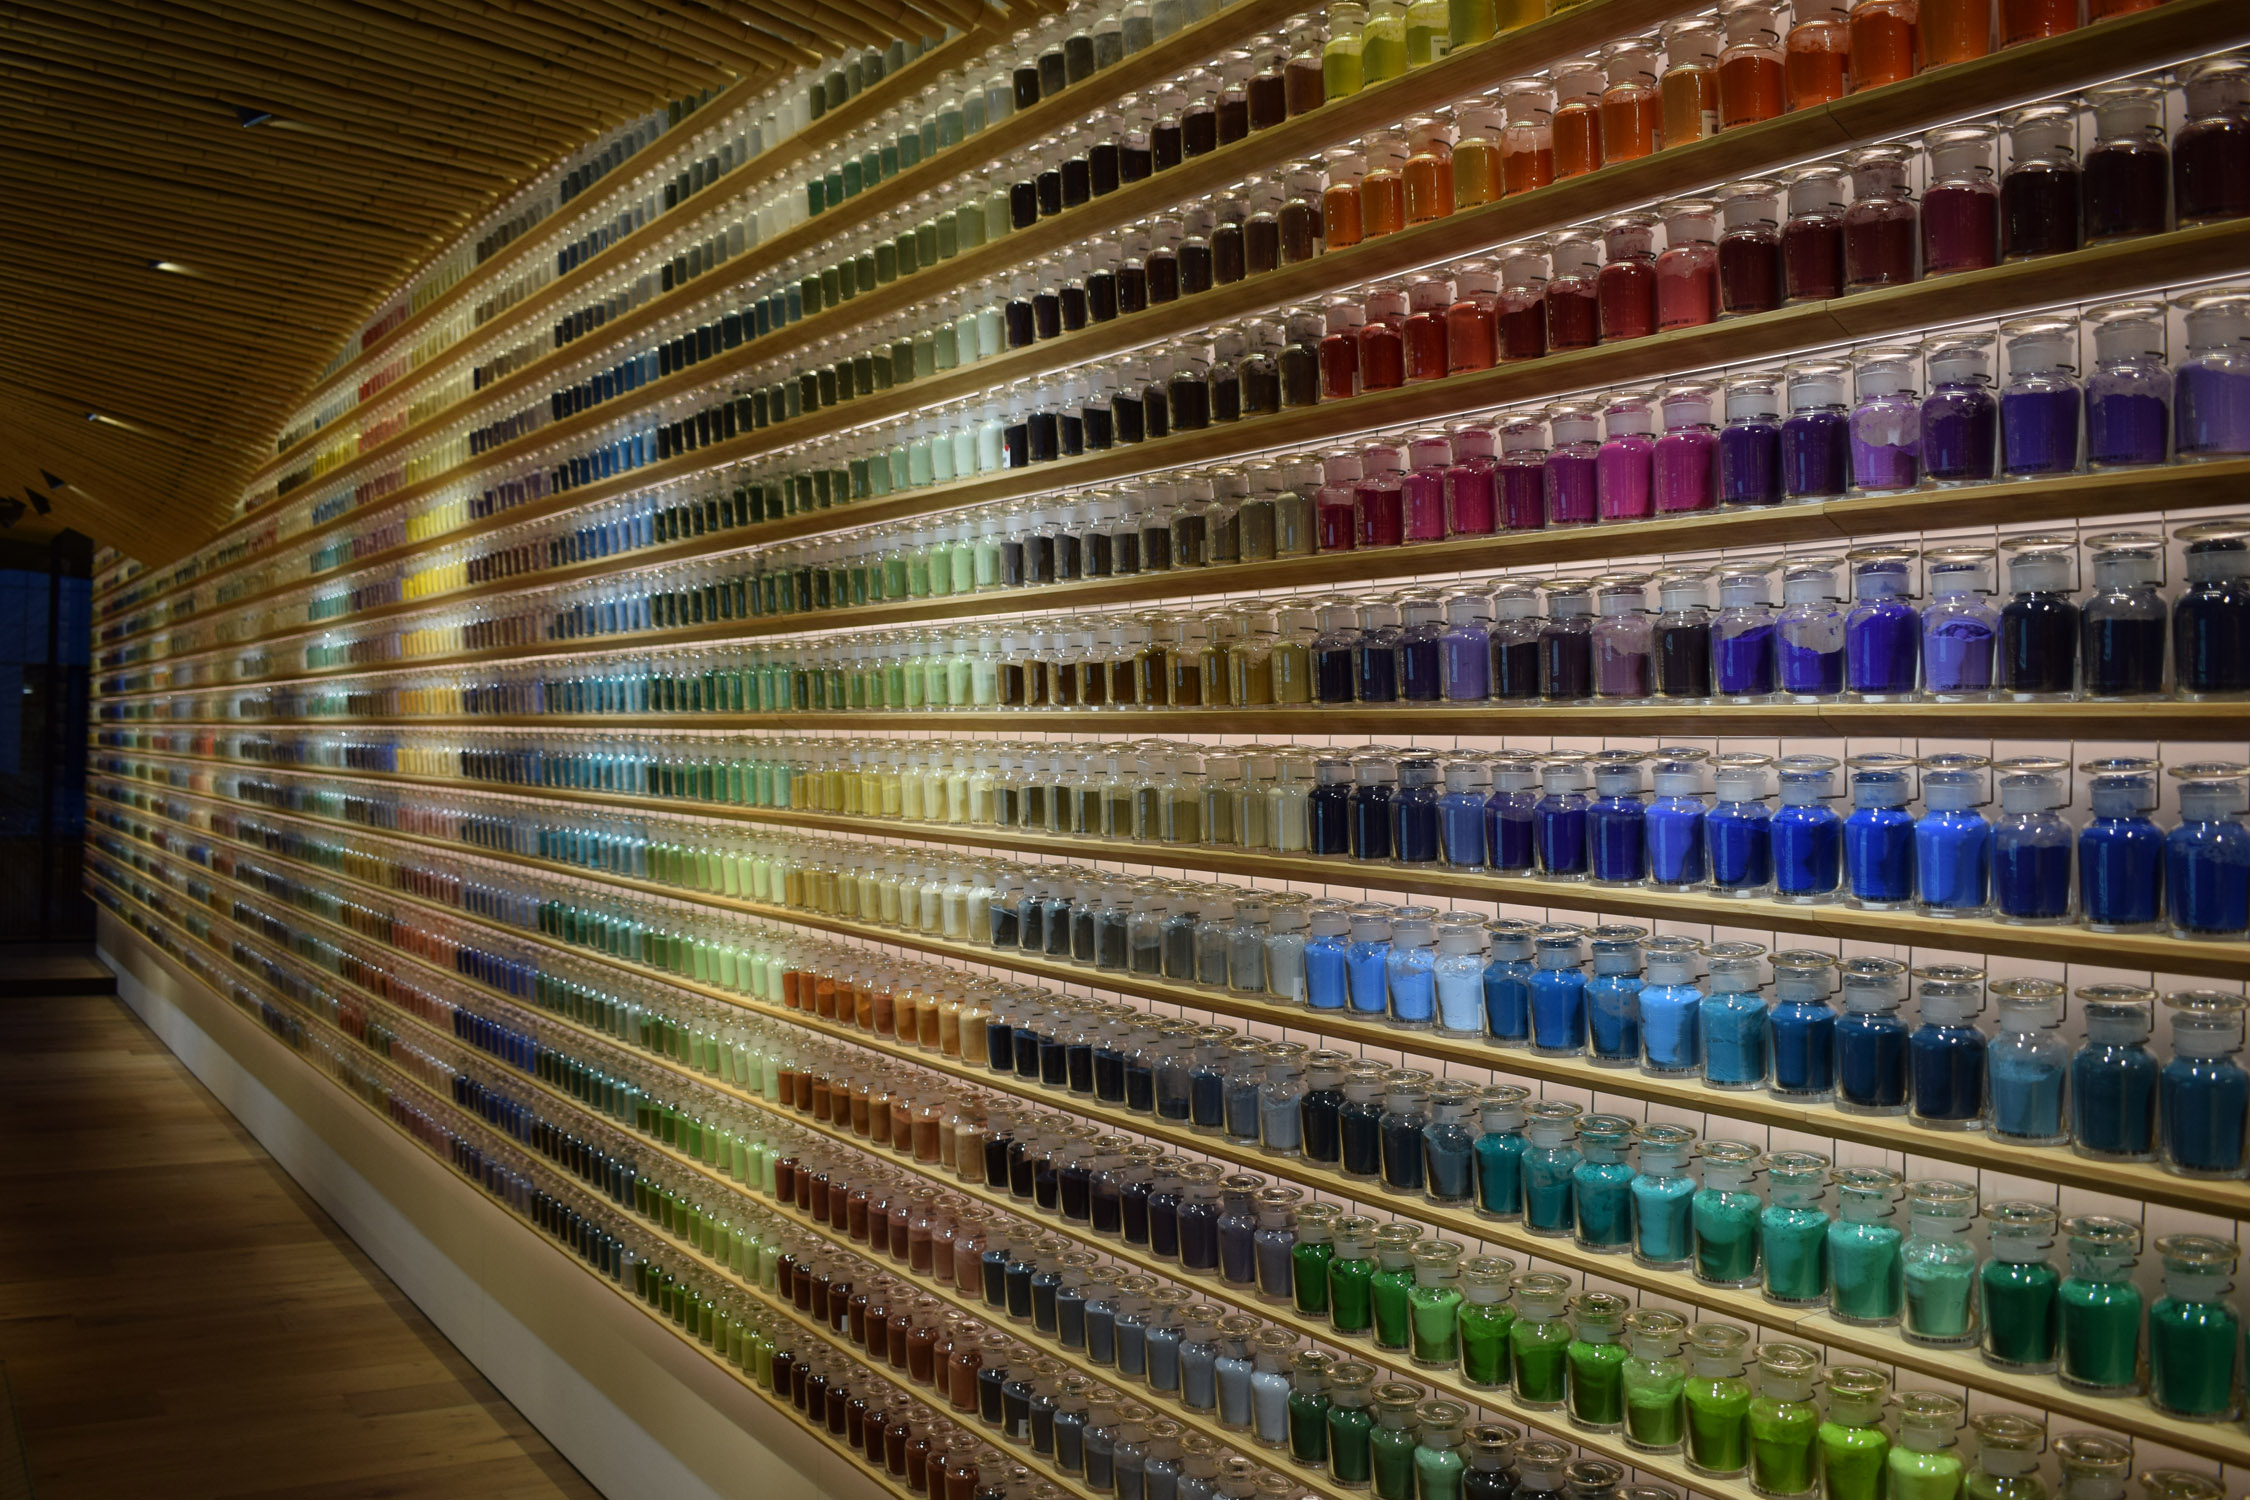
Pigment - legendary art shop - Arriving back in Tokyo and finding myself close to Tennozu Isle I decided to follow another of Bryan’s recommendations and travel on the Tokyo monorail to get to Pigment, a stunning art shop with every colour pigment / lake you could want. The space is fantastic and the range of colours kaleidoscopic (see pics). I bought some rose madder (bright red) to add to the rice paste for stencilling (it shows up better in the paste) and some pine charcoal in a rich black (used in sumi painting and a base for indigo dyeing). The staff are great and patiently explained about the lakes on offer.
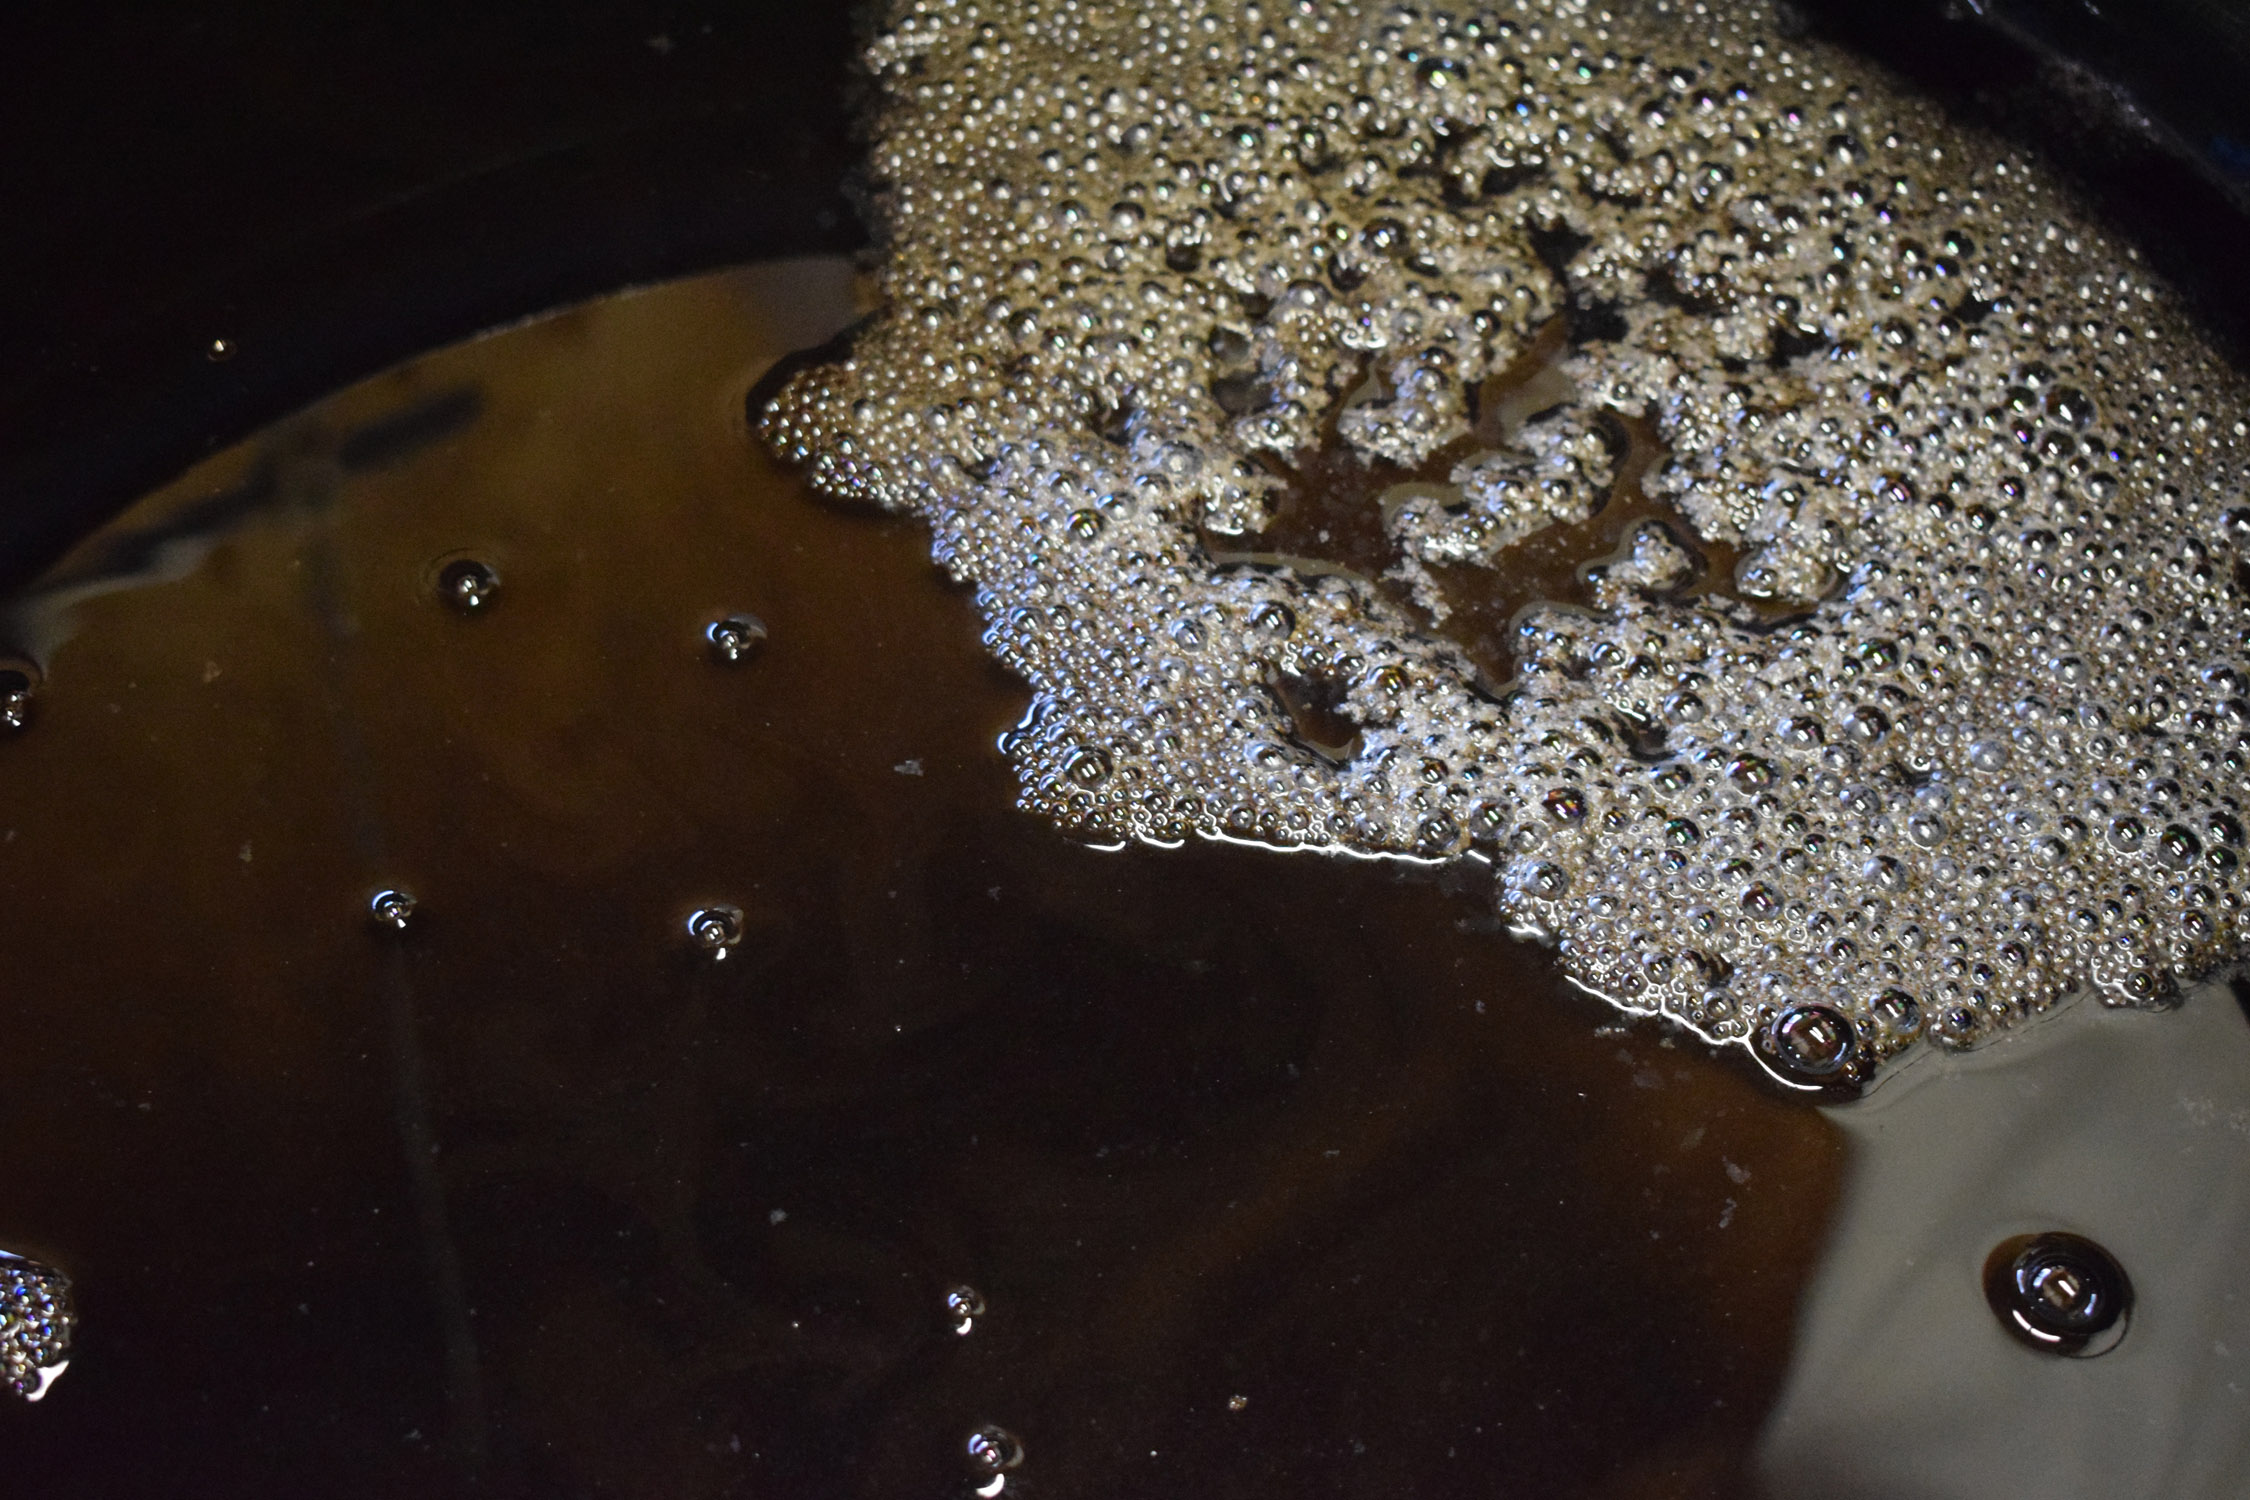
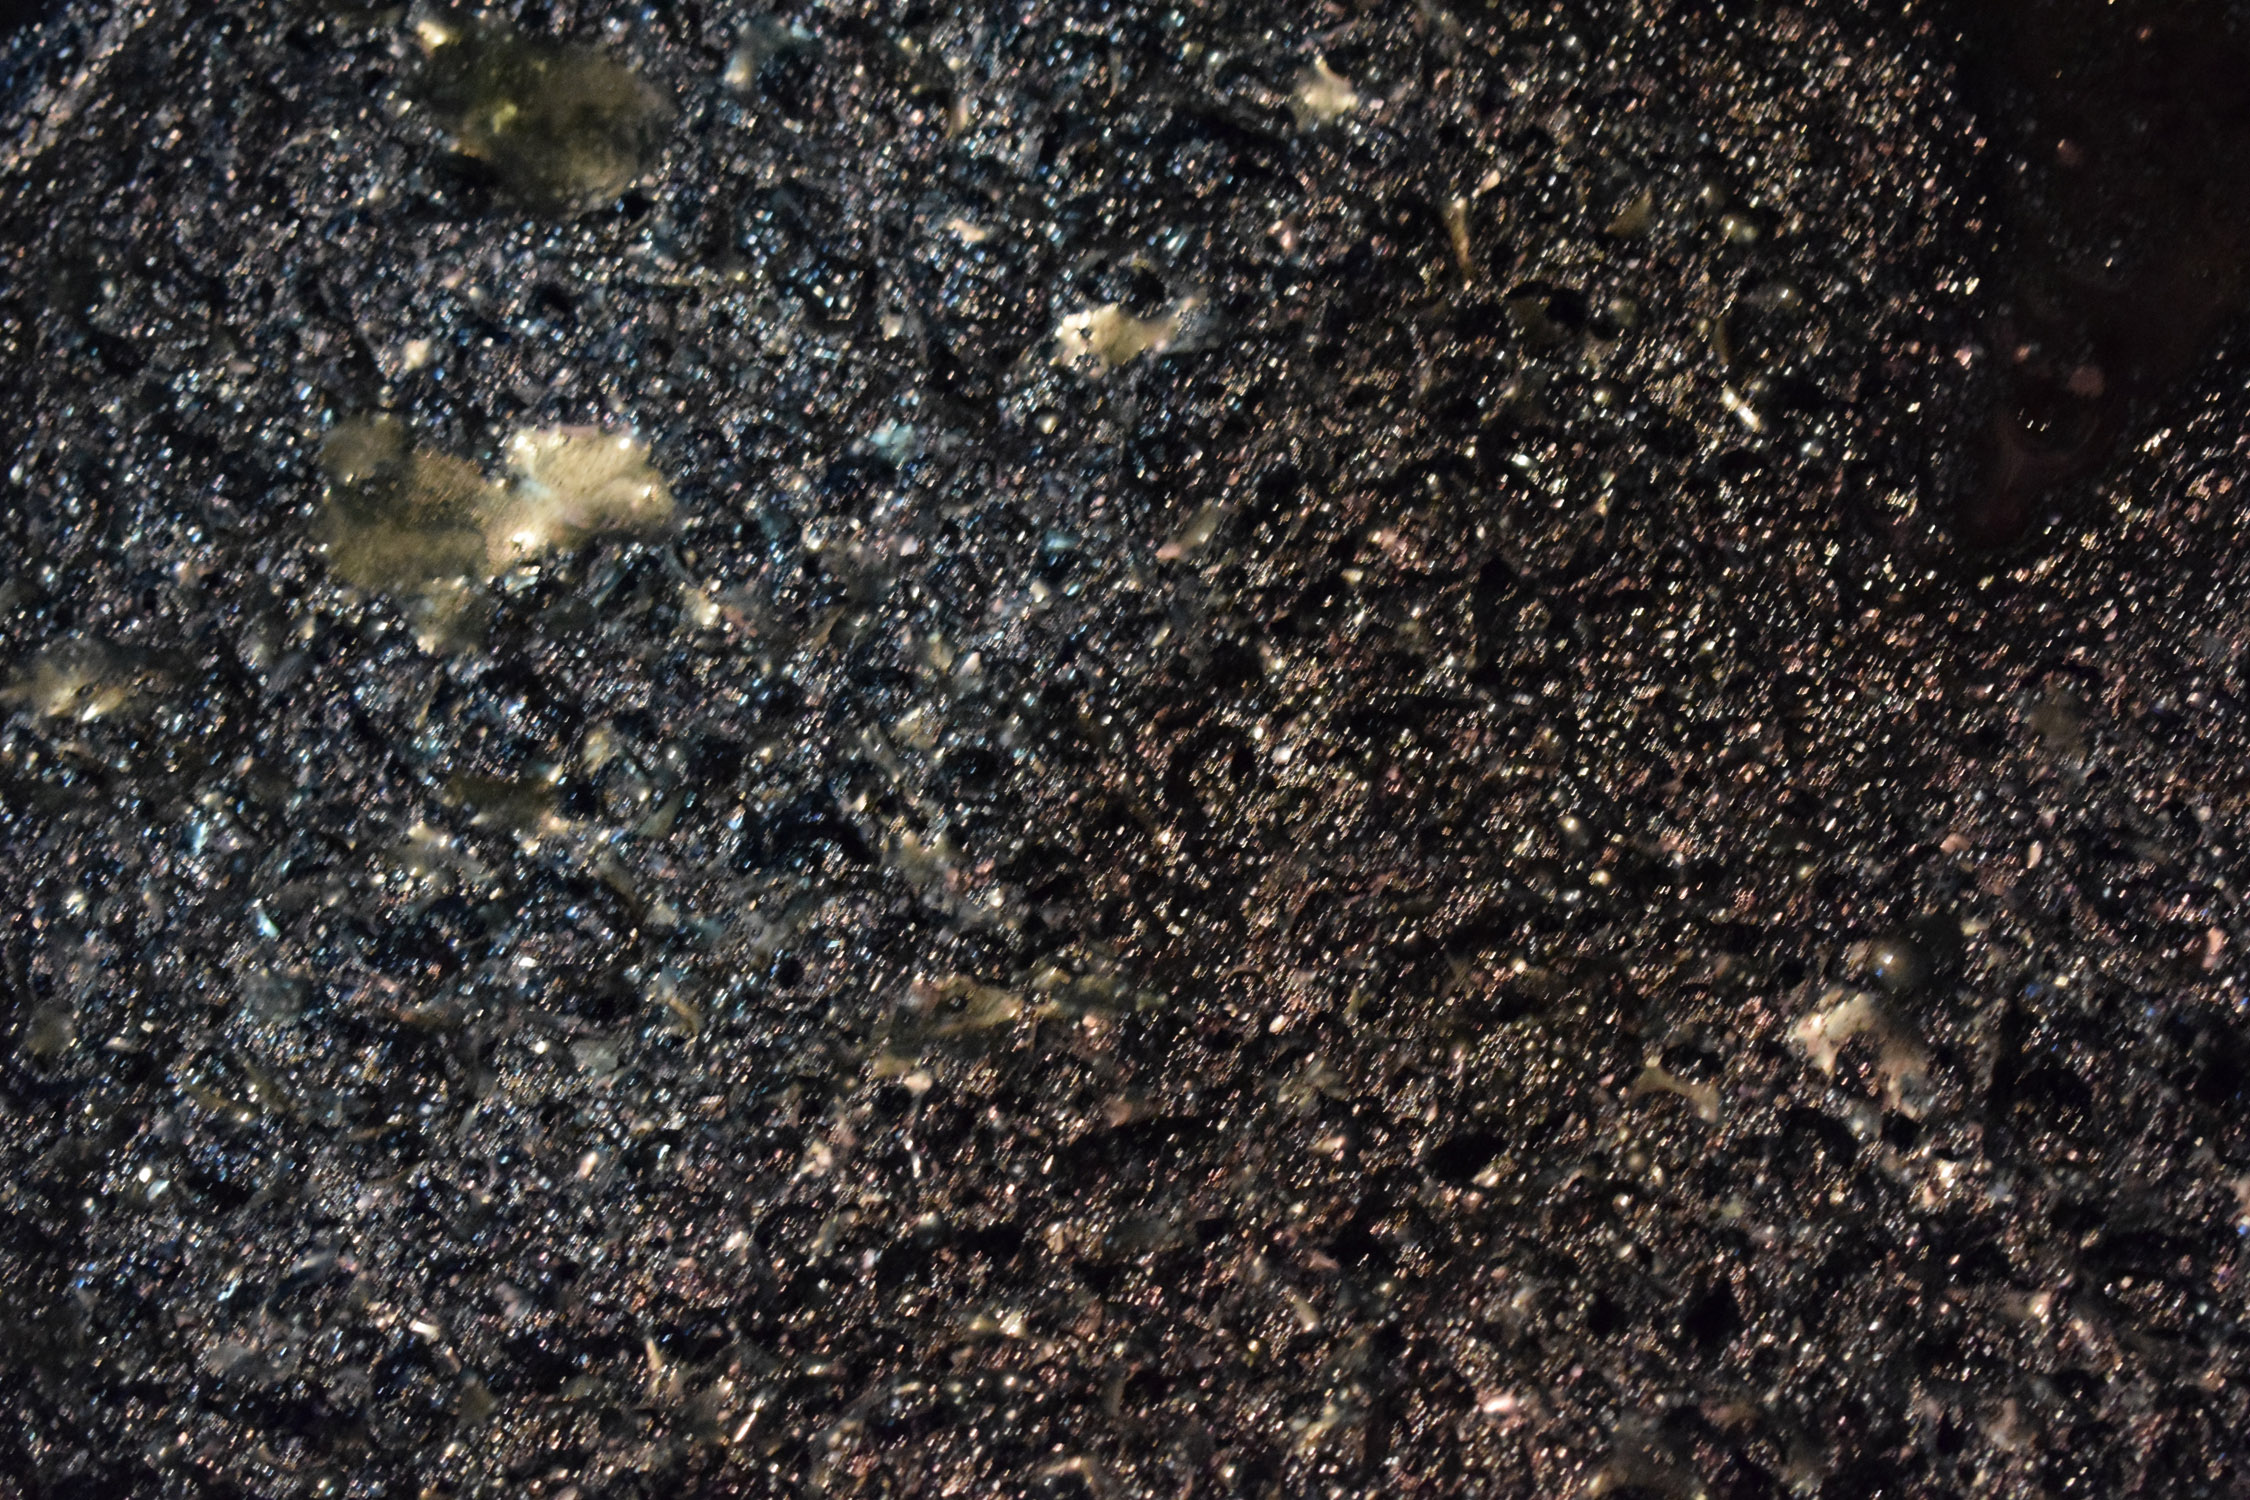
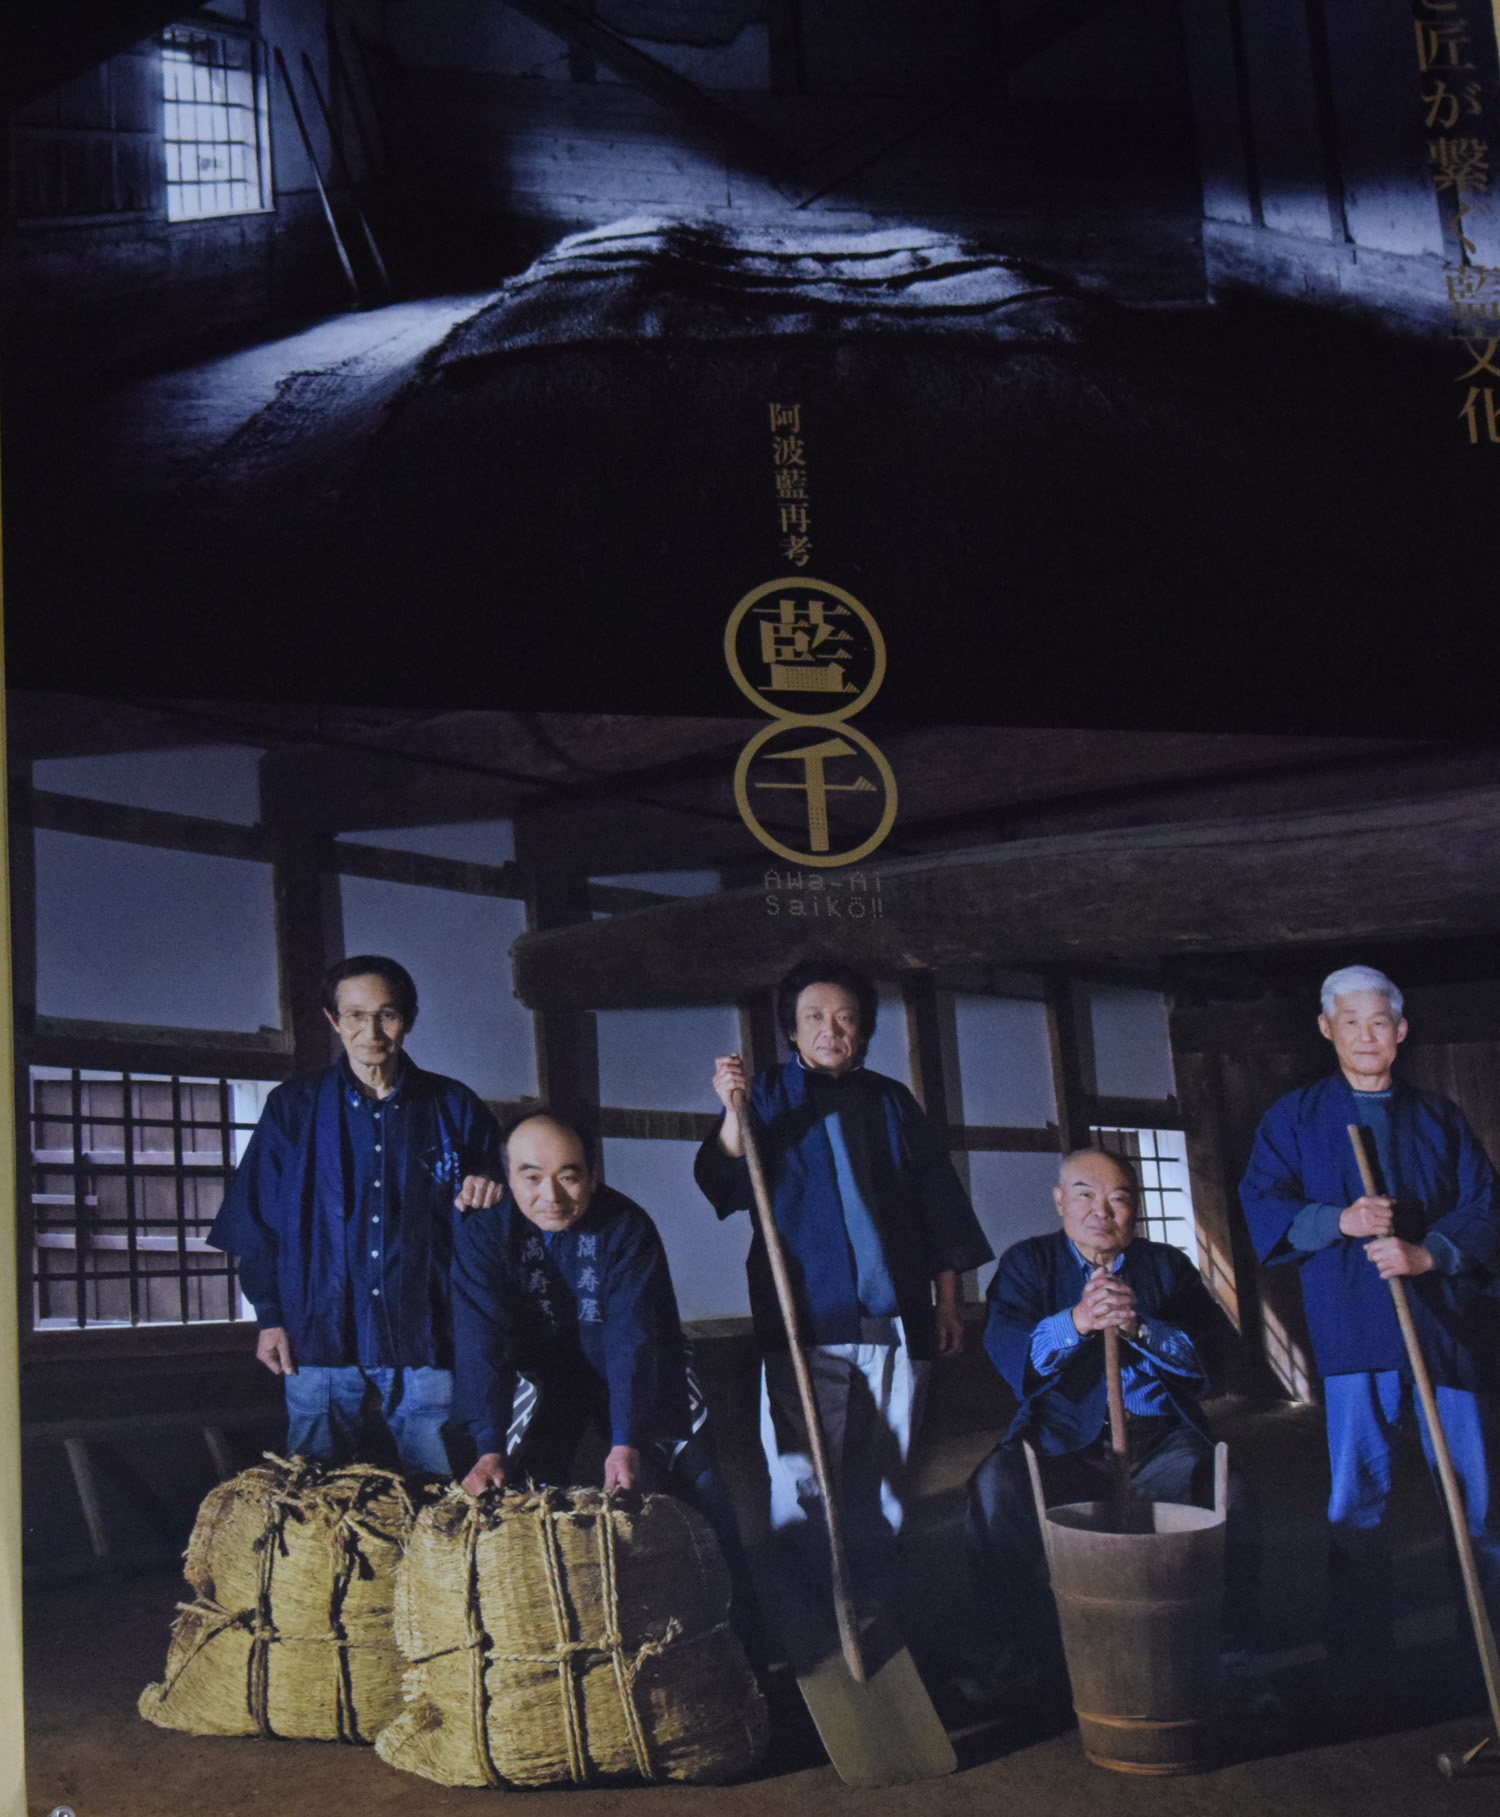
Master indigo dyer and trip to the Sashiko Museum in Hinohara, which is the next village away from Bryan’s by some weird coincidence! It’s still the other side of a mountain so about a 45 minute drive (5 mins as the crow flies!!) Part of it was originally a 200 year old horse breeders’ house in Nii gata - northern Japan which was moved to Hinohara in the mid 80s. It is full of Sashiko (some better than others!) and other art objects, including a large collection of Kokeshi (Japanese wooden dildos!!!) they sell some beautiful hand-dyed natural dyed Sashiko threads which I bought and a piece of beautiful light blue indigo dyed cotton. From there we visited the house of Yuko Morita, who Bryan met not long after he moved to Japan. Yuko is a master of fermented indigo dyeing, a particularly tricky form, requiring constant vigilance in the preparation and maintenance of the 4 vats she uses throughout the year. The vats are huge and have to be filled slowly with a combination of ash water (which she makes herself), rice bran (which is what ferments) and Fermented Japanese indigo. The 100 litre vats take around 10 days to fill and ferment with more ingredients being added each day until they are ready. Yuko dyes fabric for others as well as her own work, including thread, shibori and Katagami stencilled pieces.


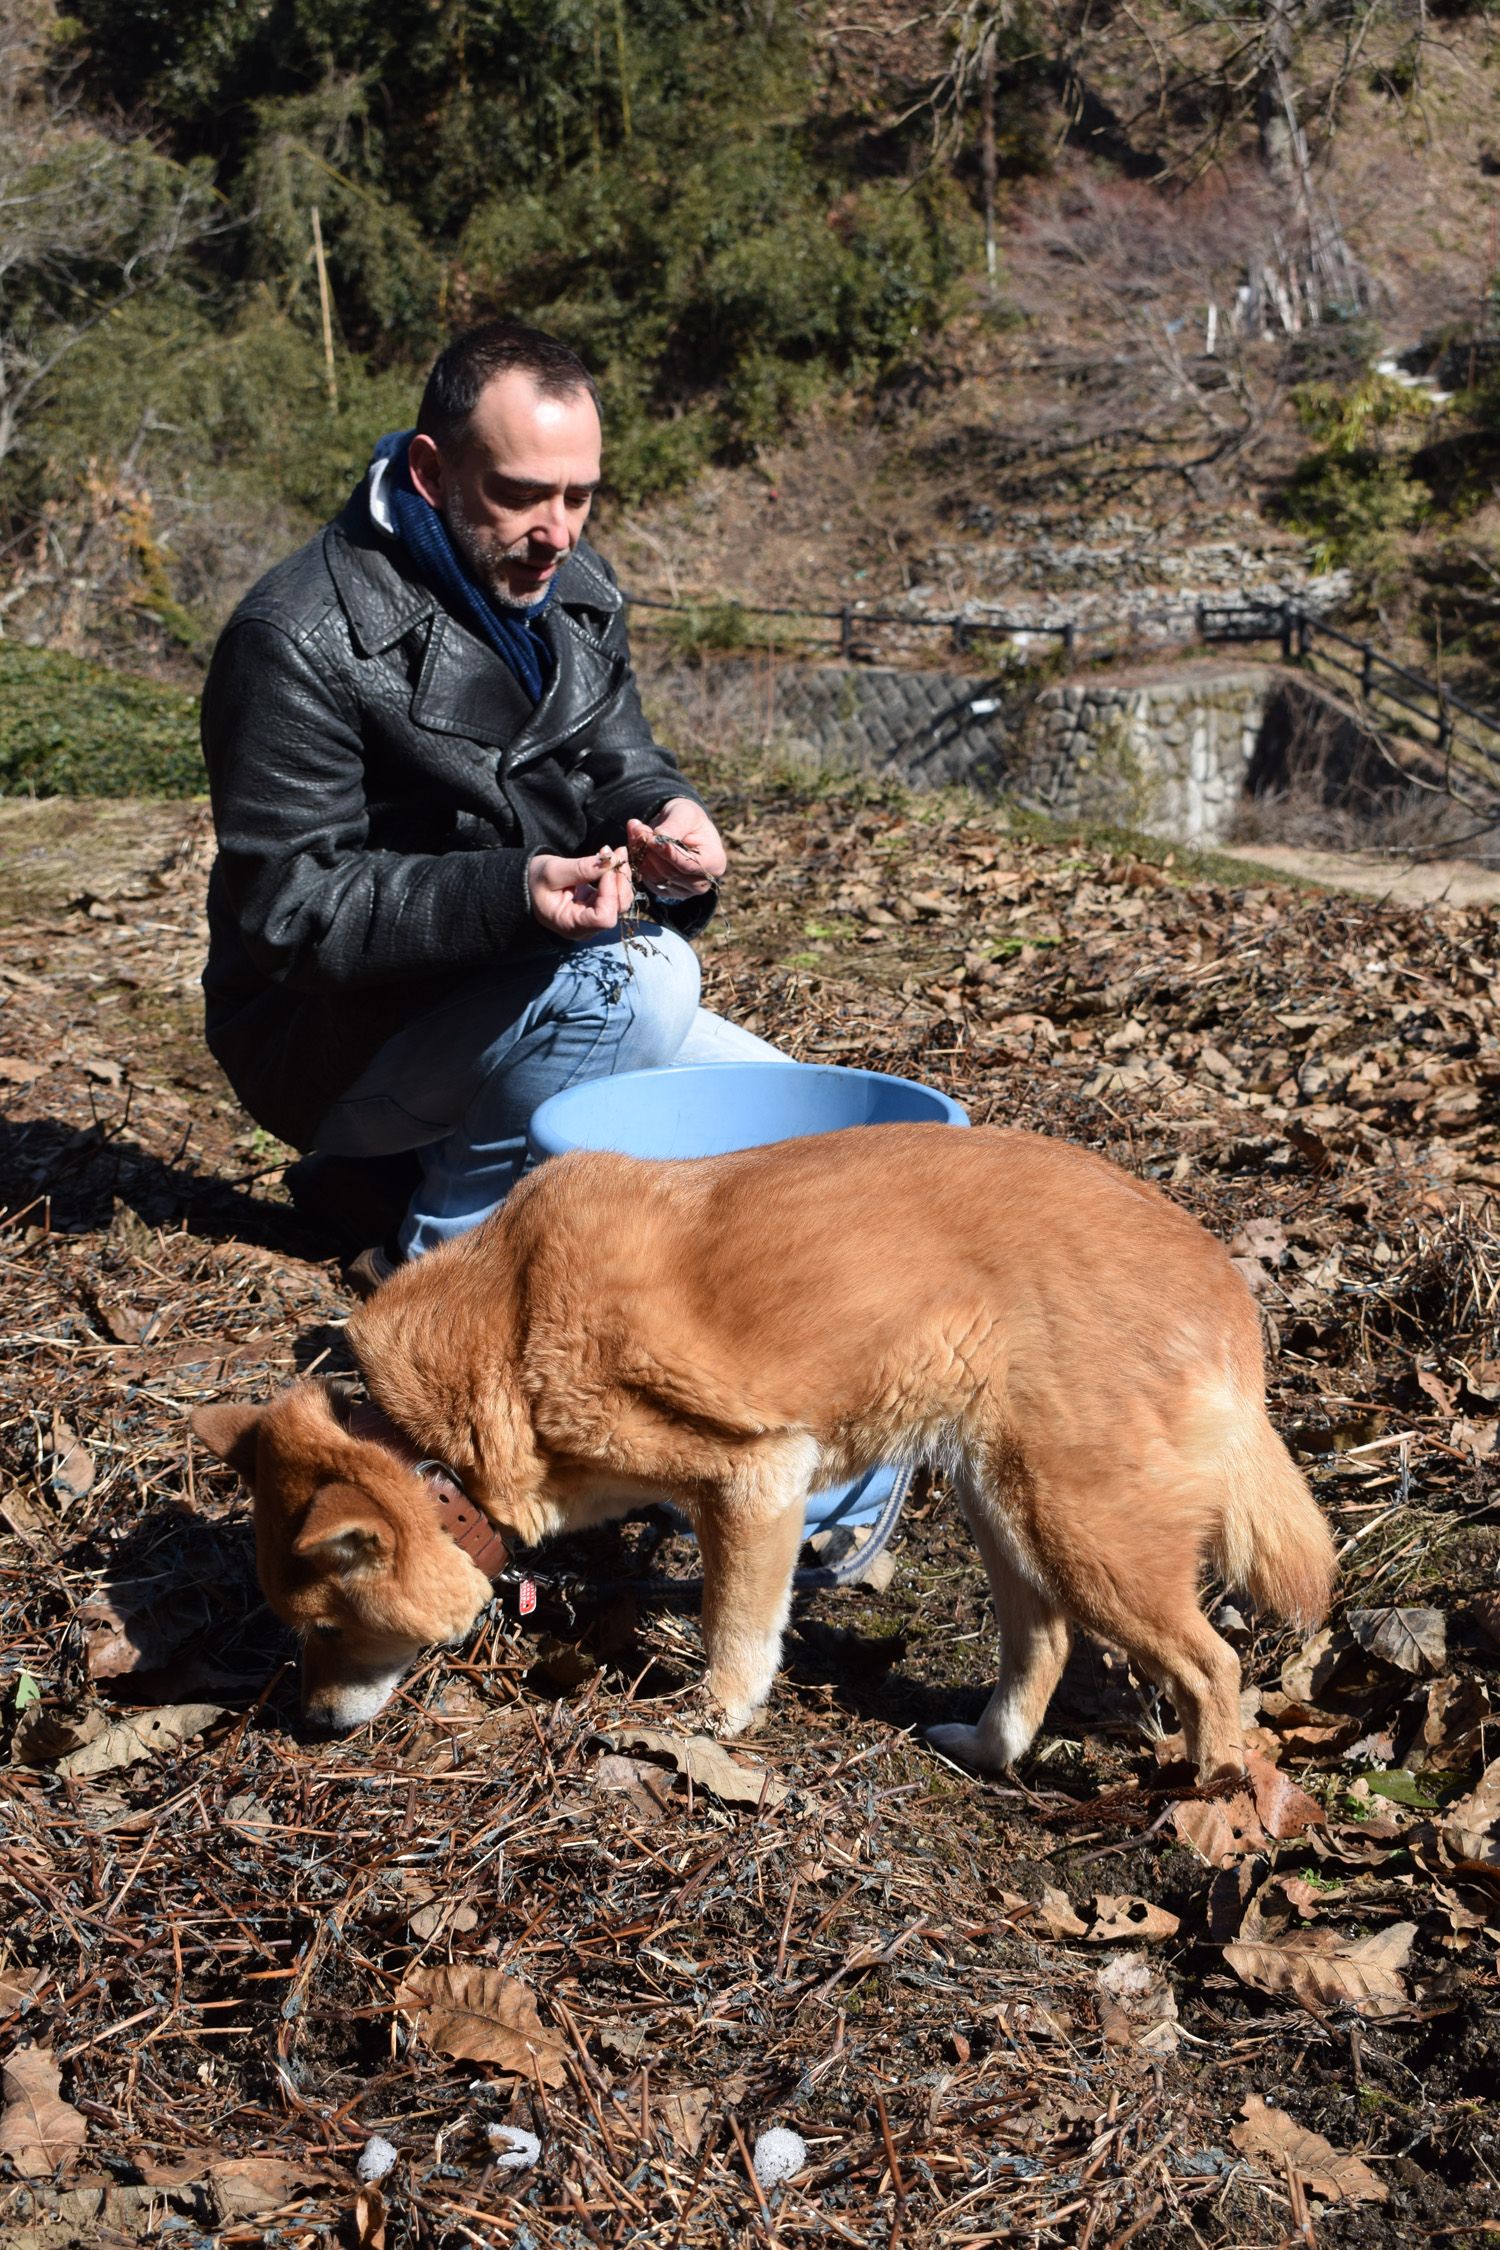
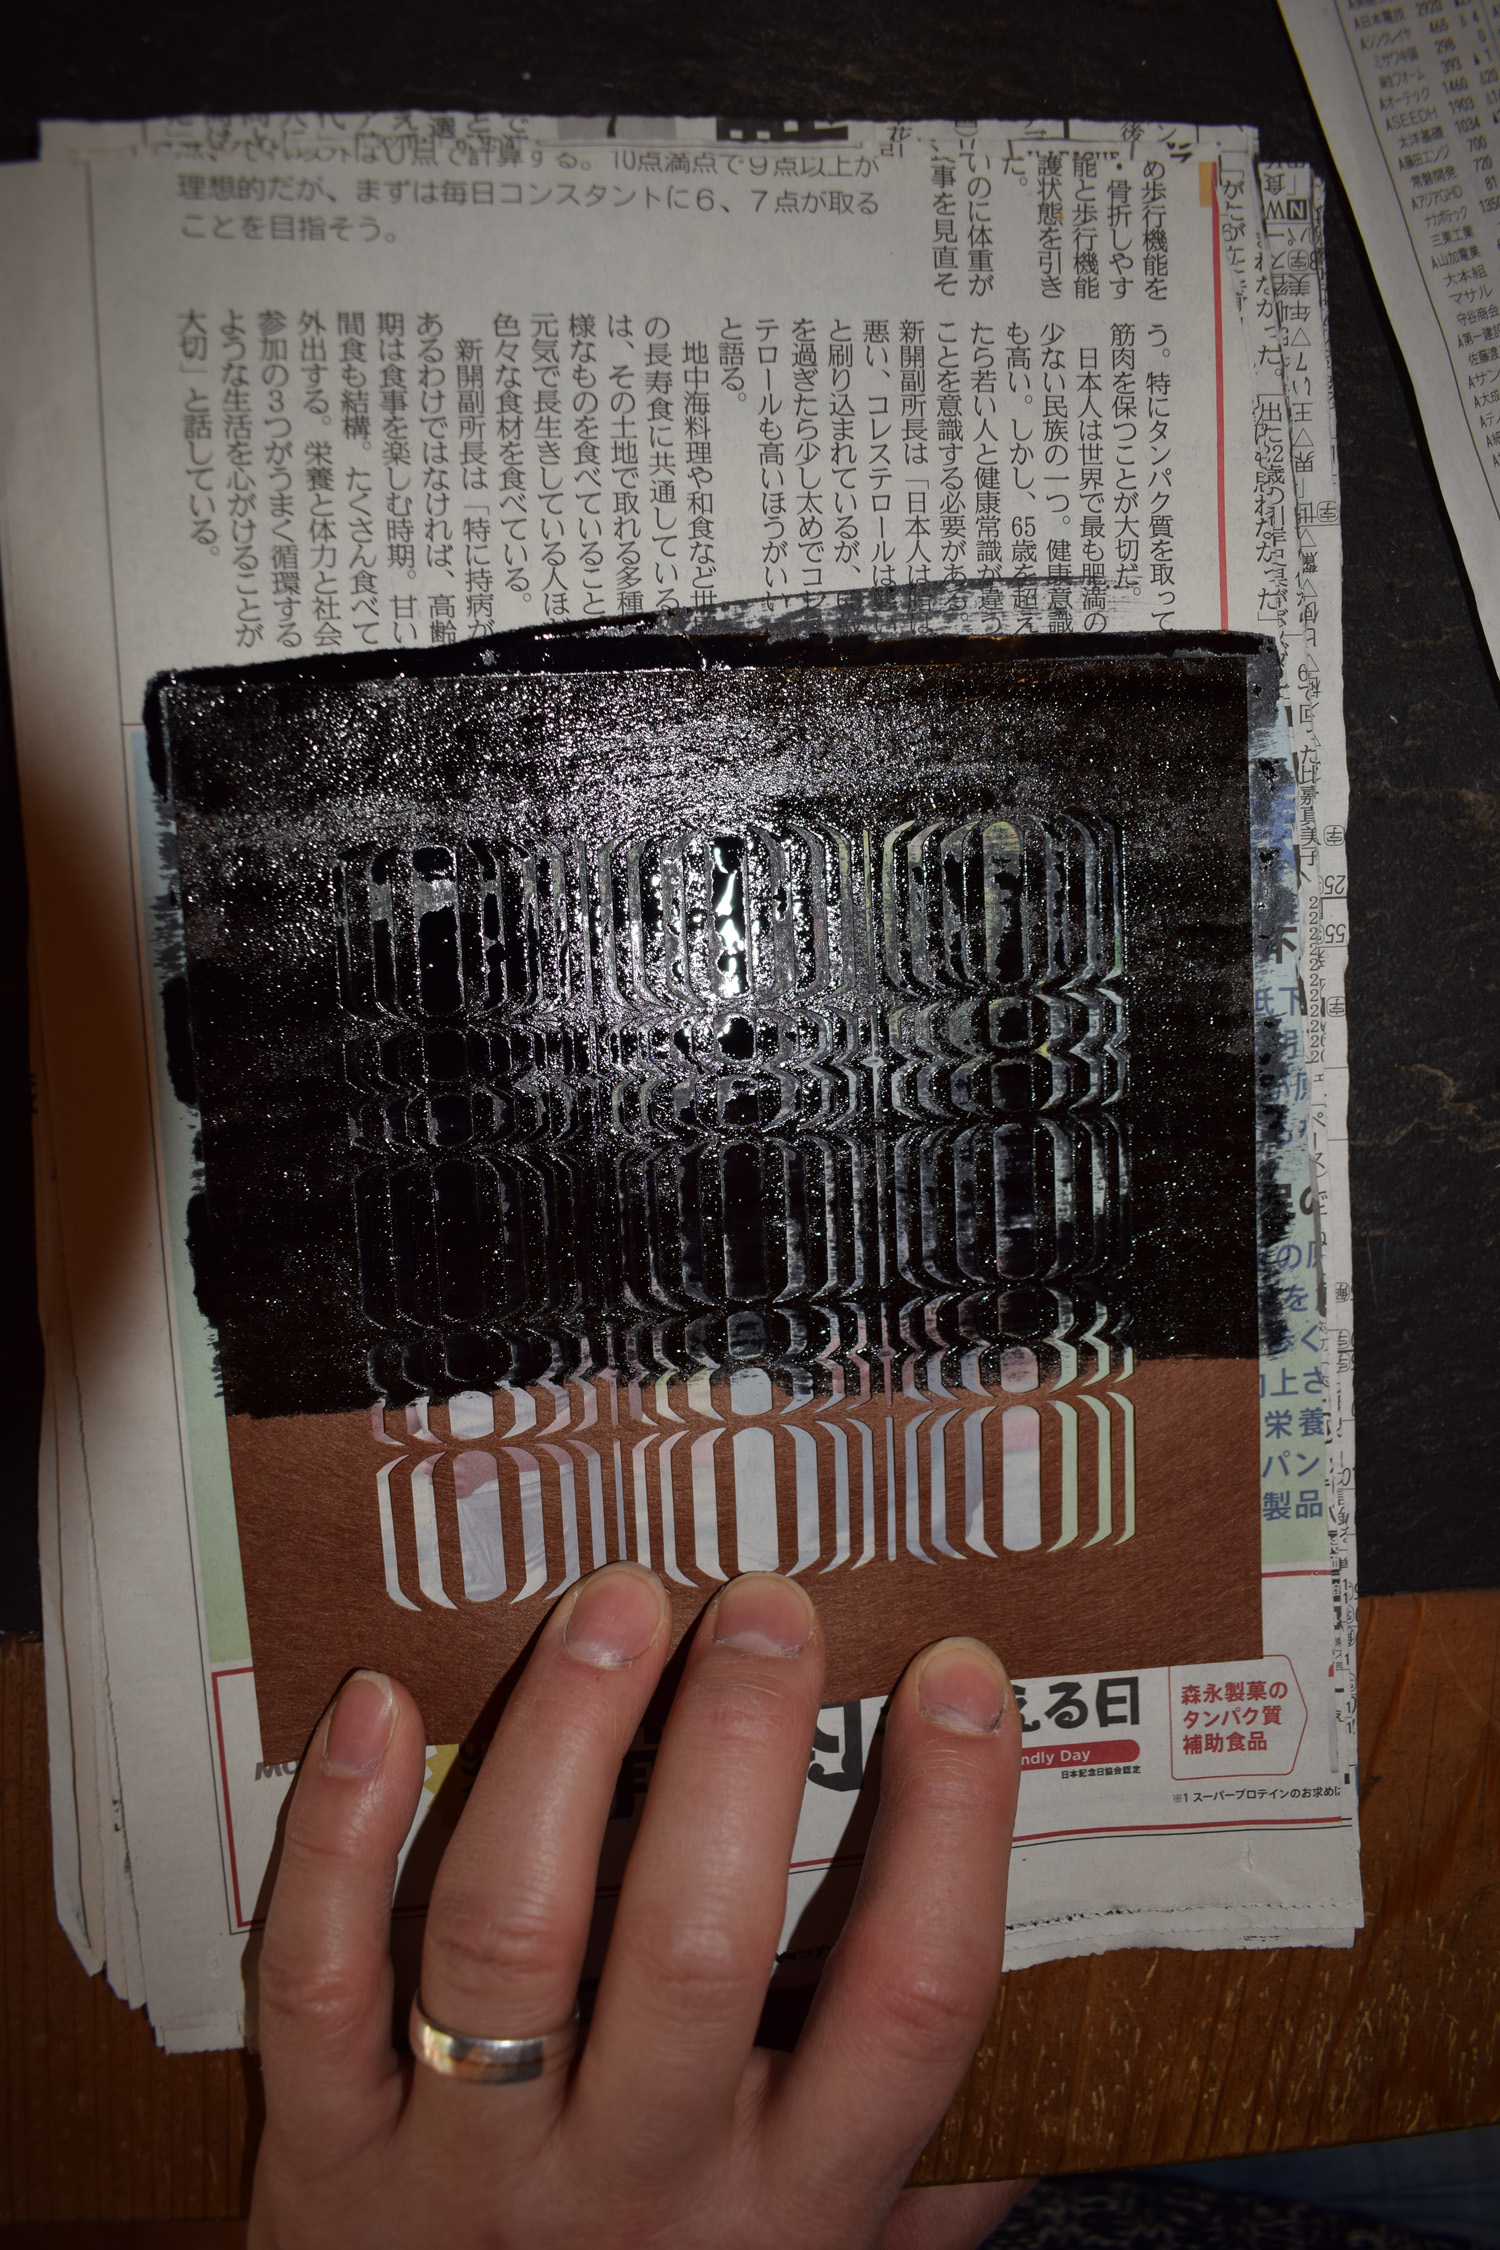
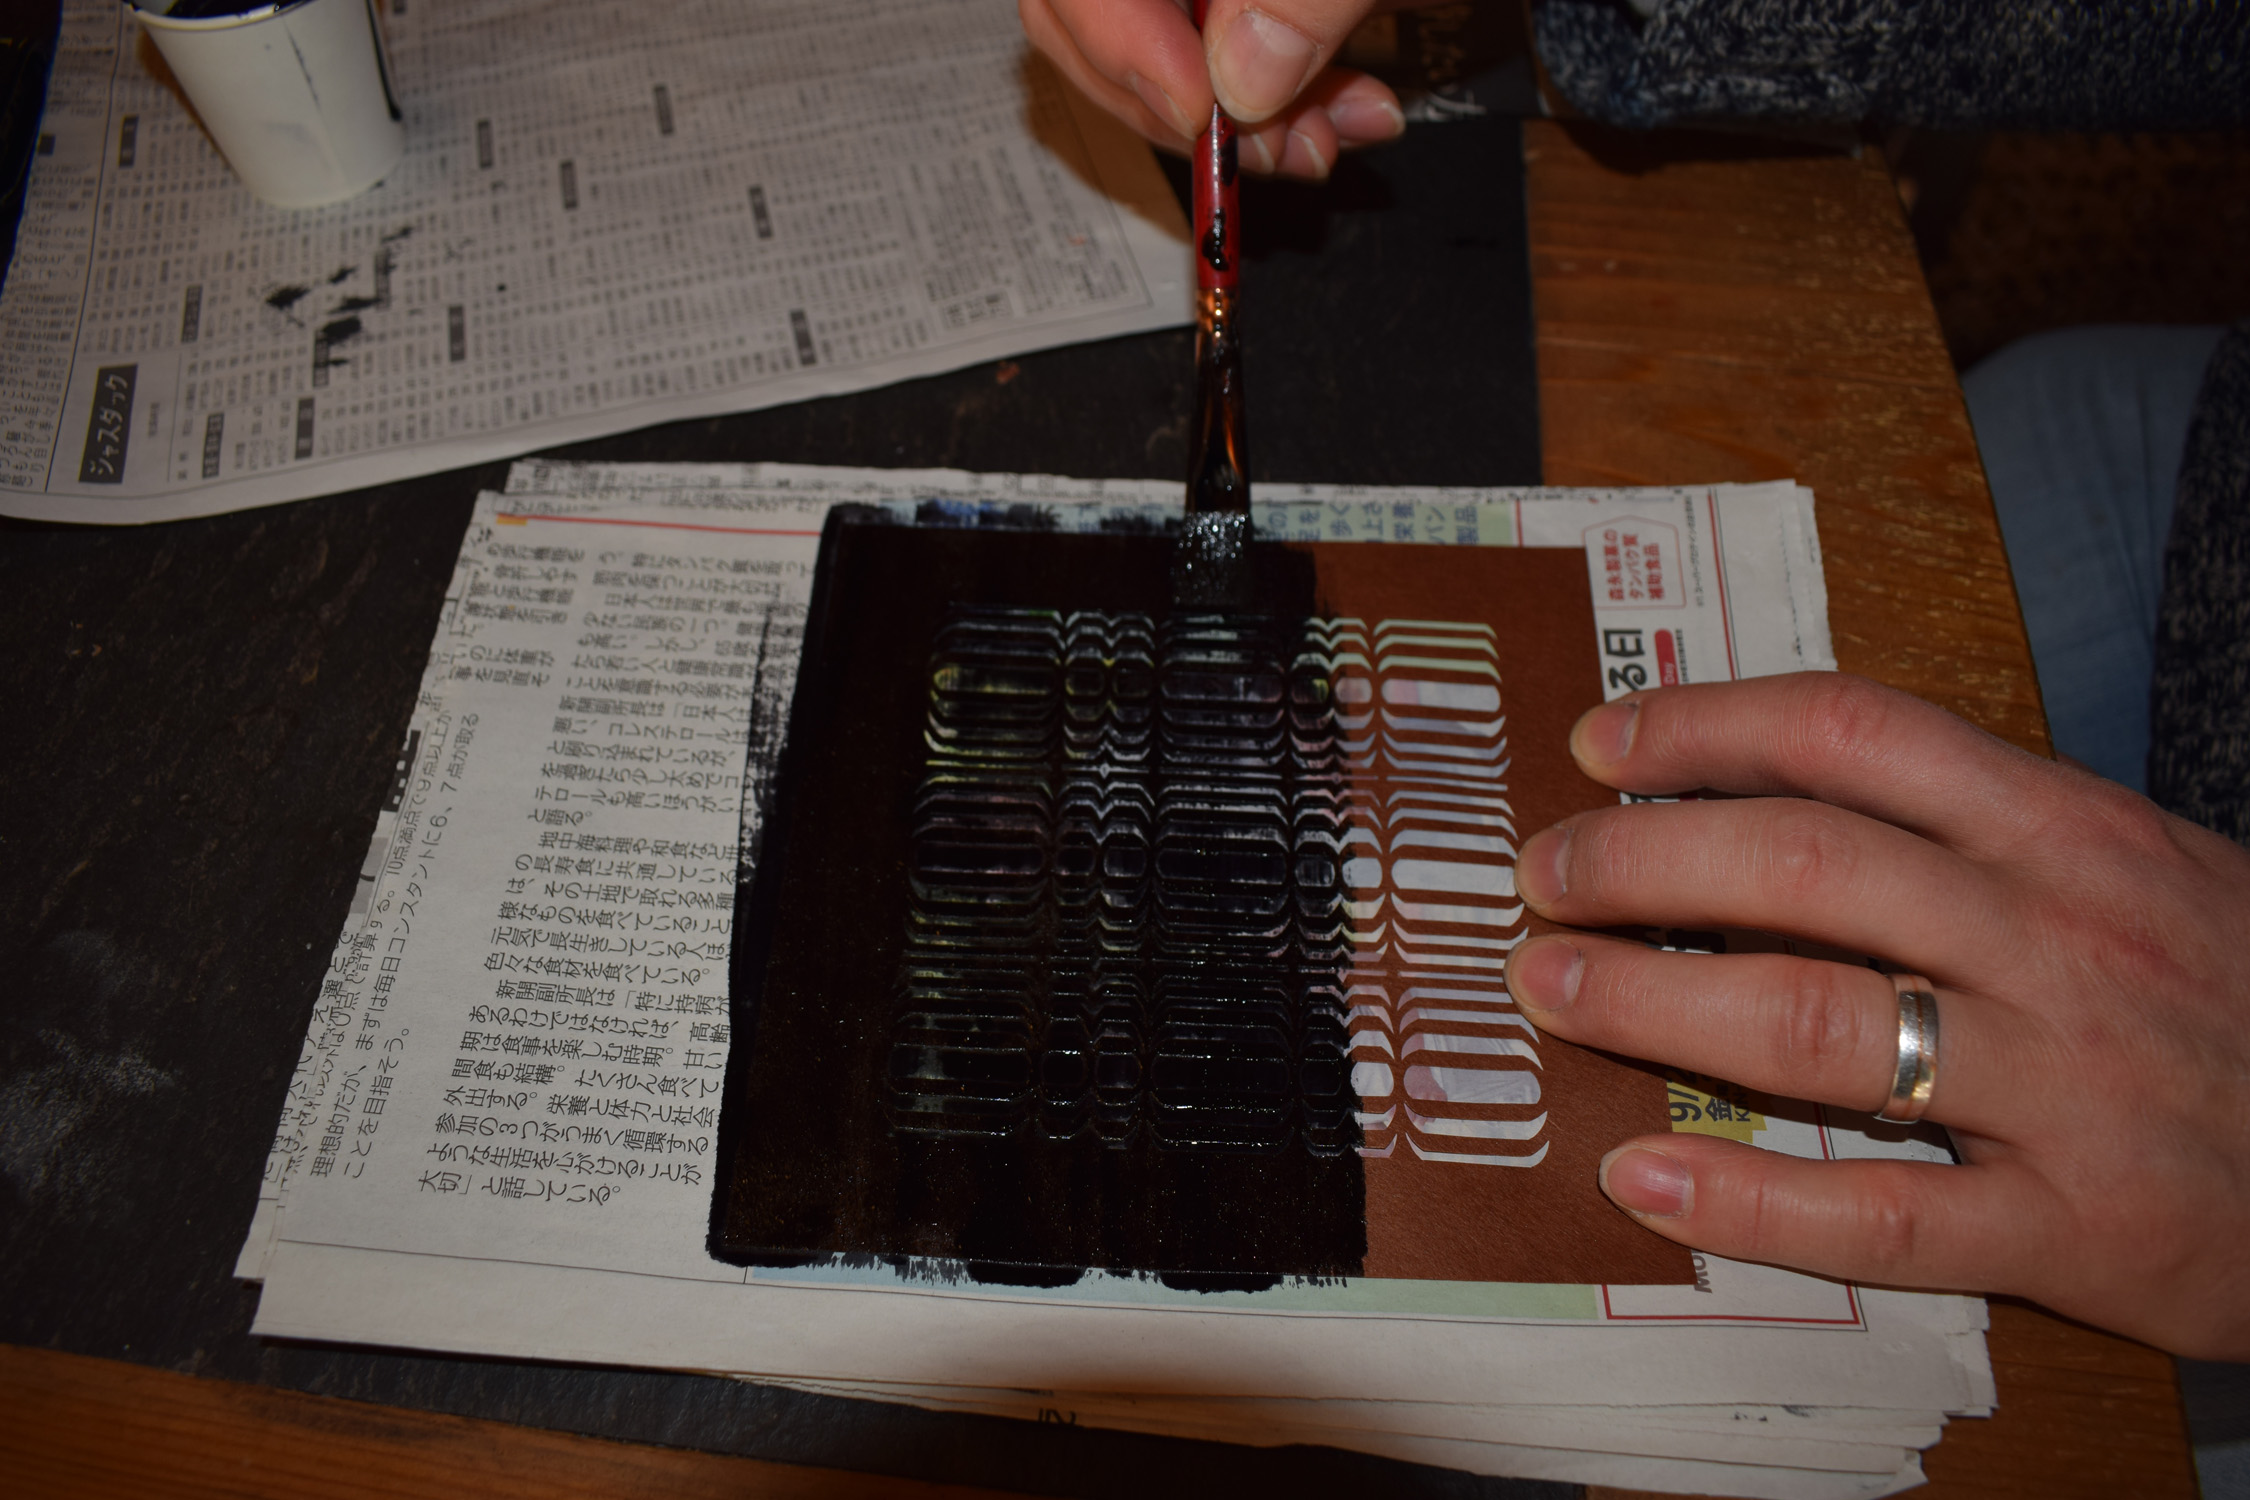
Collecting indigo seeds and fixing silk to stencils - Spent the day at Bryan’s farm today. In the morning we picked indigo seeds from the field near his house and then he showed me how to fix the silk to the back of my stencils with a sort of lacquer and netting. It’s messy, sticky work but will mean my stencils will last a lot longer. I also made some with just netting I can put over older stencils to protect them and use for leaf stencils.