
Teaching Summer School at West Dean college
A couple of months ago I was asked if I could stand in at short notice to teach Shibori Techniques for Textiles Artists for a week as part of the first week of West Dean College's Summer School program, because their booked tutor, Janice Gunner, was ill.
I owe a particular debt of thanks to Janice, not only for recommending me to West Dean to take her place, but also for introducing me to Shibori and Indigo dyeing in the first place all those years ago at West Dean. Thank you Janice for your warm-hearted generosity. I hope you get well soon.
Teaching at West Dean has been a dream of mine since I started my own business 3 years ago and the Summer School was an amazing opportunity but a lot of work to get done in a couple of months.
I had to make a large number of additional samples for the methods I was going to teach as well as some signature pieces to display with other tutors work in the foyer. As you can imagine this was a great challenge and really got my creative juices flowing!
Foyer work
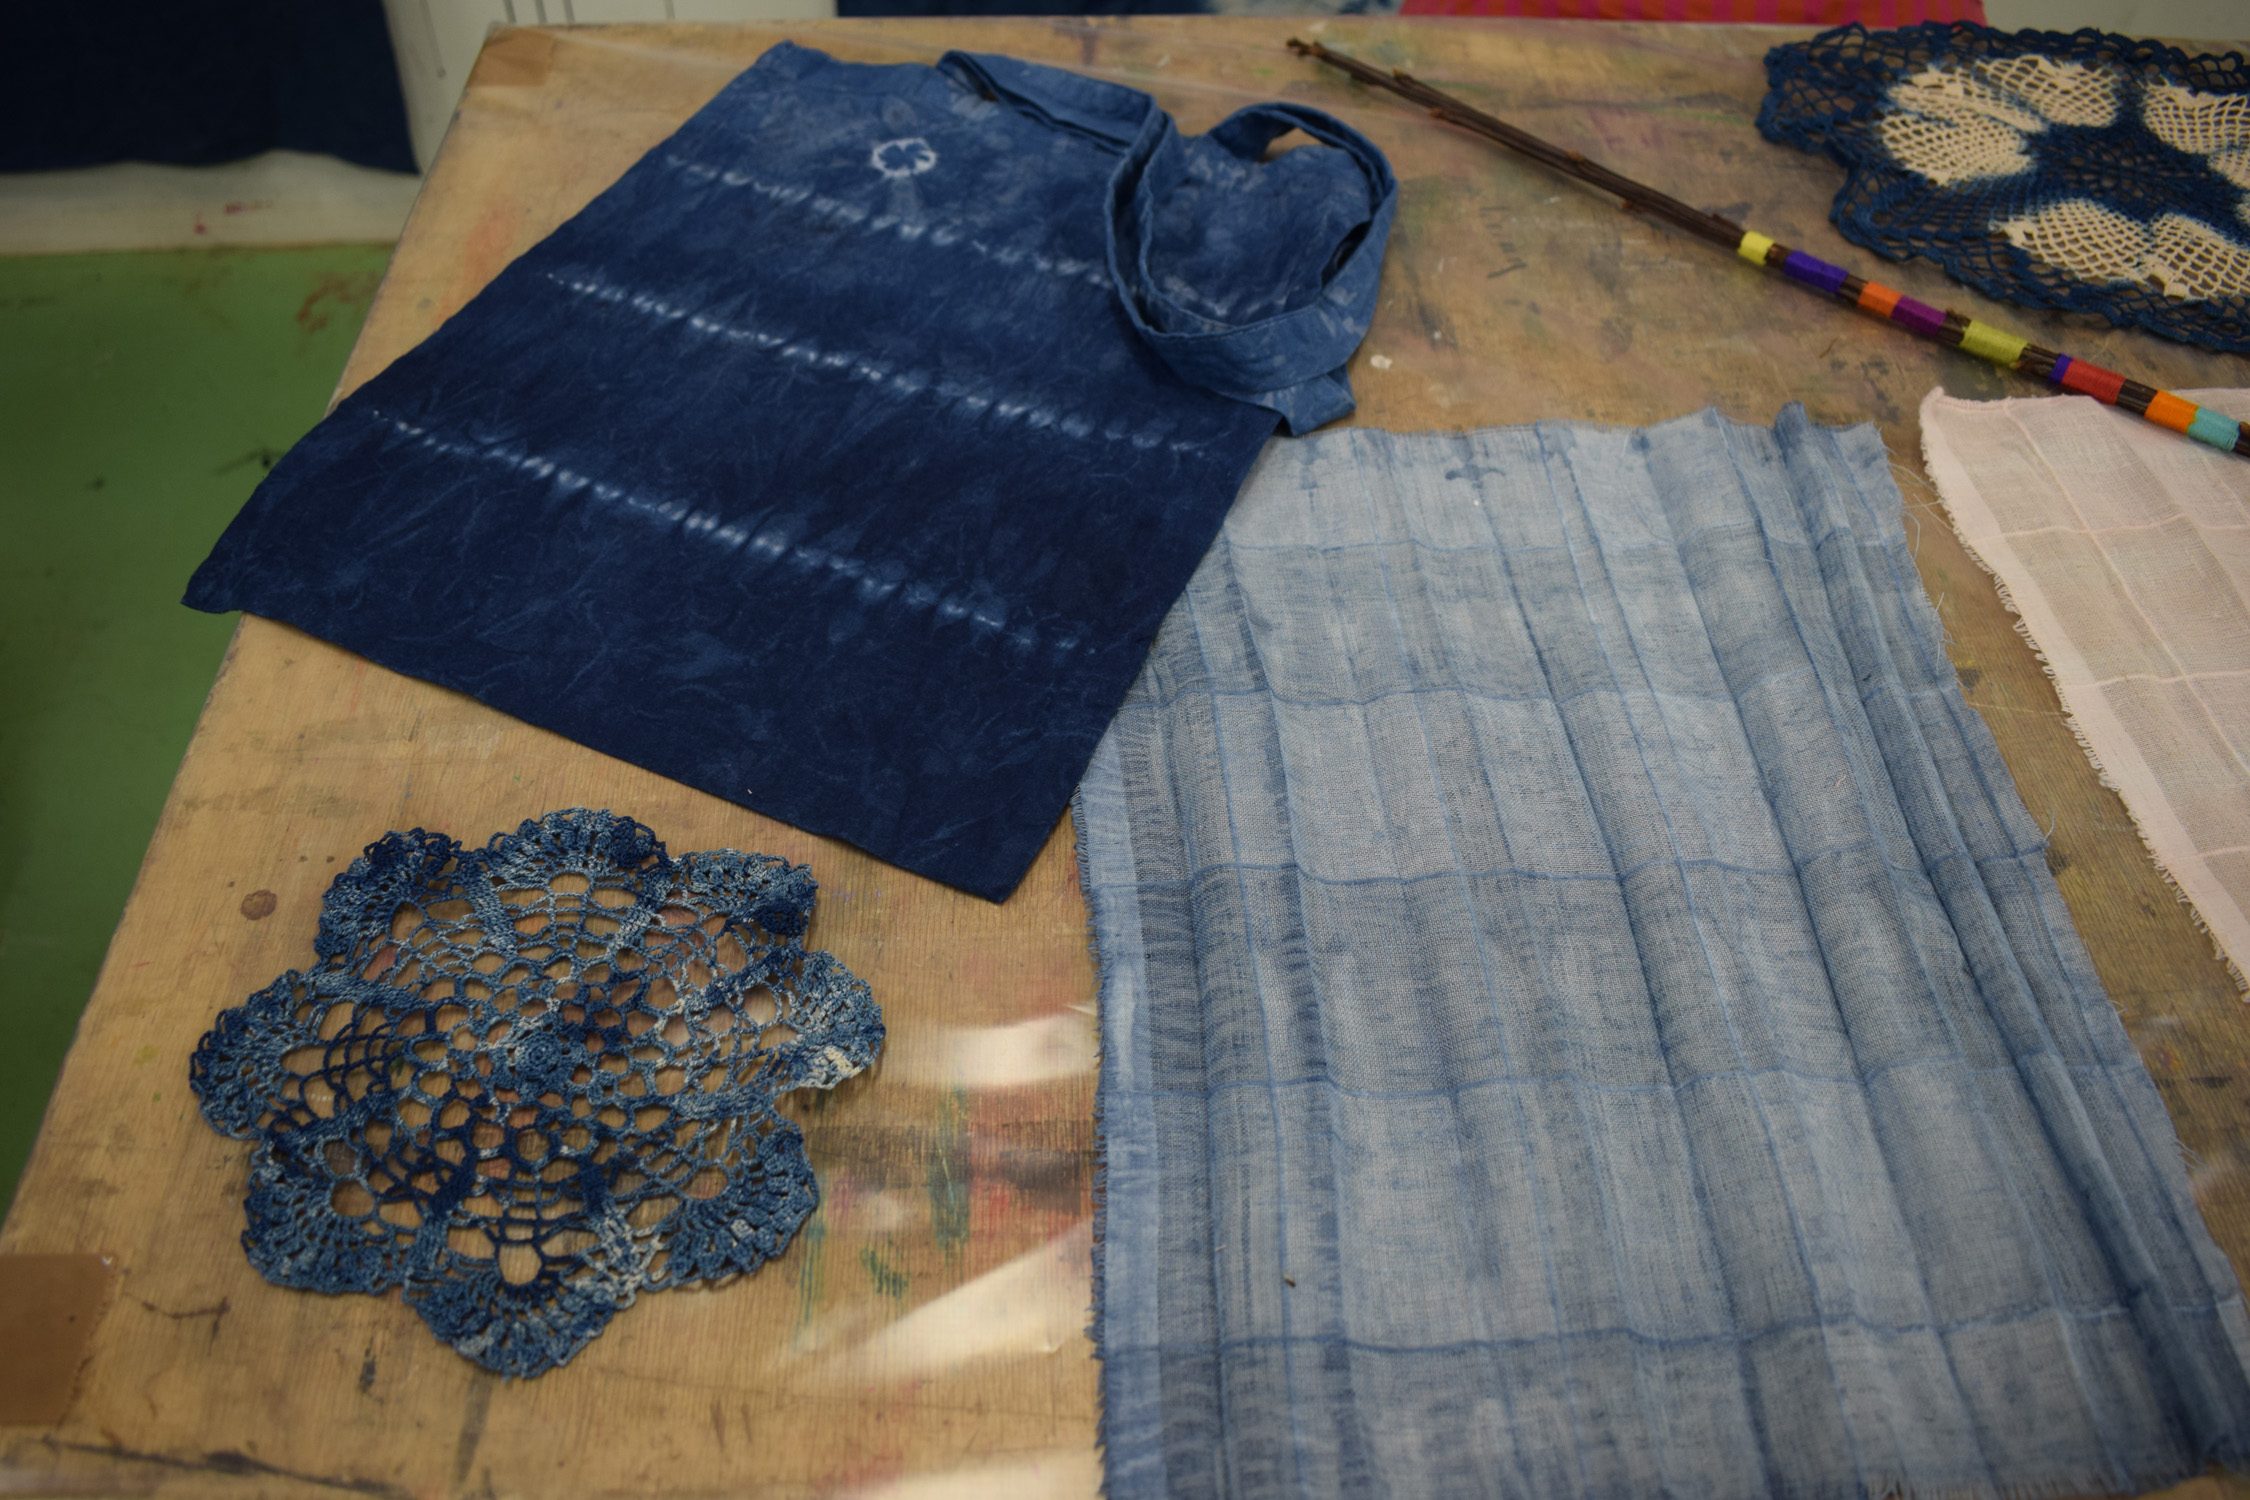
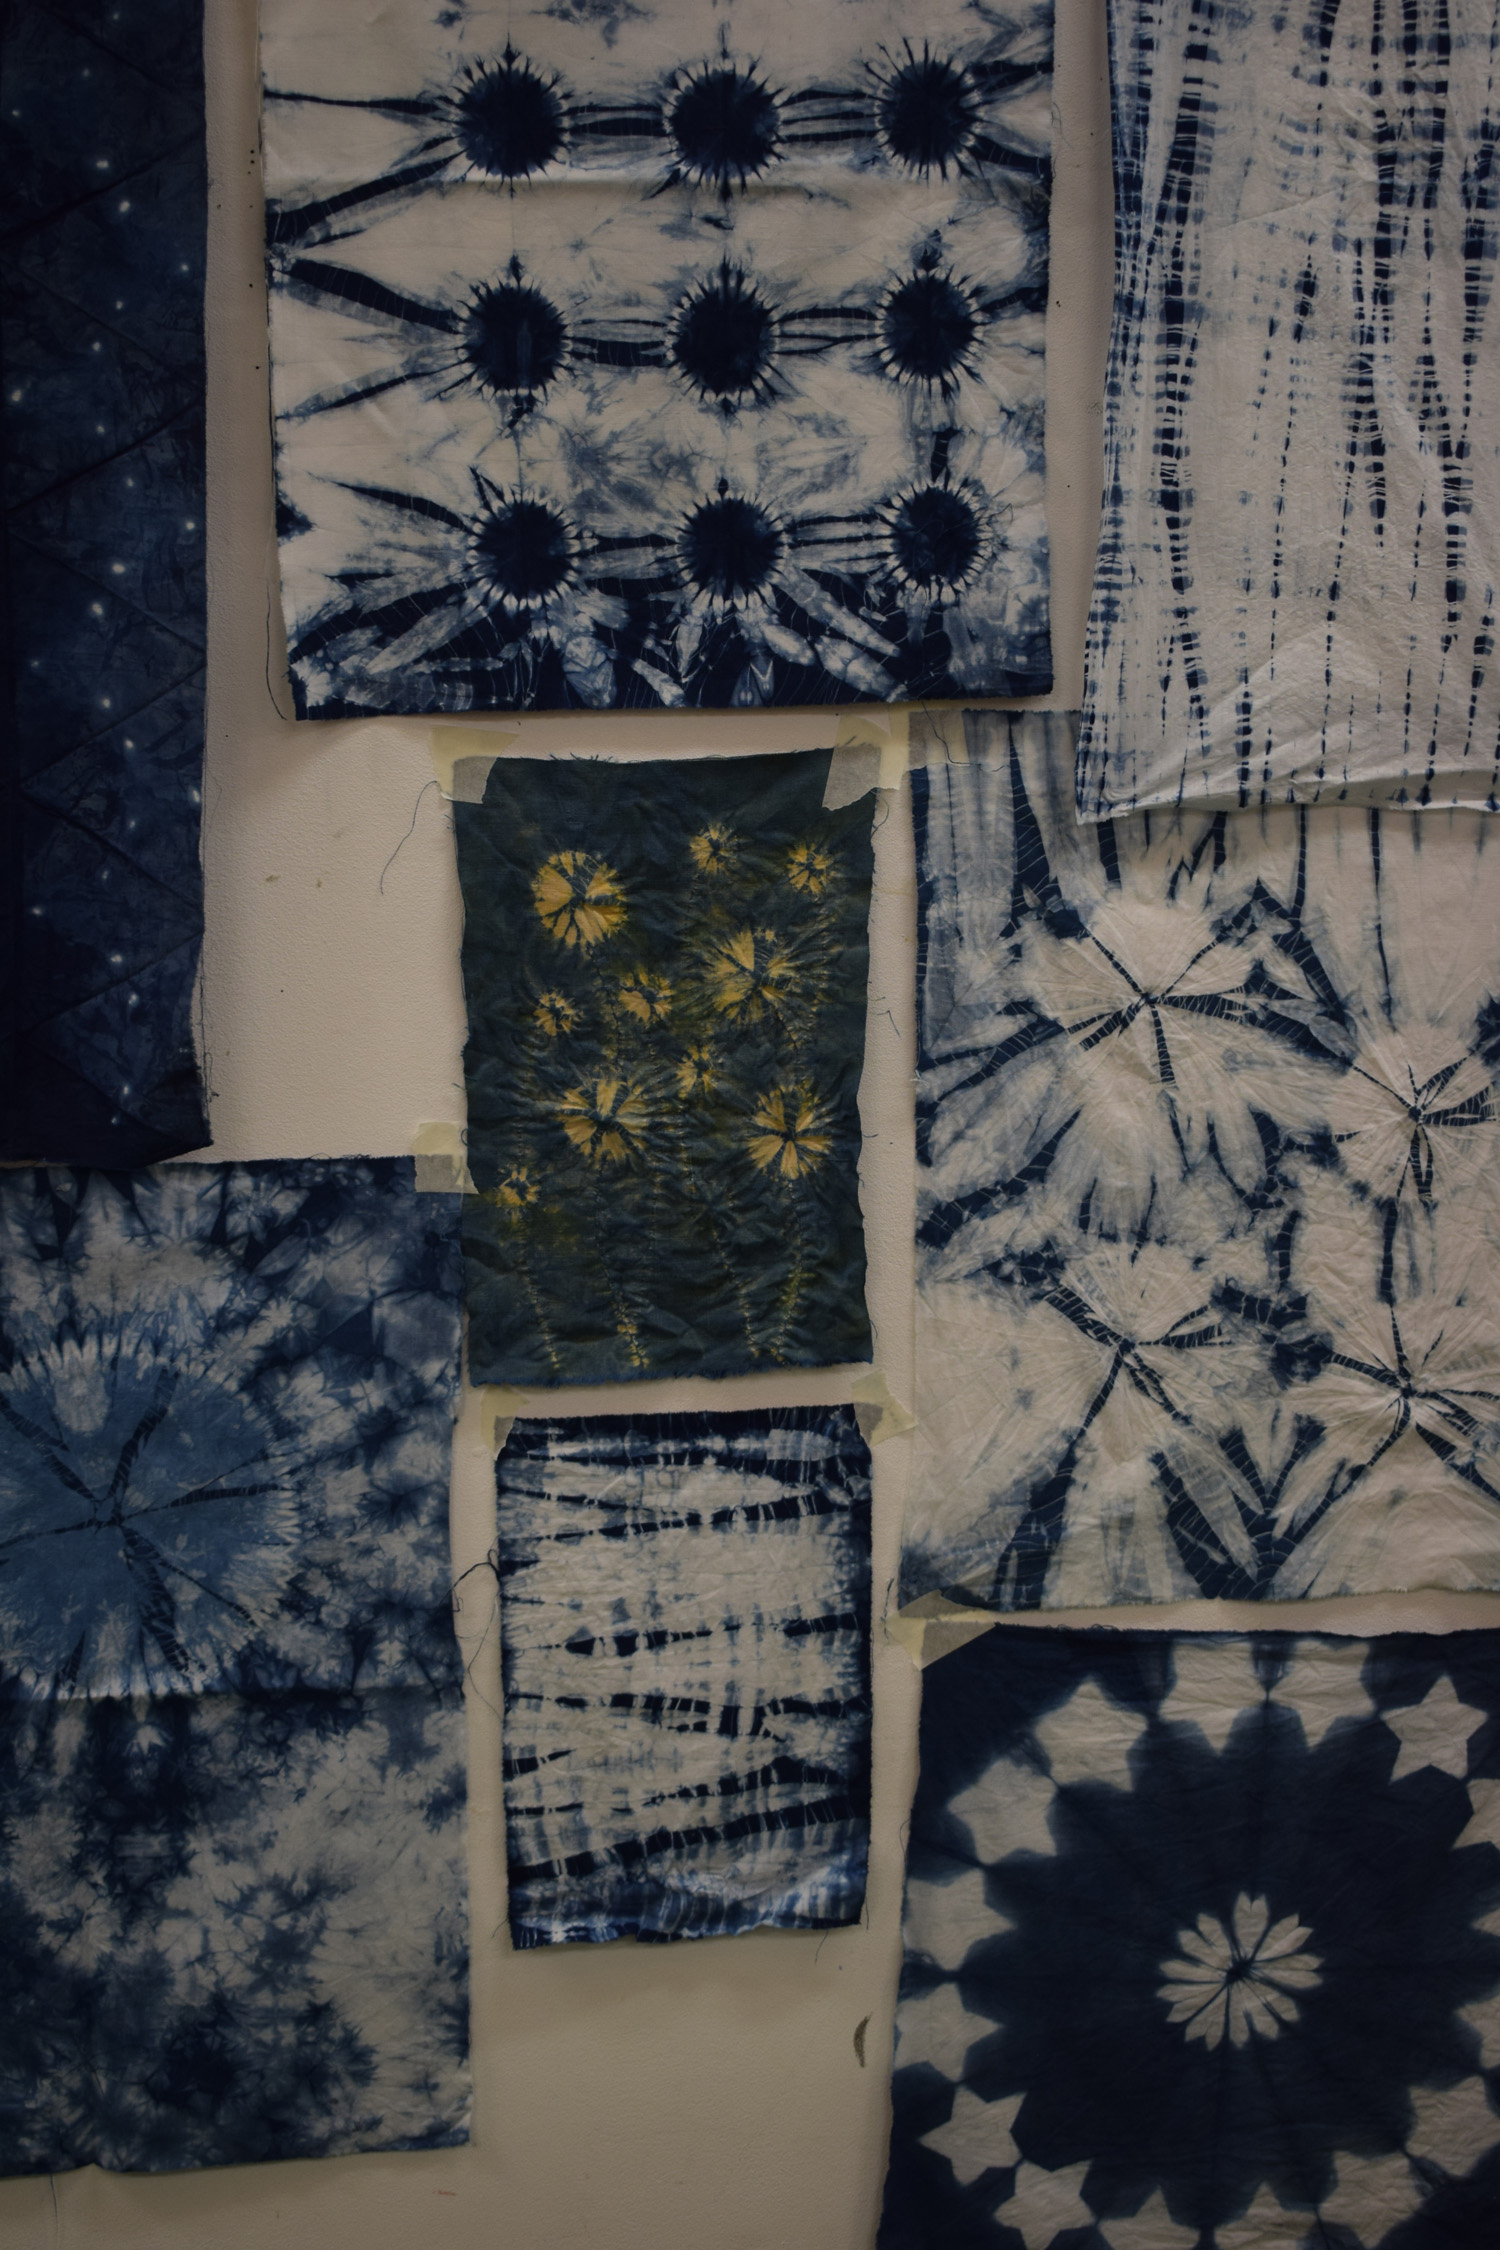
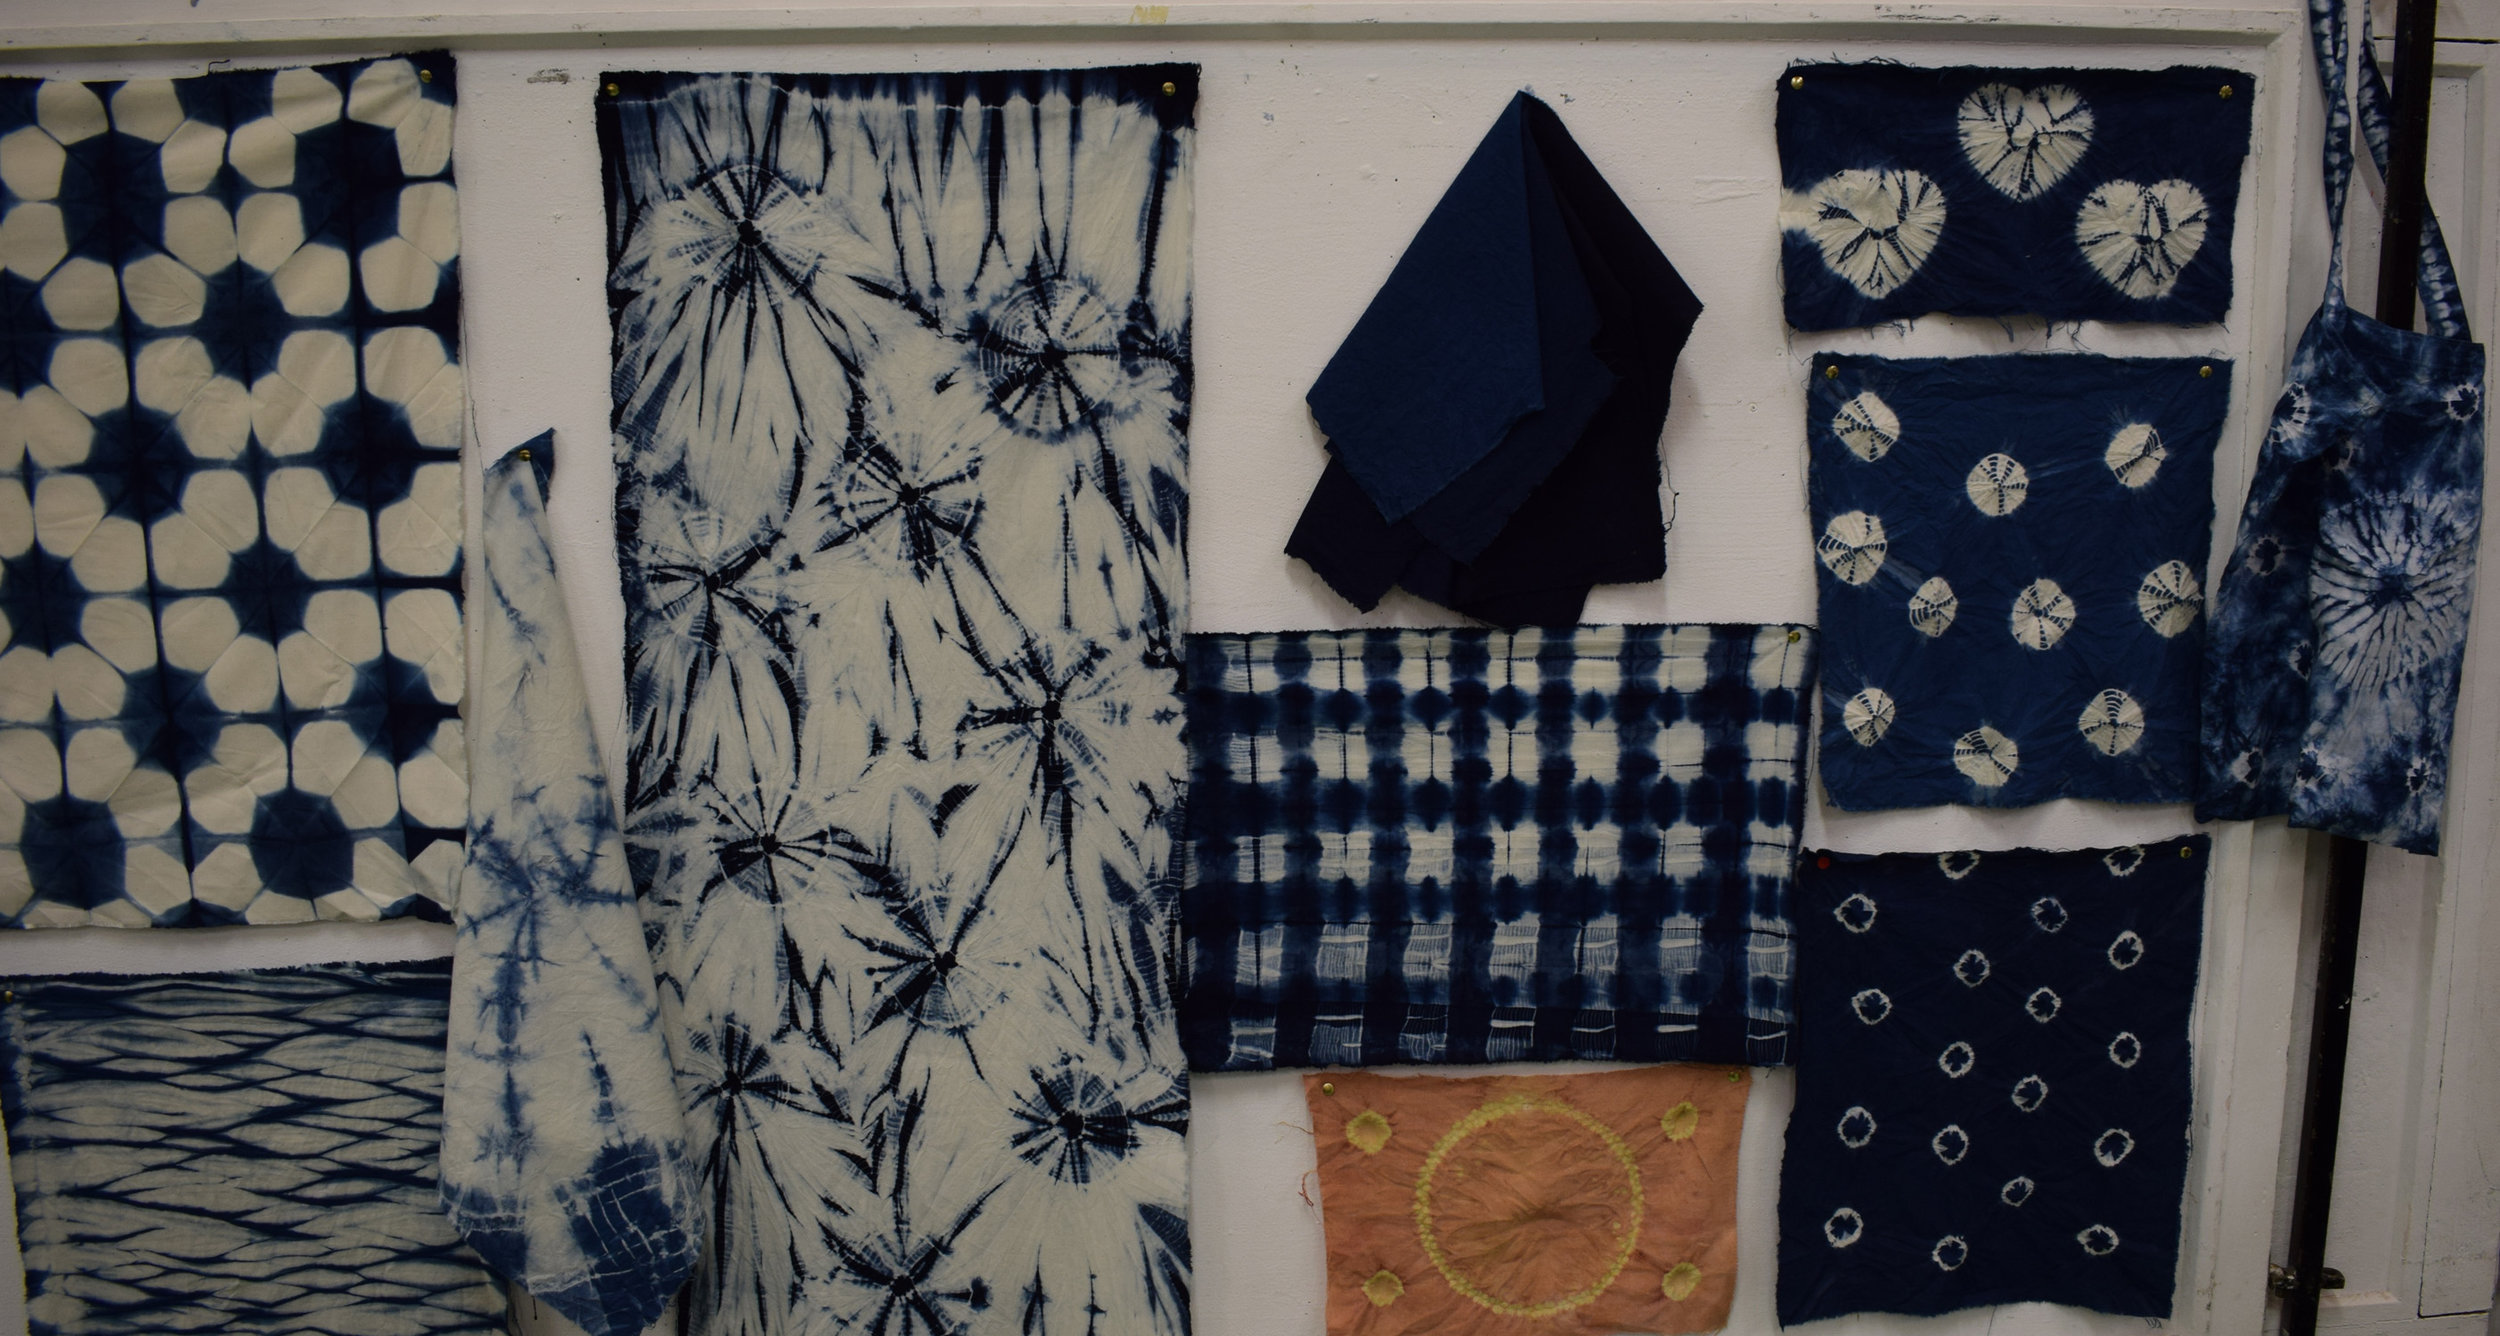
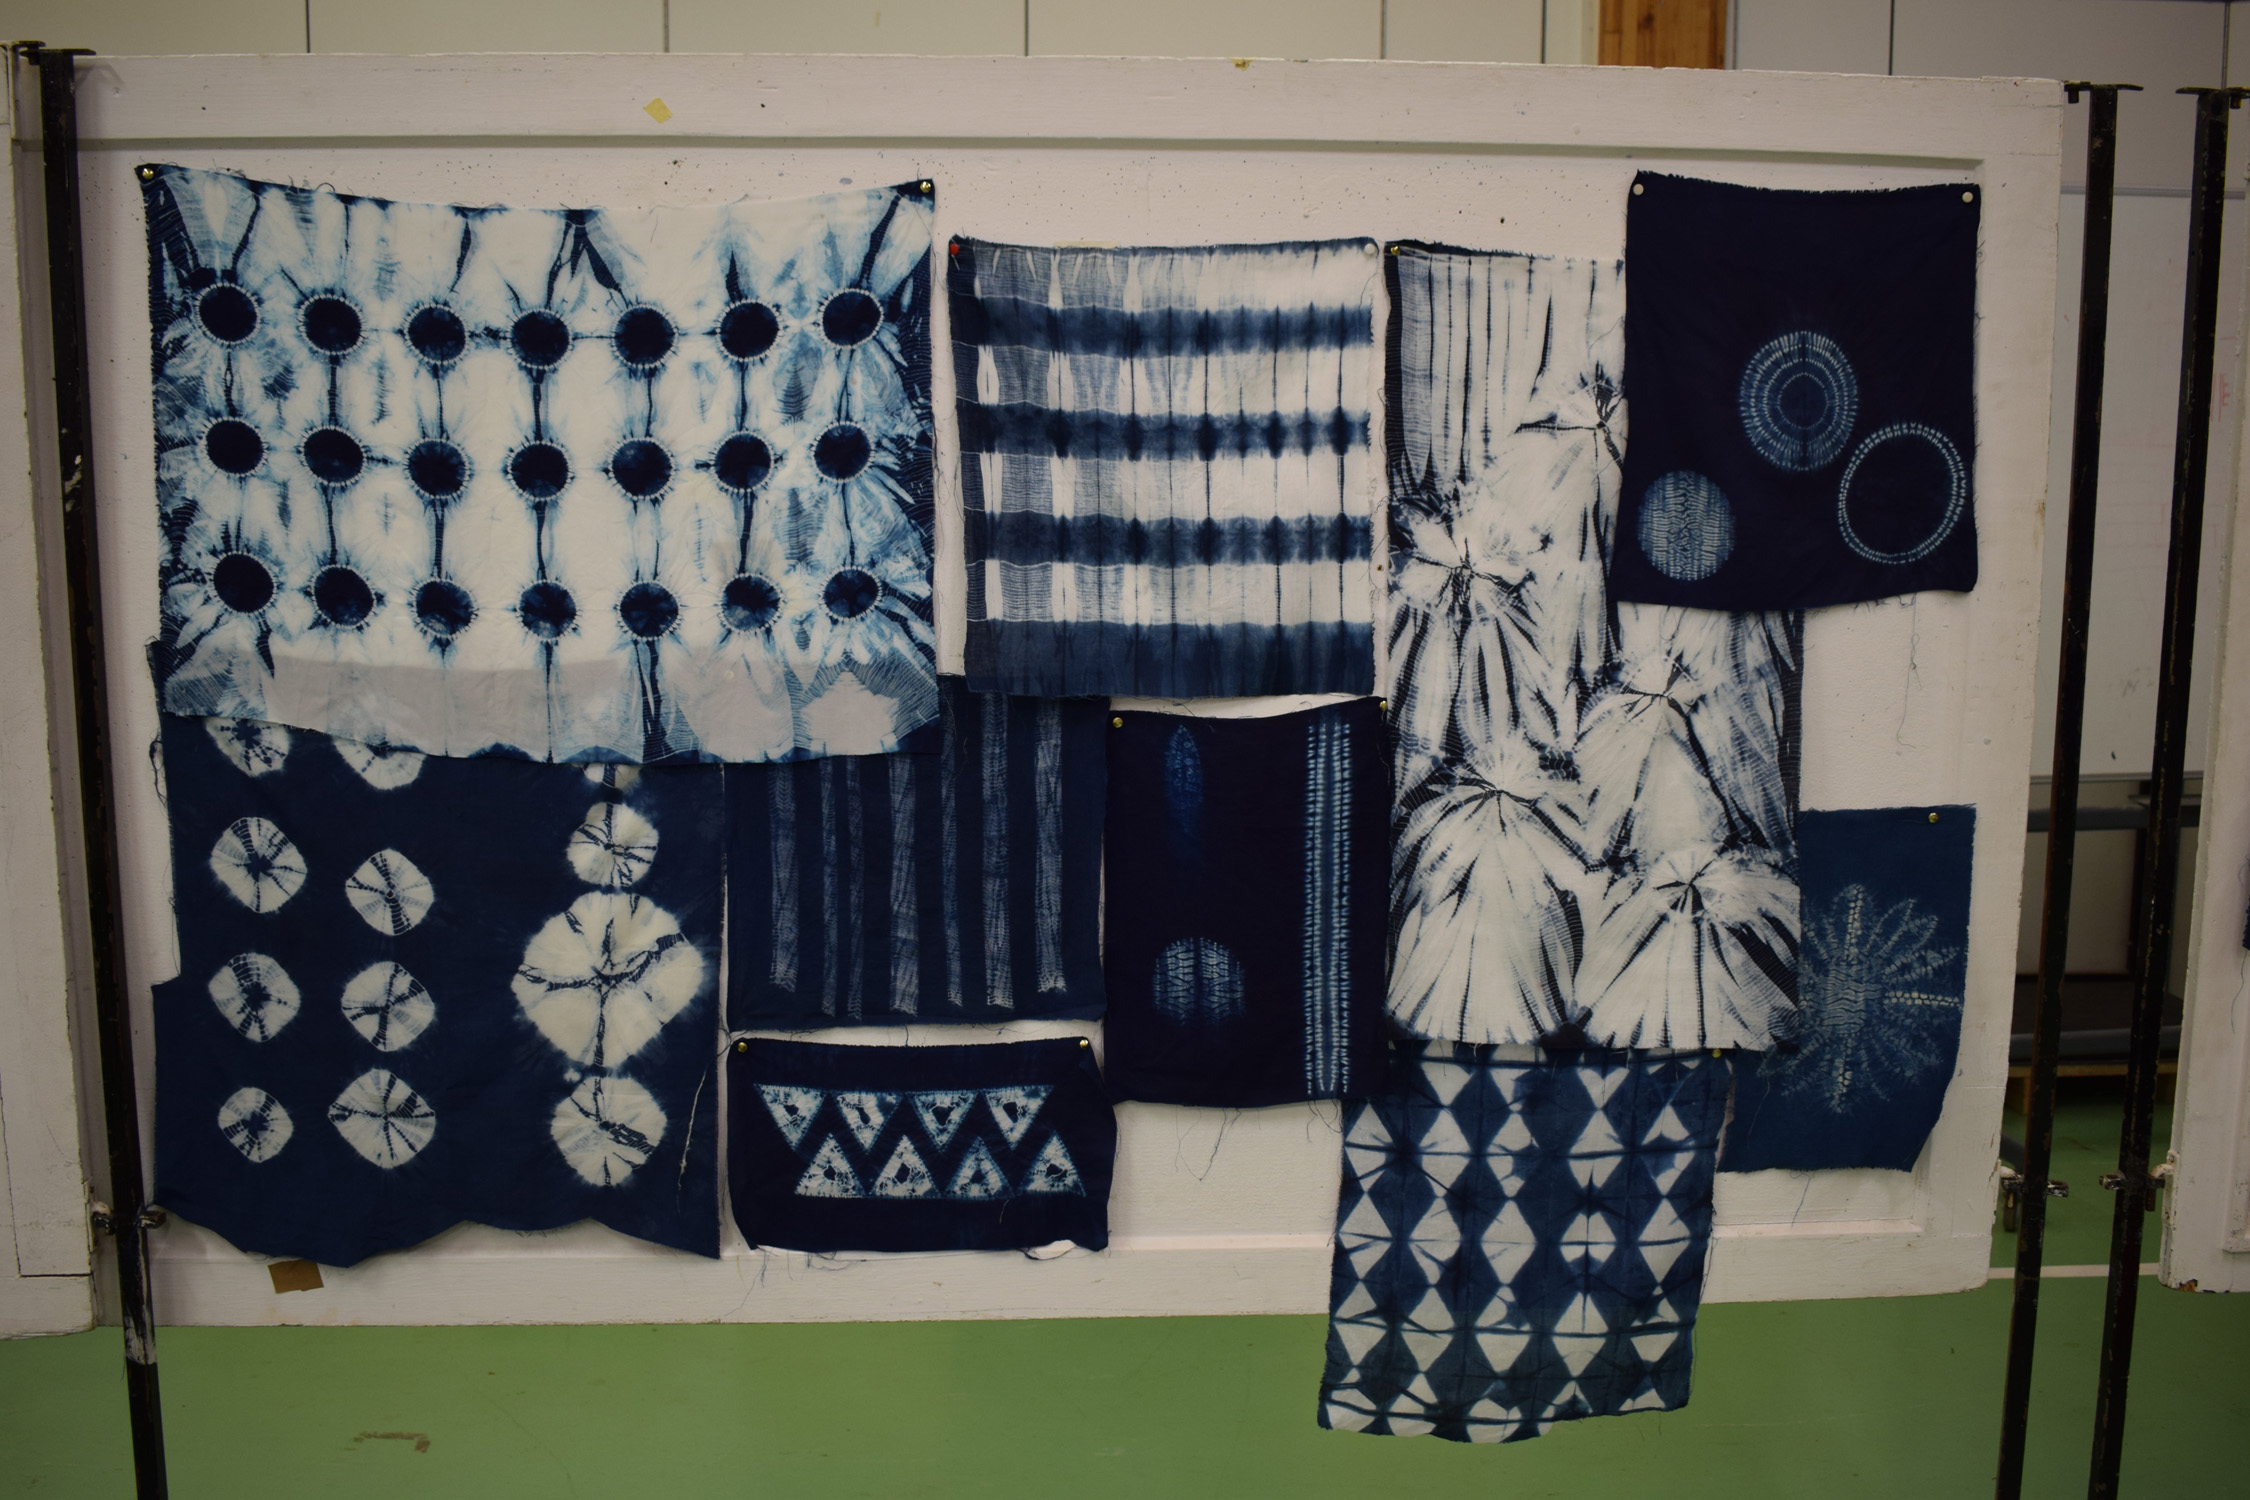
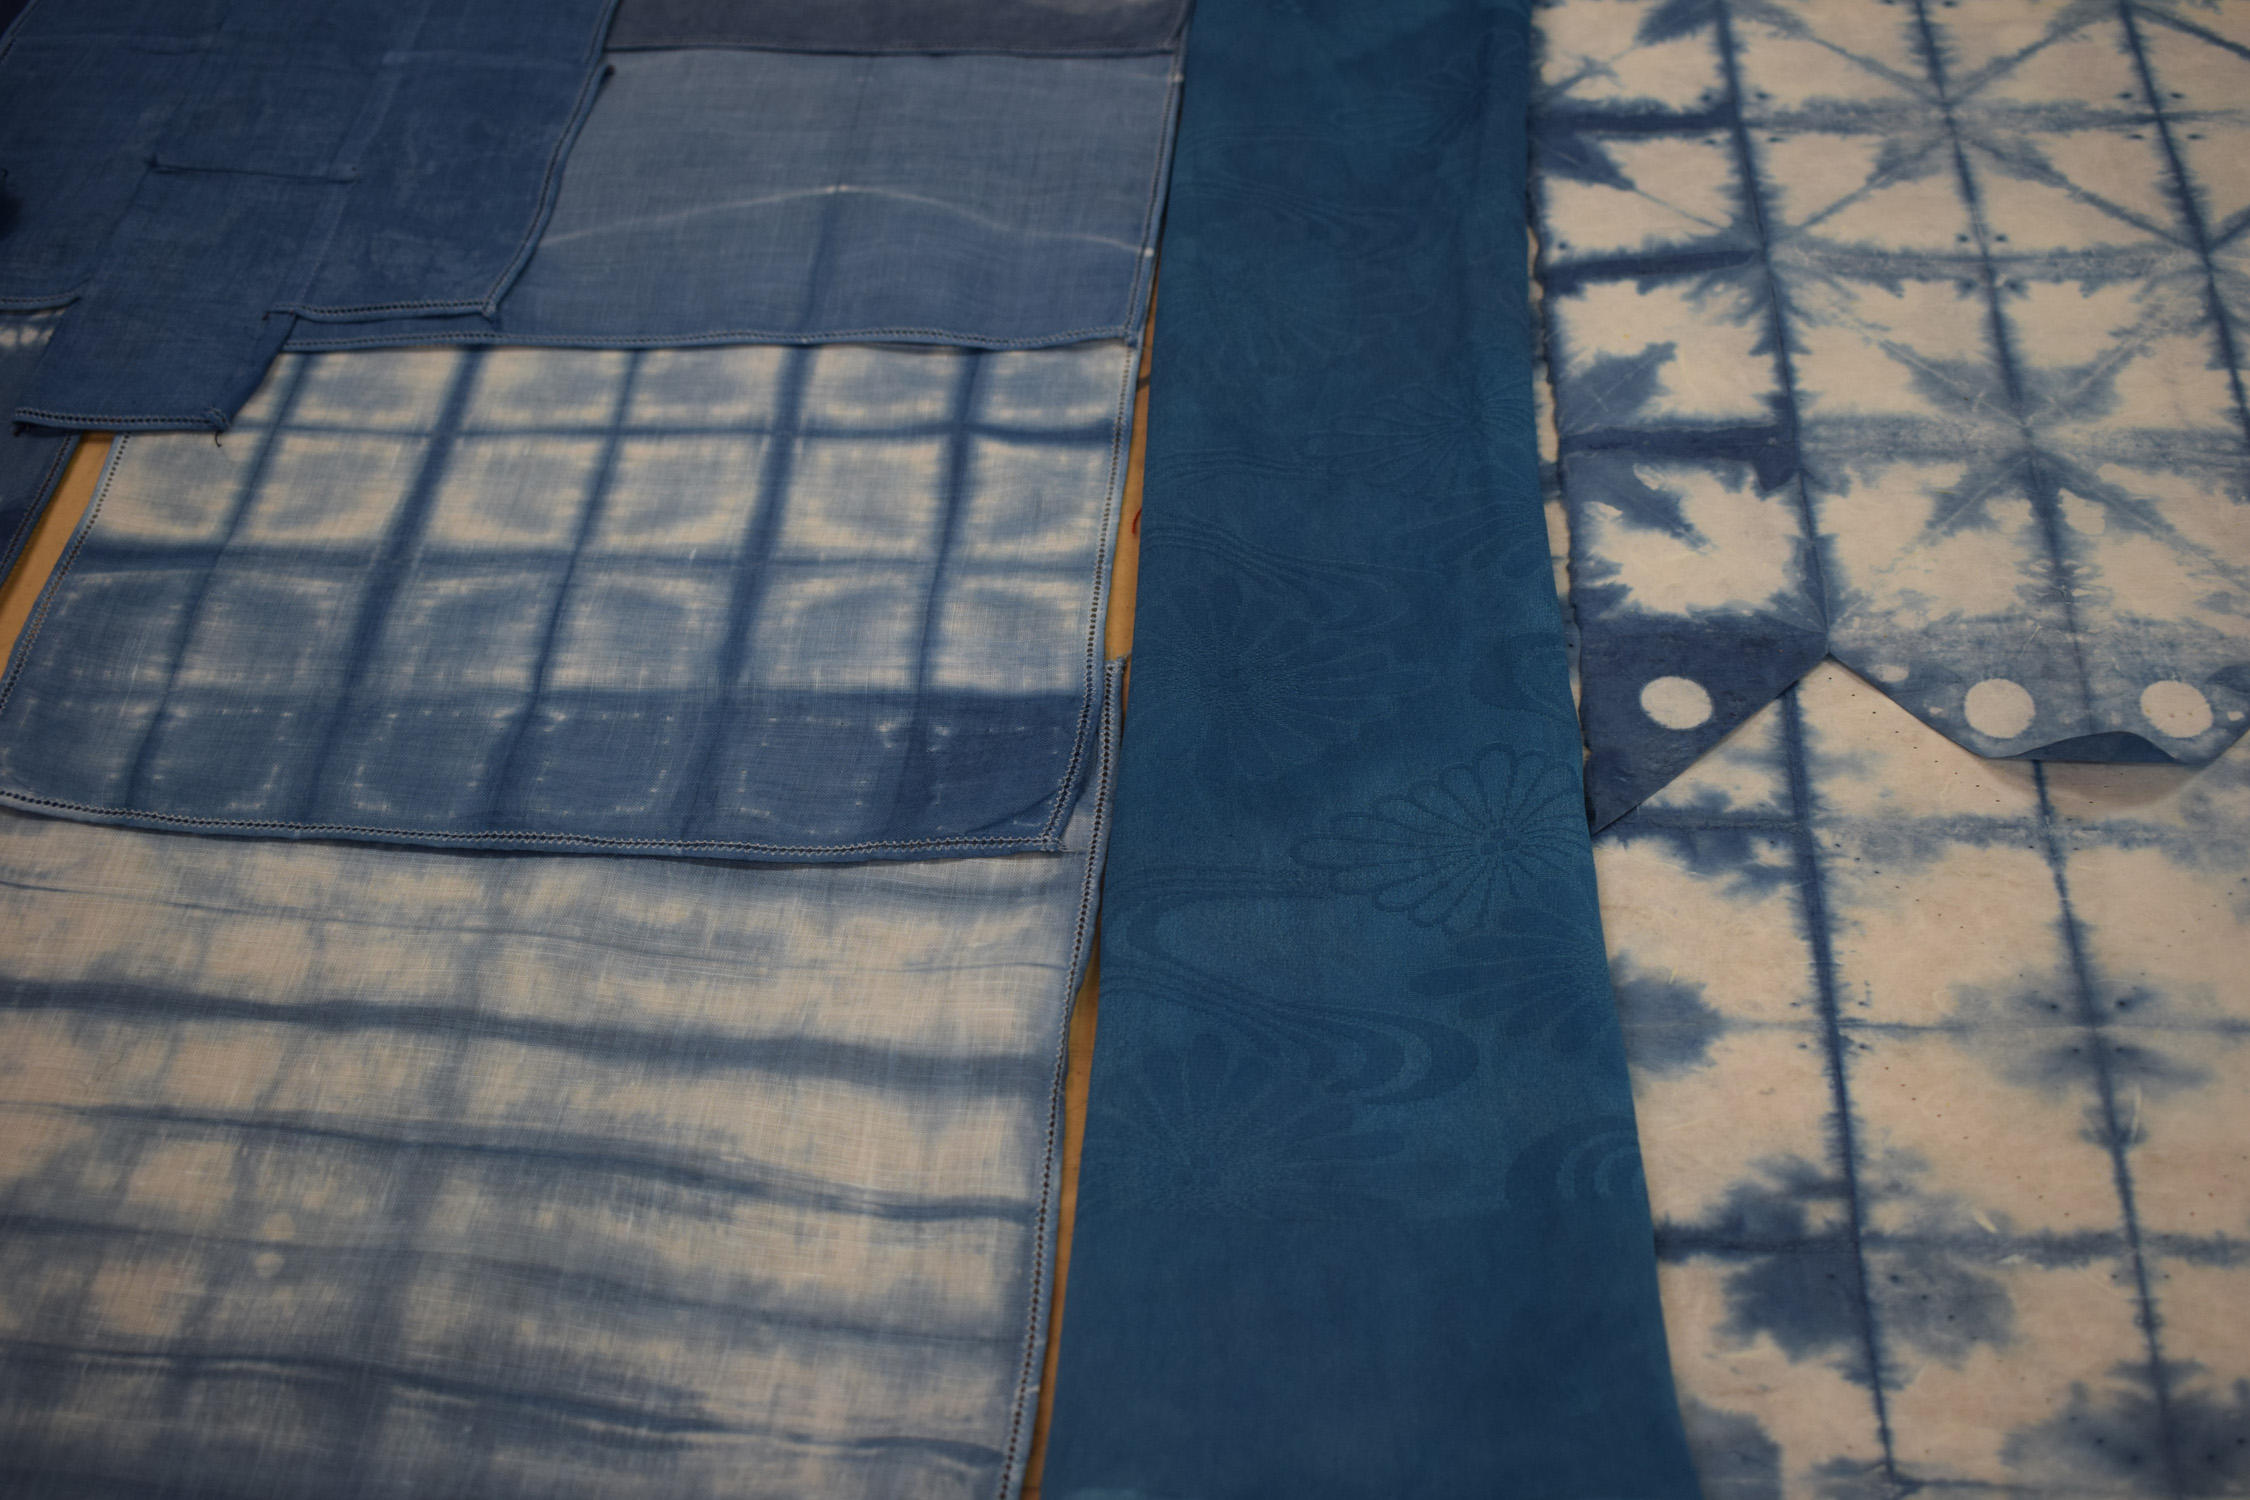
Here are a few pics of what was on display...
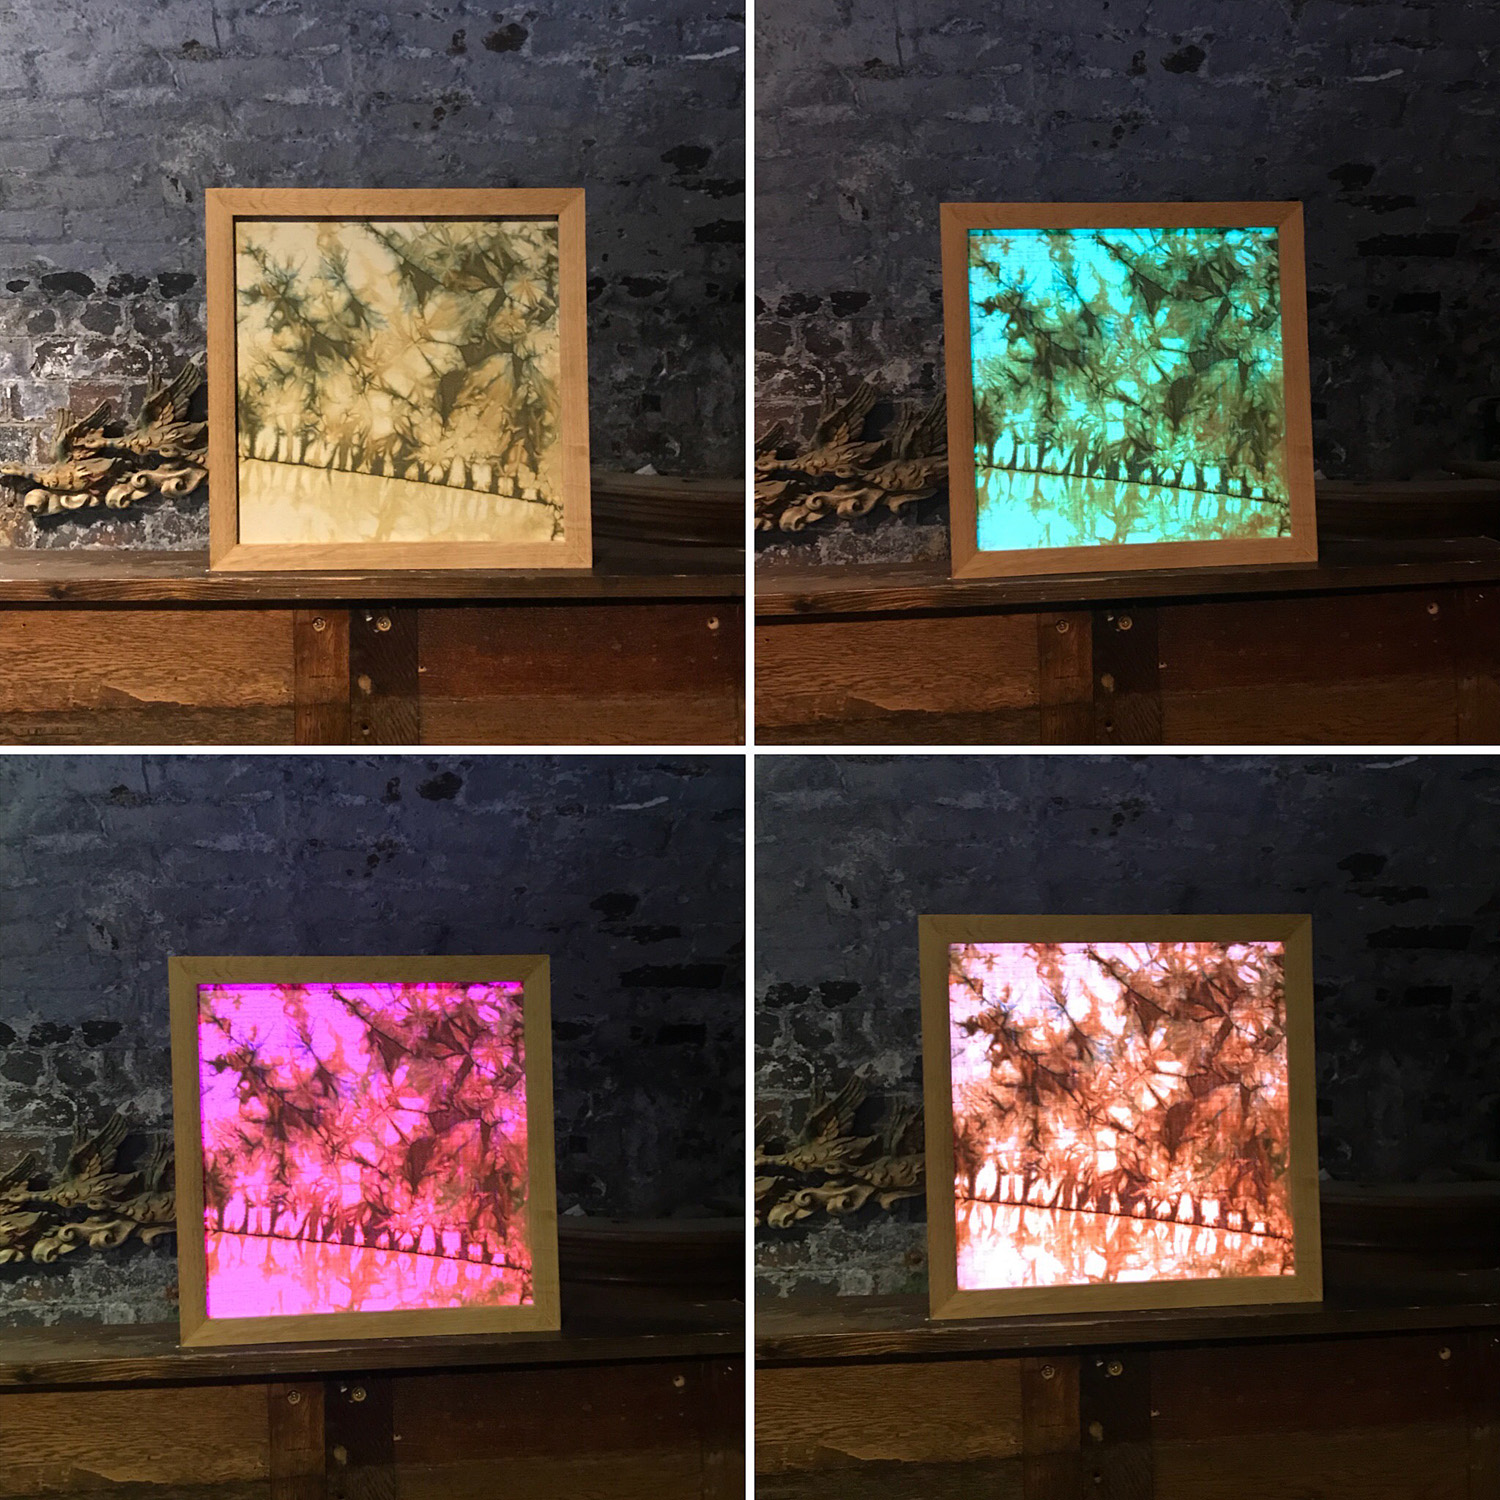
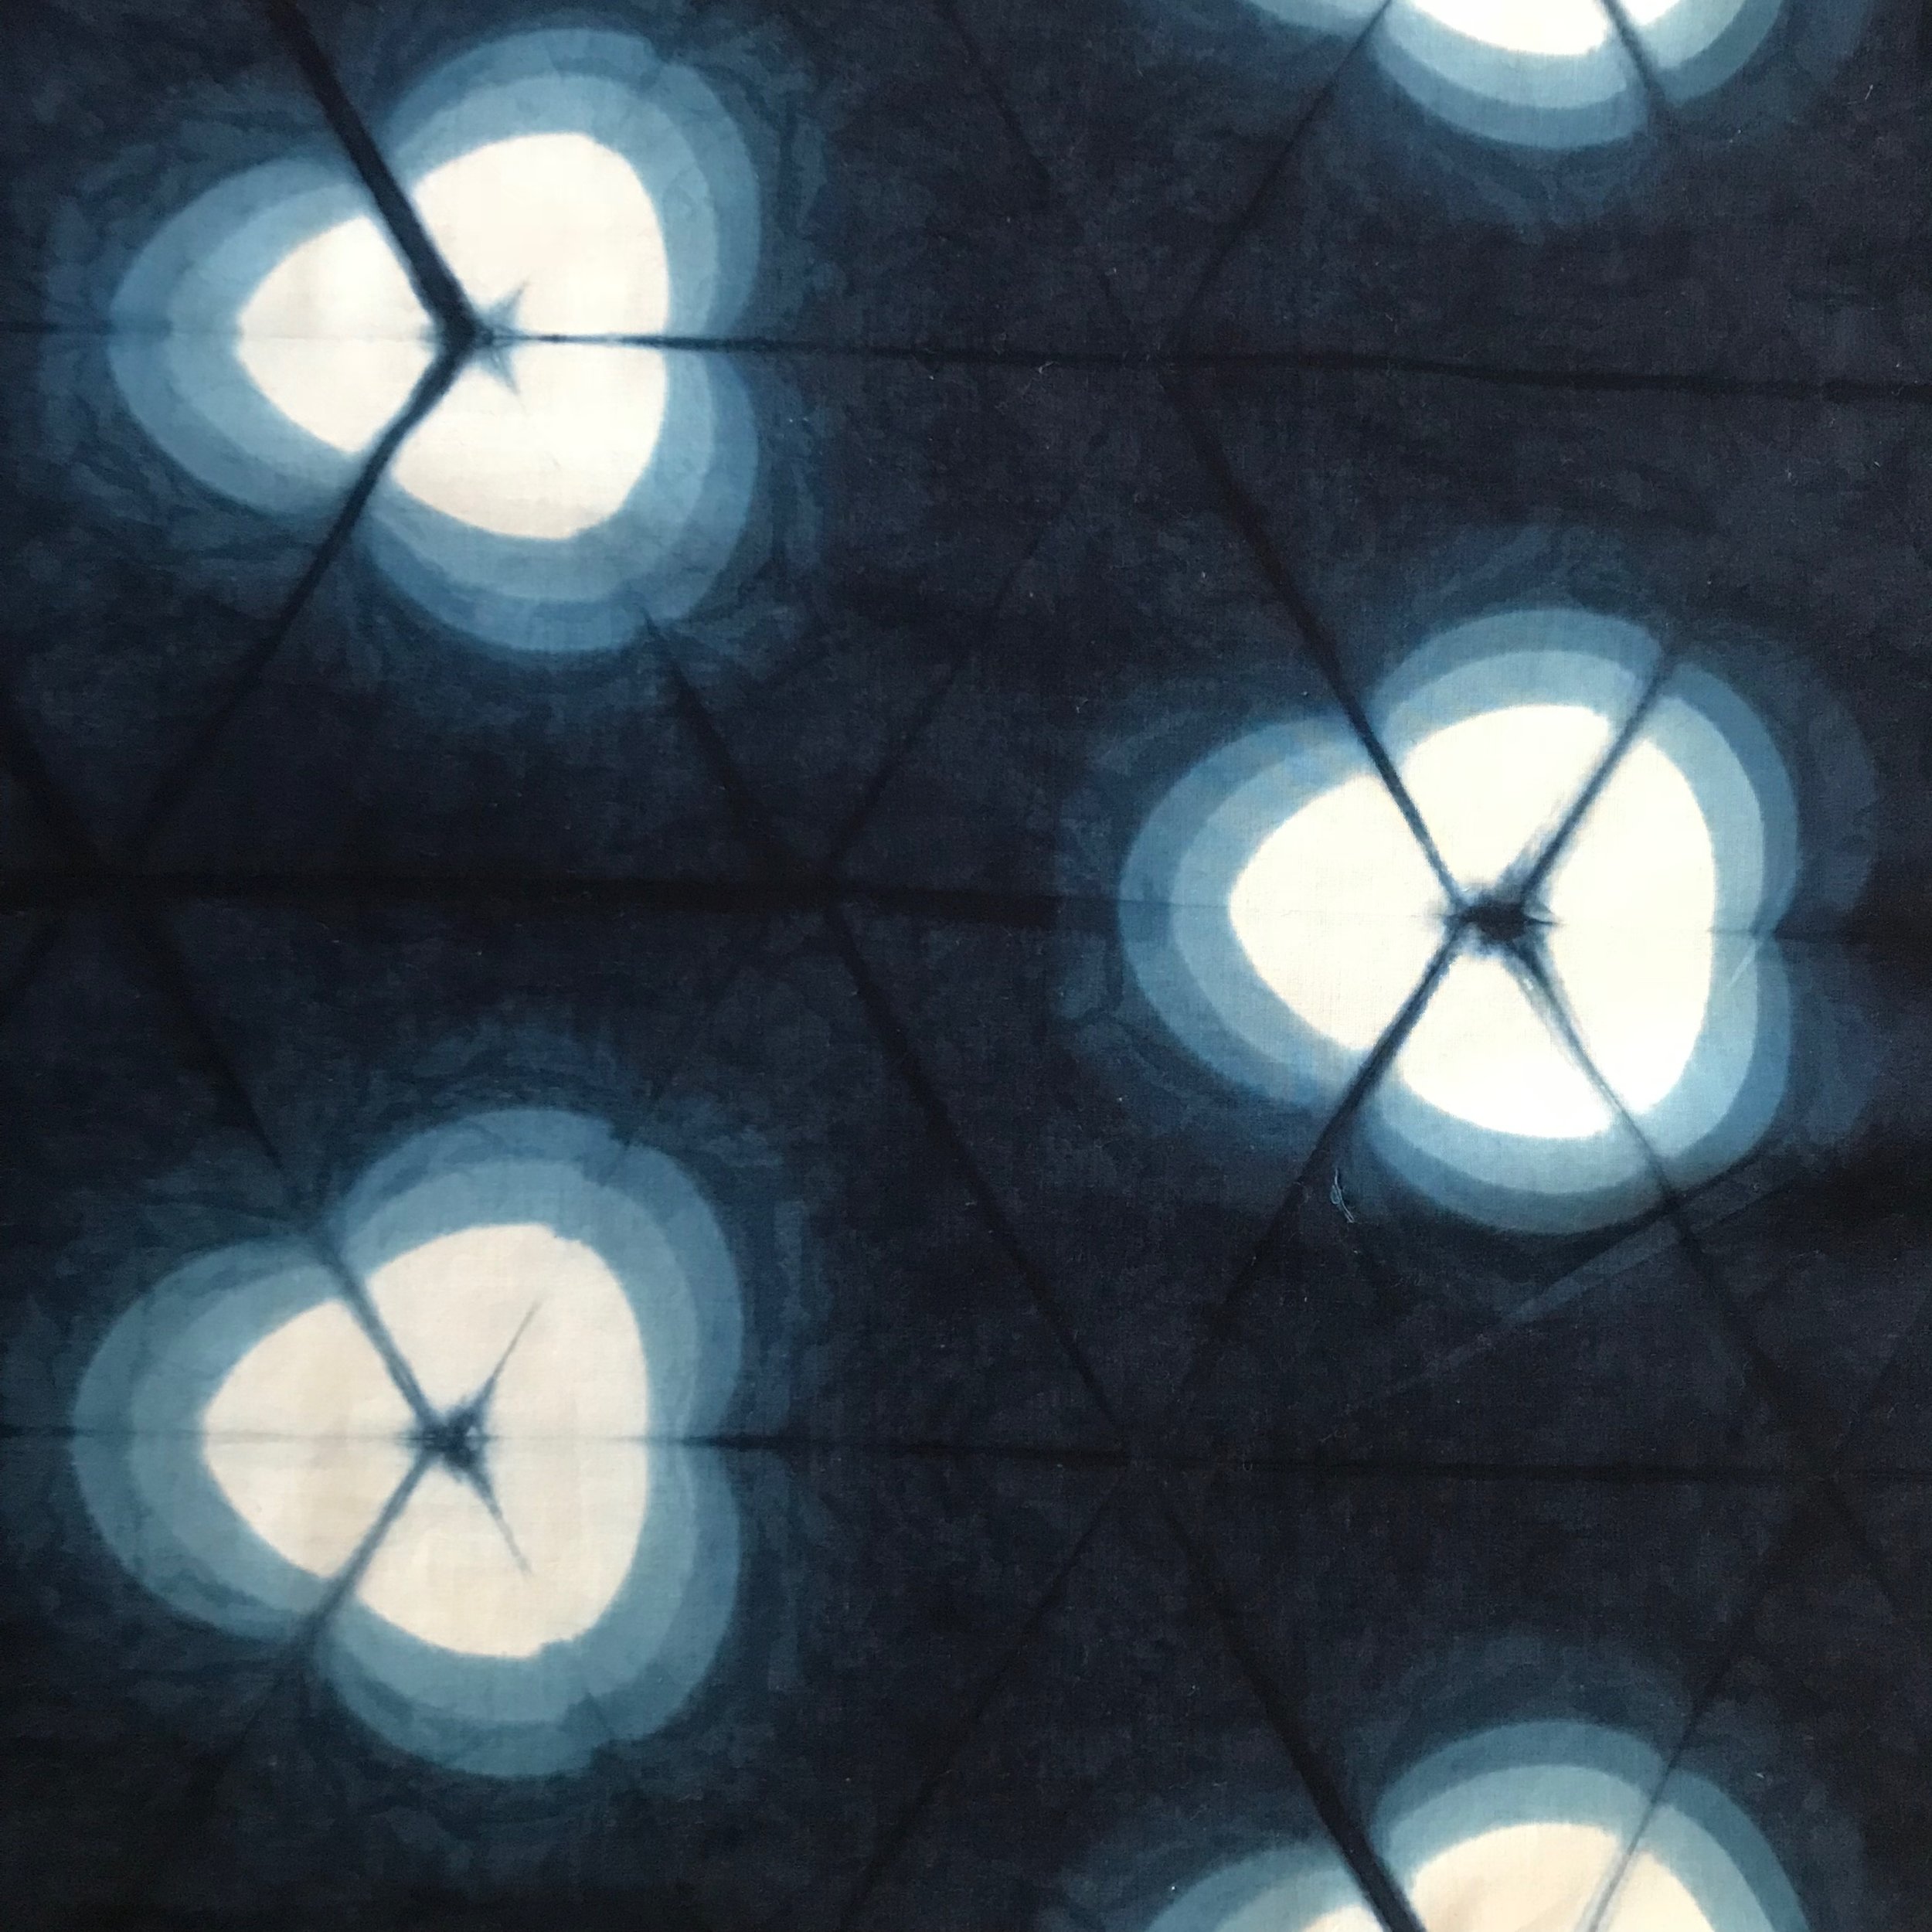
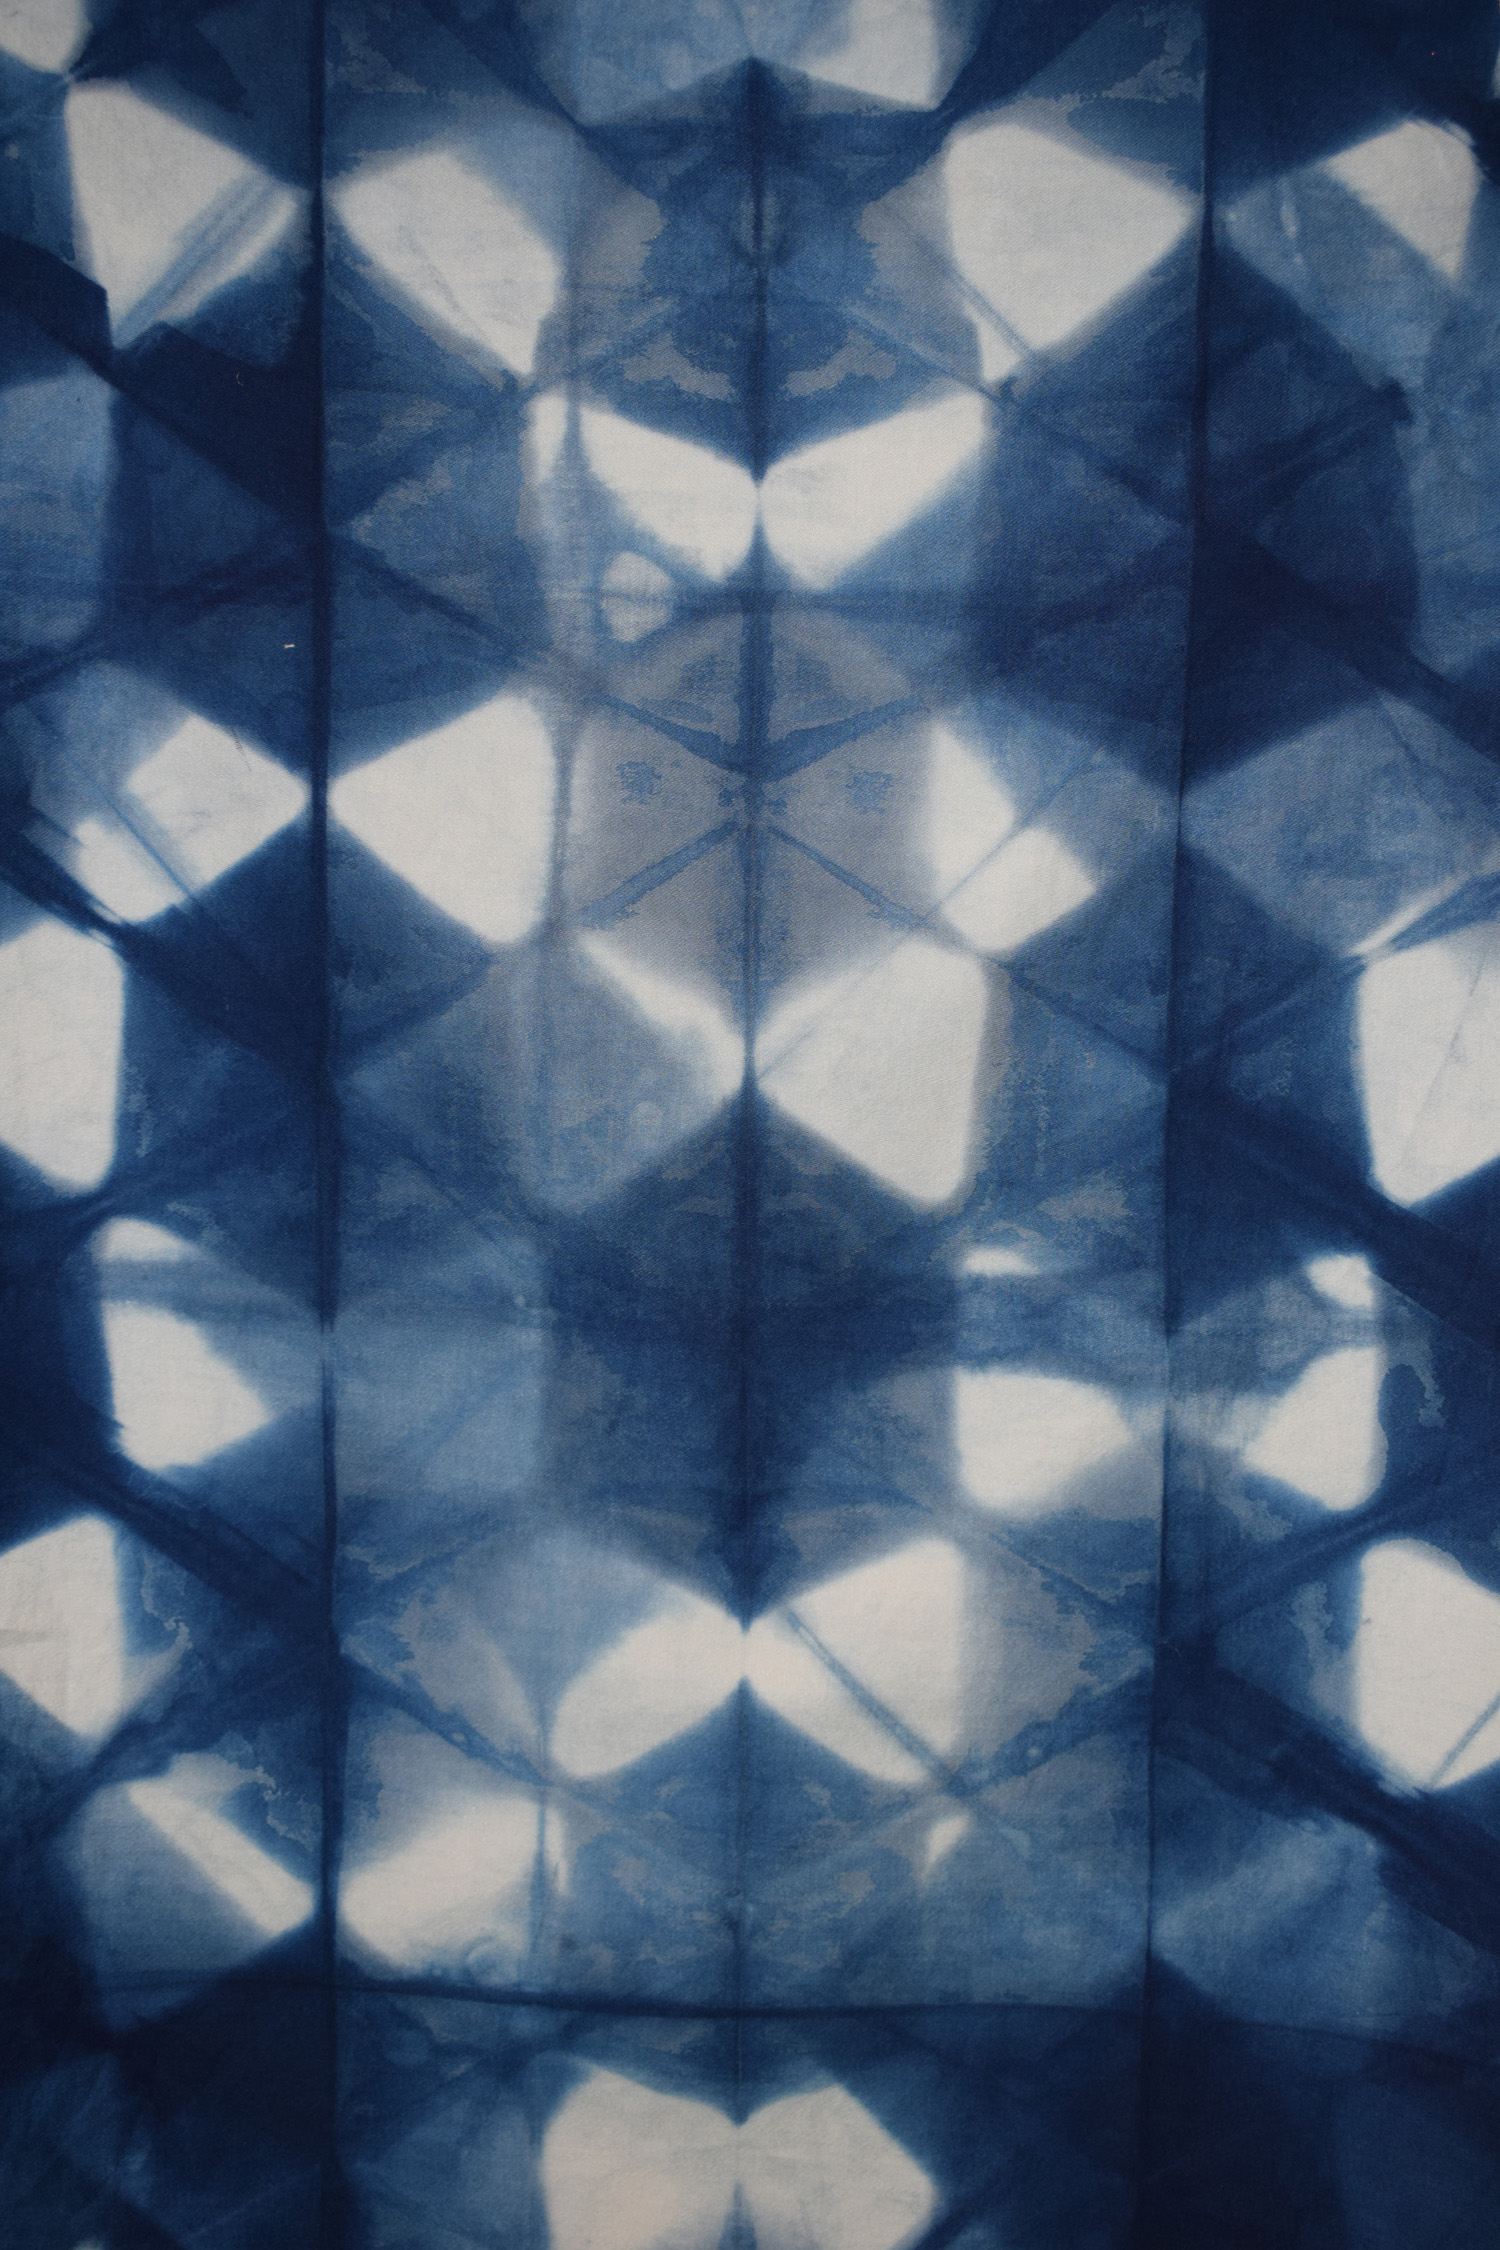
The first is a light box containing stitched and marbled fabric dyed with Myrobalan and indigo to get gold and teal tones (left). The lightbox has a colour-changing feature which alters the background colour, something that was played with a lot in the West Dean foyer!
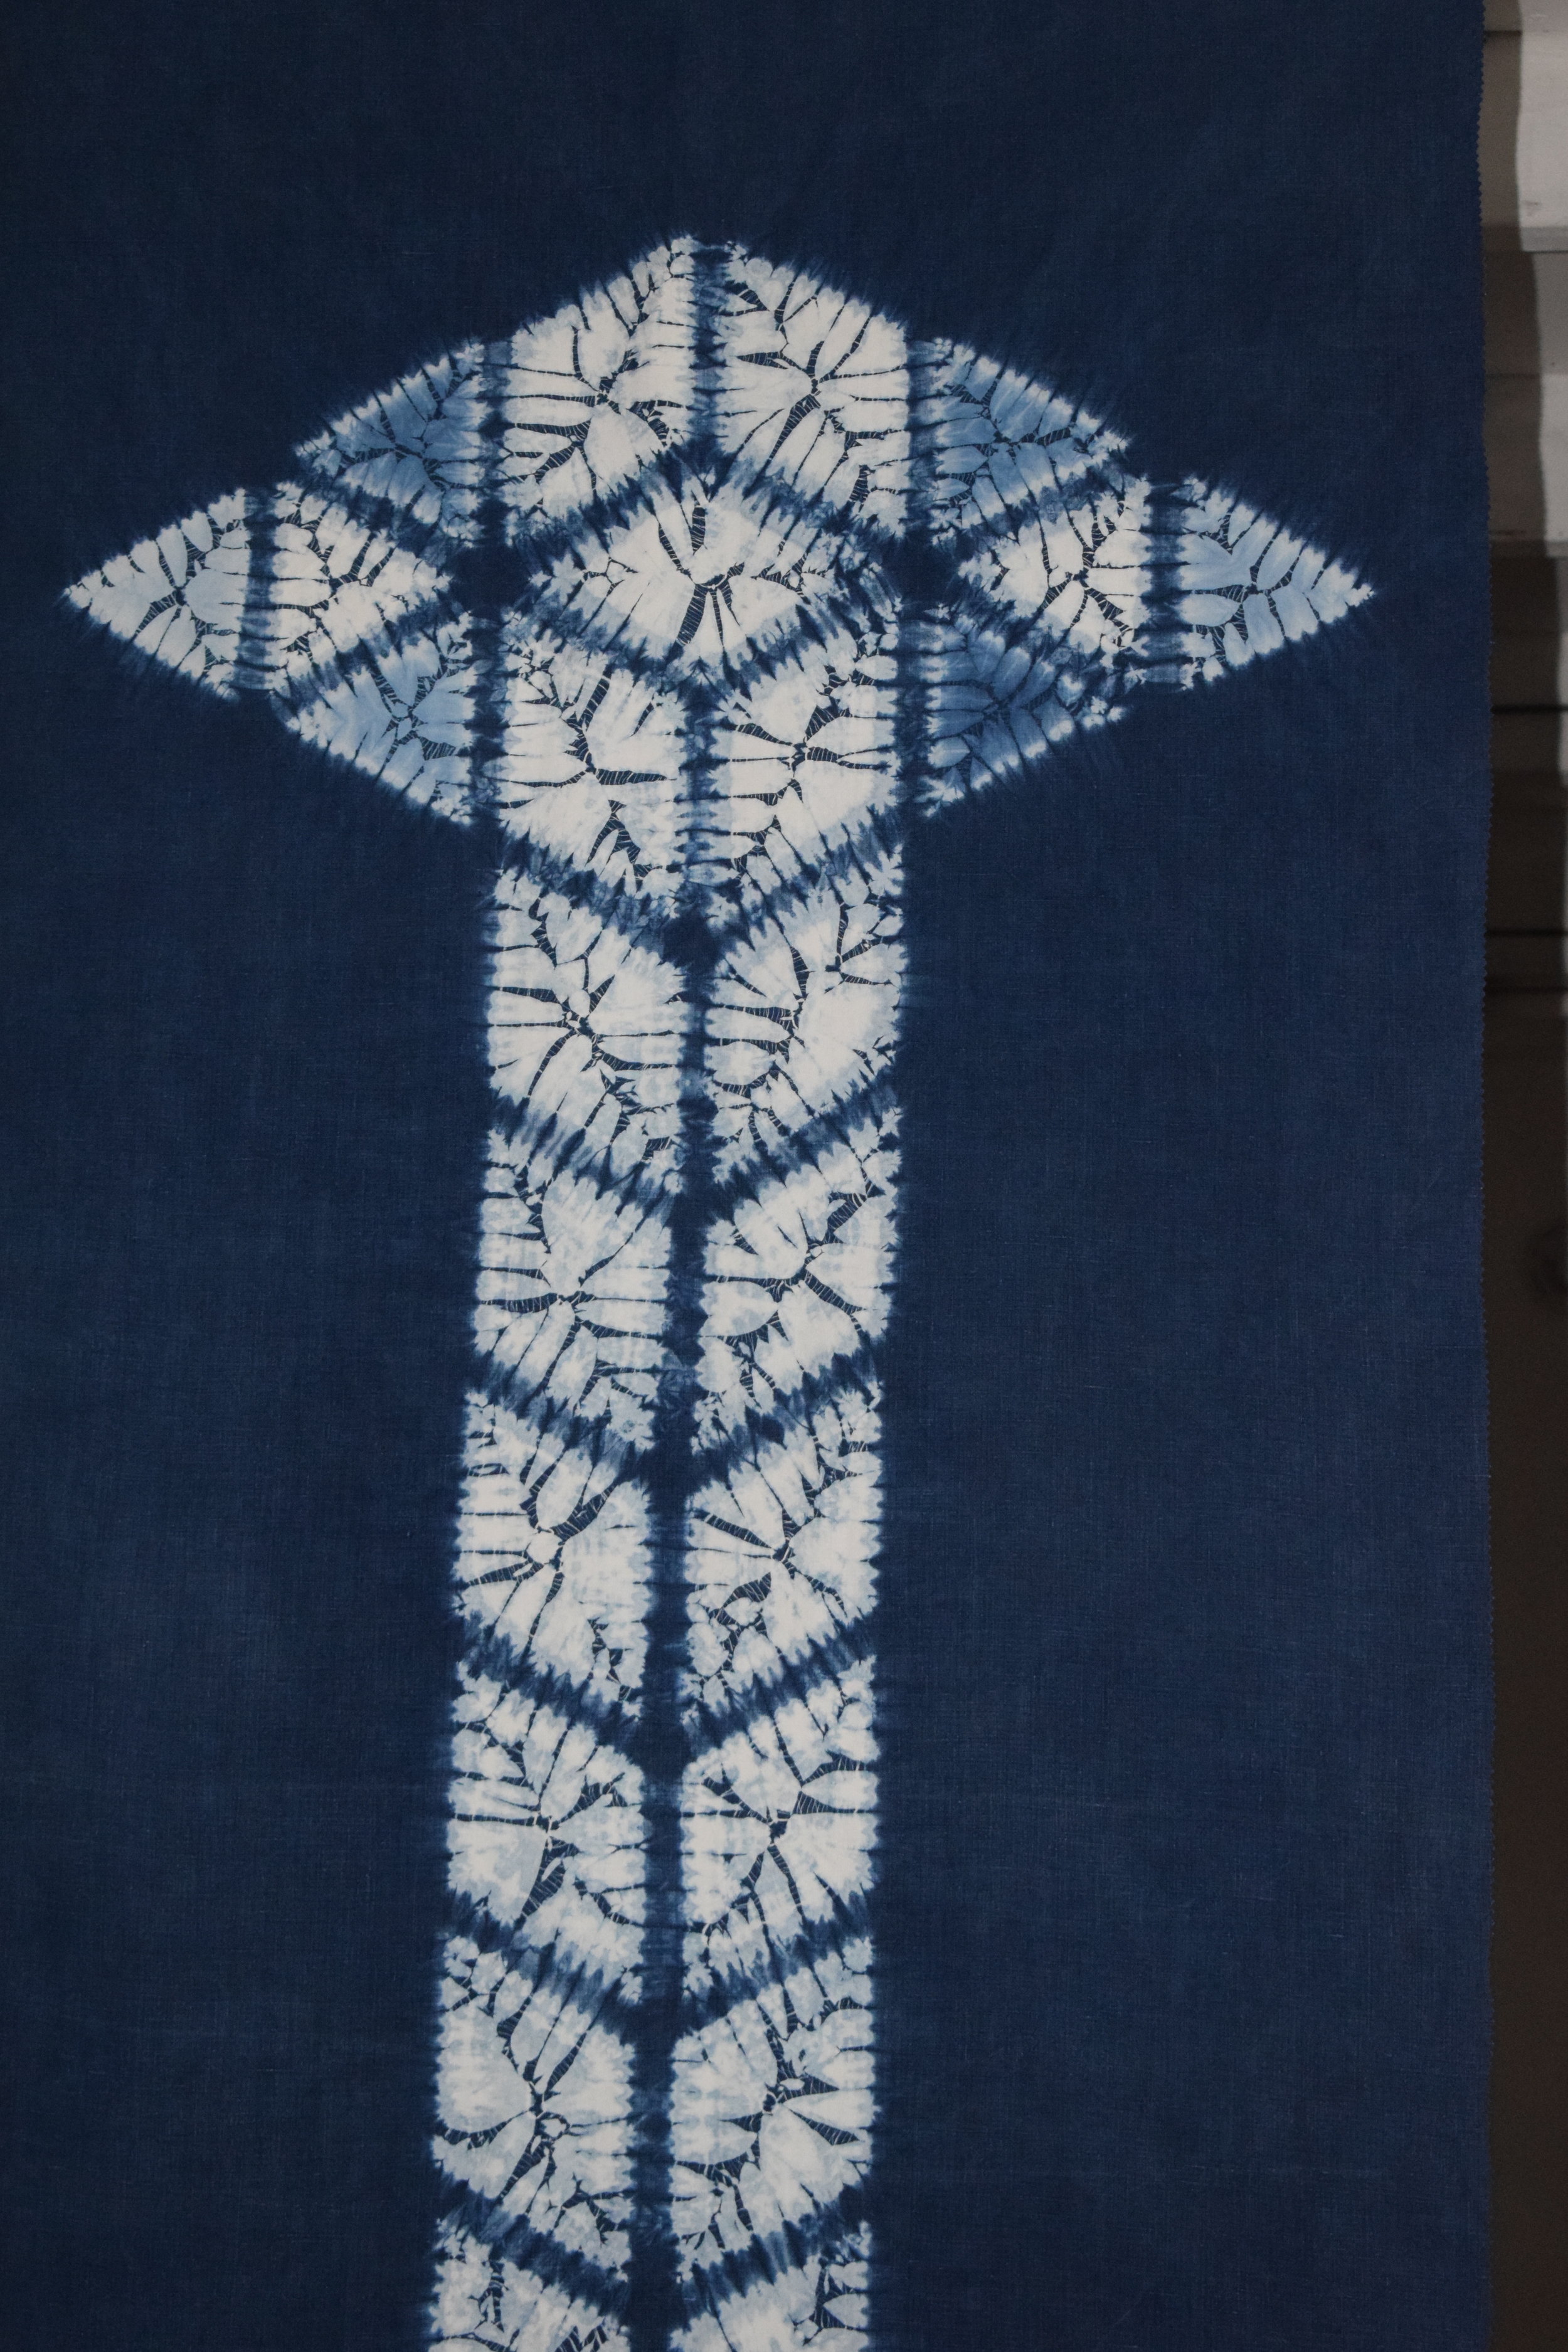
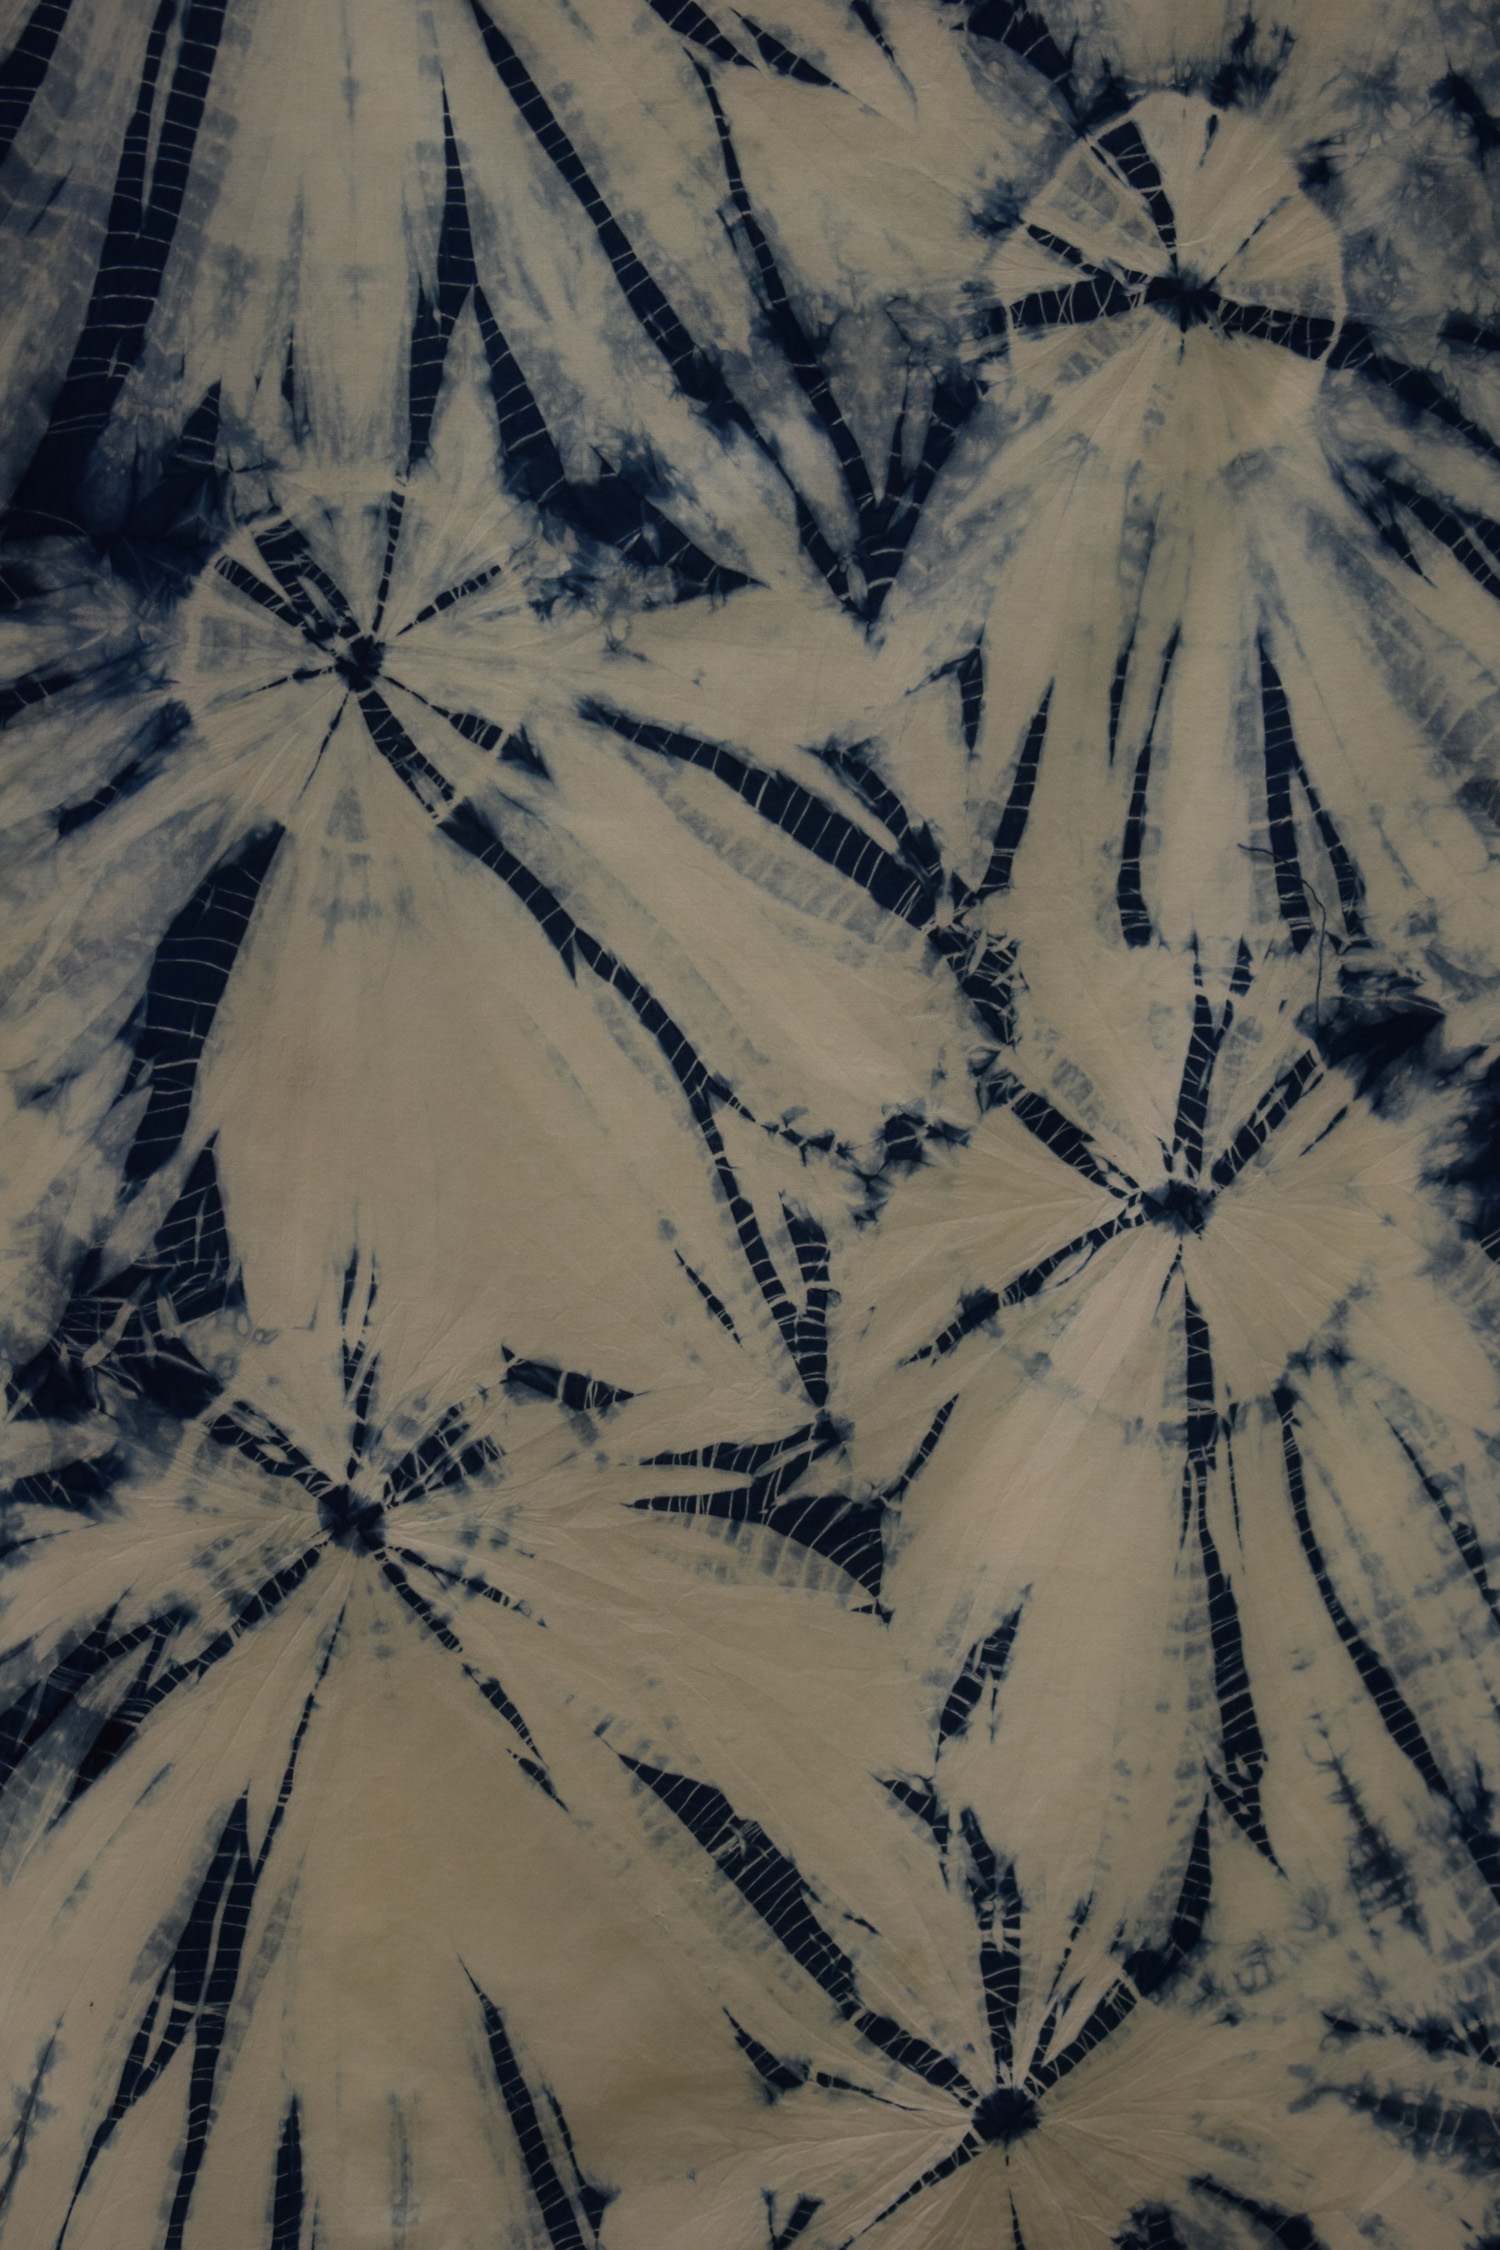
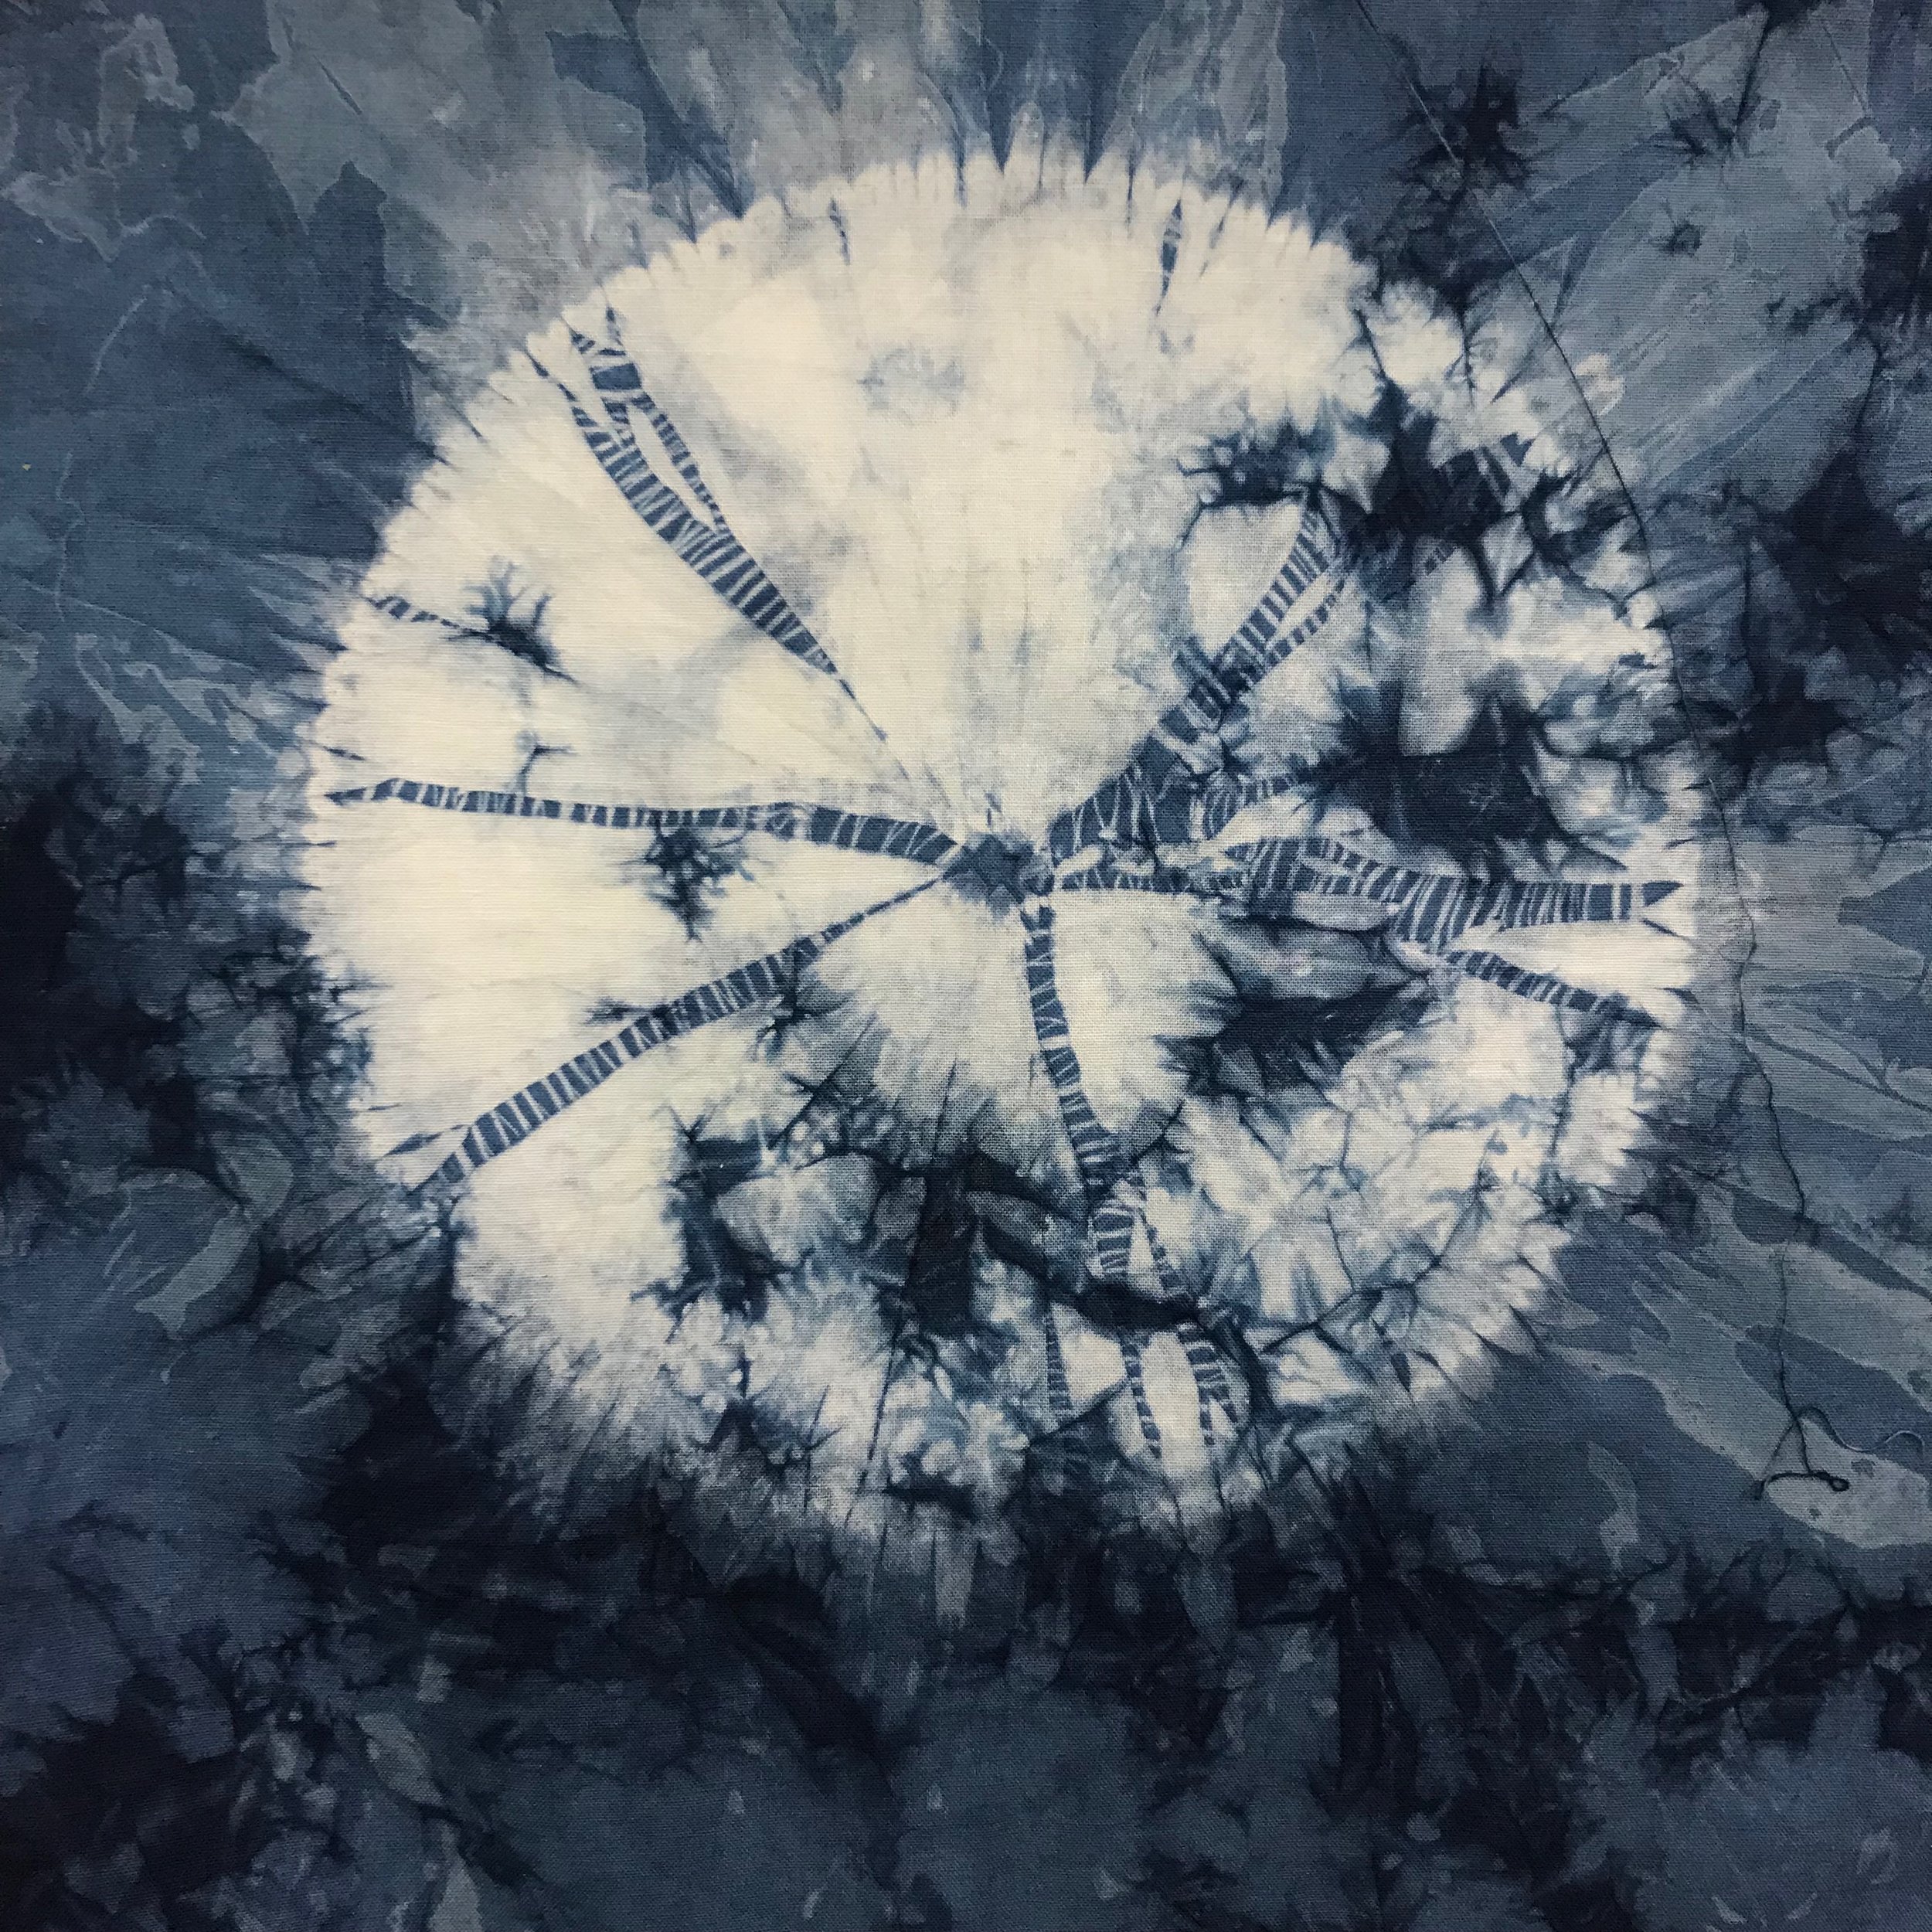
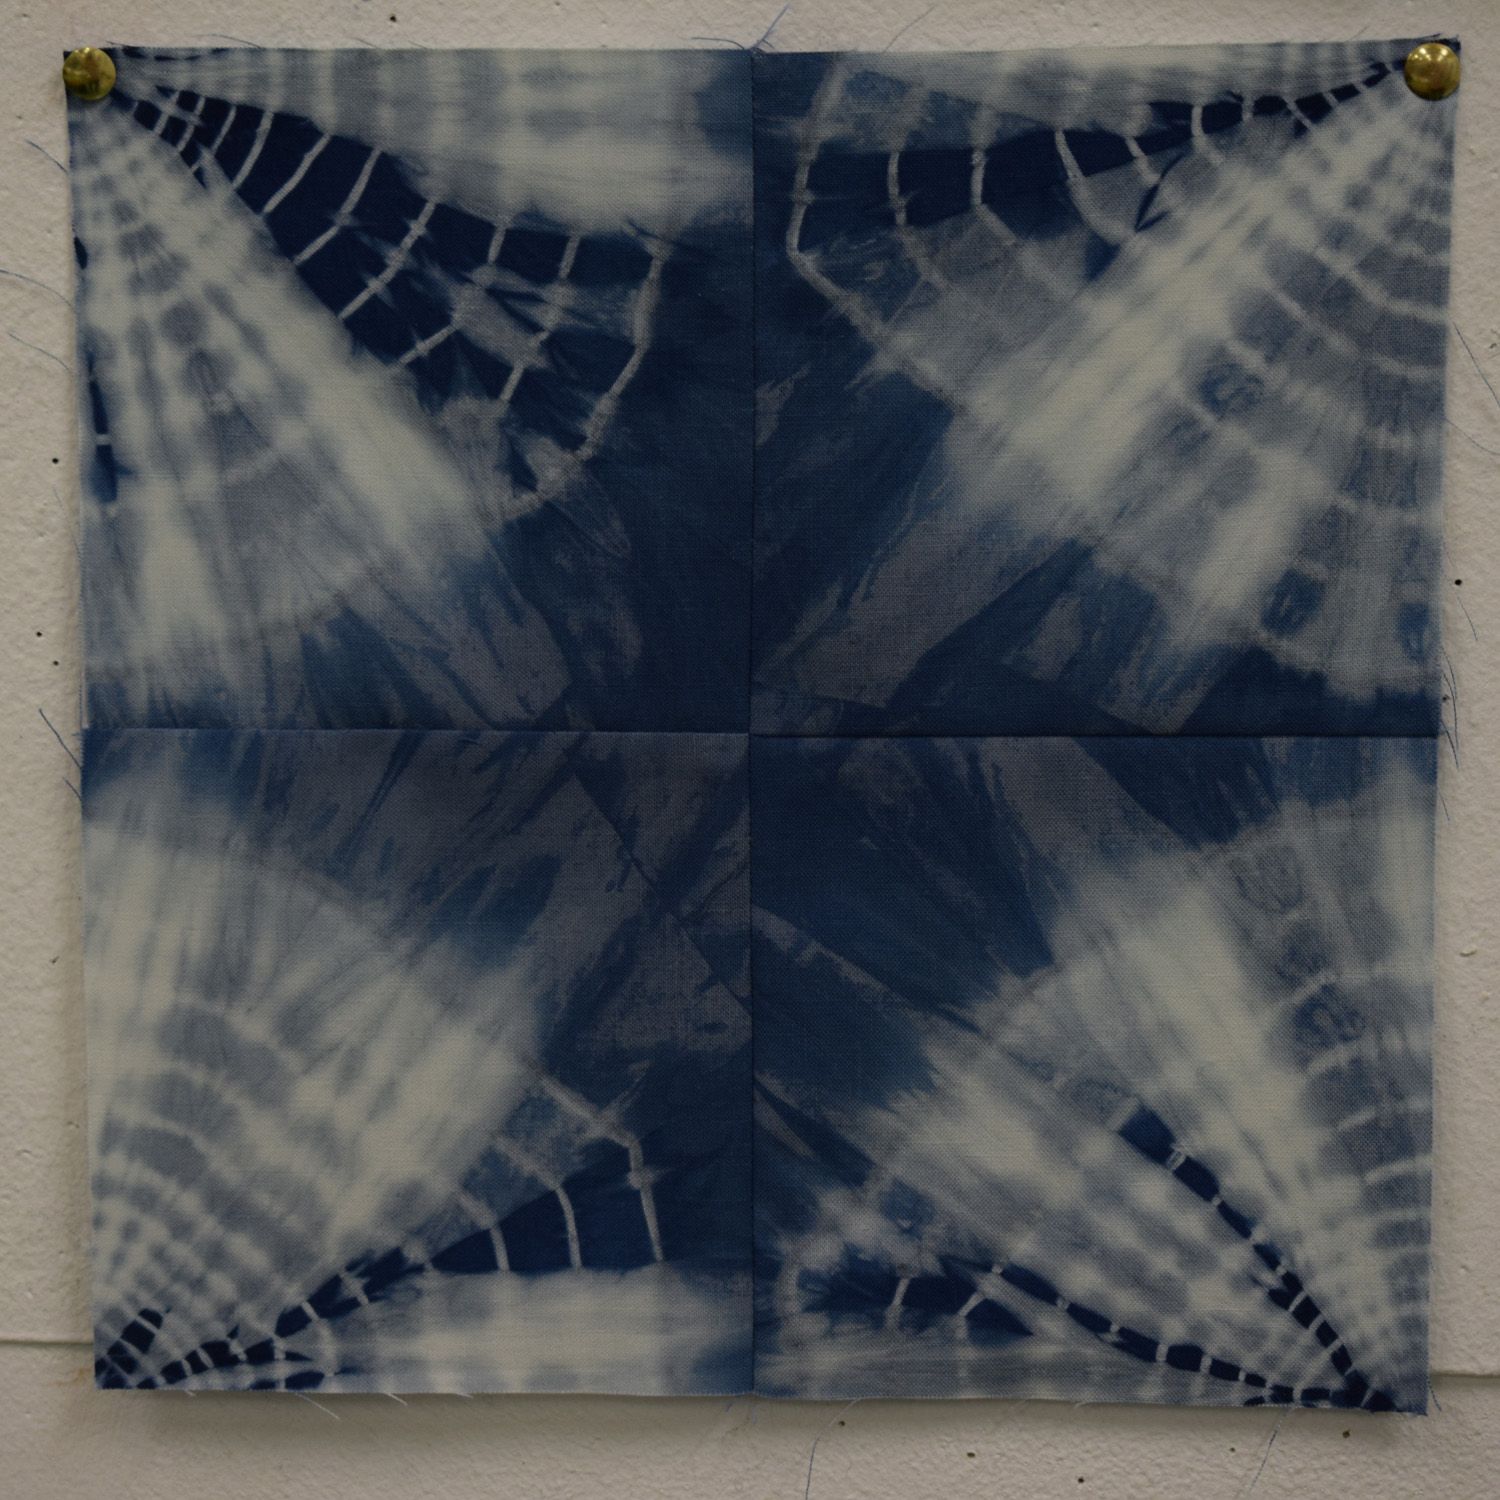
The second image is called "Sentinel" and is made up of many Maki-age shibori shapes. Some of the triangles at the top were intentionally opened during dyeing to give a range of blue centres. This piece is made from fine vintage French linen and is a wallhanging.
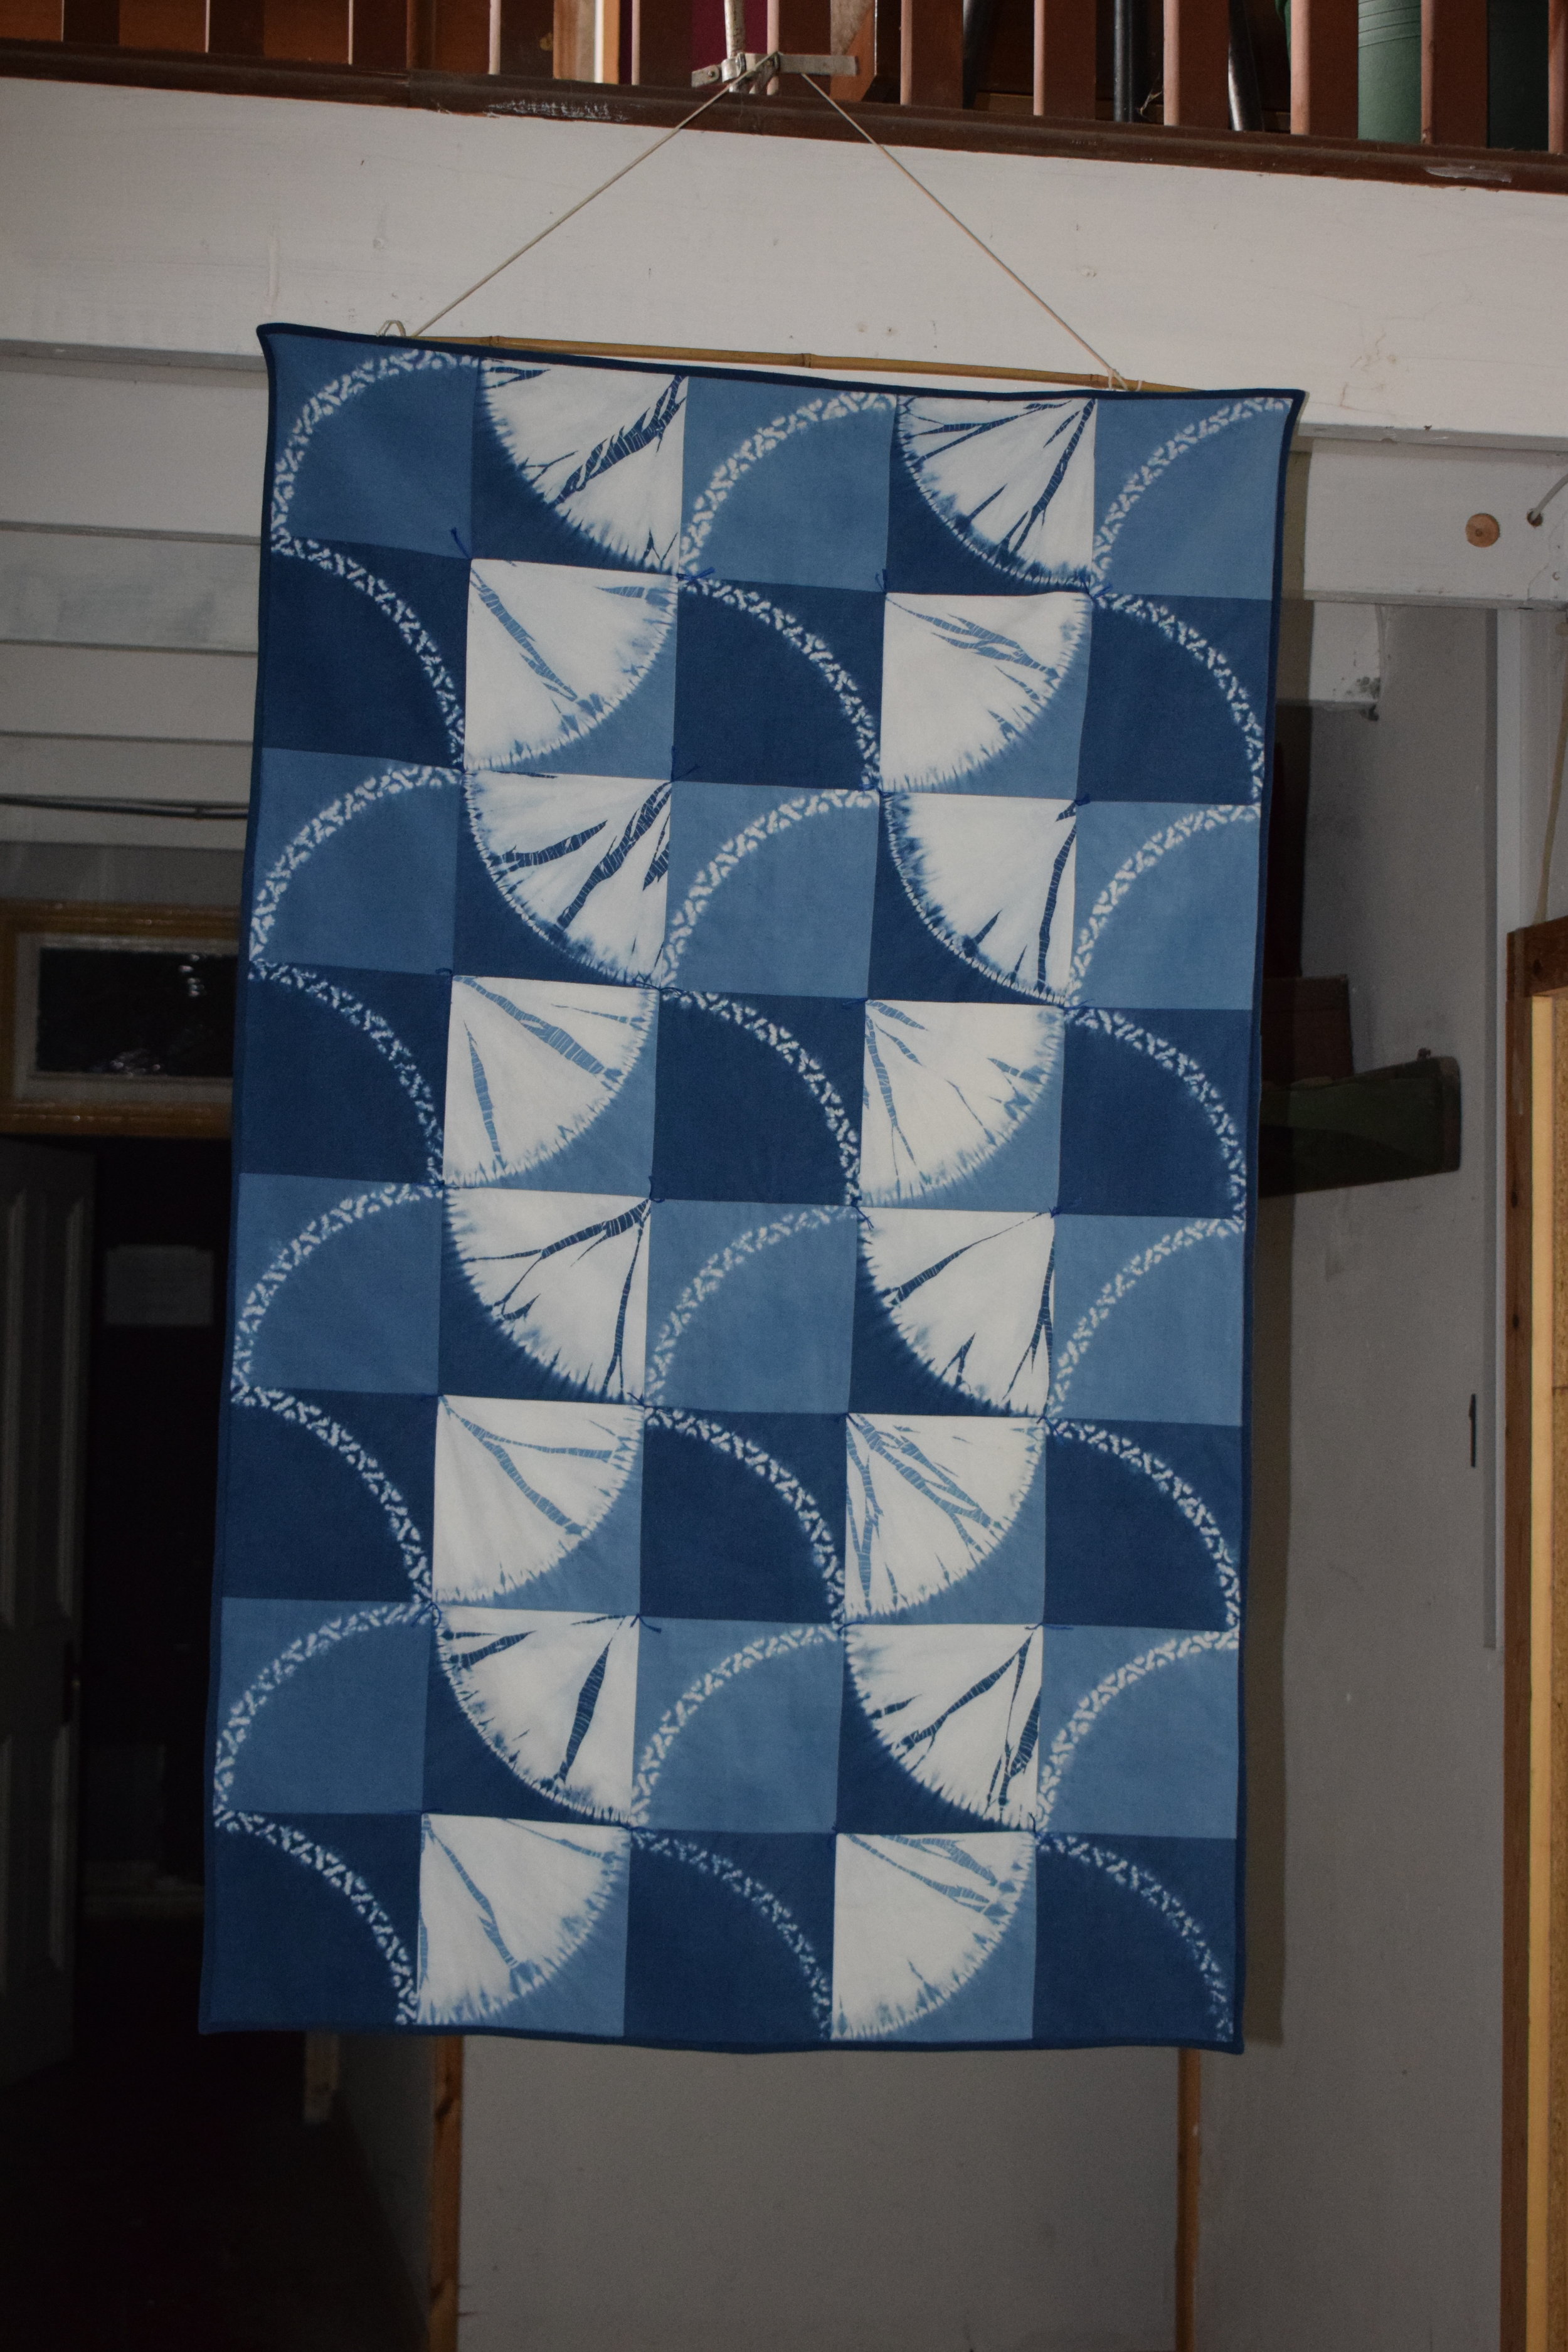
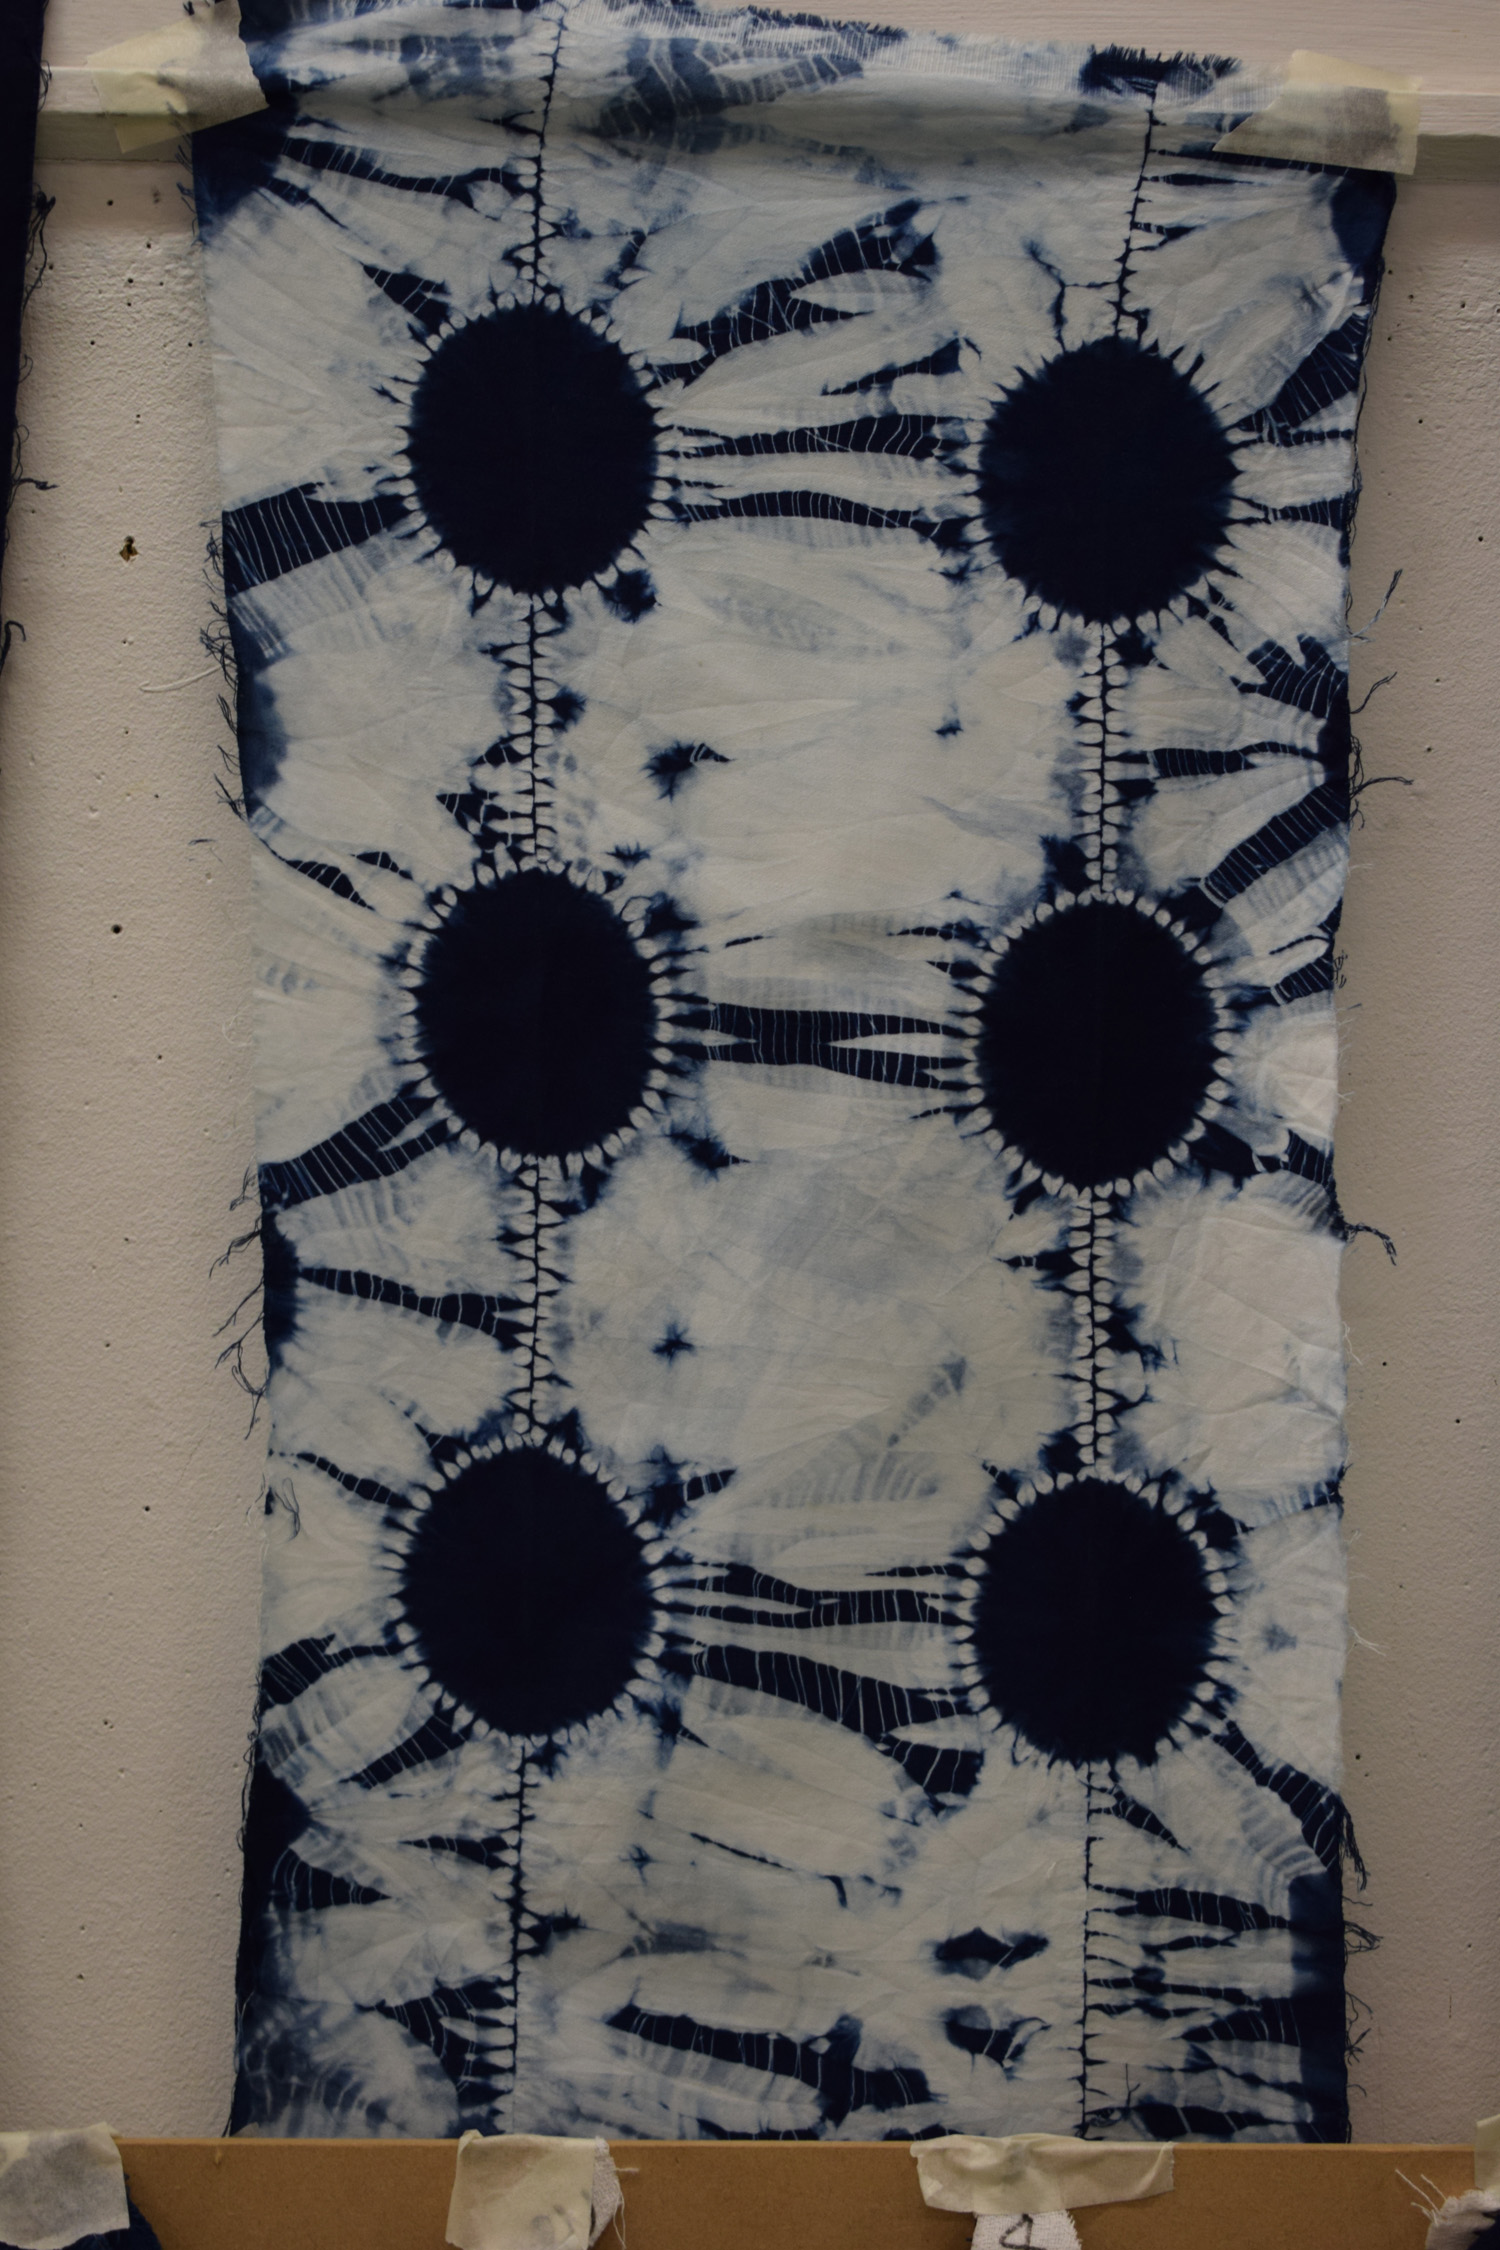
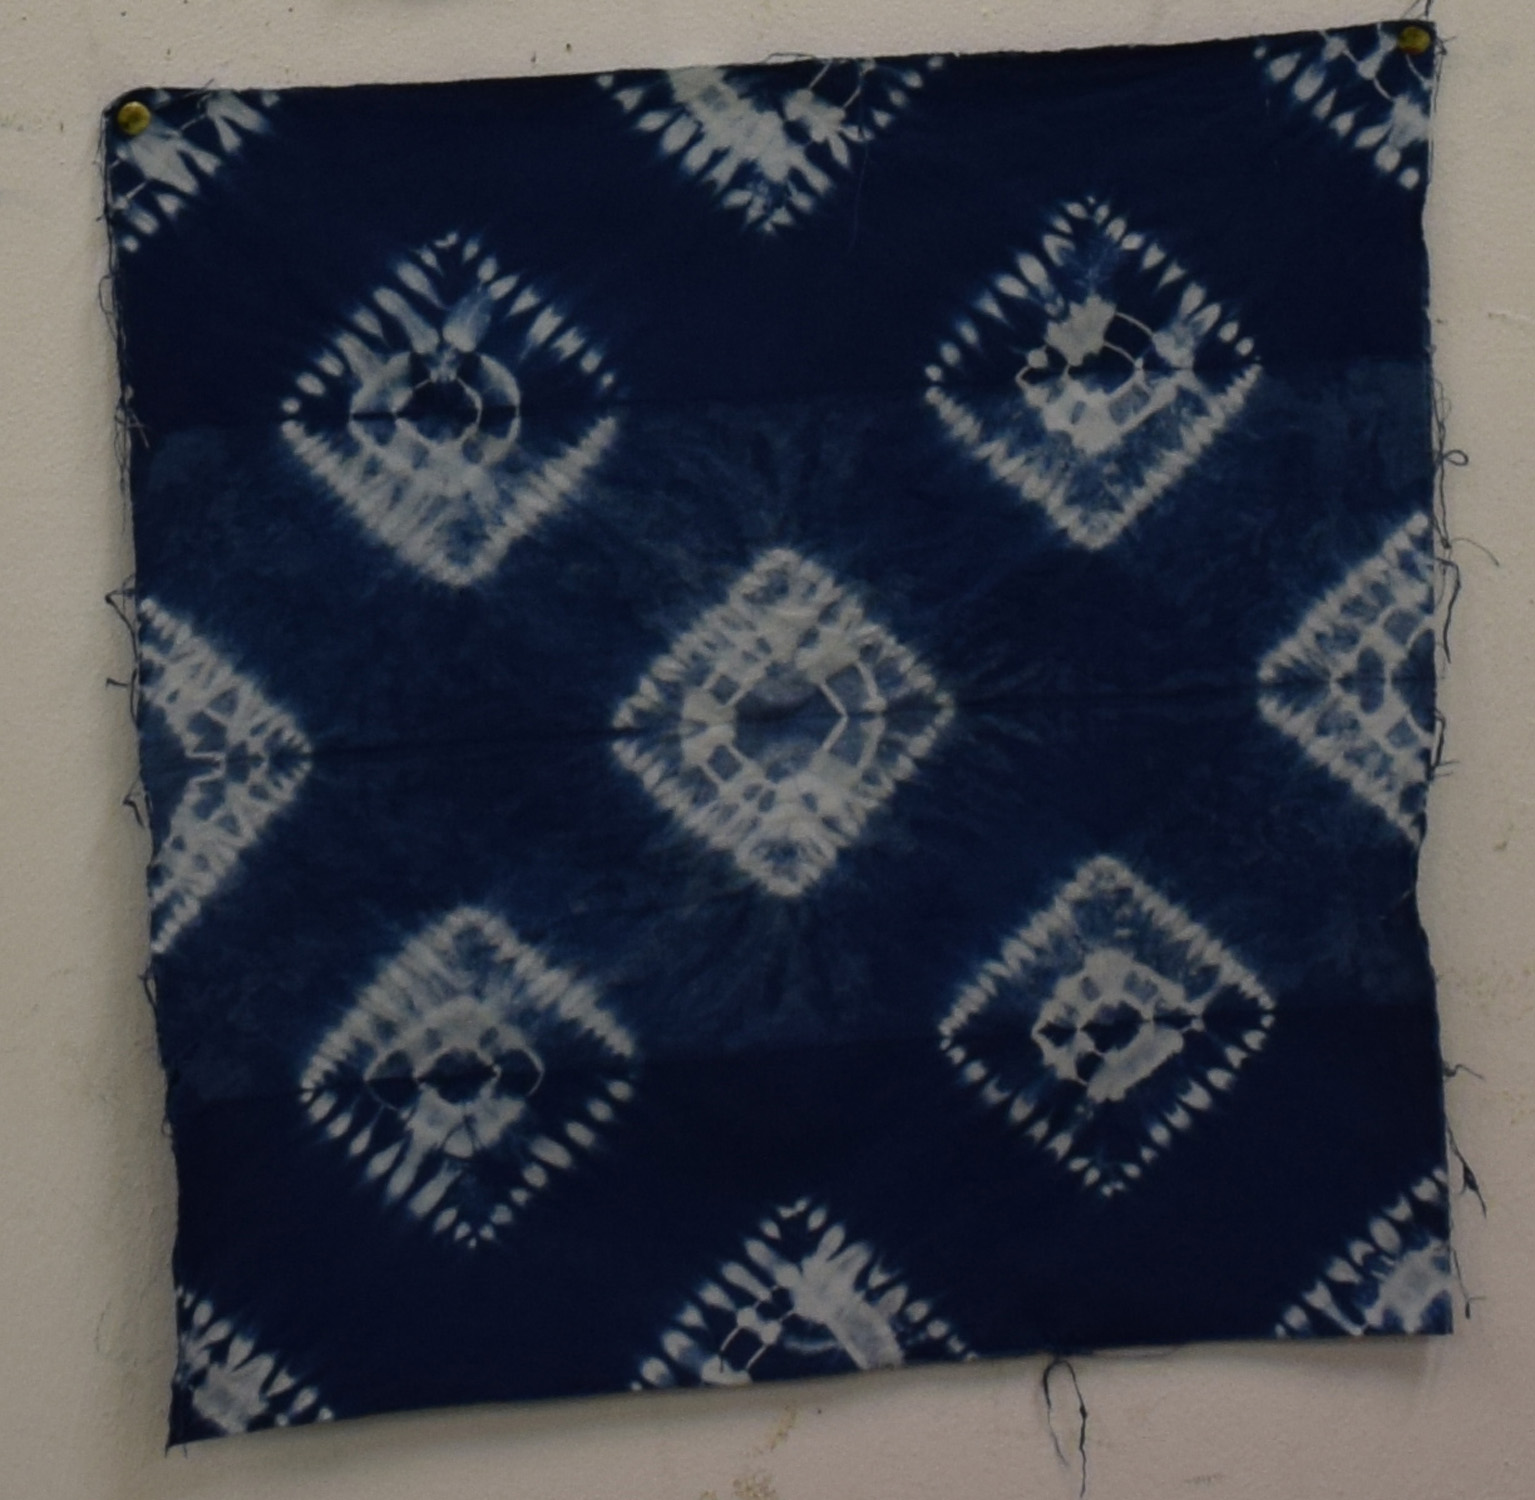
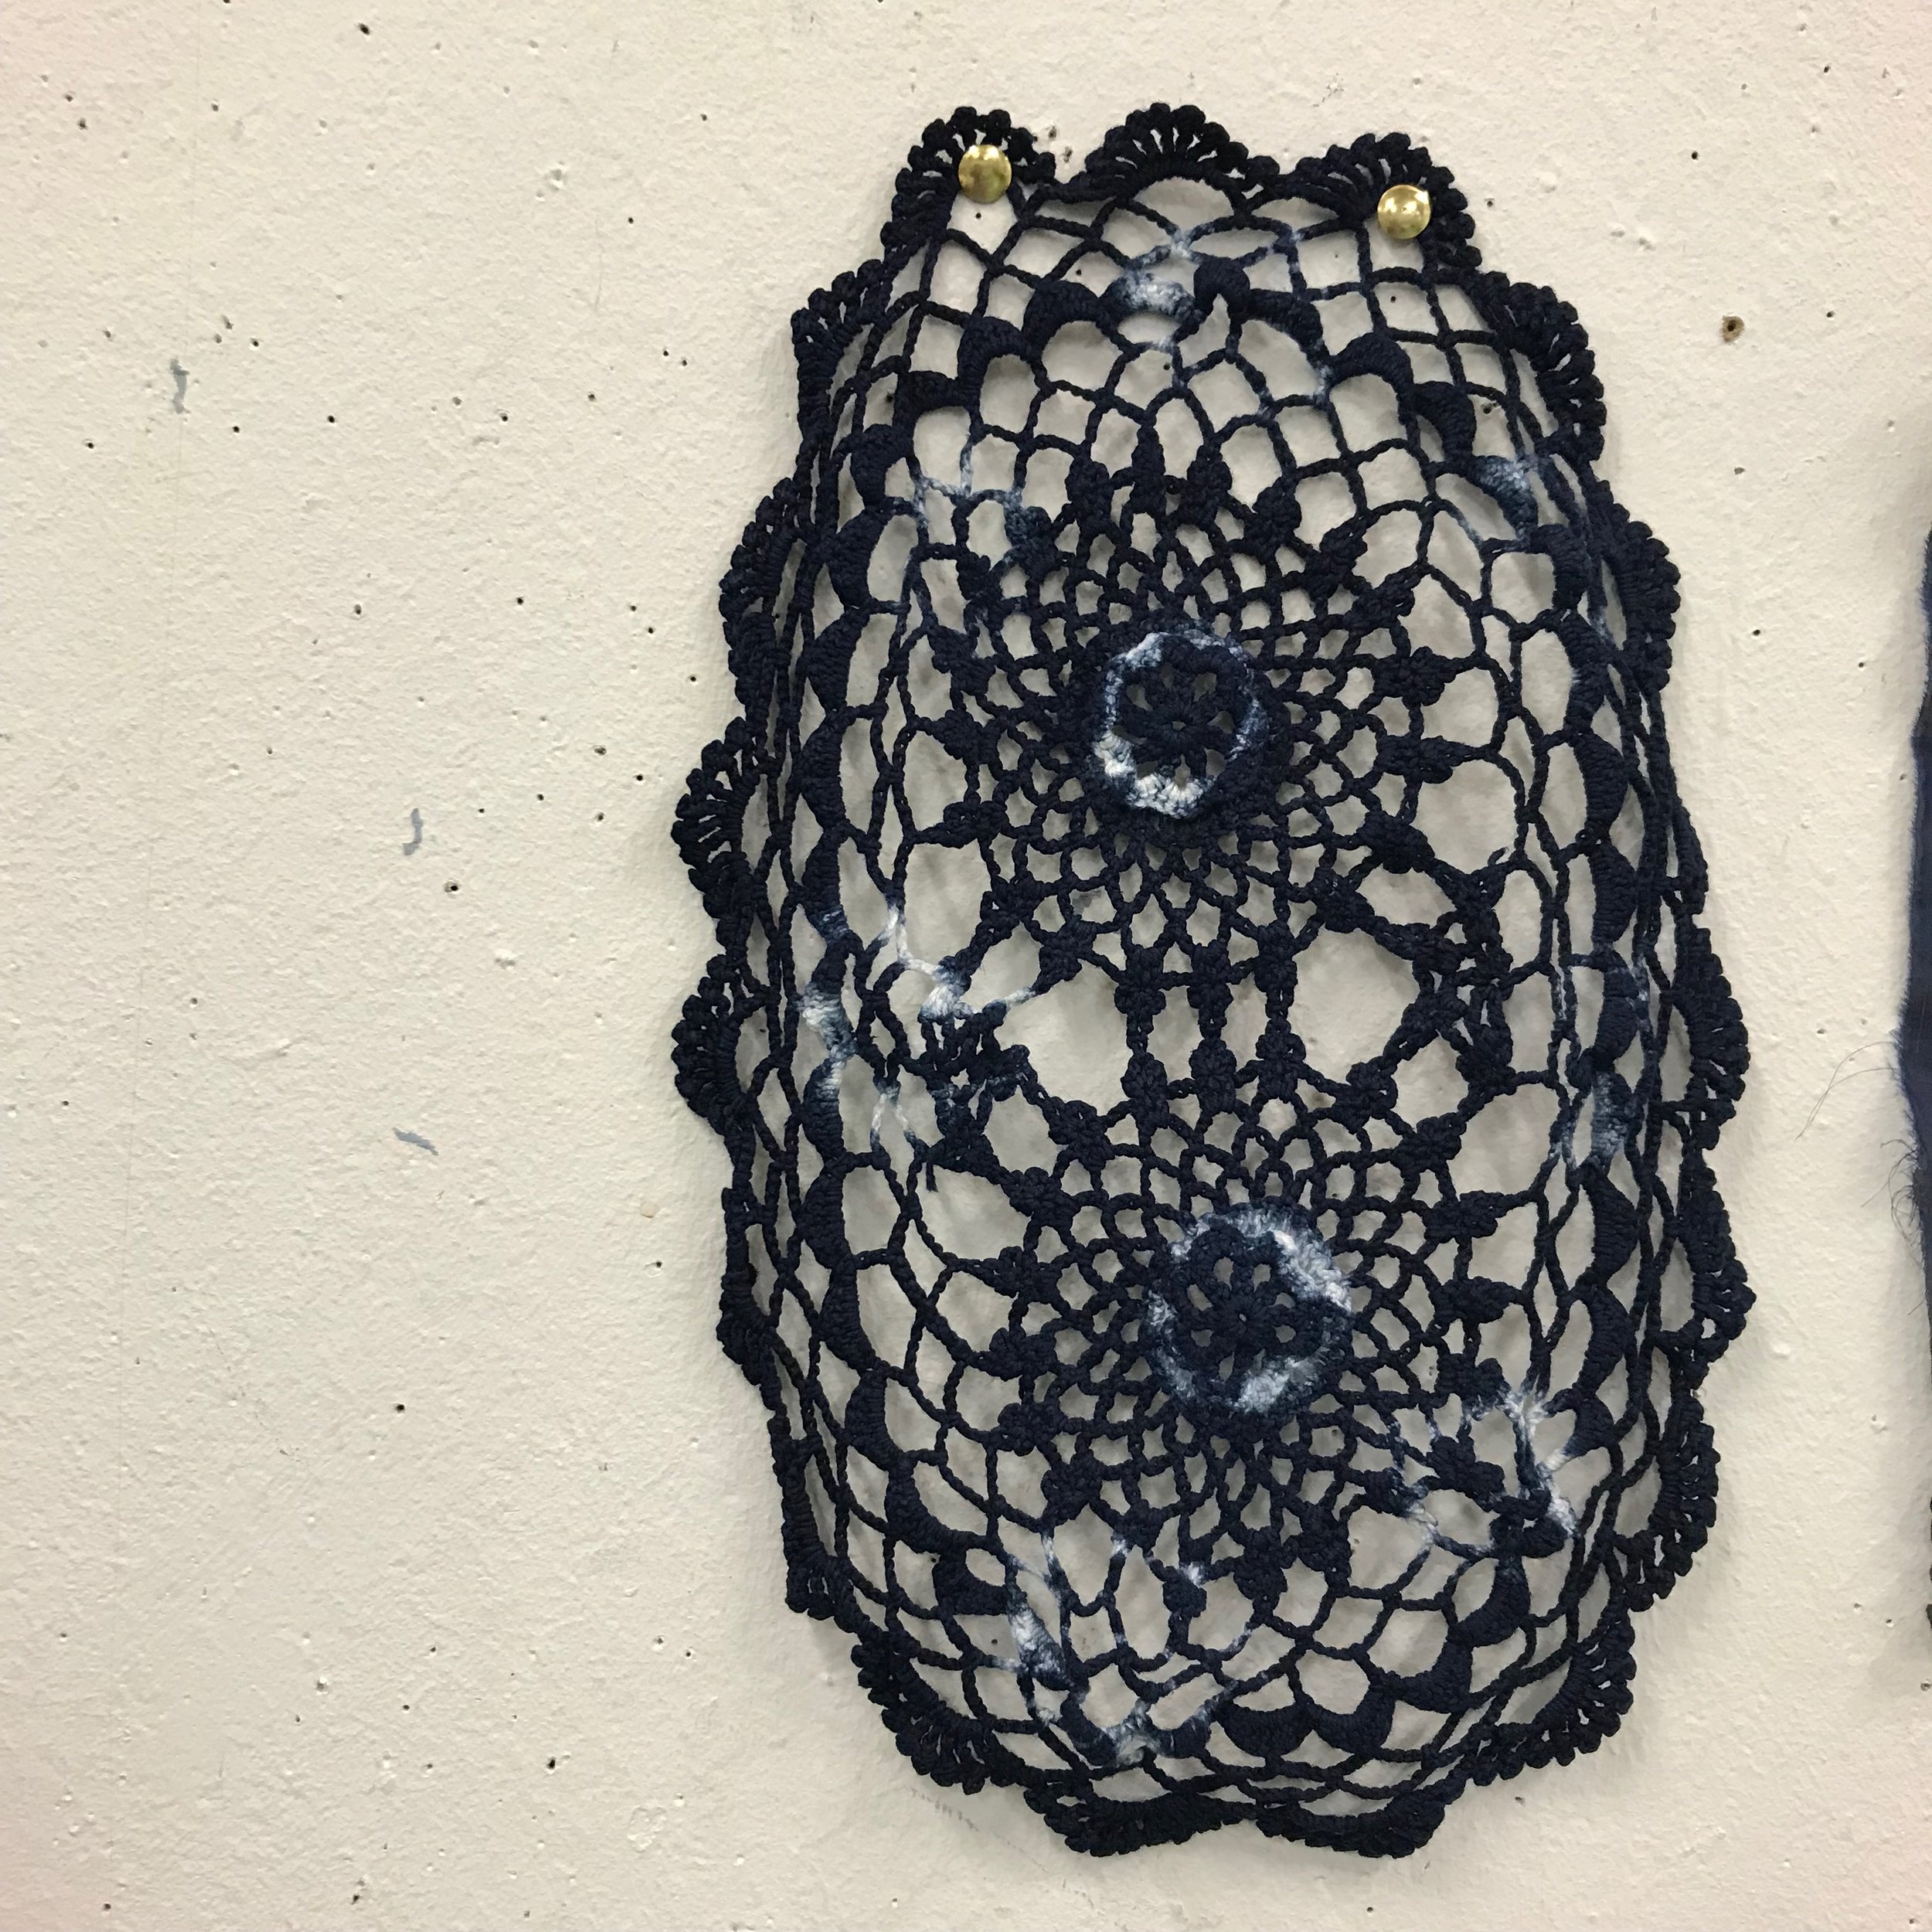
The last piece on the right is a baby quilt made by dissecting Shibori circles made from Maki-age and stitch in two shades of blue. The re-piecing of the shapes produced a shape called "fundo" which means scales and is a traditional Japanese pattern. This quilt is made entirely from vintage French linen including the bias binding which I made myself!
Techniques covered
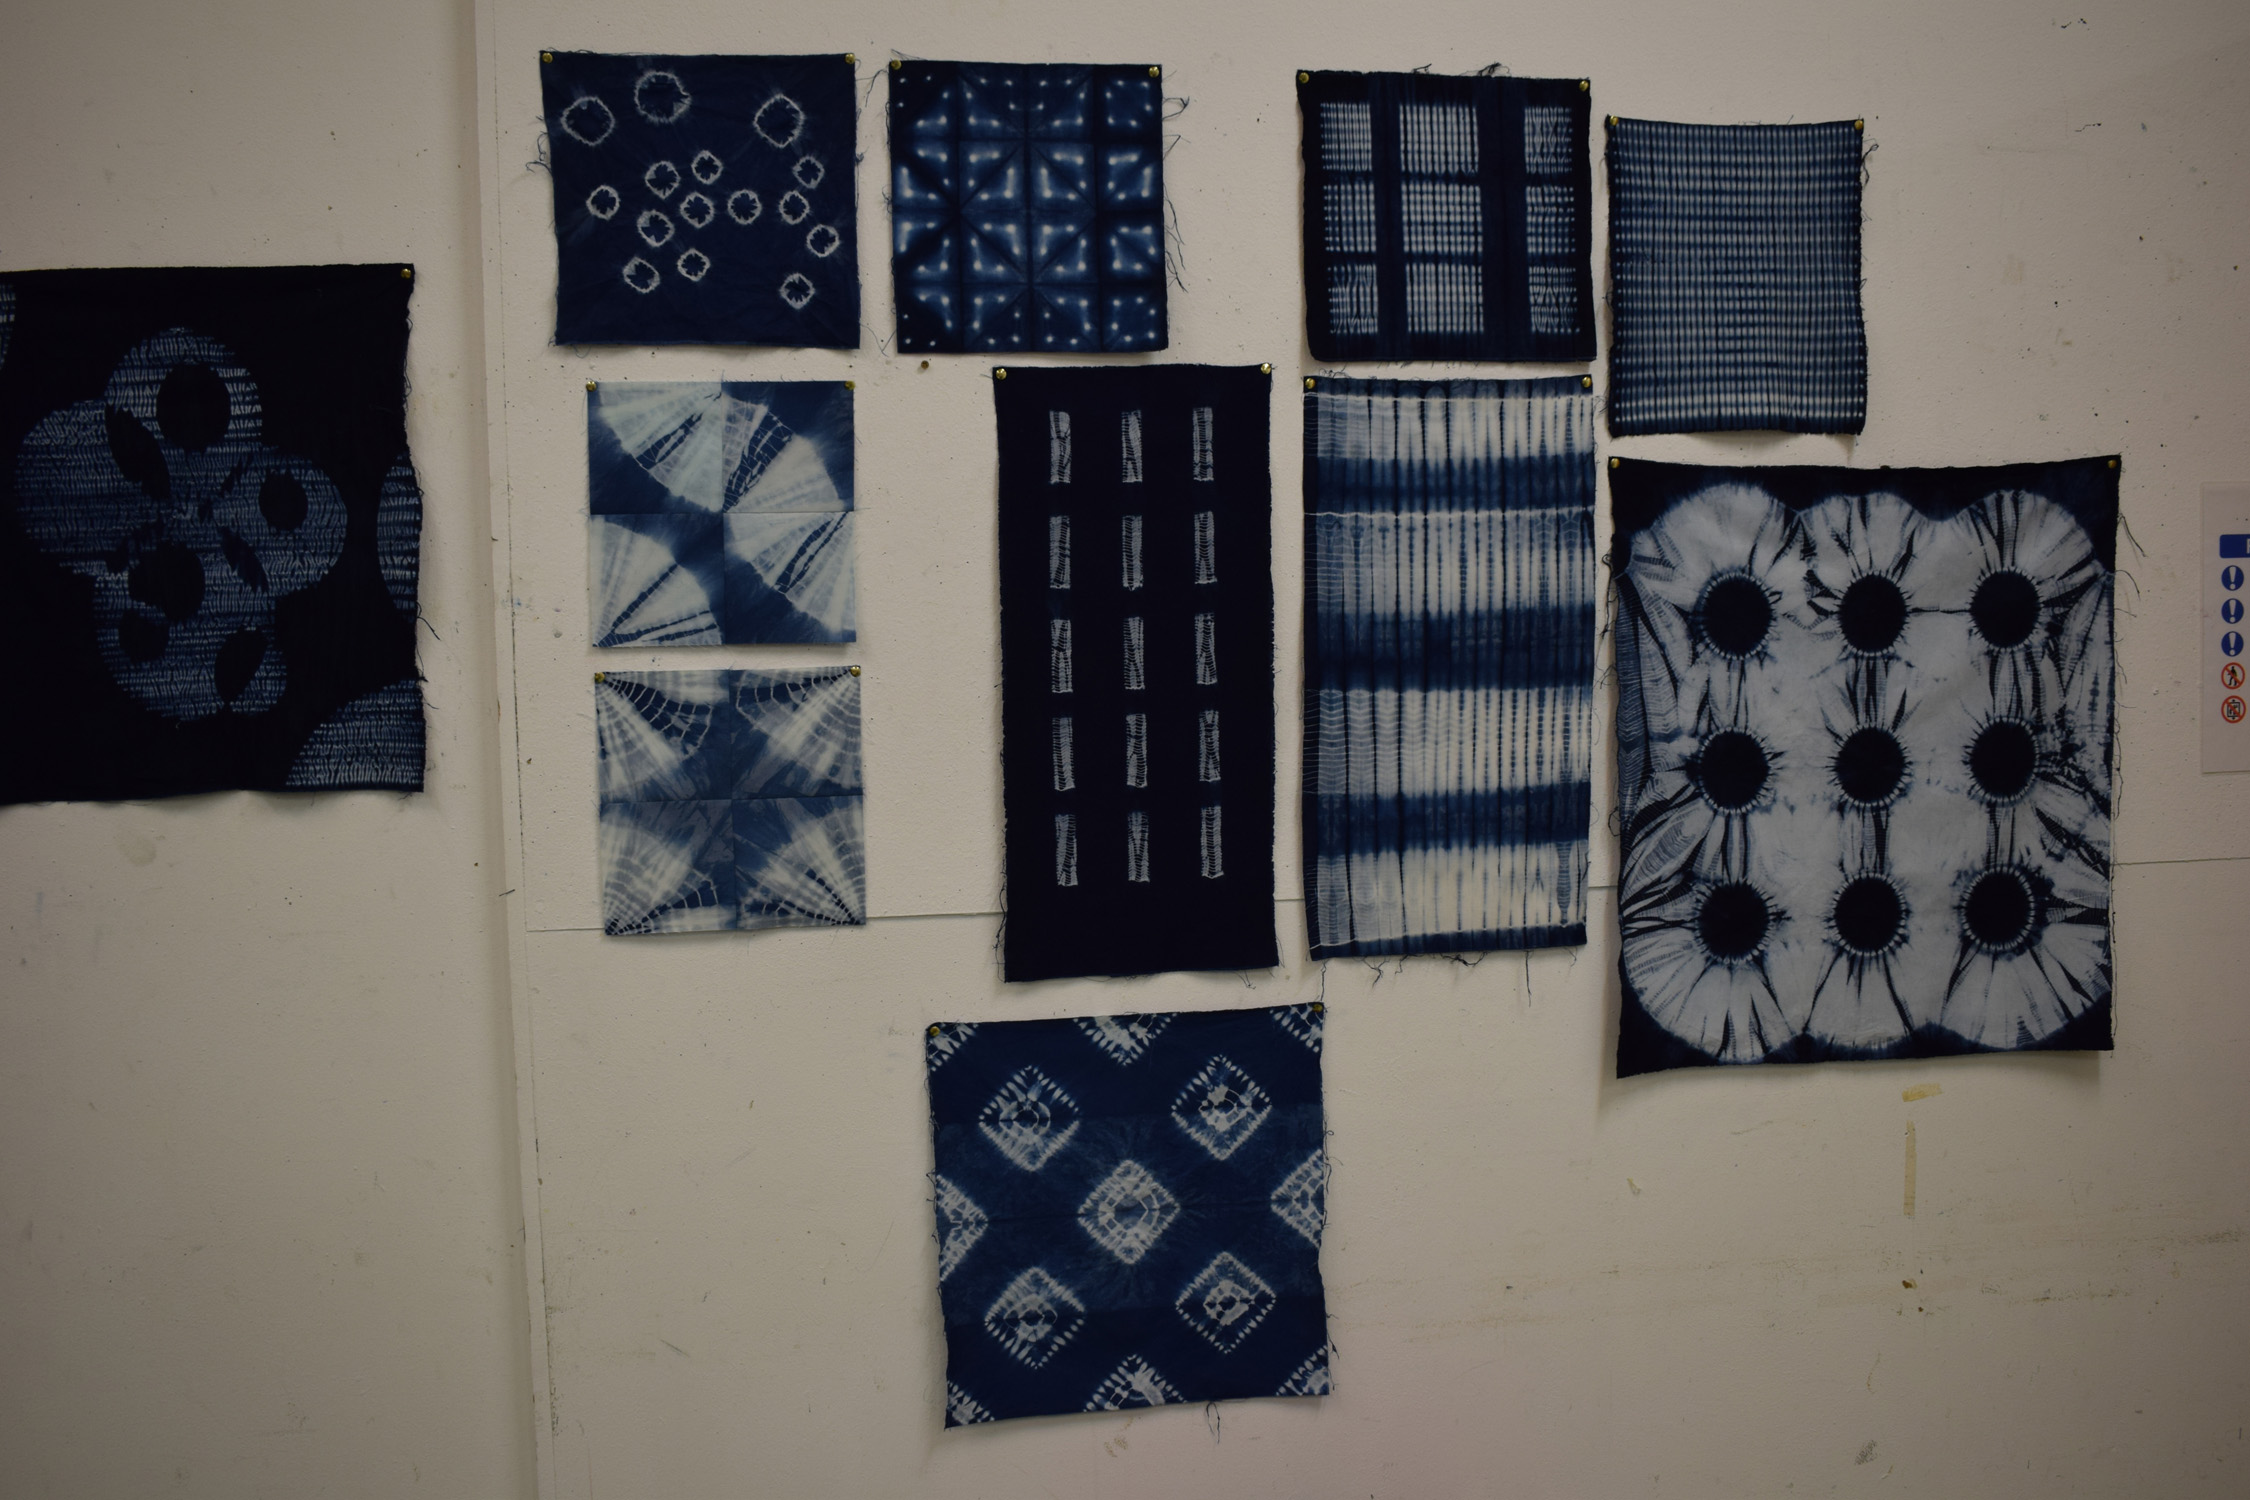
I covered a lot of material on the course as I wanted my students to get a good feel for the wide range of techniques available. Here's what we did:
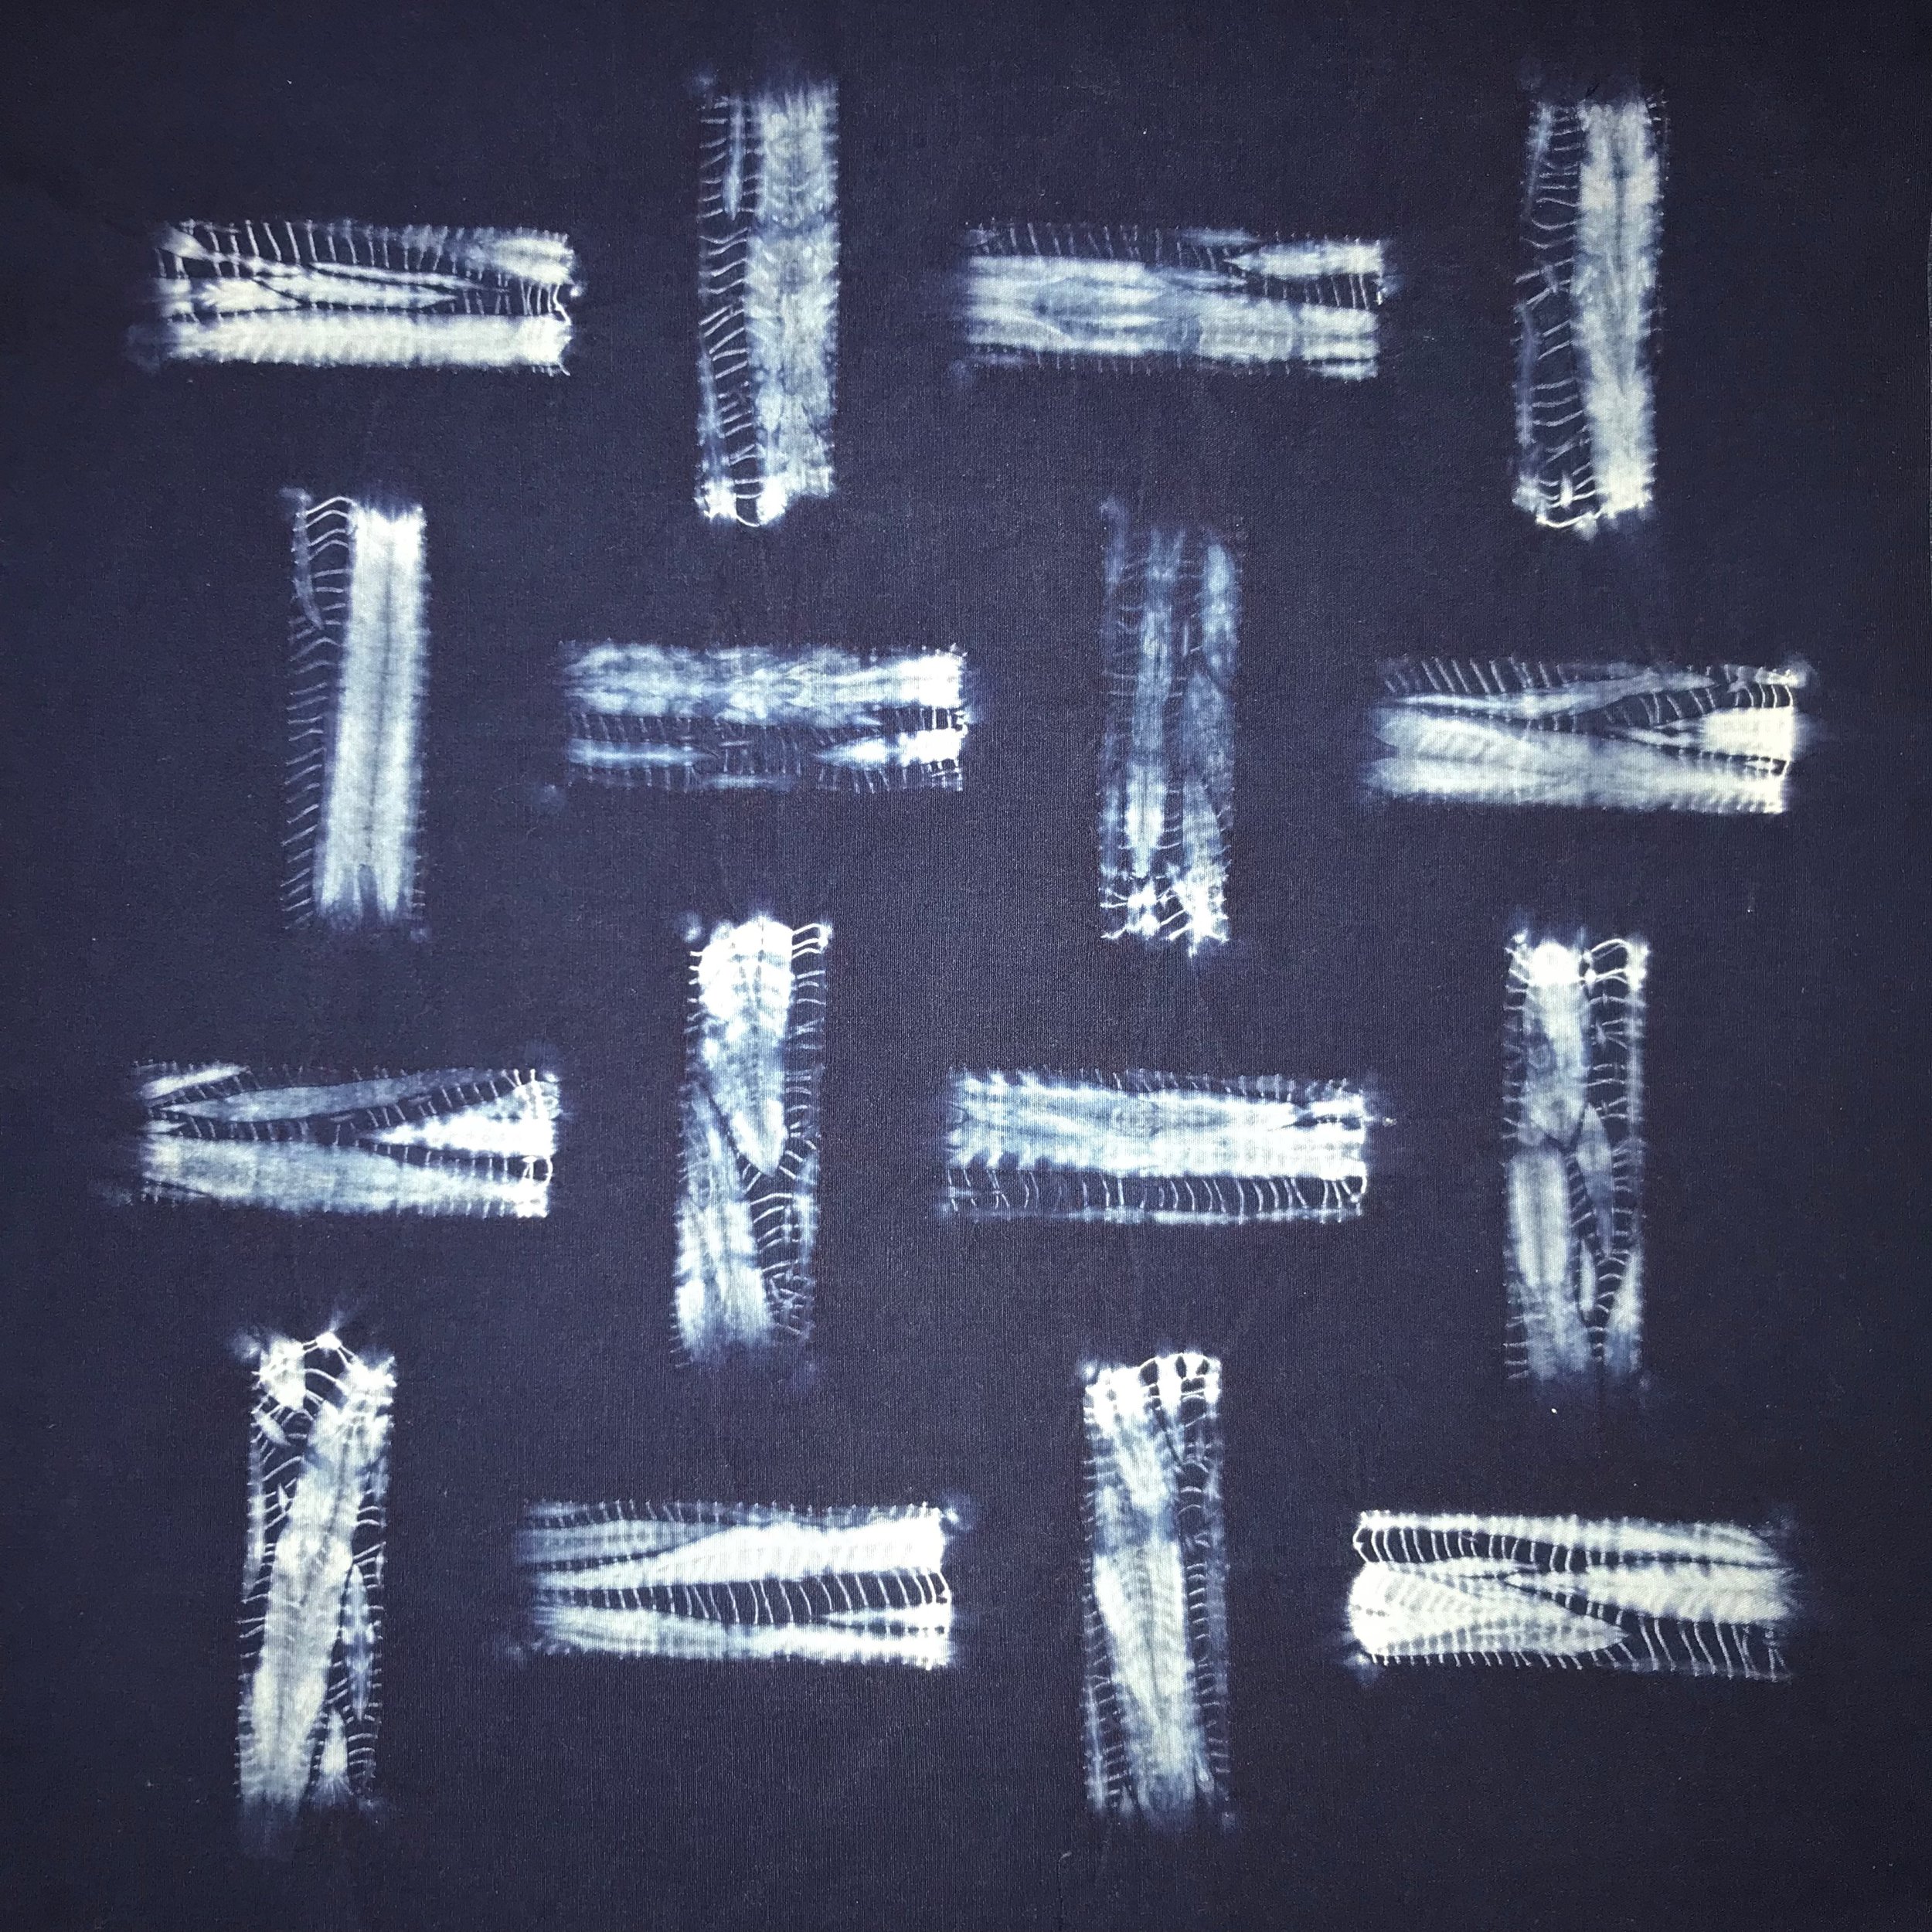
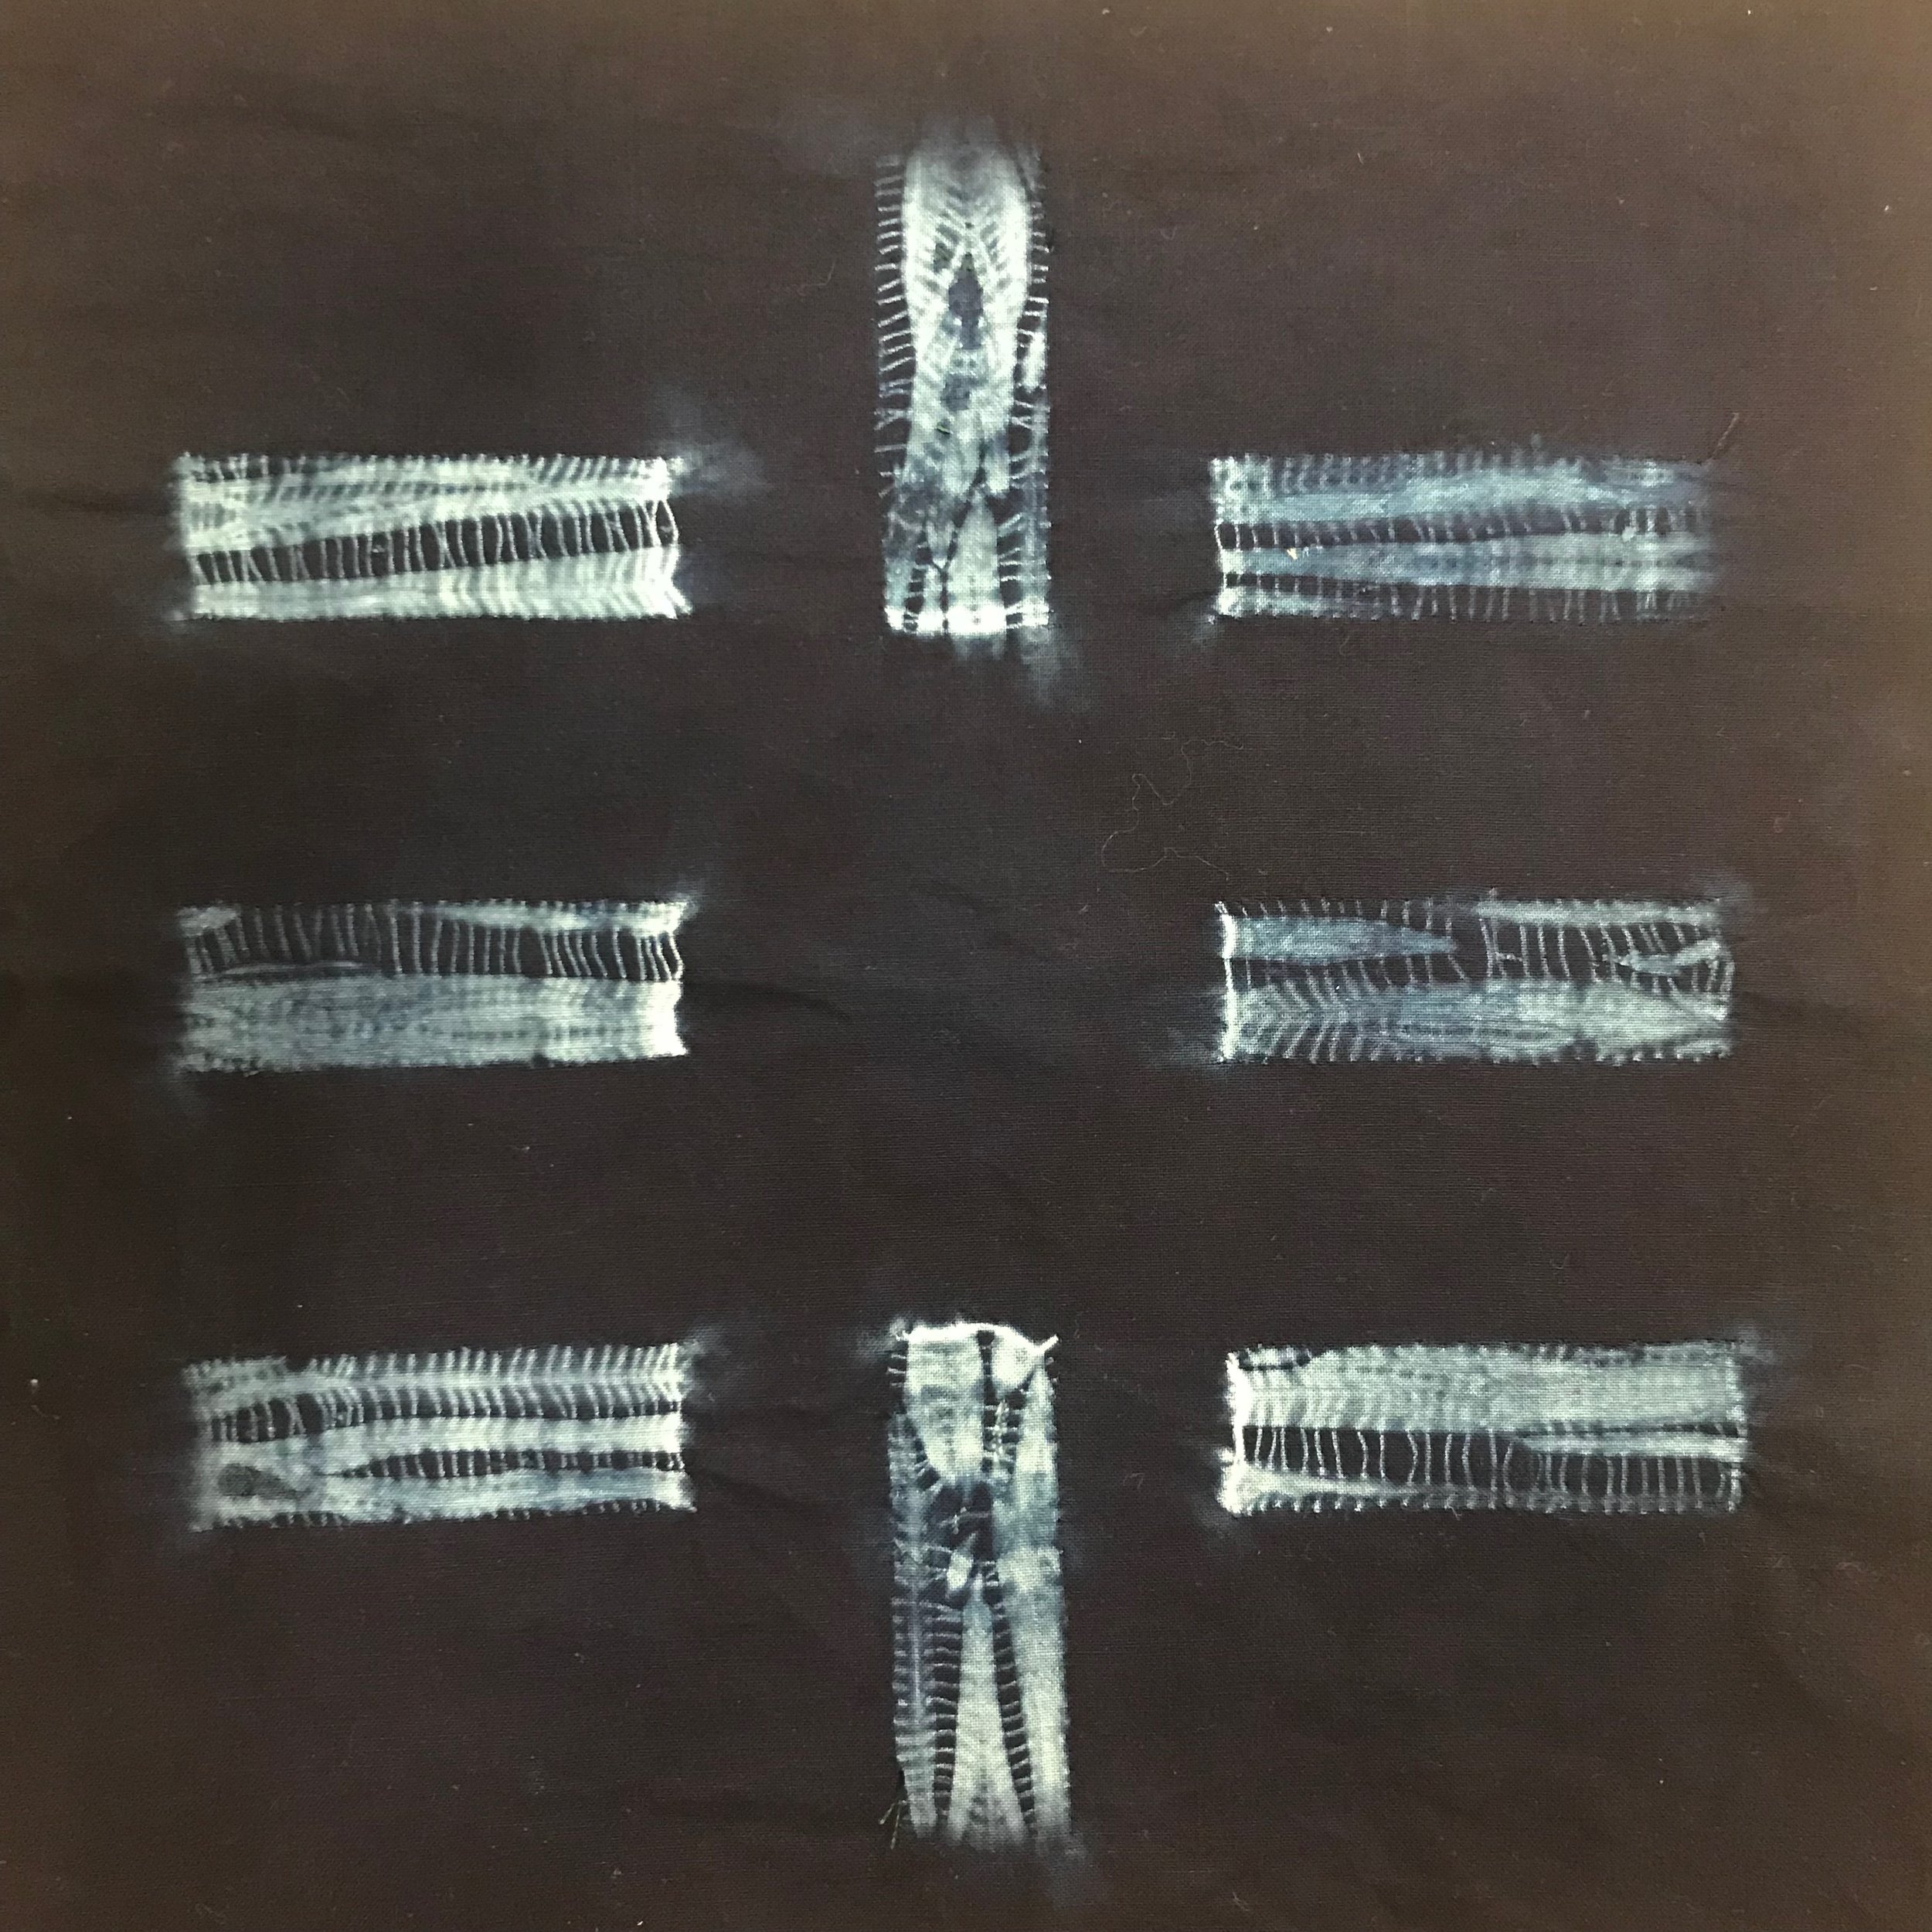
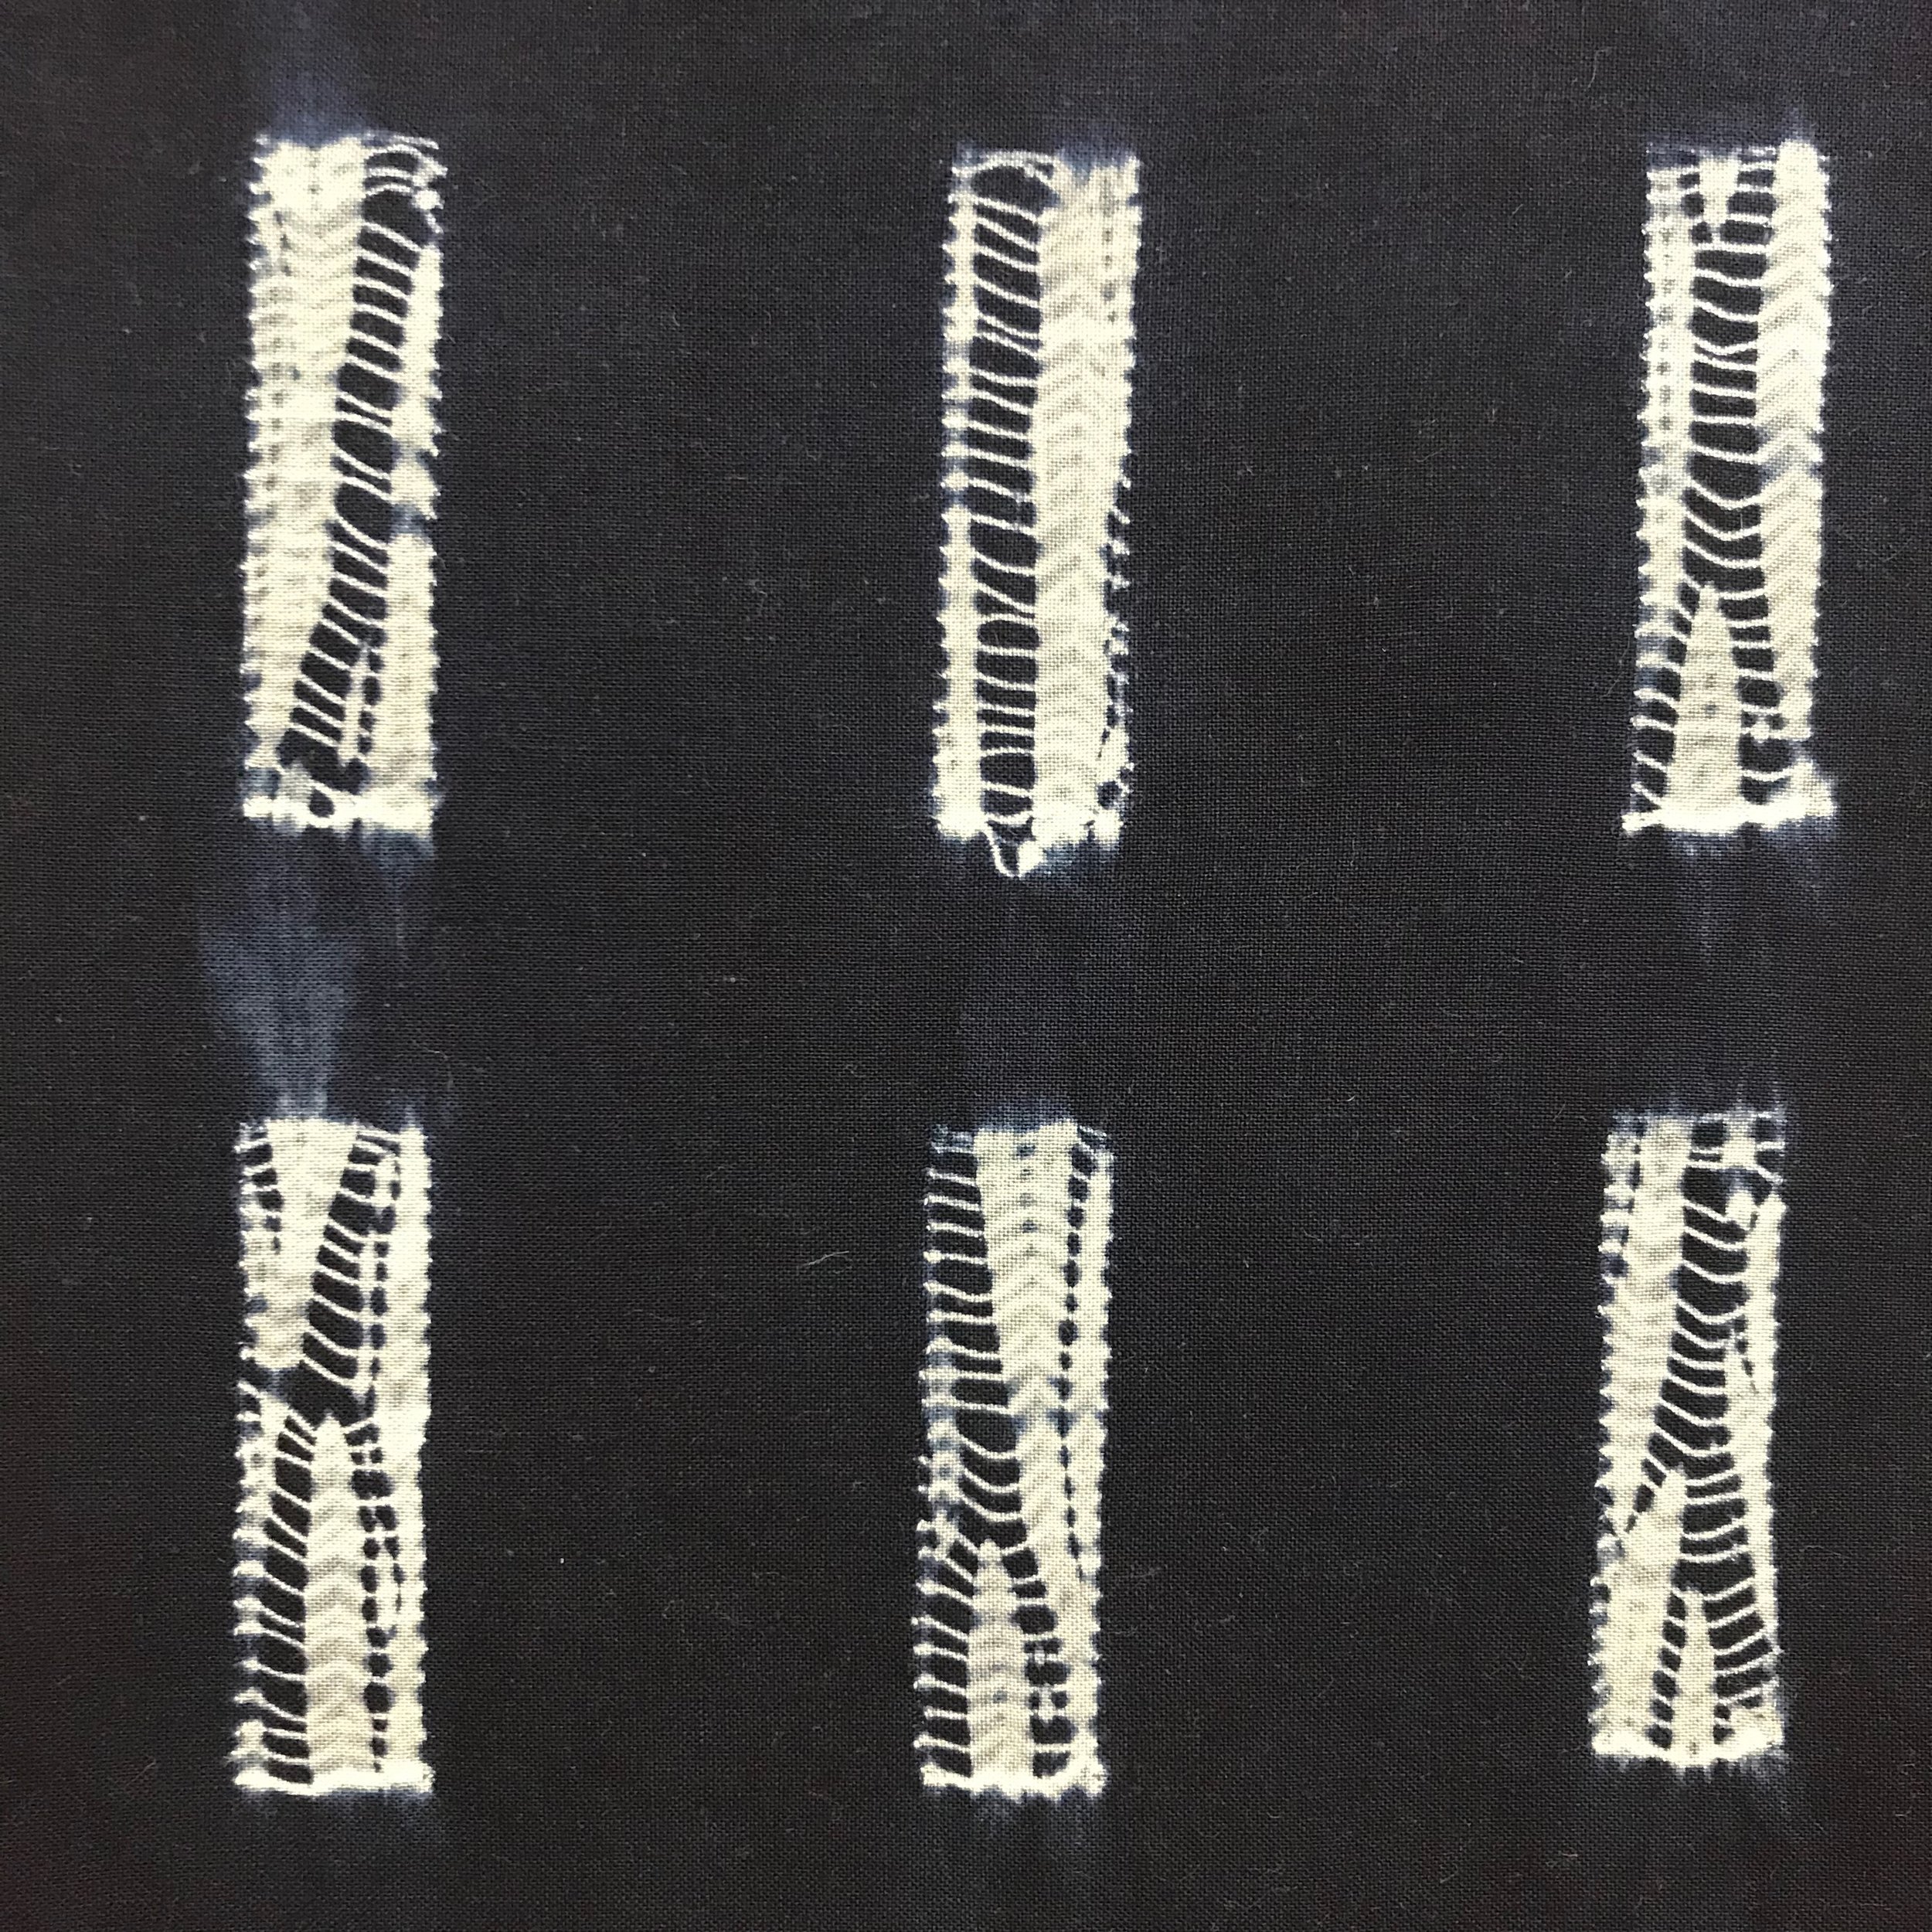
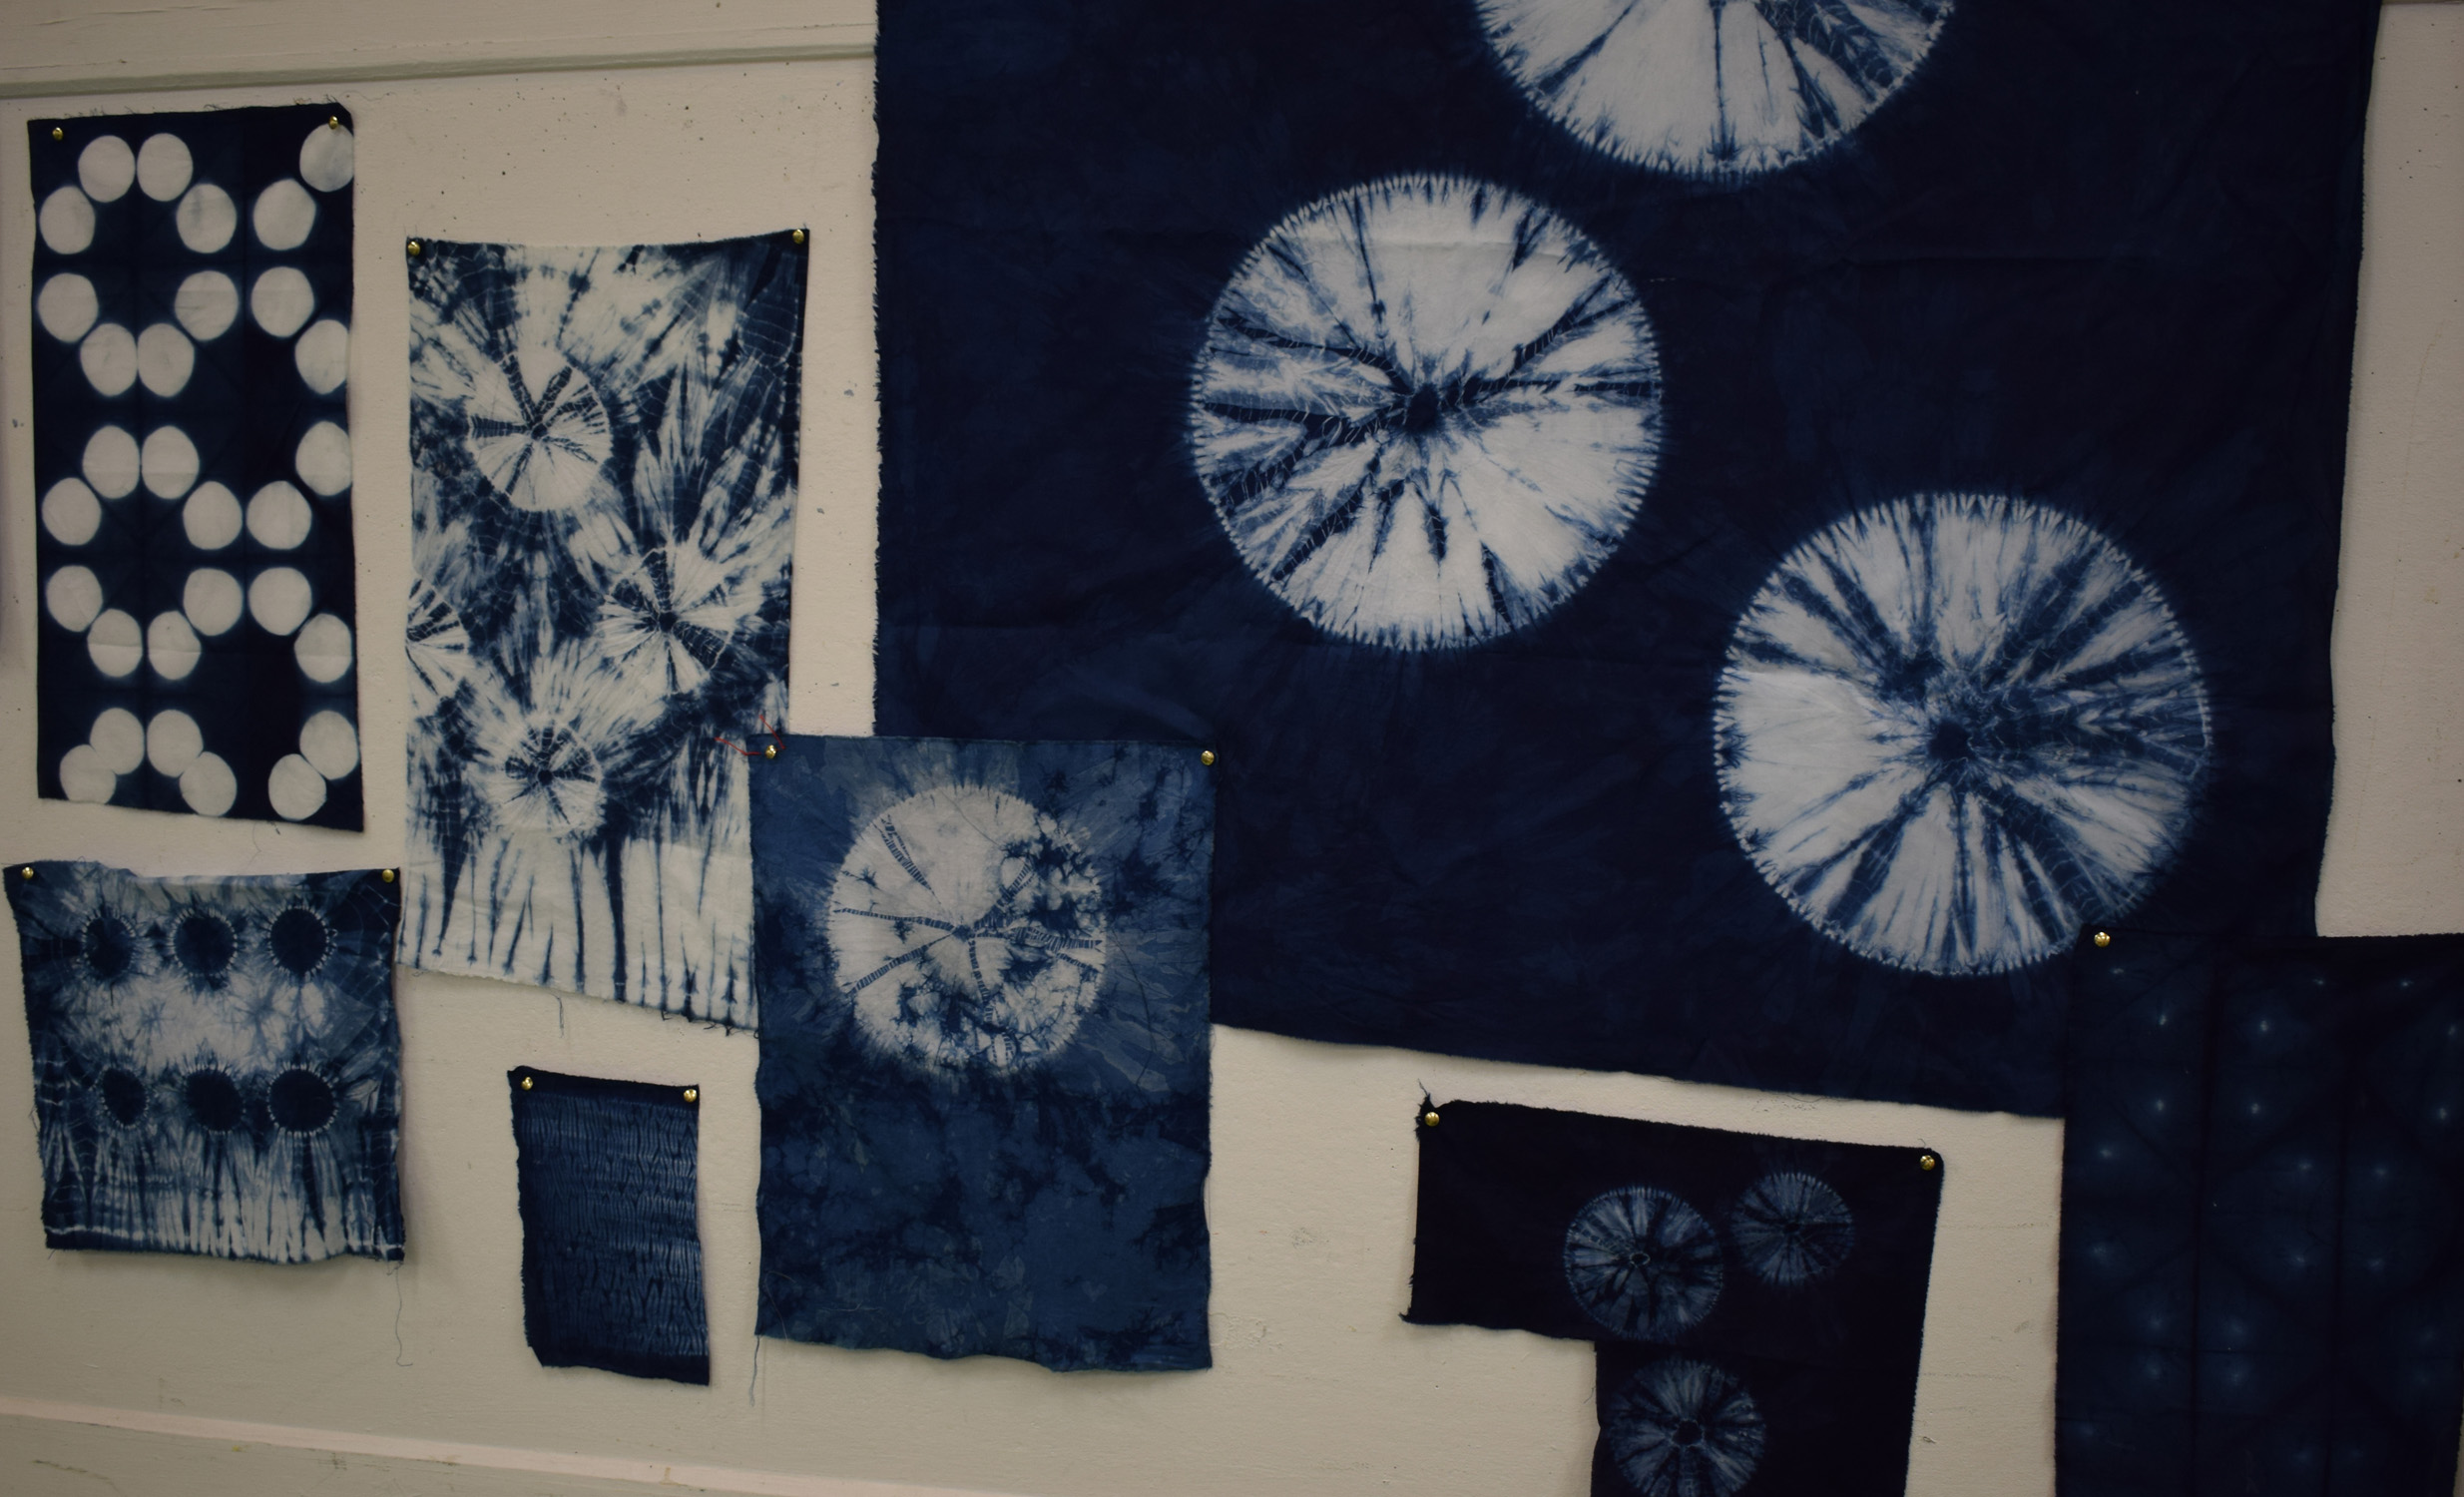
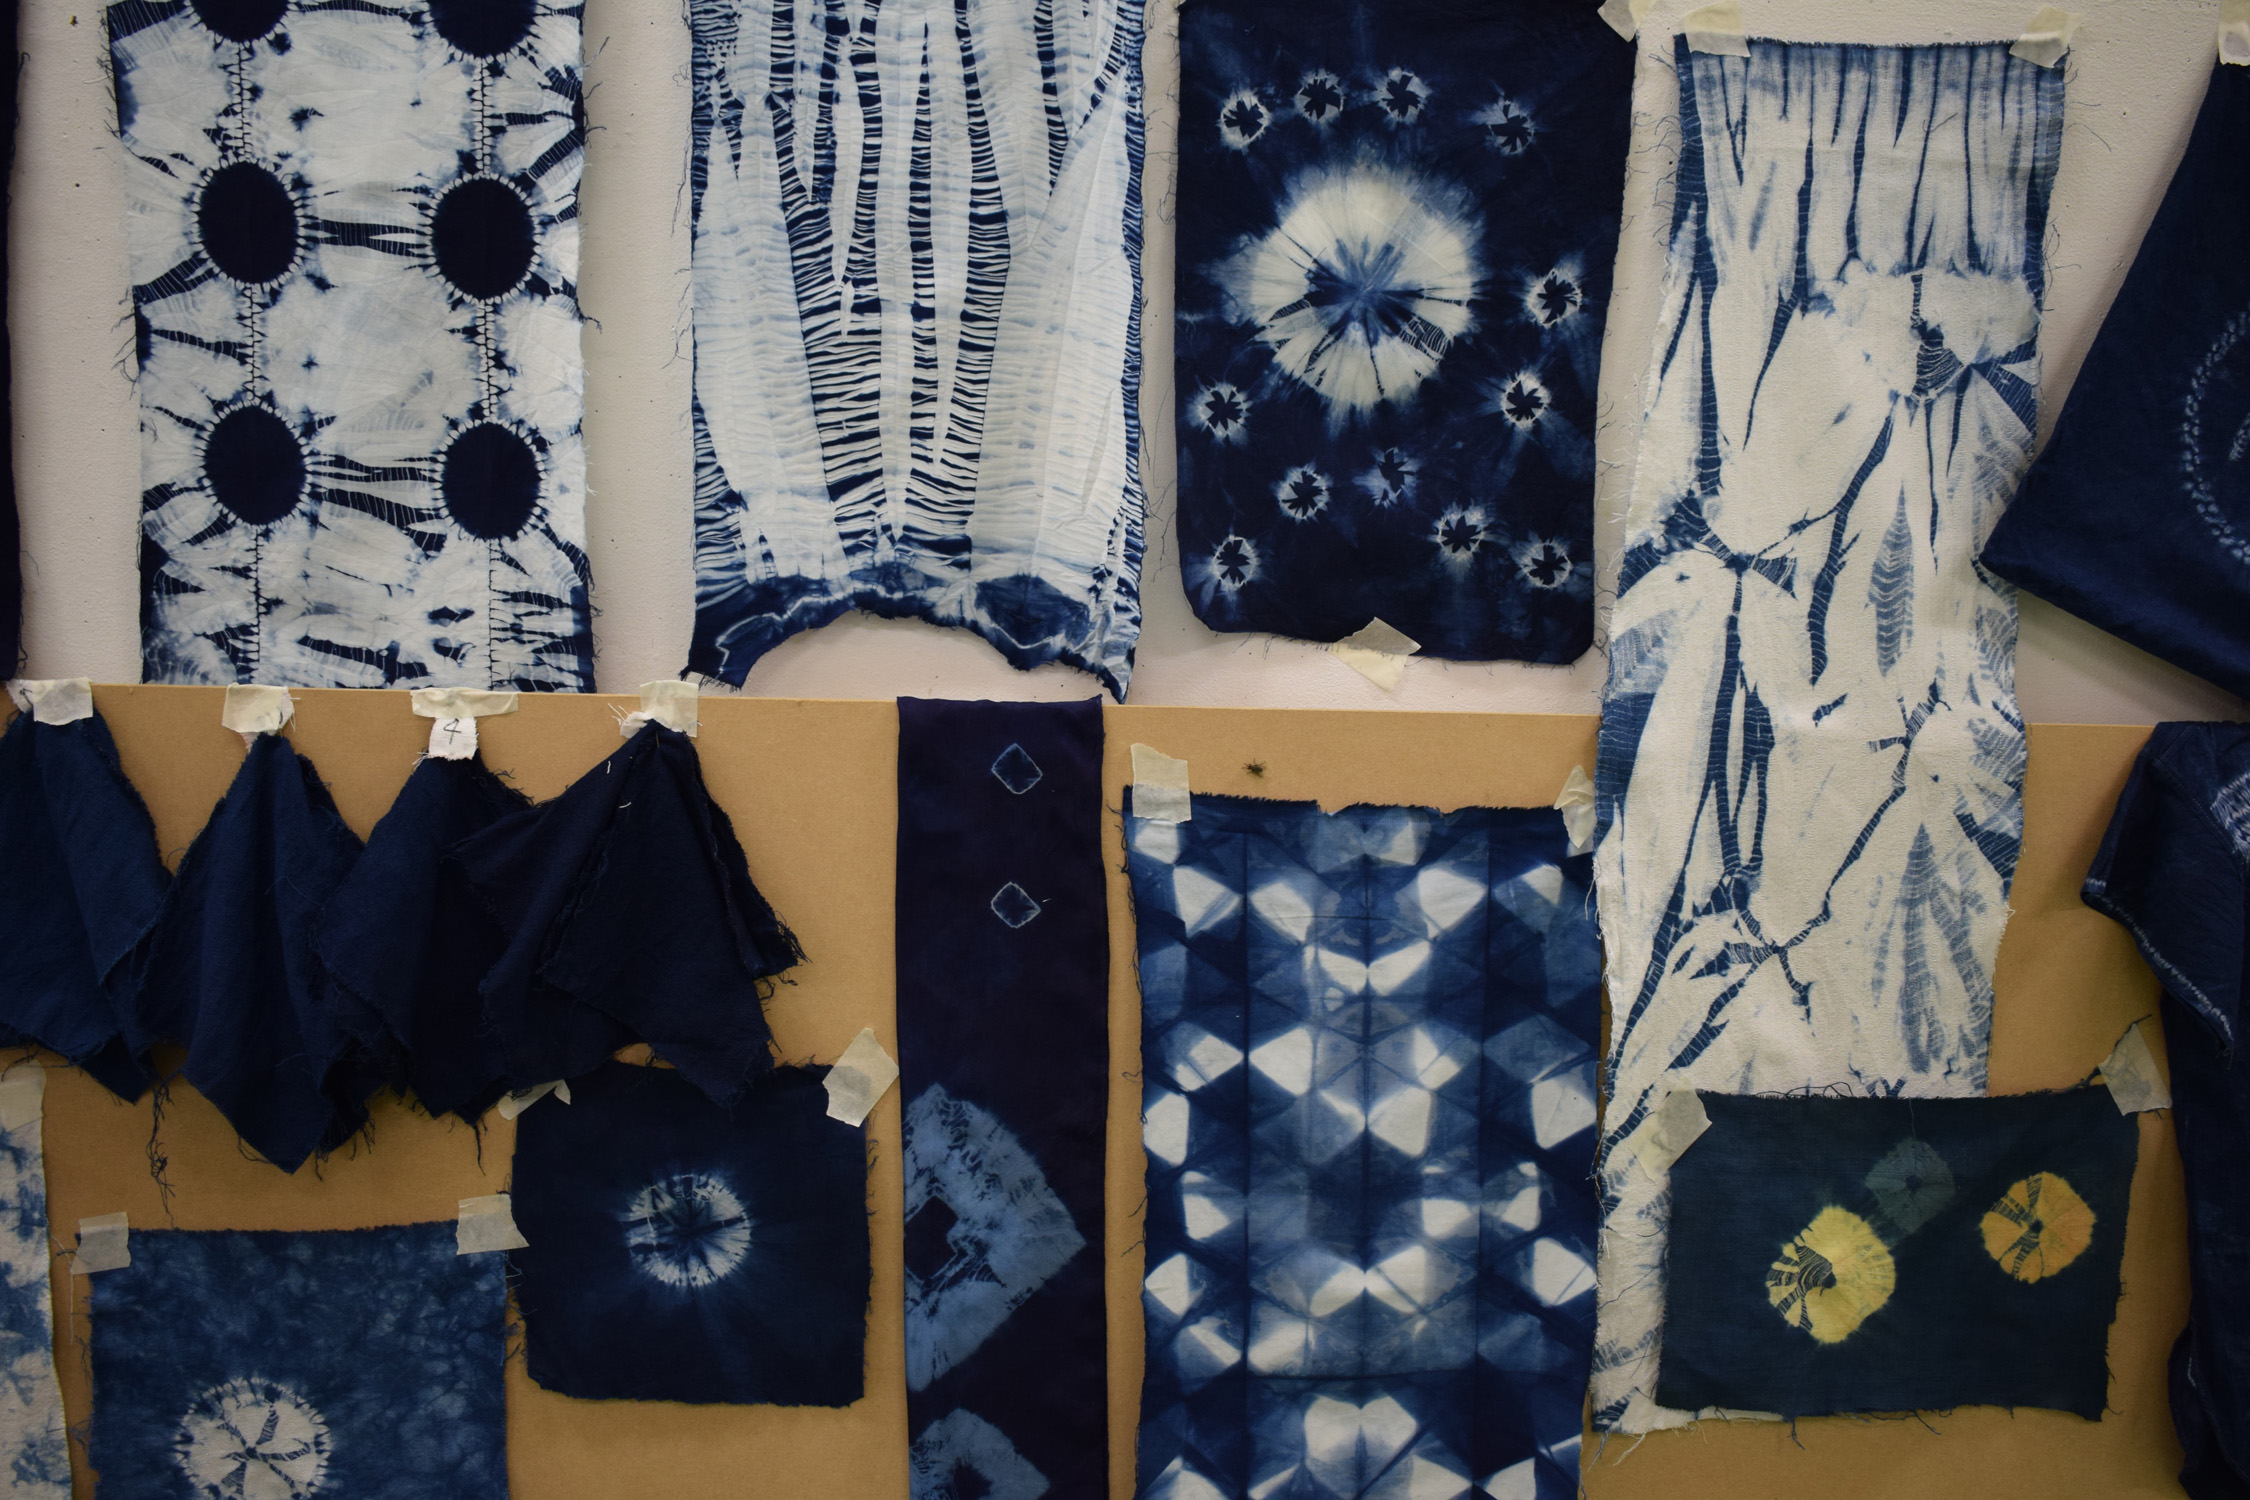
Guntai Shibori, also known as Military Shibori because its often laid out in a regimented format, involves stitching across the outlines of shapes and pulling up the stitches as you go to bind the centre of the motif. Its slightly contrary to most stitching where you'd normally not pull up the threads on a piece of fabric until you'd done all the sewing laid flat. The first two pics are my work and the rest samples made by my students. I also taught this as the Crossover session to a group of 10 on the Tuesday morning.
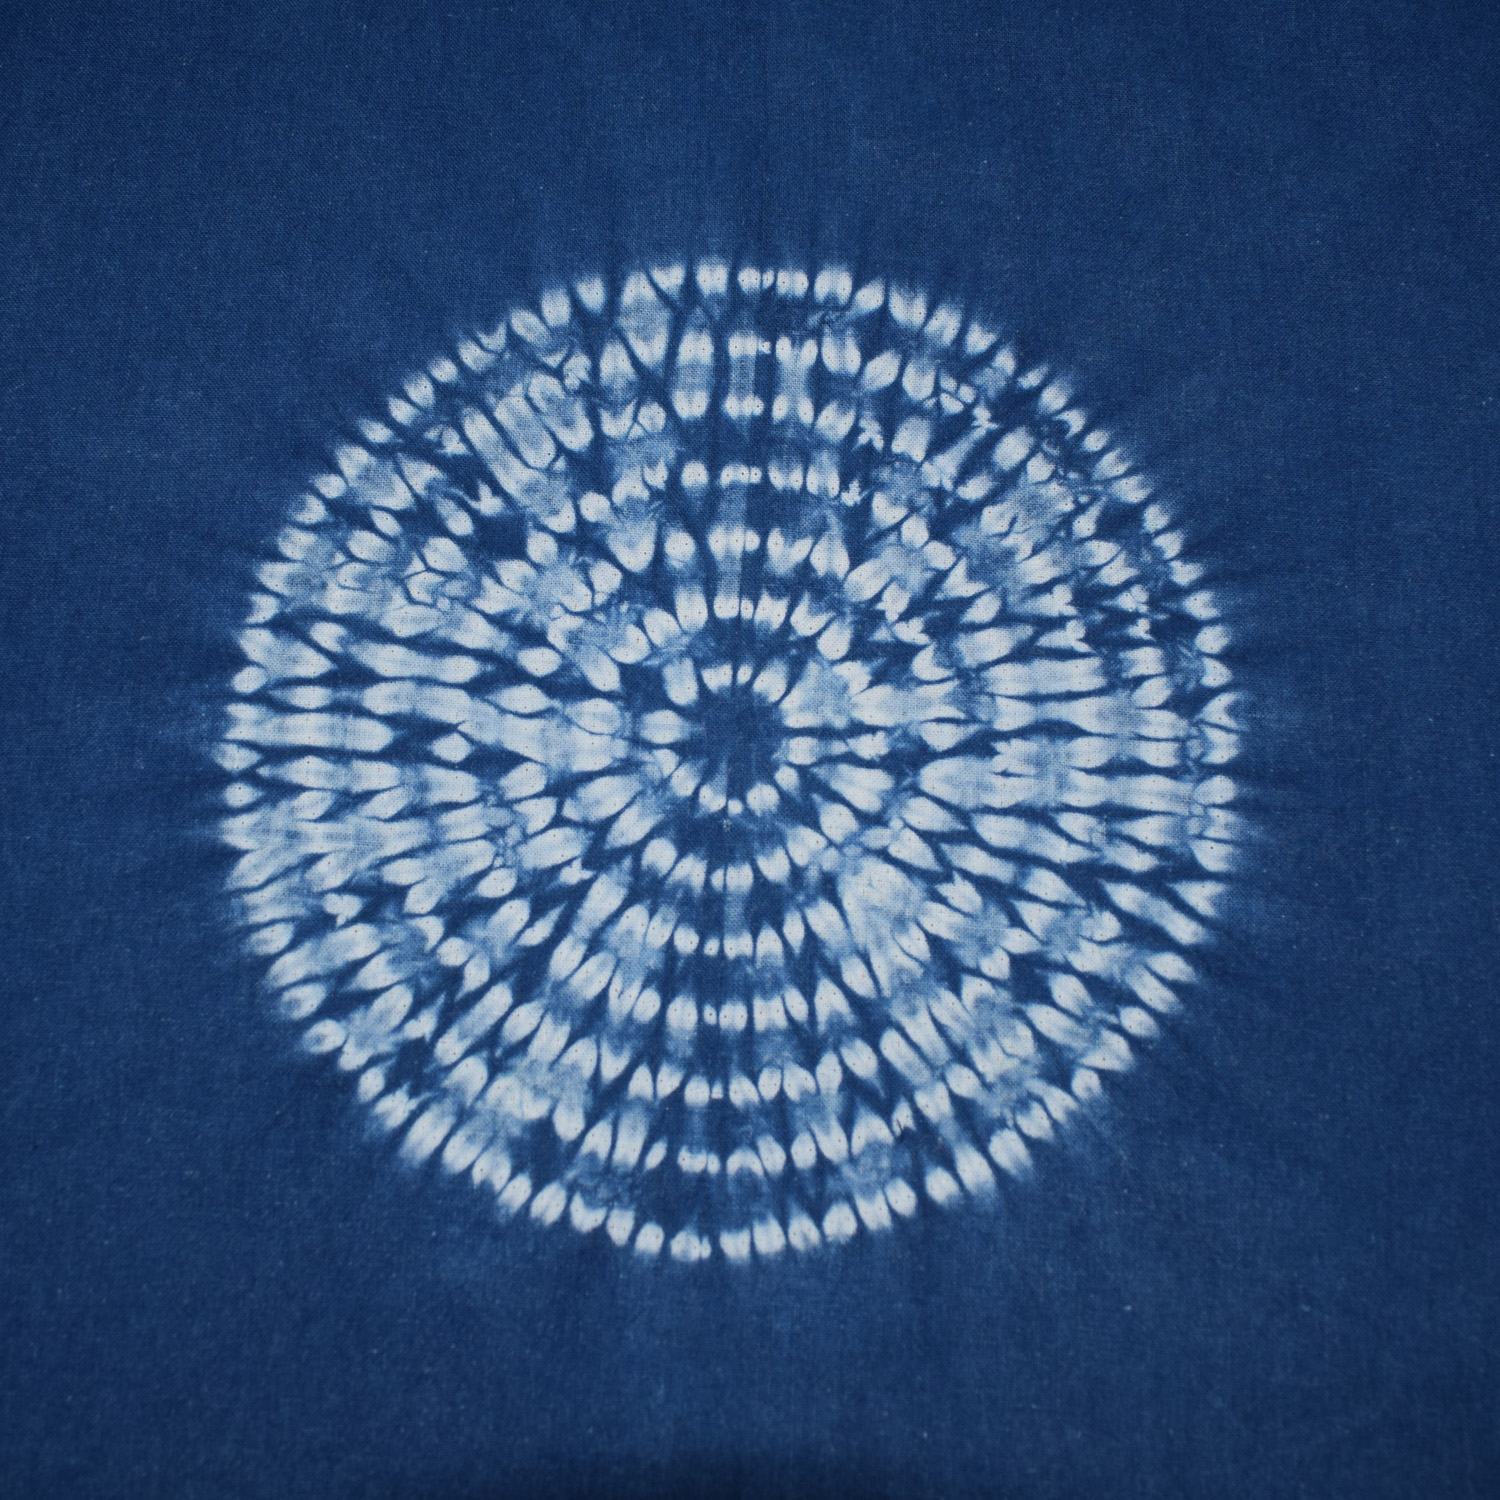
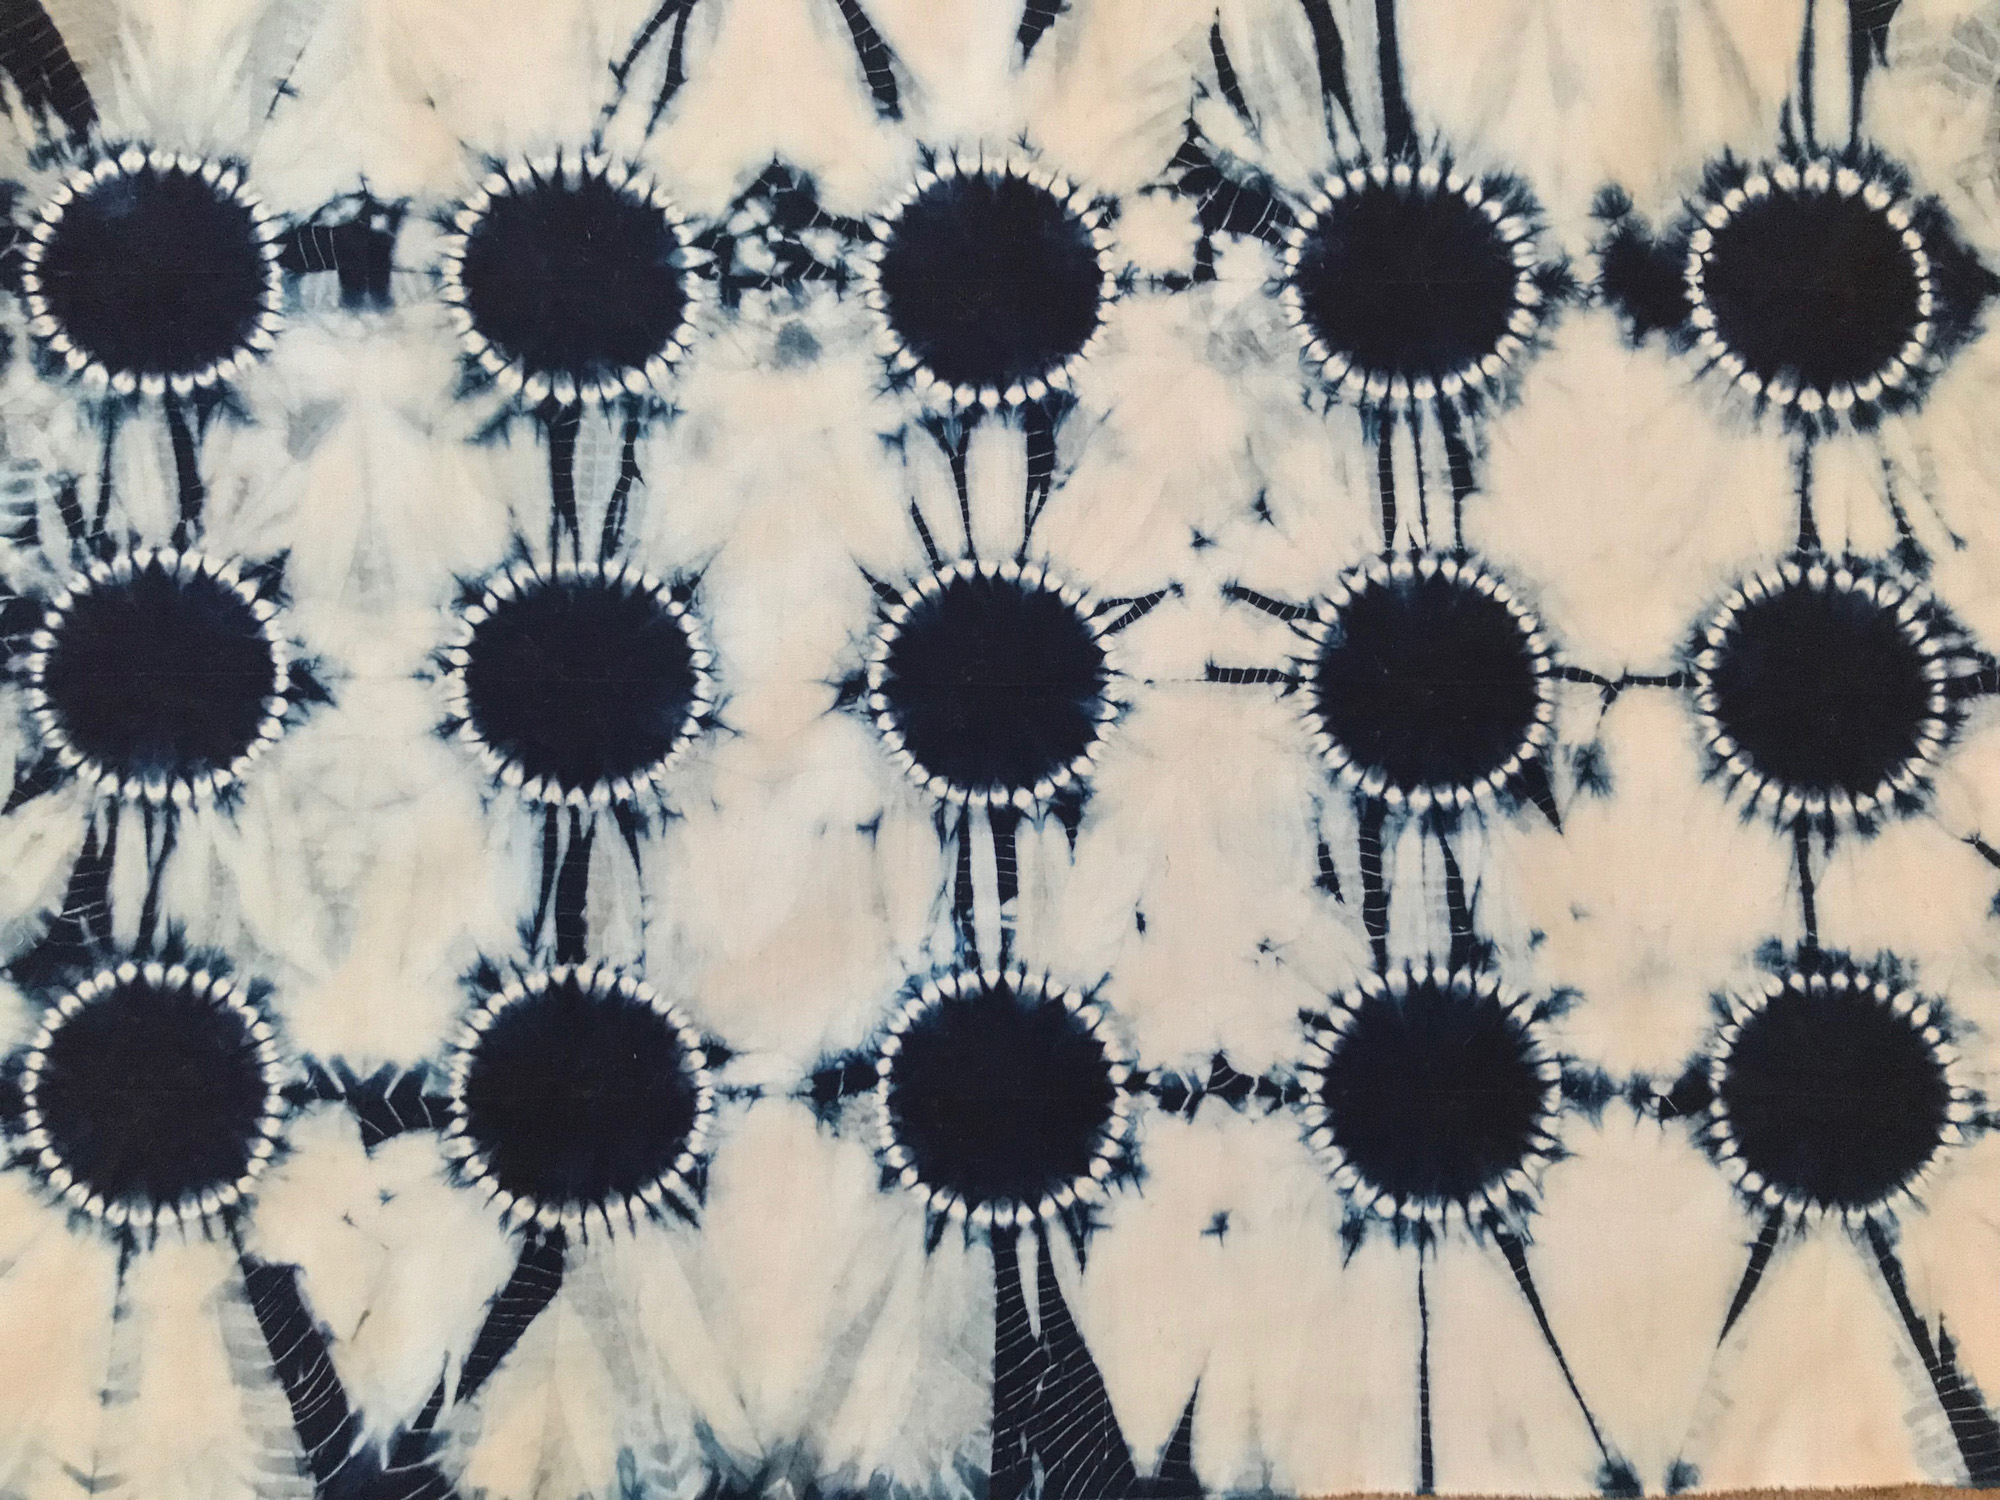
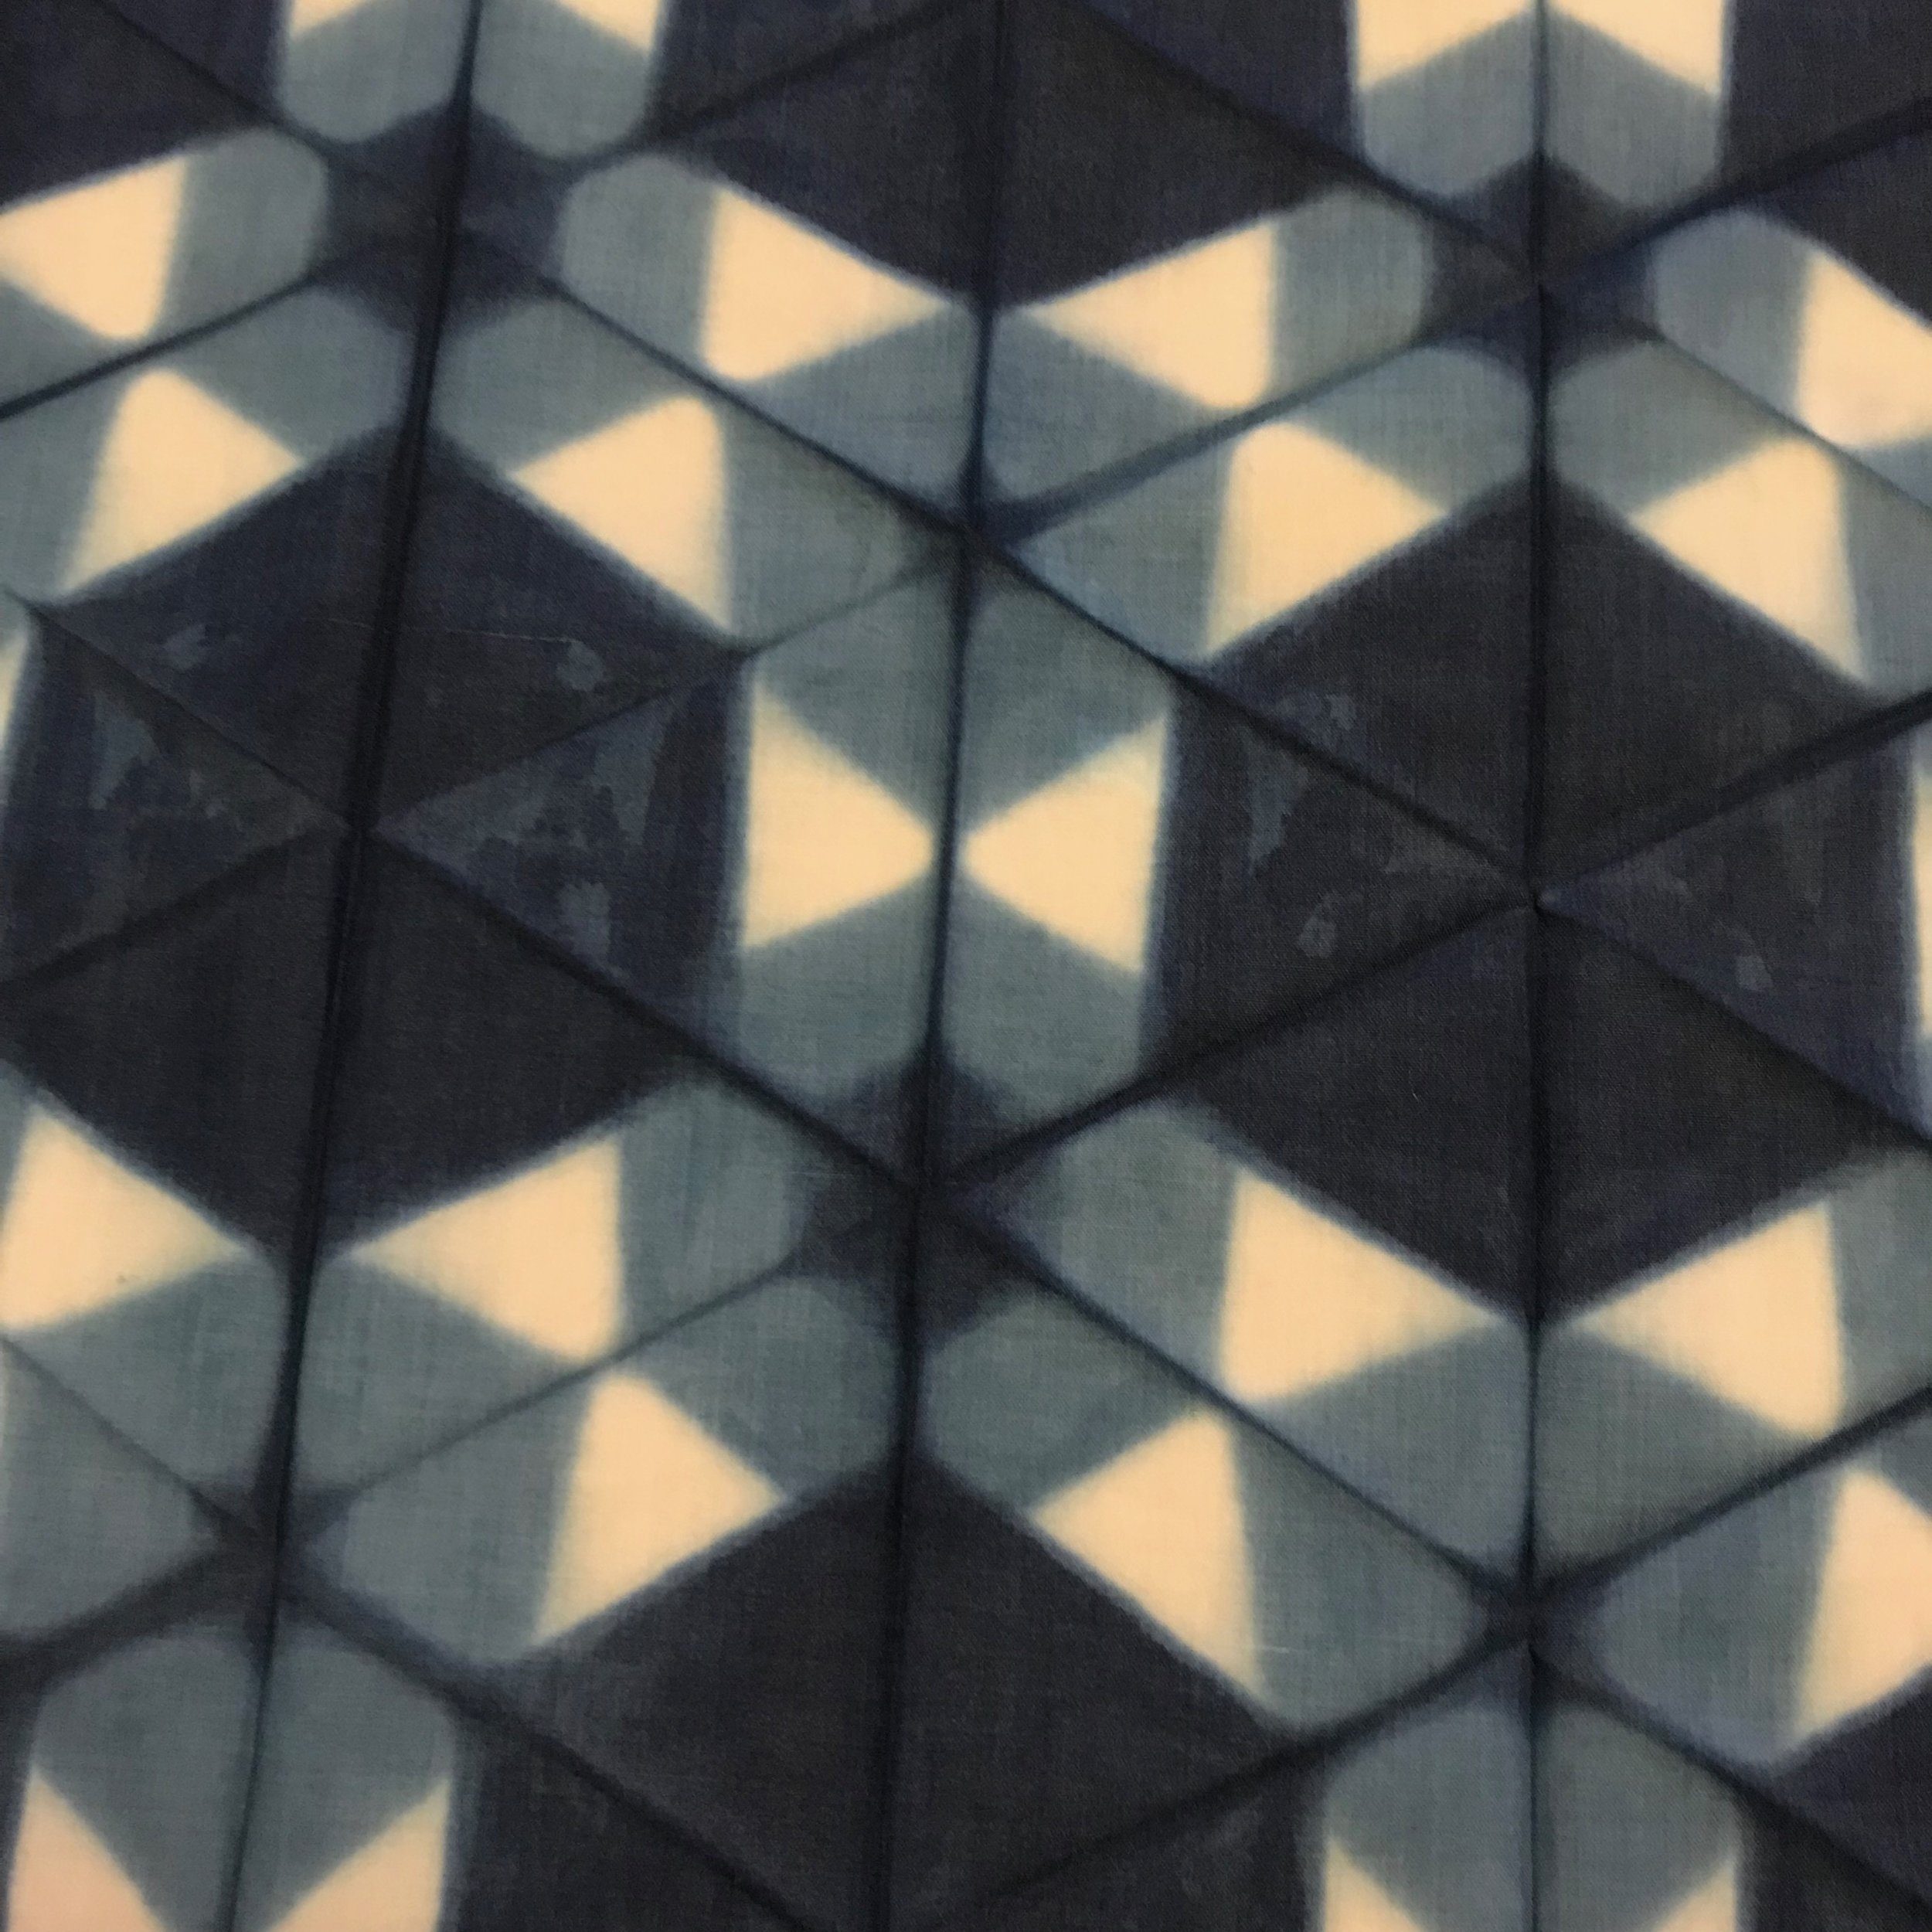
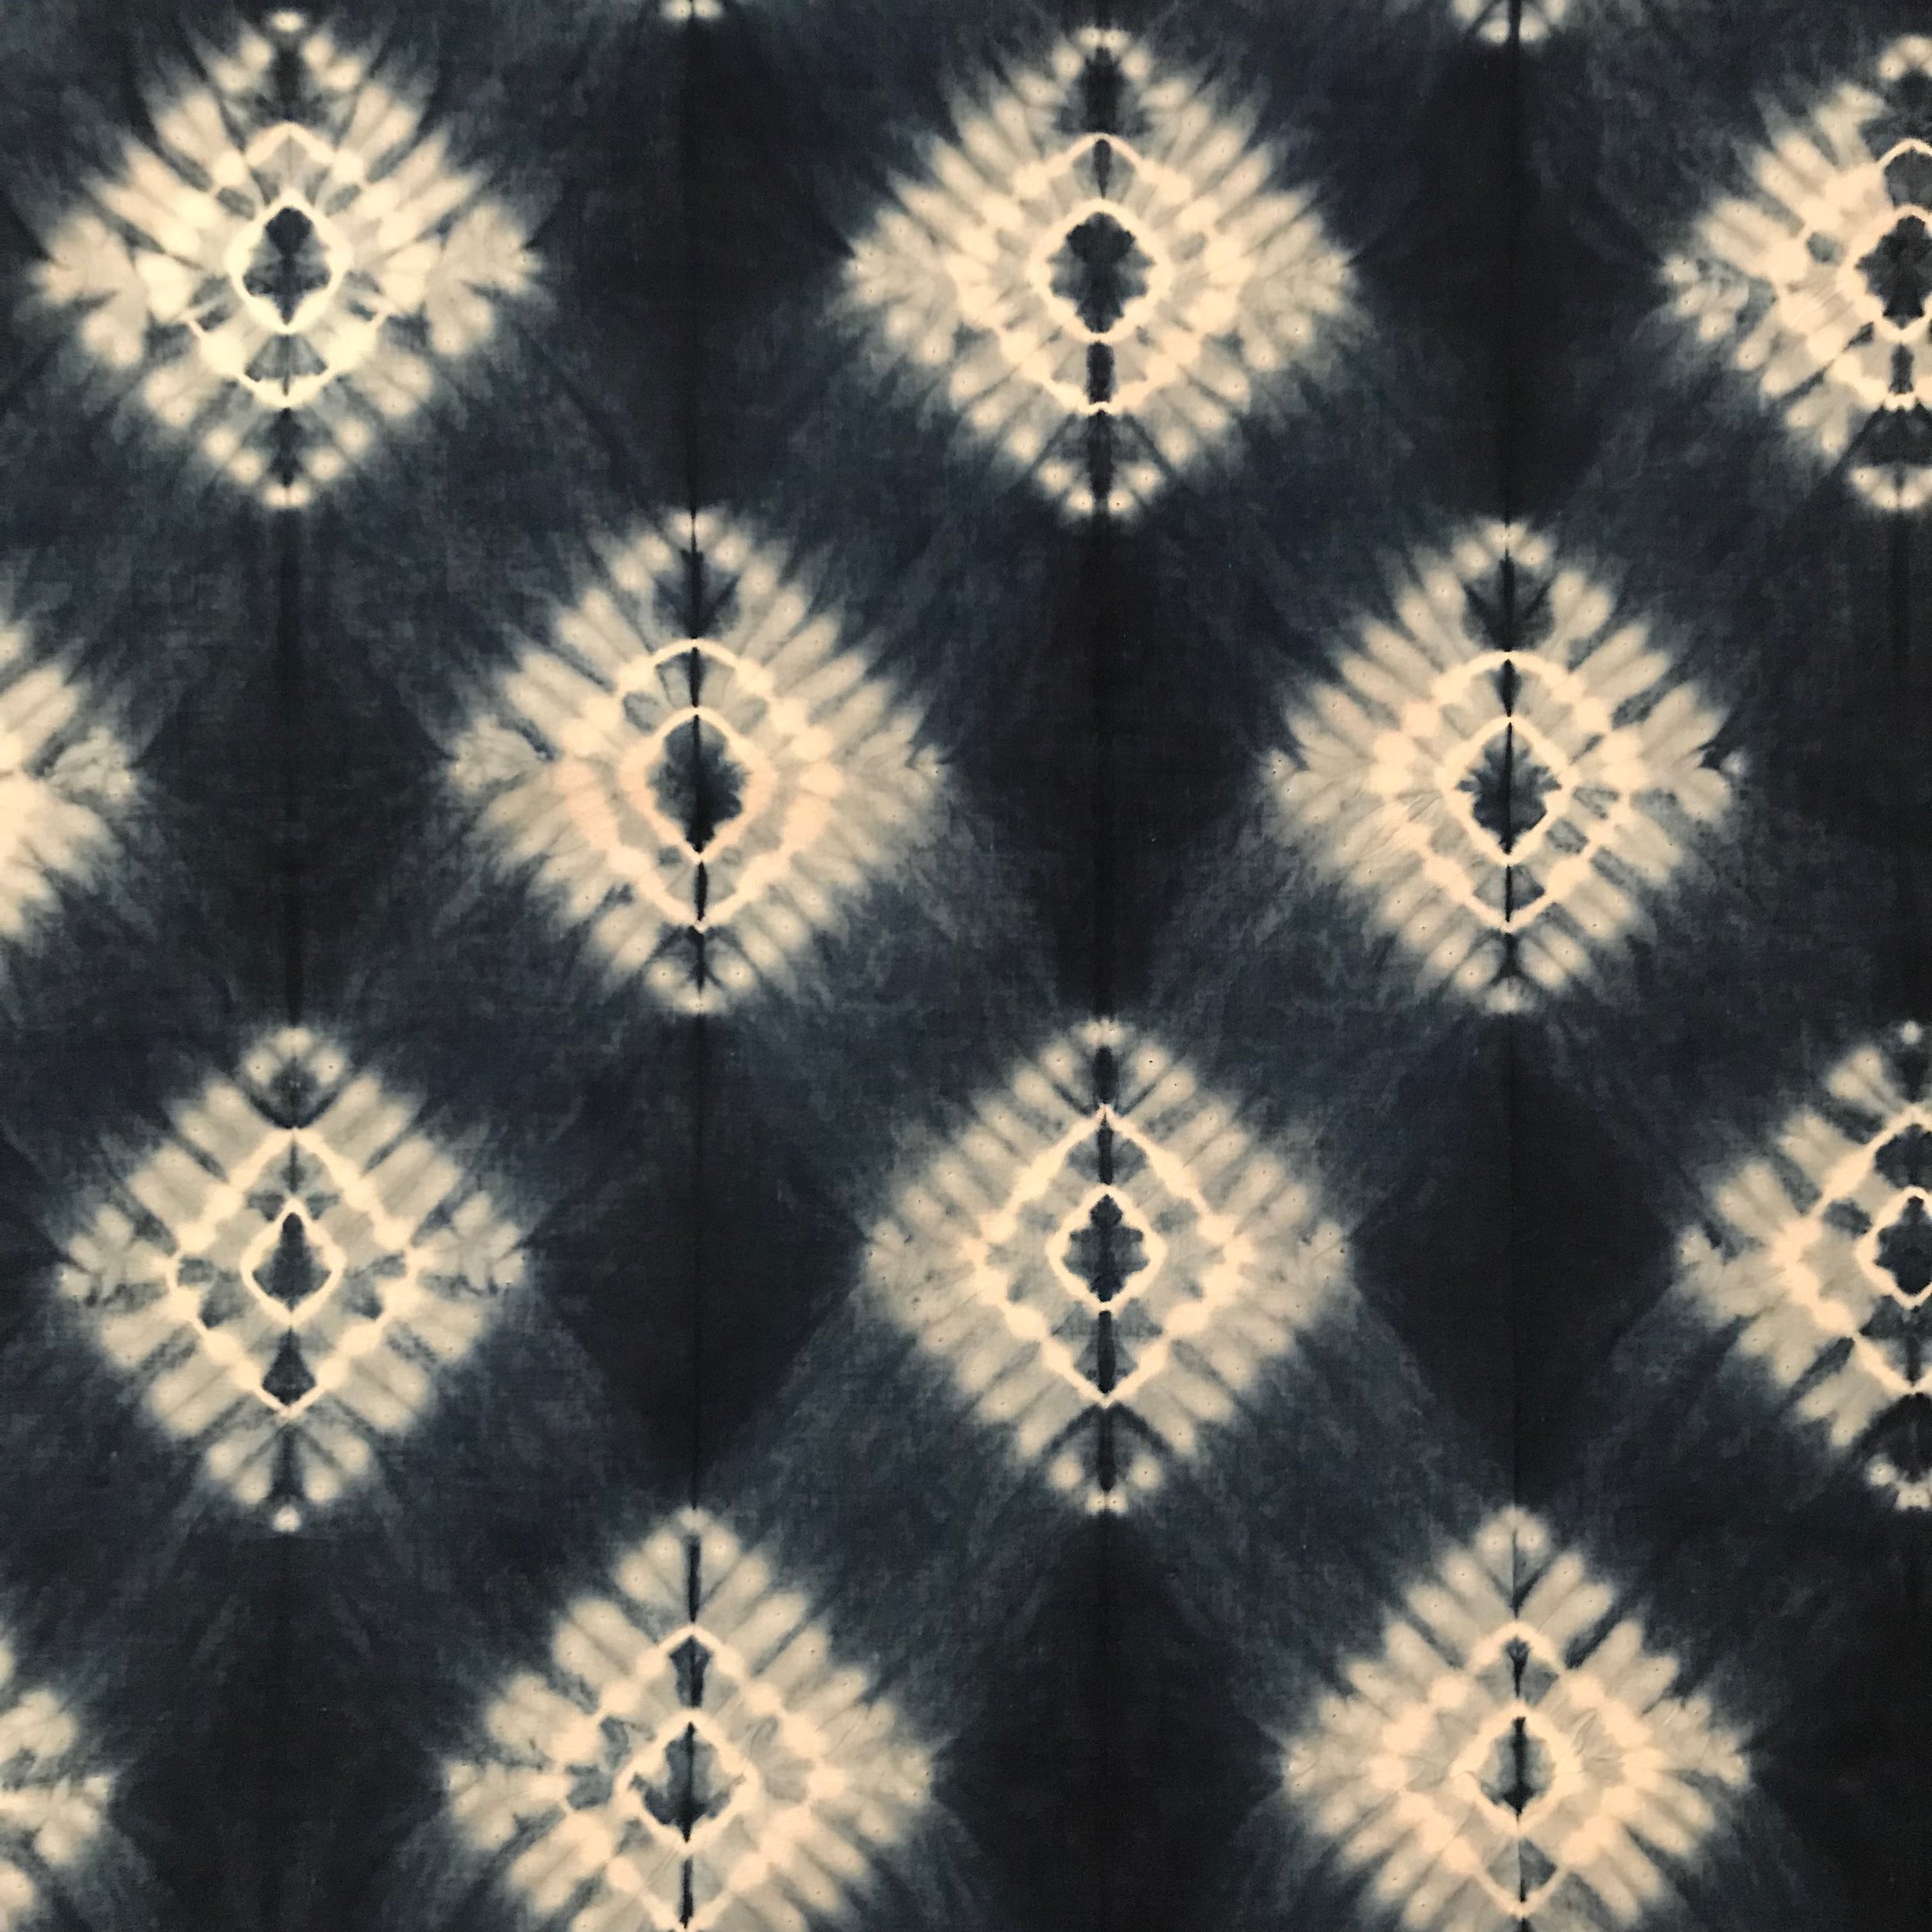
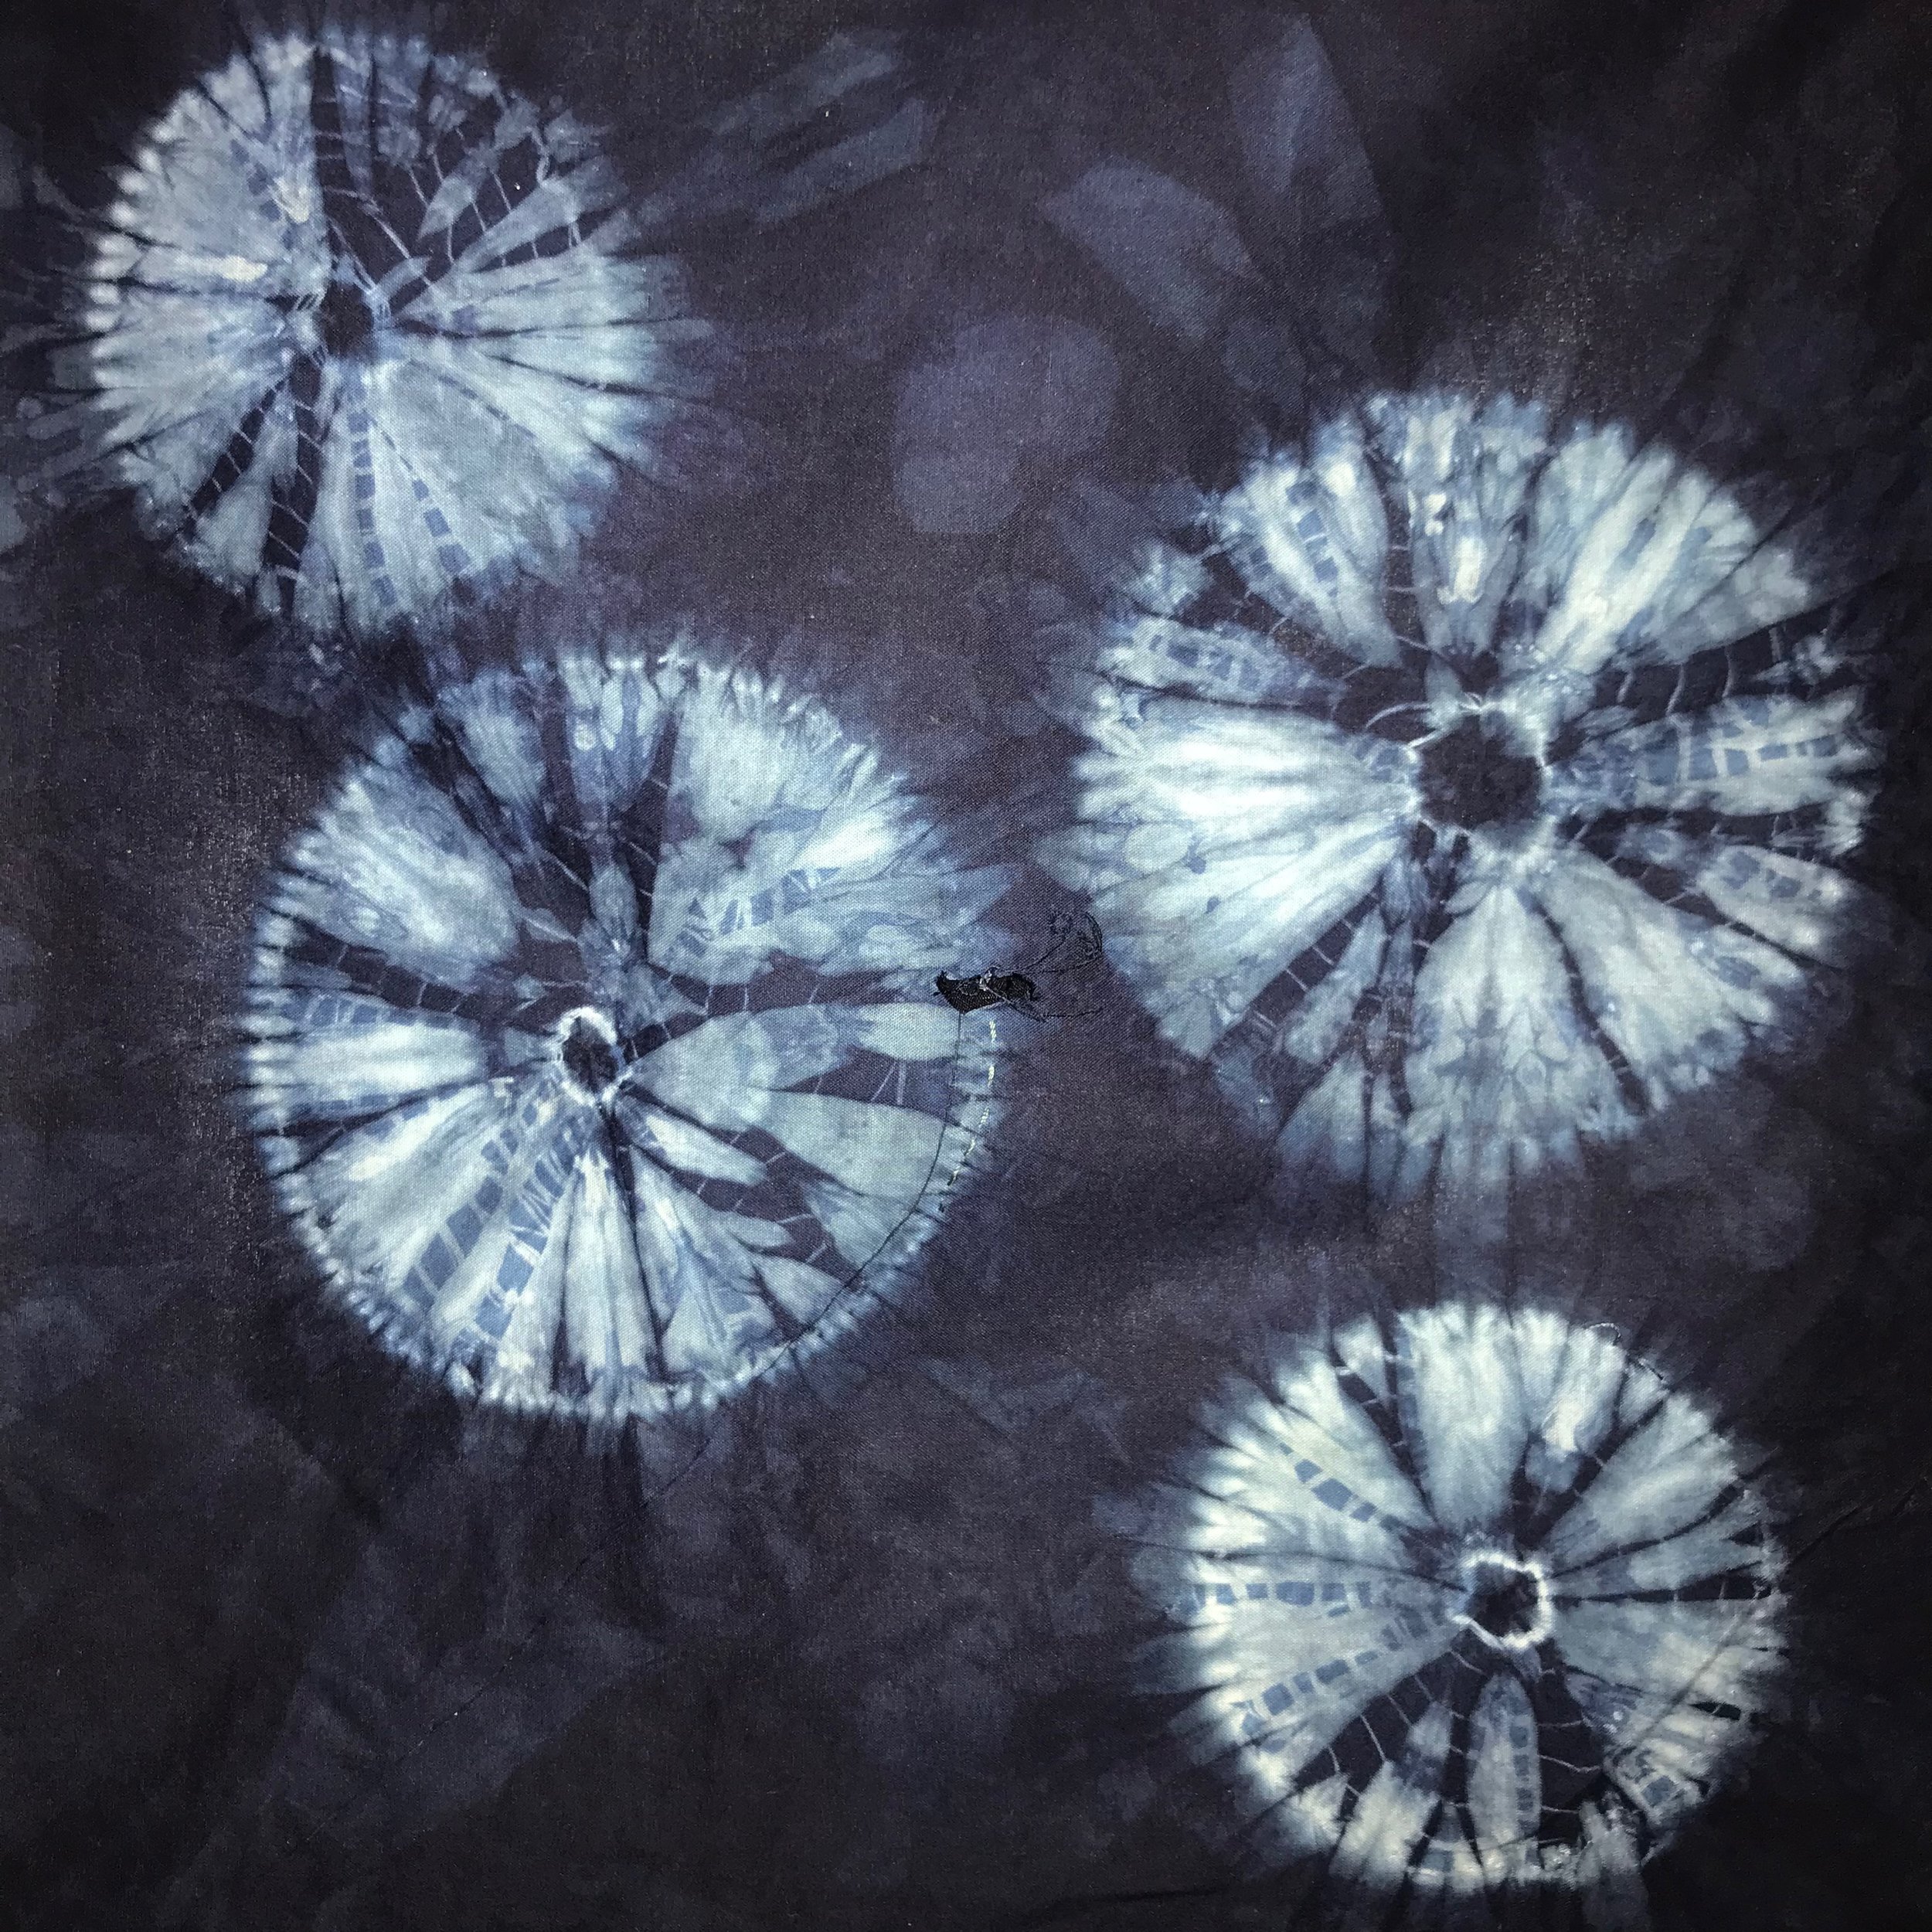
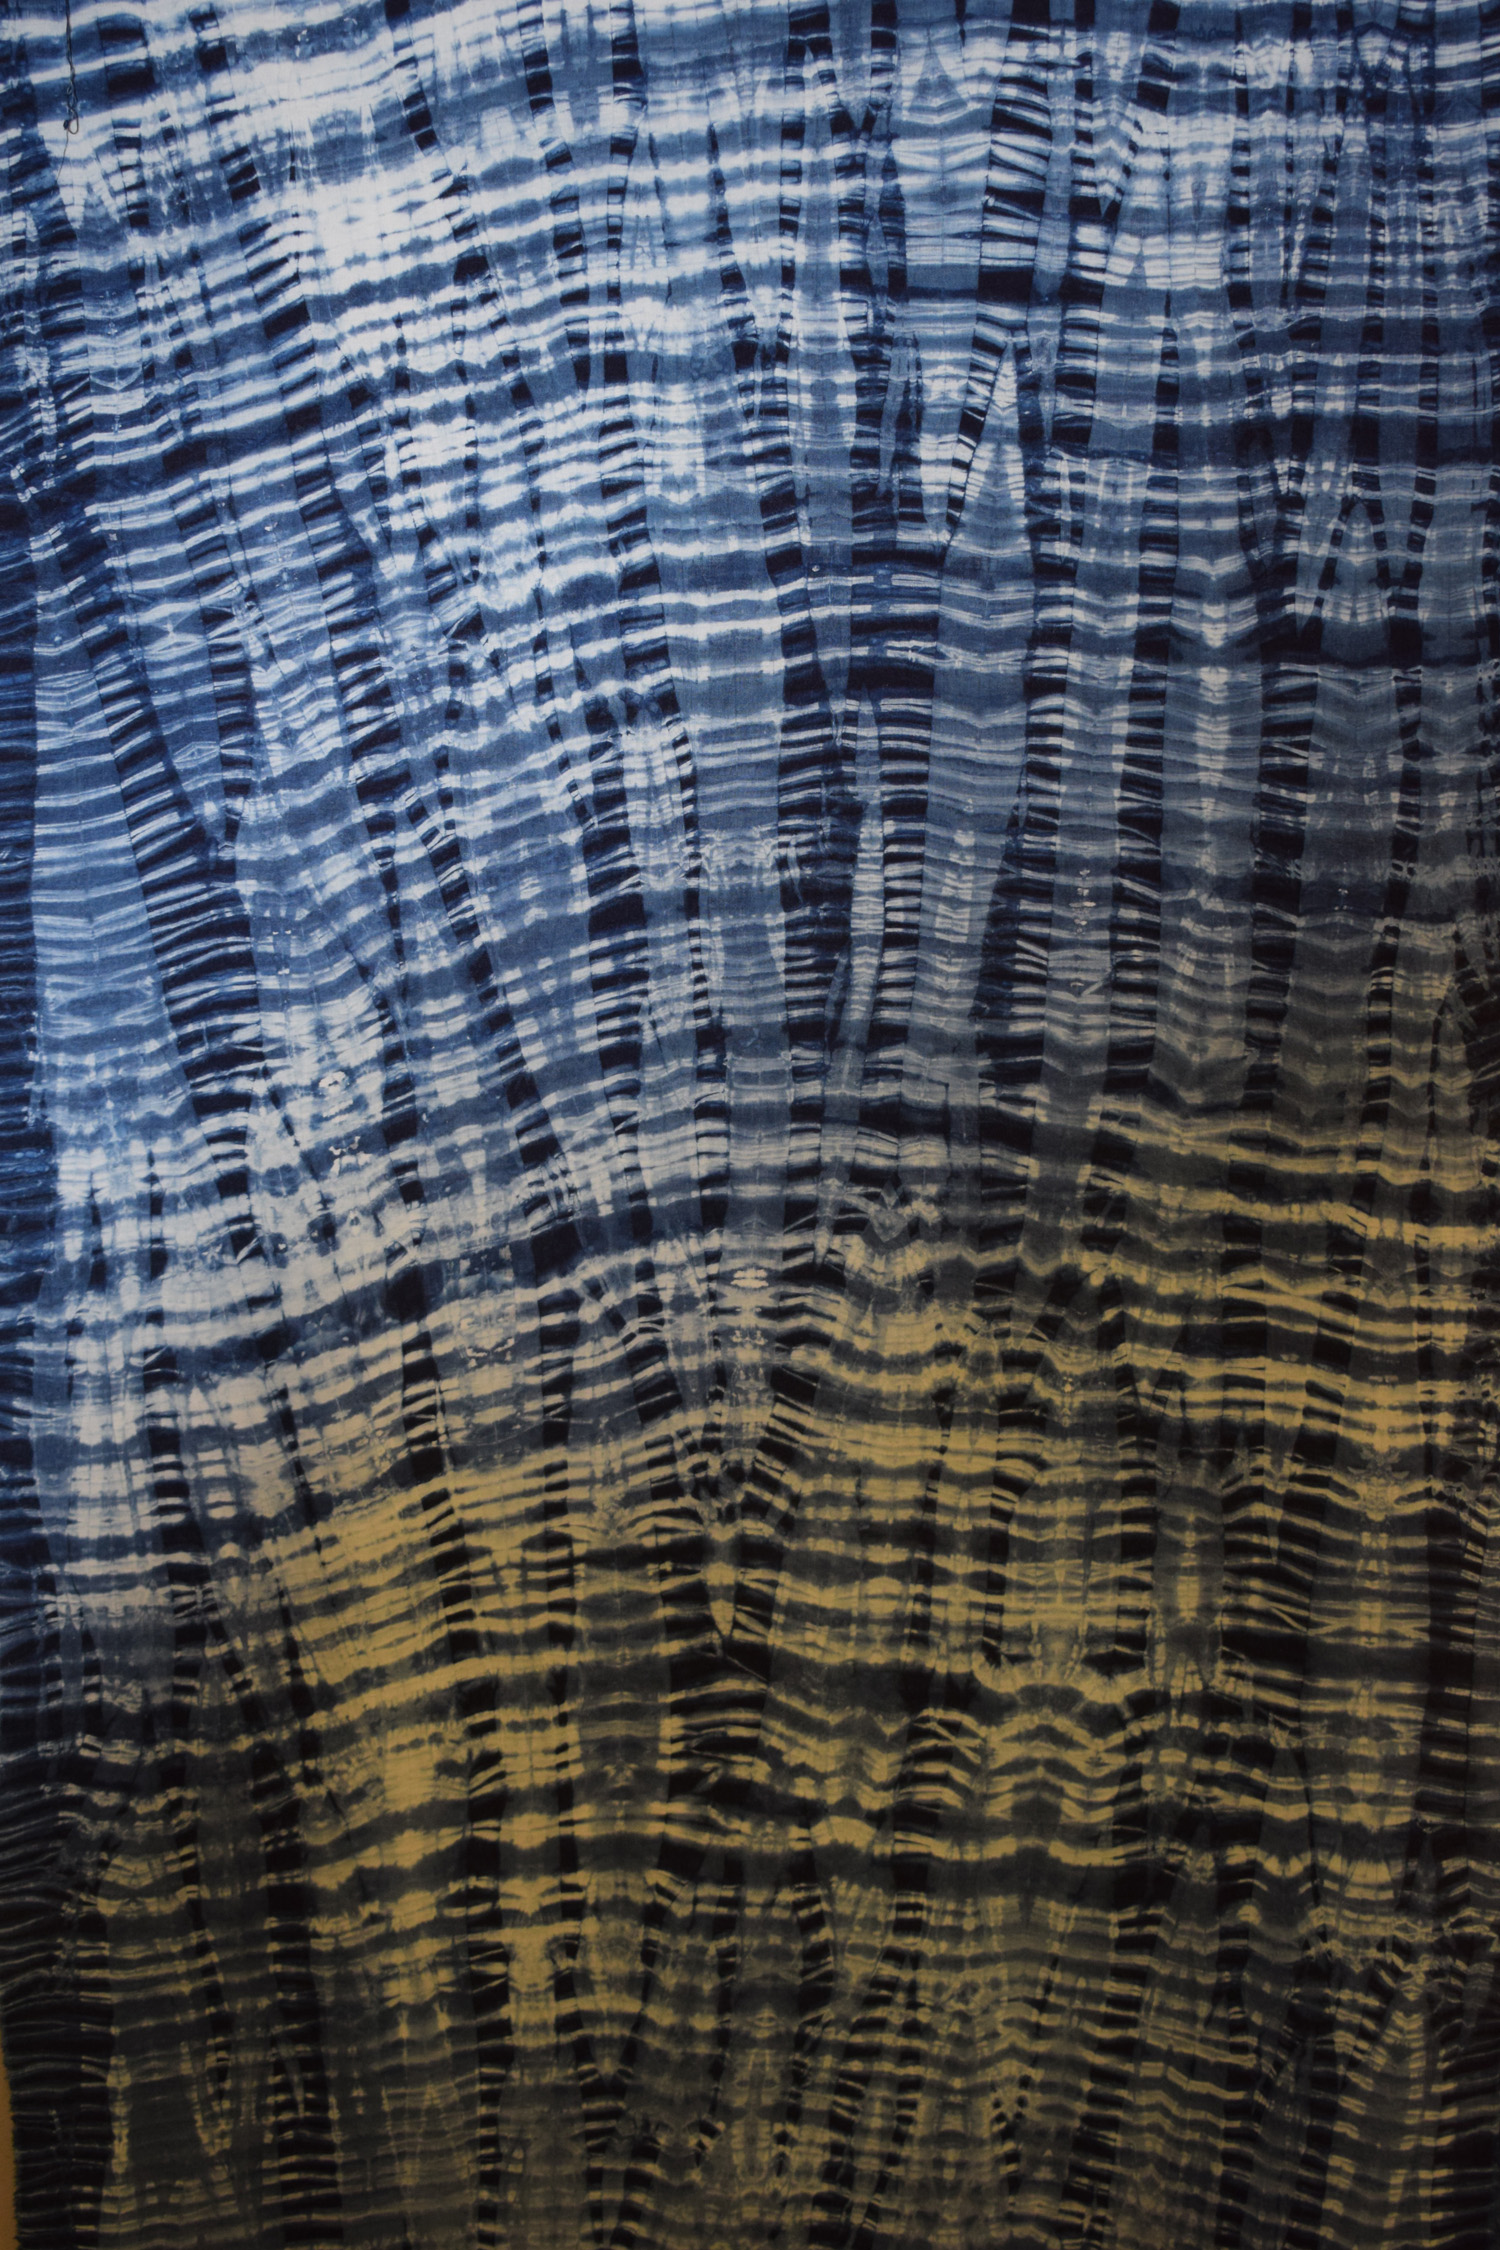
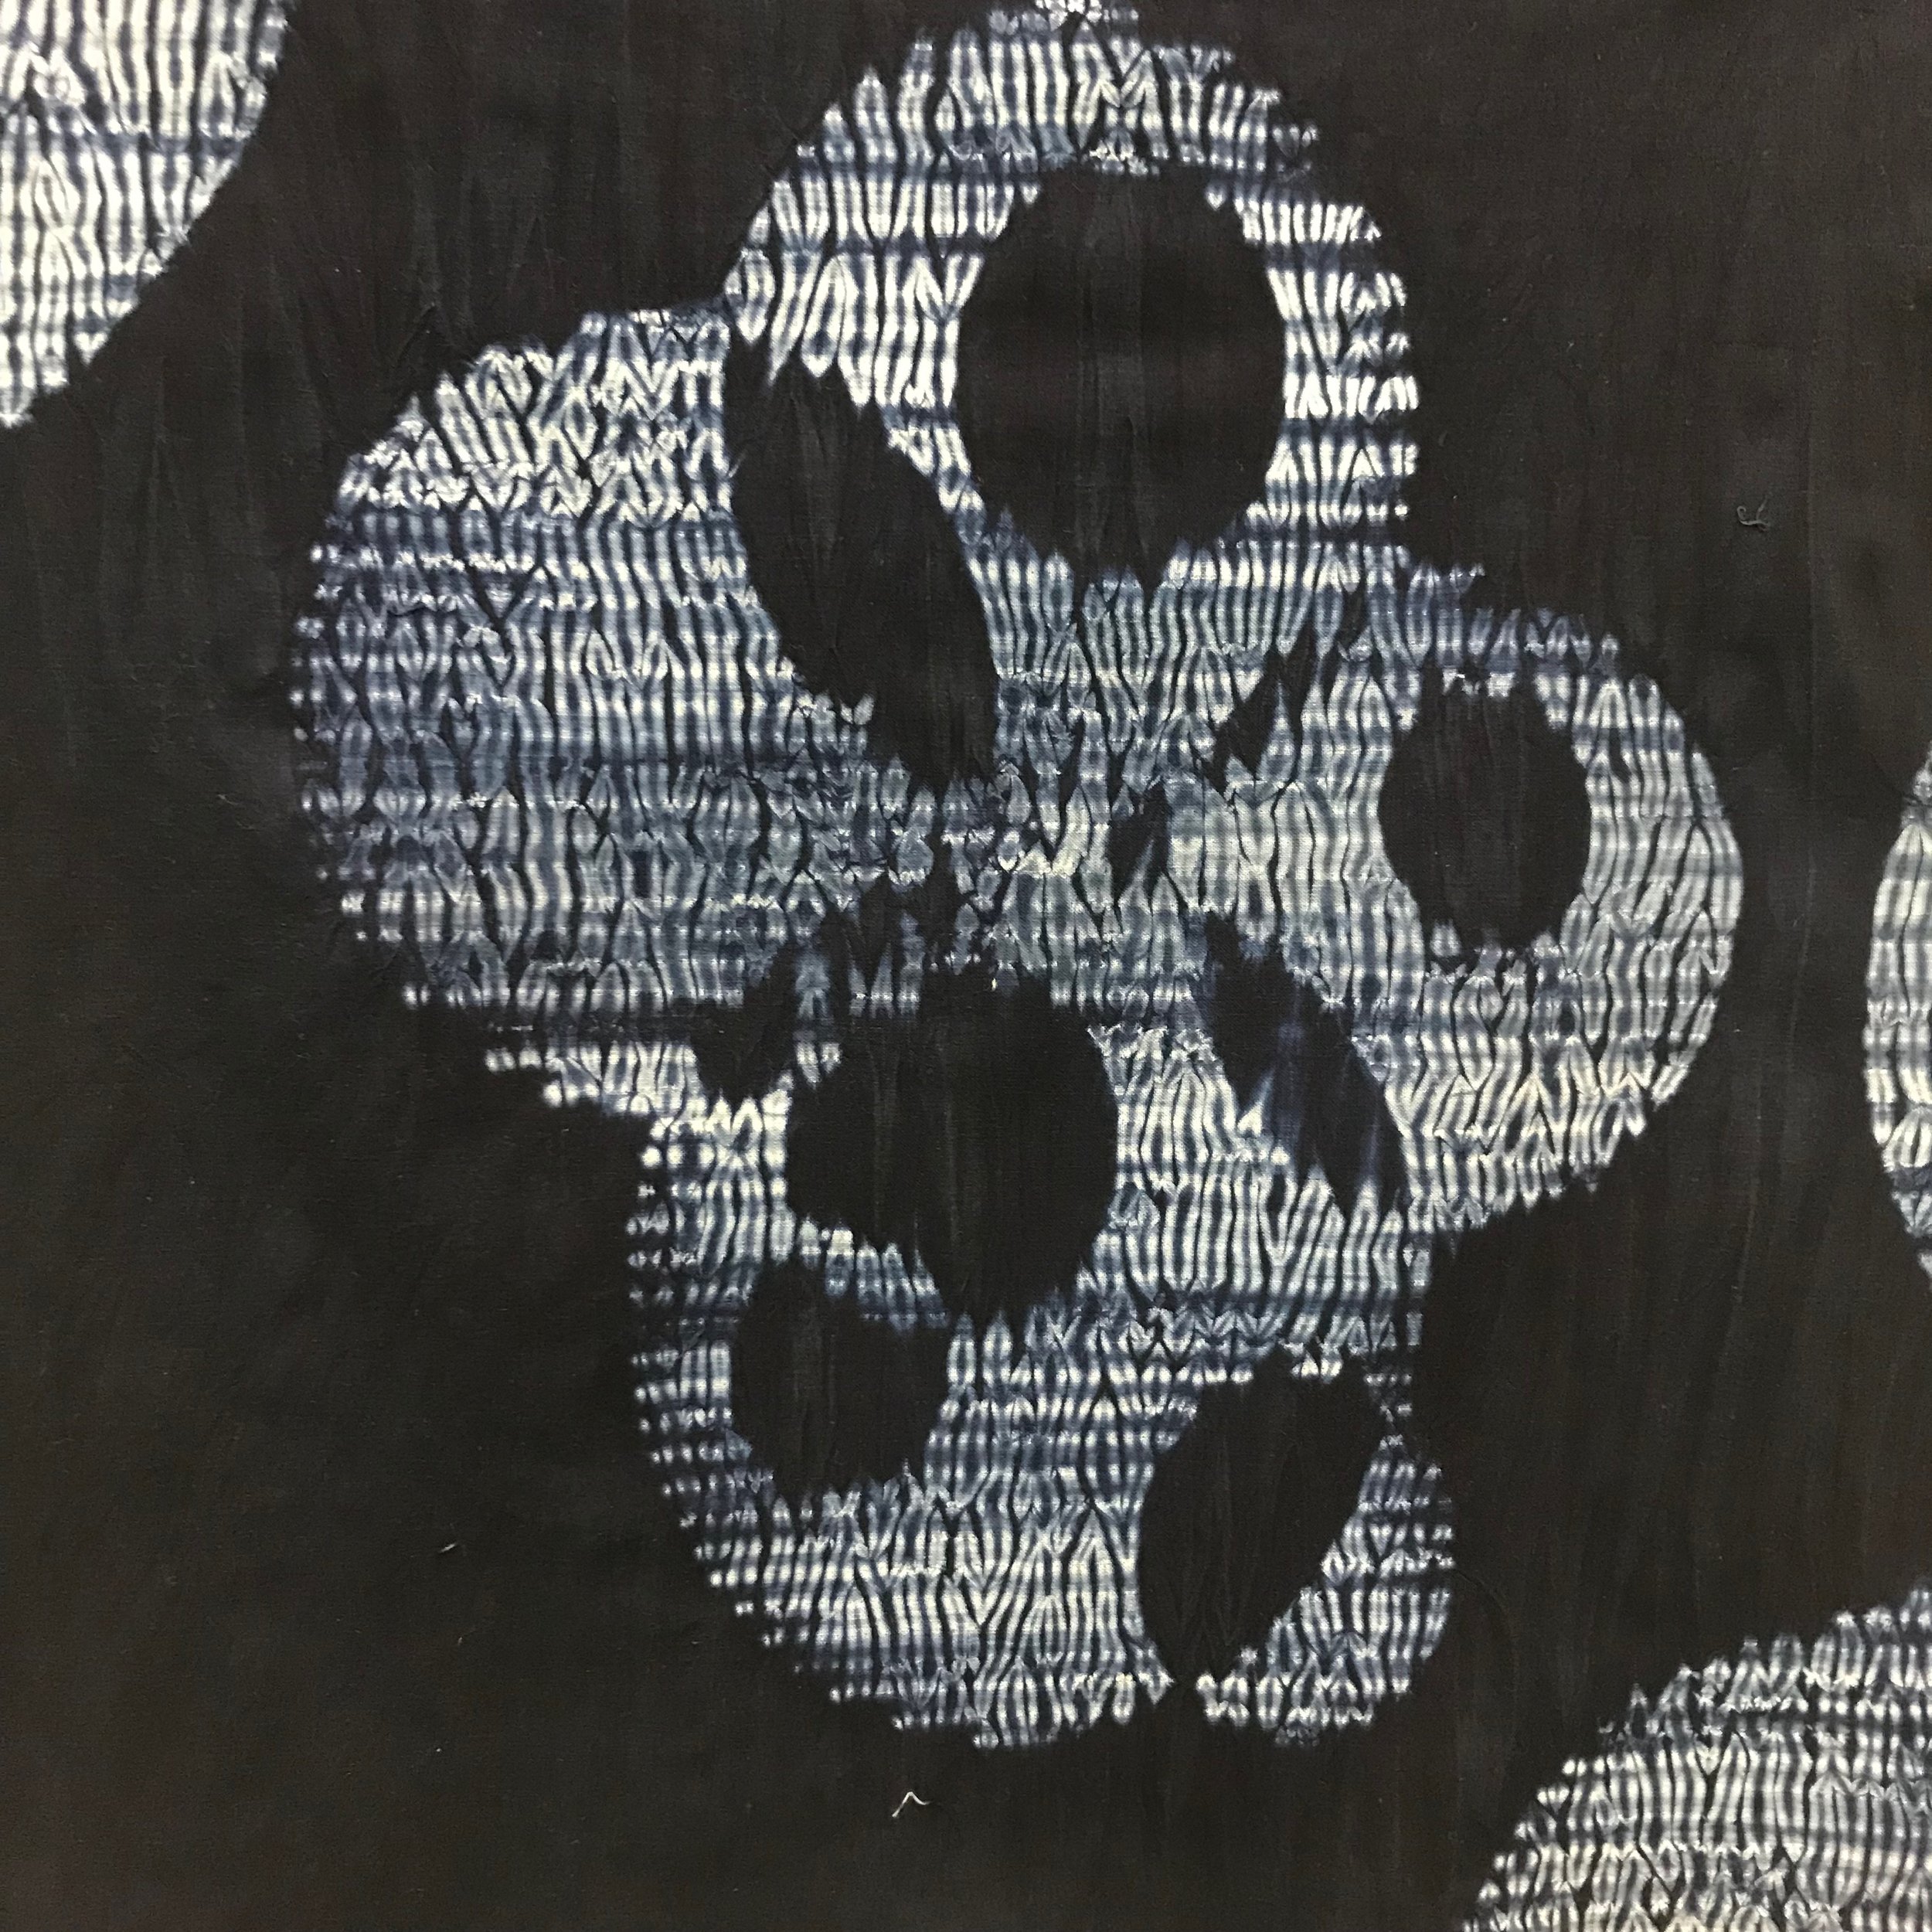
I've always loved Maki-age shibori and do a lot of circles with this technique (its one of the squares I cut in four for my Fundo baby quilt) but never really done a more traditional piece before. Having just bought a load of new Itajime boards in perspex I wanted to use them so took the hexagon as my inspiration and laid out a pattern. There was a lot of stitching, binding and dyeing (10 dips in natural Japanese indigo) but I'm really pleased with with final result below. The key to good results is planning. Draw your design on paper first and then transfer it to the fabrics with a soluble marker pen, ensuring you measure distances between shapes carefully.

Maki-age shibori hexagons, dyed with Japanese indigo, 10 dips
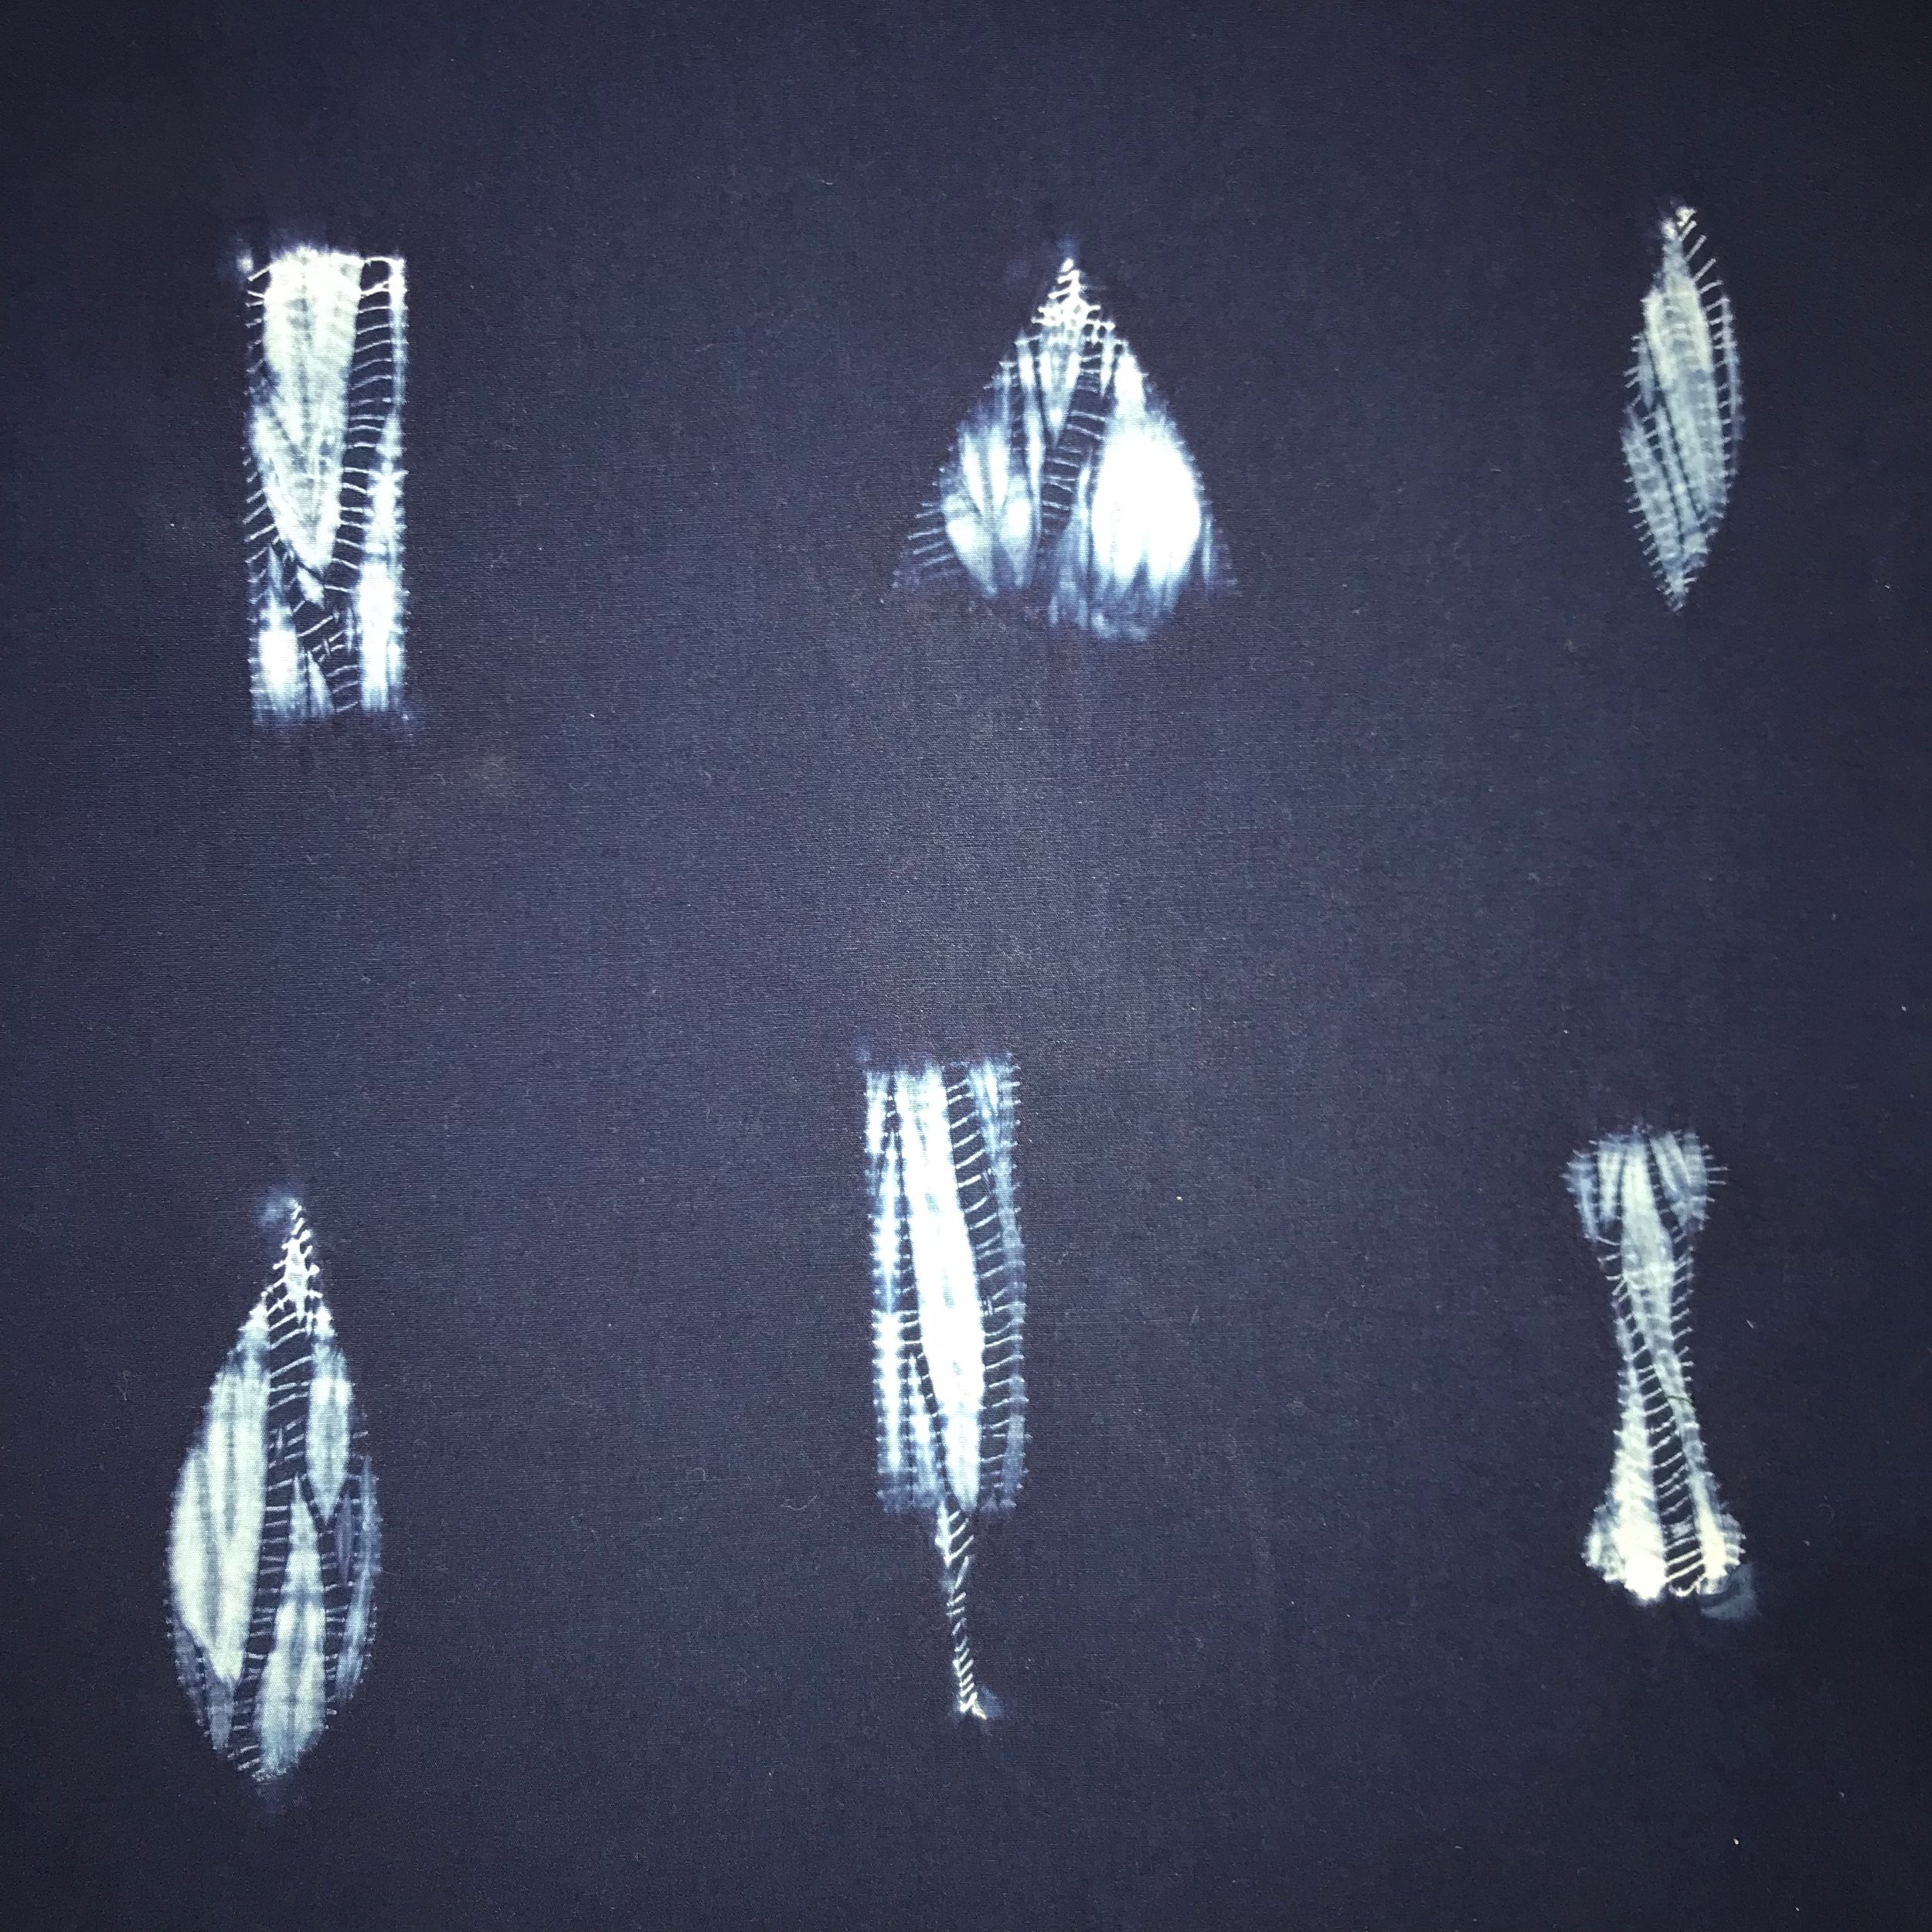
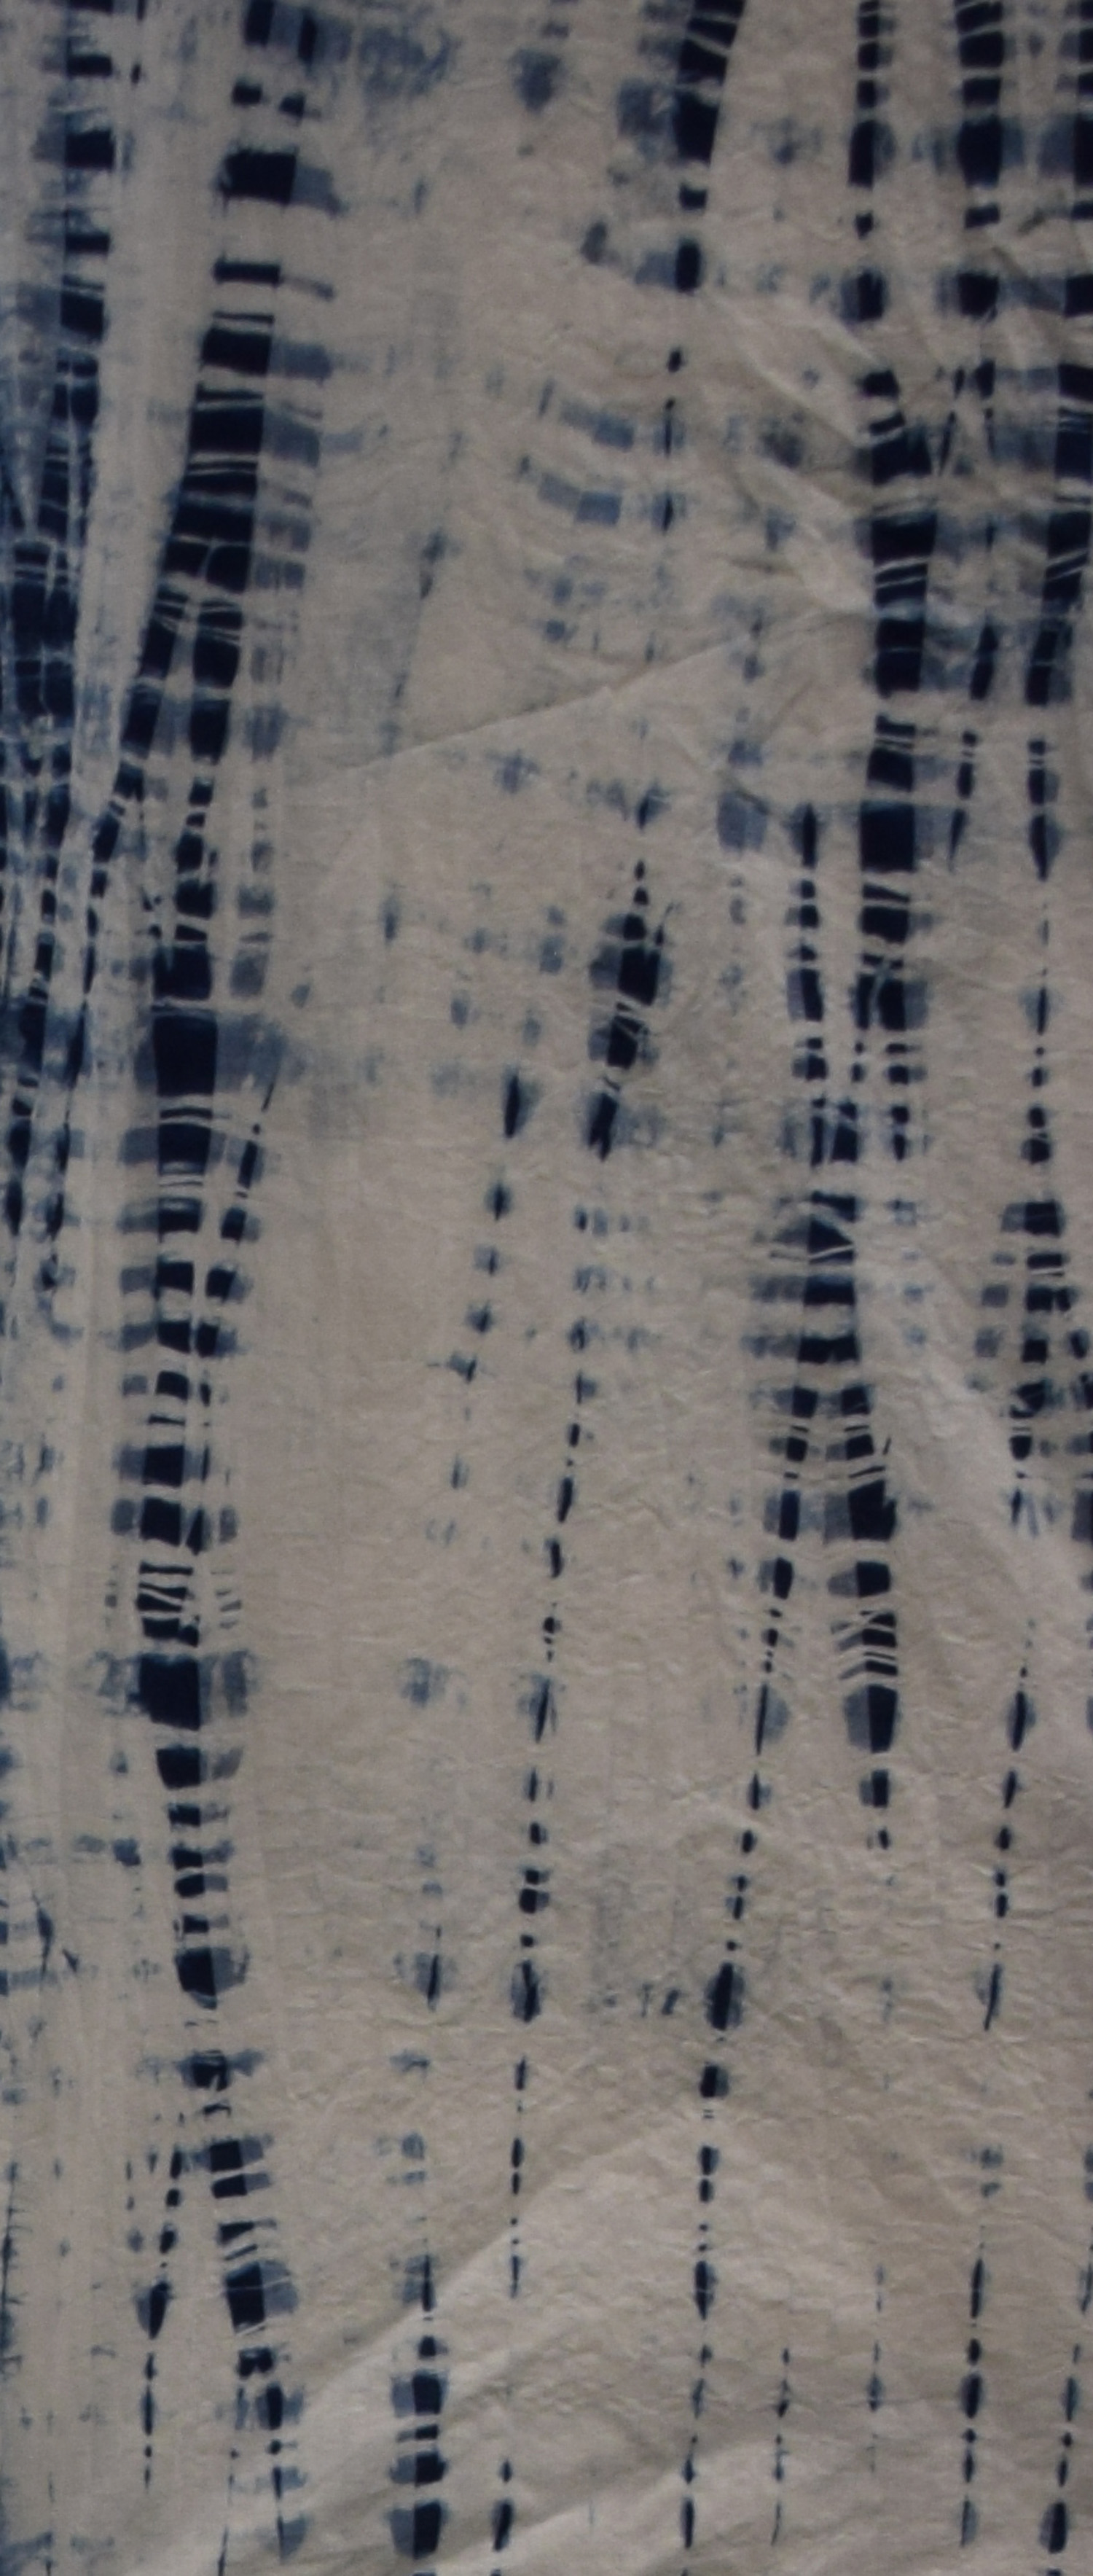
We covered basic binding and stitching techniques too of course, including Bai (Seashell), Kumo (Spiderweb), Ne Maki (bound beads) and Tesuji (hand bound stripes) as well as Yoroidan (bands of blue inbetween pleated bound areas).

Stitches covered included the basics or Nui (Running stitch), Ori Nui (Teeth stitch) and Maki Nui (Wrapped stitch). More advanced techniques such as Karamatsu (larch) and Mokume (Woodgrain) were also demonstrated and a few of the students made their own versions. The first two pics below are Karamatsu made by me and the other two are Mokume shibori examples made by my students.

Feature technique - "Shin Ire" - using a rope core
One of the many great things about West Dean is their excellent team of technicians. I knew they'd be able to make tools for me so asked them to build five "Shin Ire" stands. These are made up of a wooden base support and a large, thick piece of bamboo with a notch cut into the top to about a third of the way down. They are used by wedging the rope into the top allowing the maker a free hand in binding the fabric to the rope. The maker sits on a cushion with the rope underneath it keeping it taut at both ends. Stupidly I didn't take a picture of them but I'm hoping to be invited back to teach in 2019 so hopefully I can use them again then.
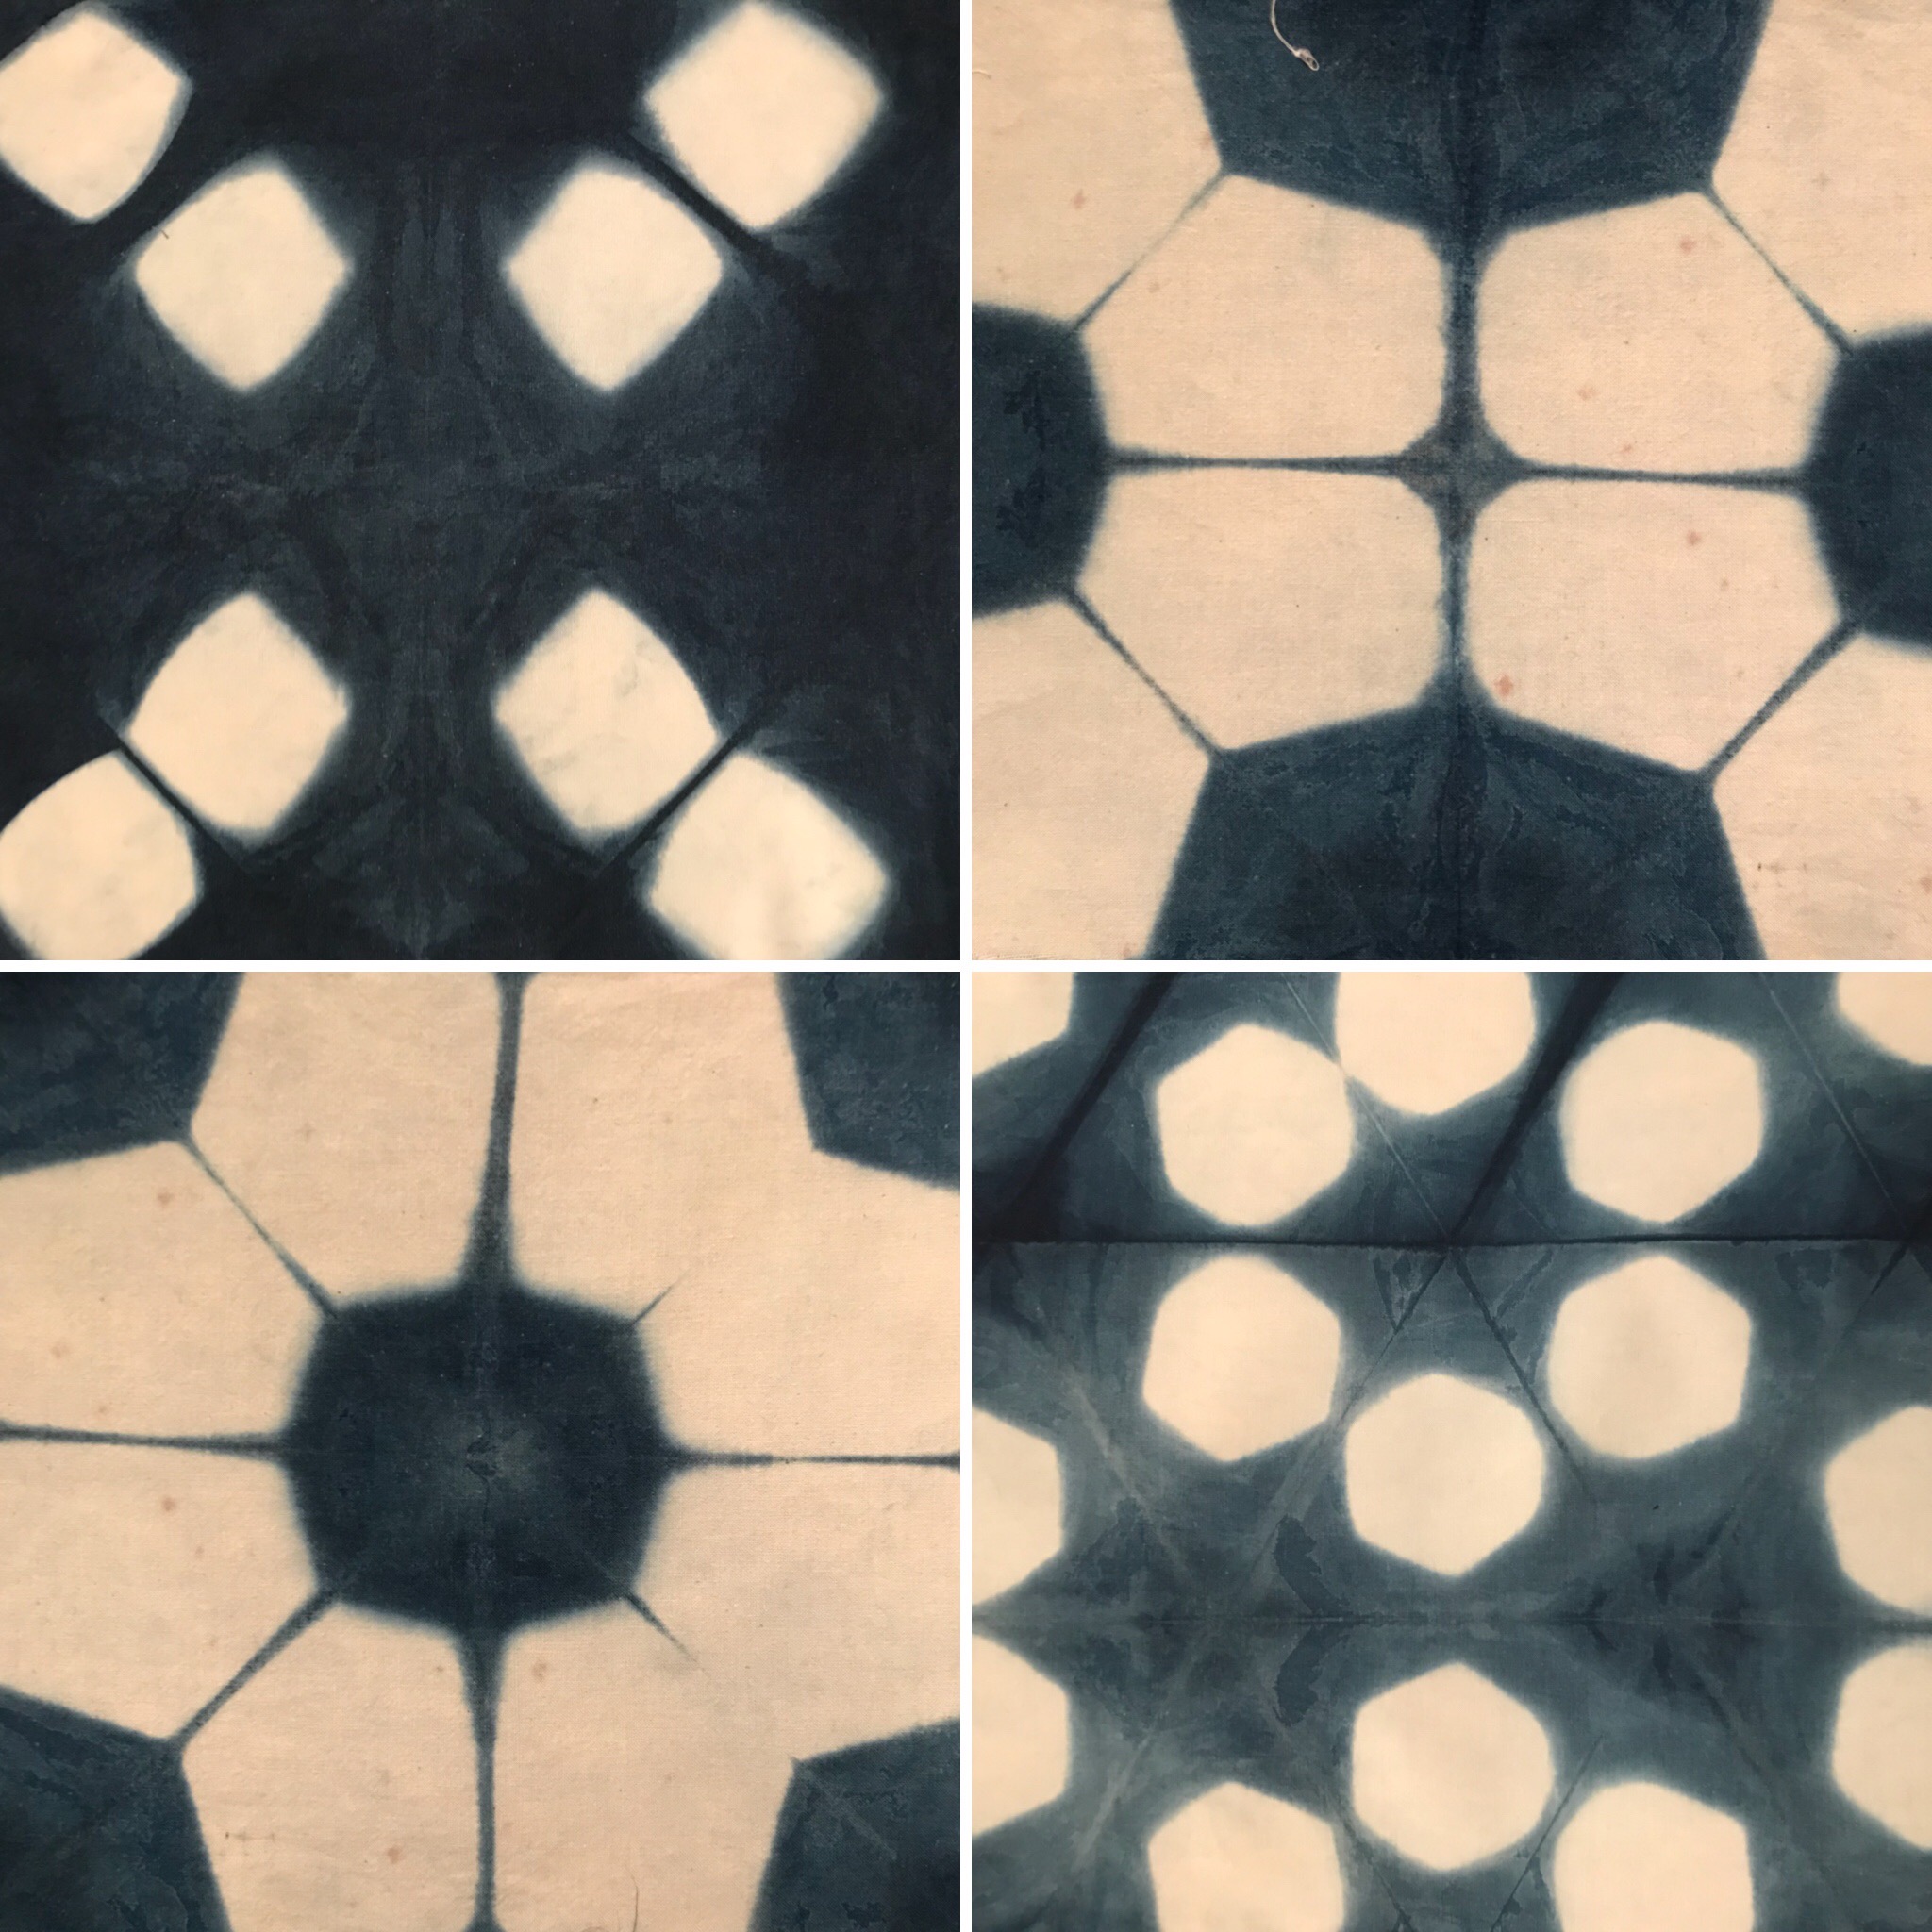
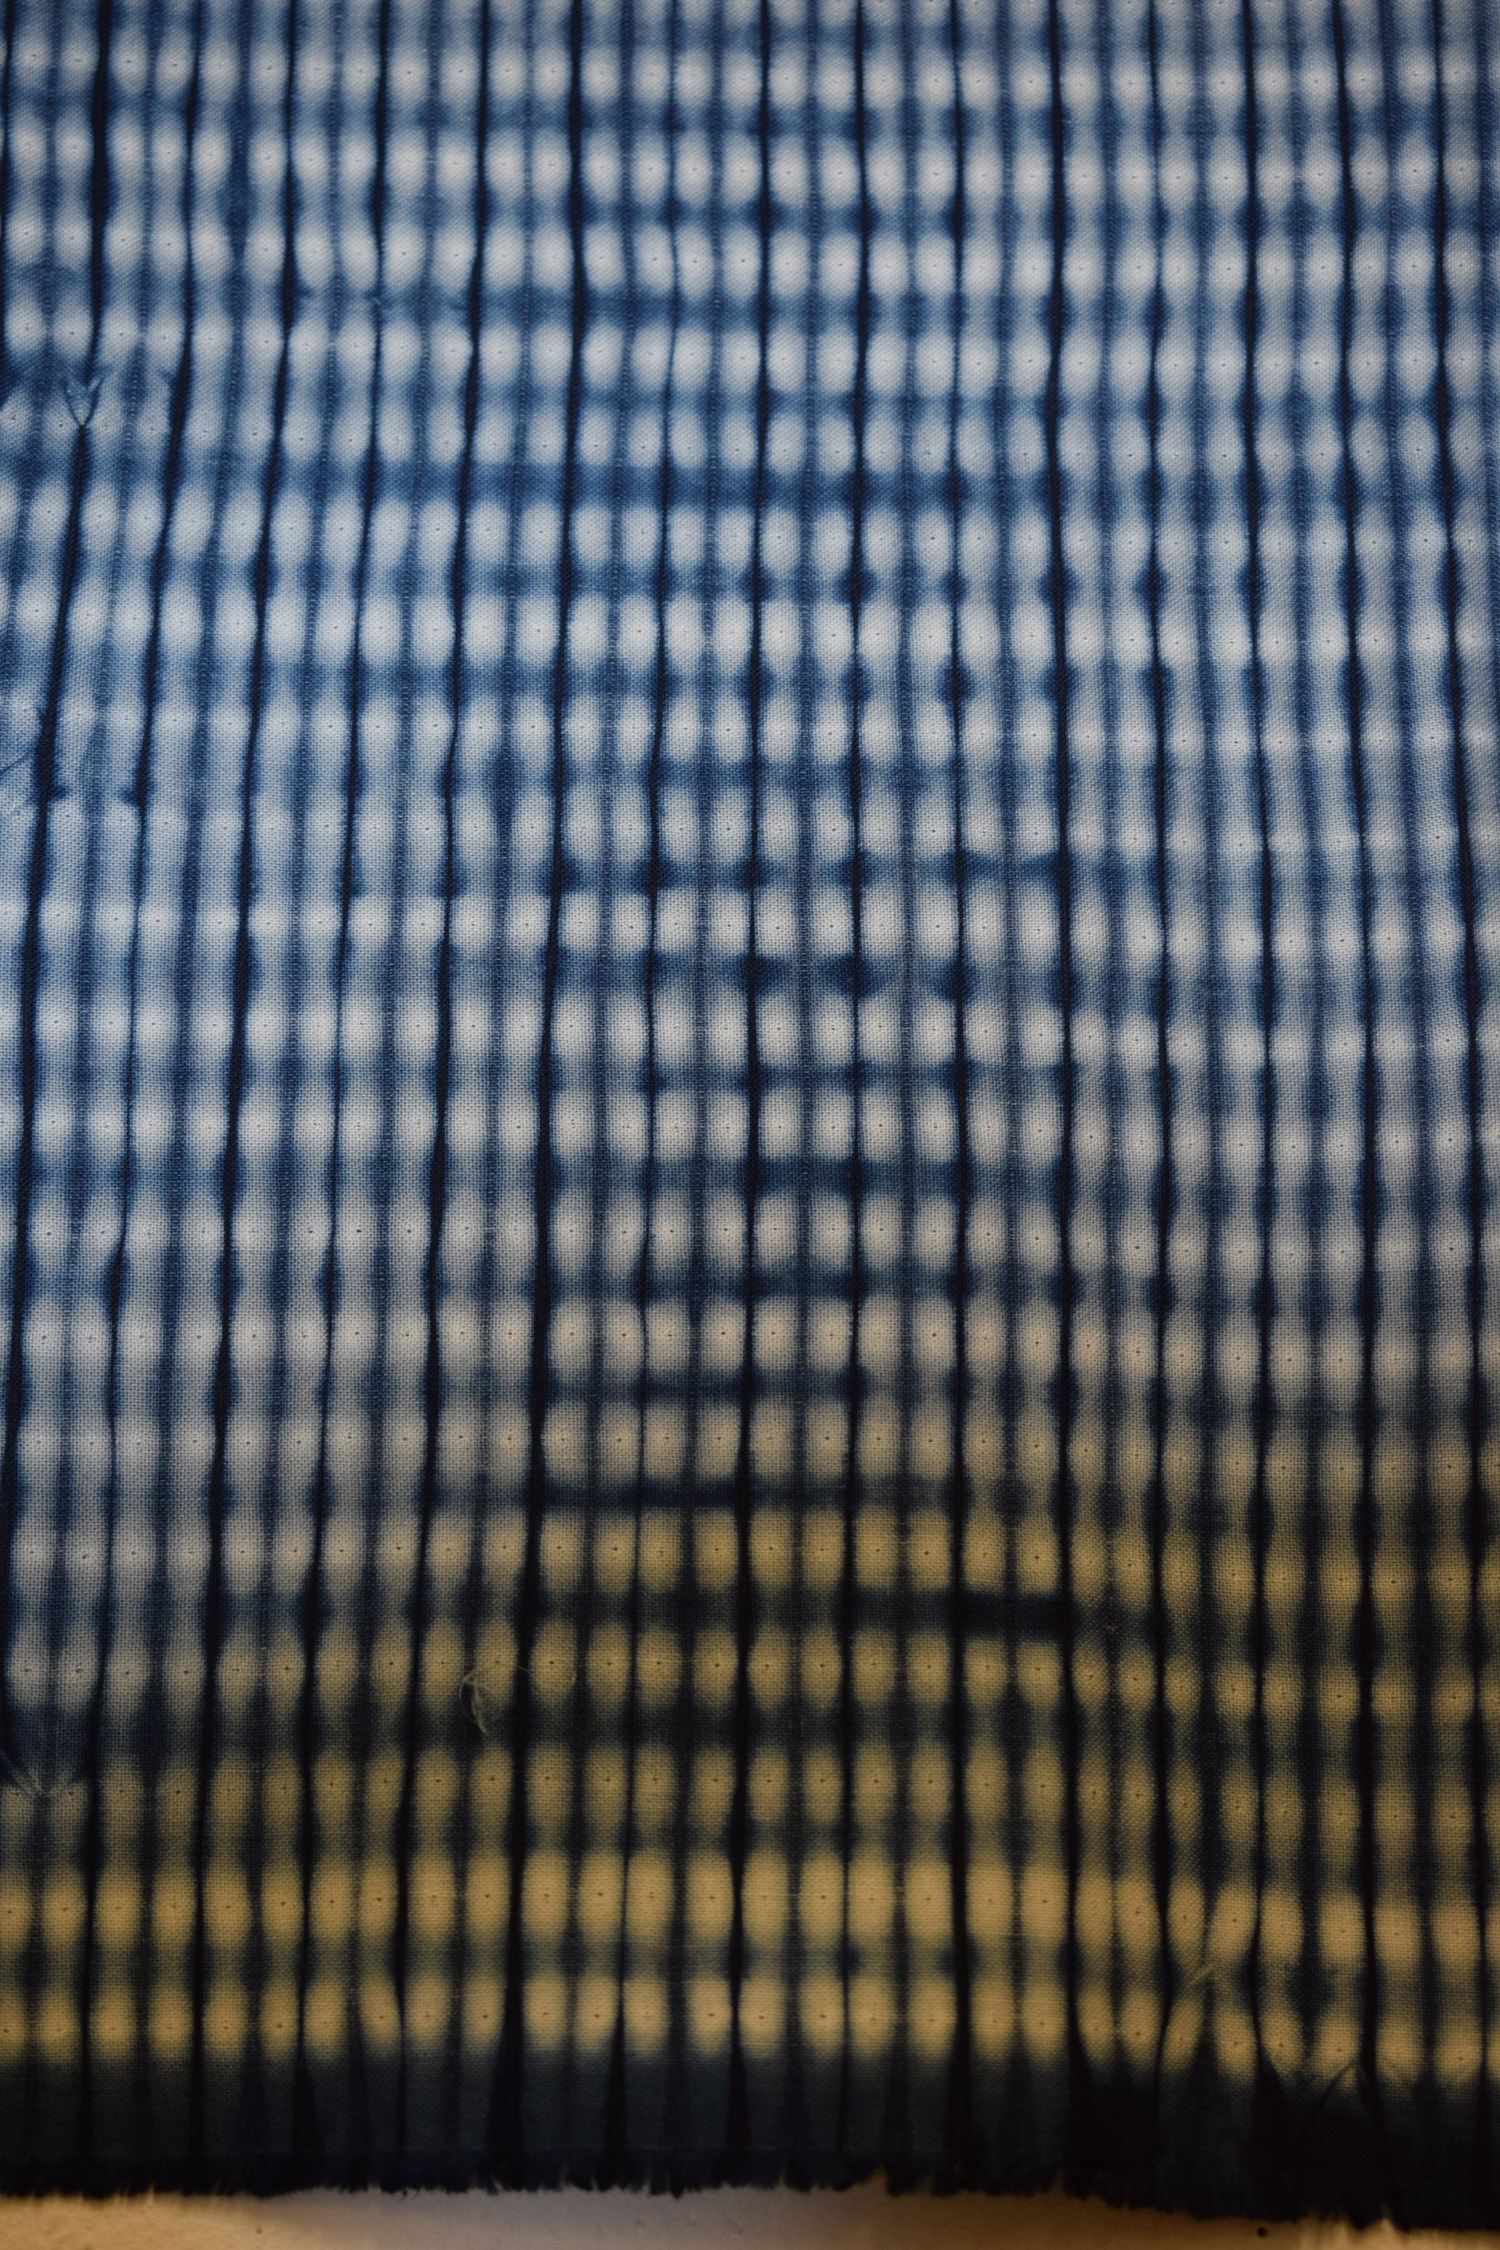
We used the stands for Yanagi (Willow) and Hinode (Sunrise patterns) and most of my students had a go at one or both with some excellent results. Examples below.
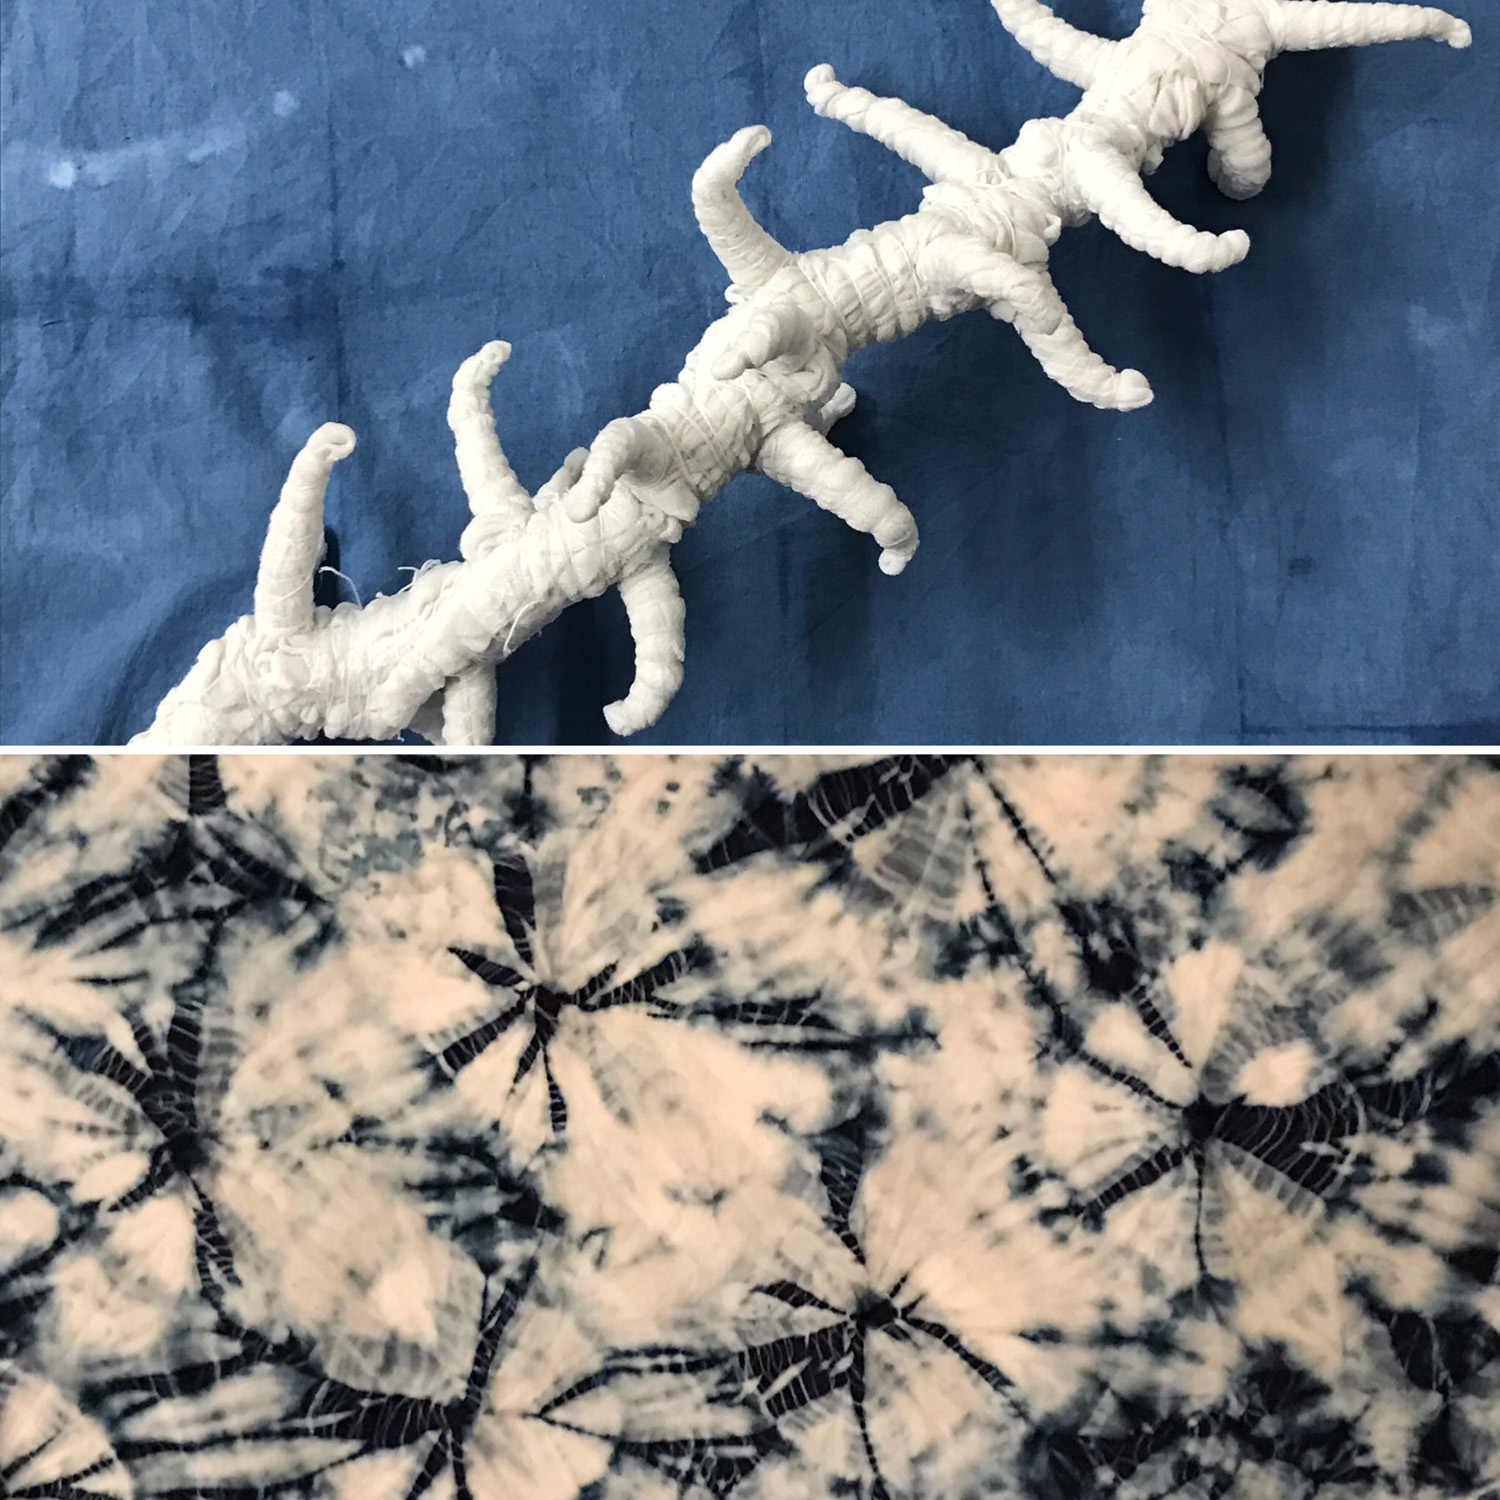
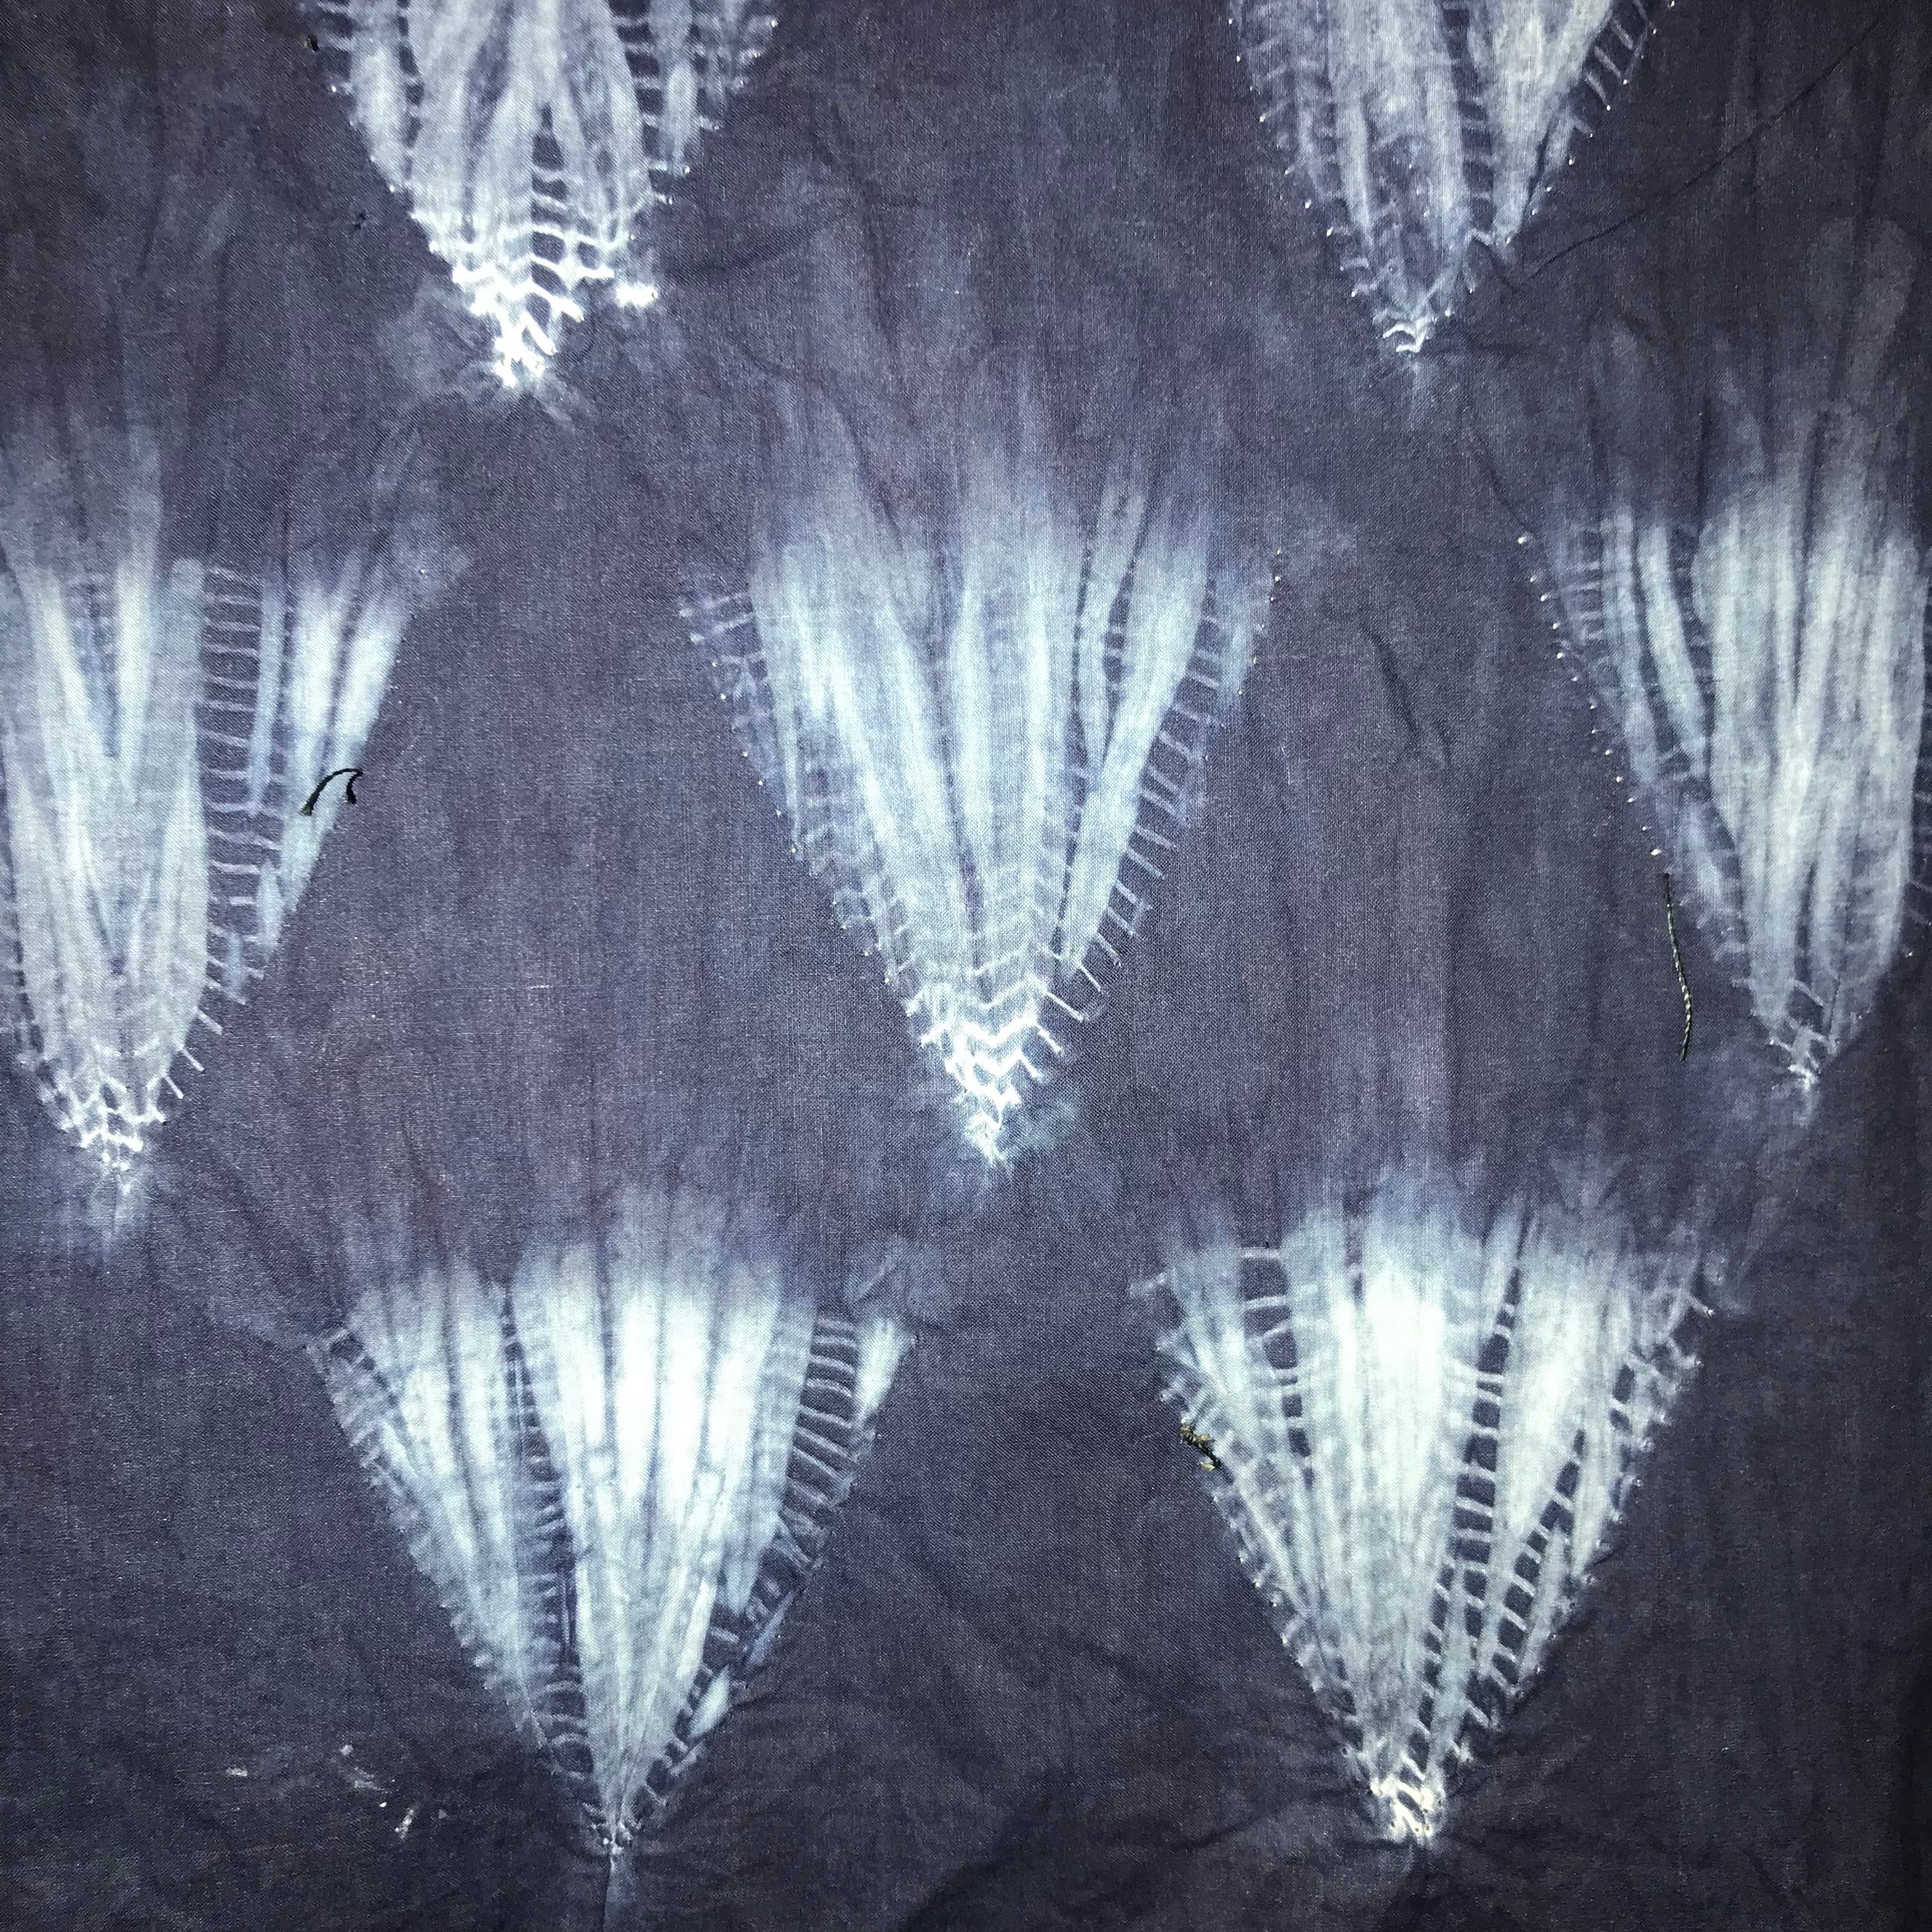
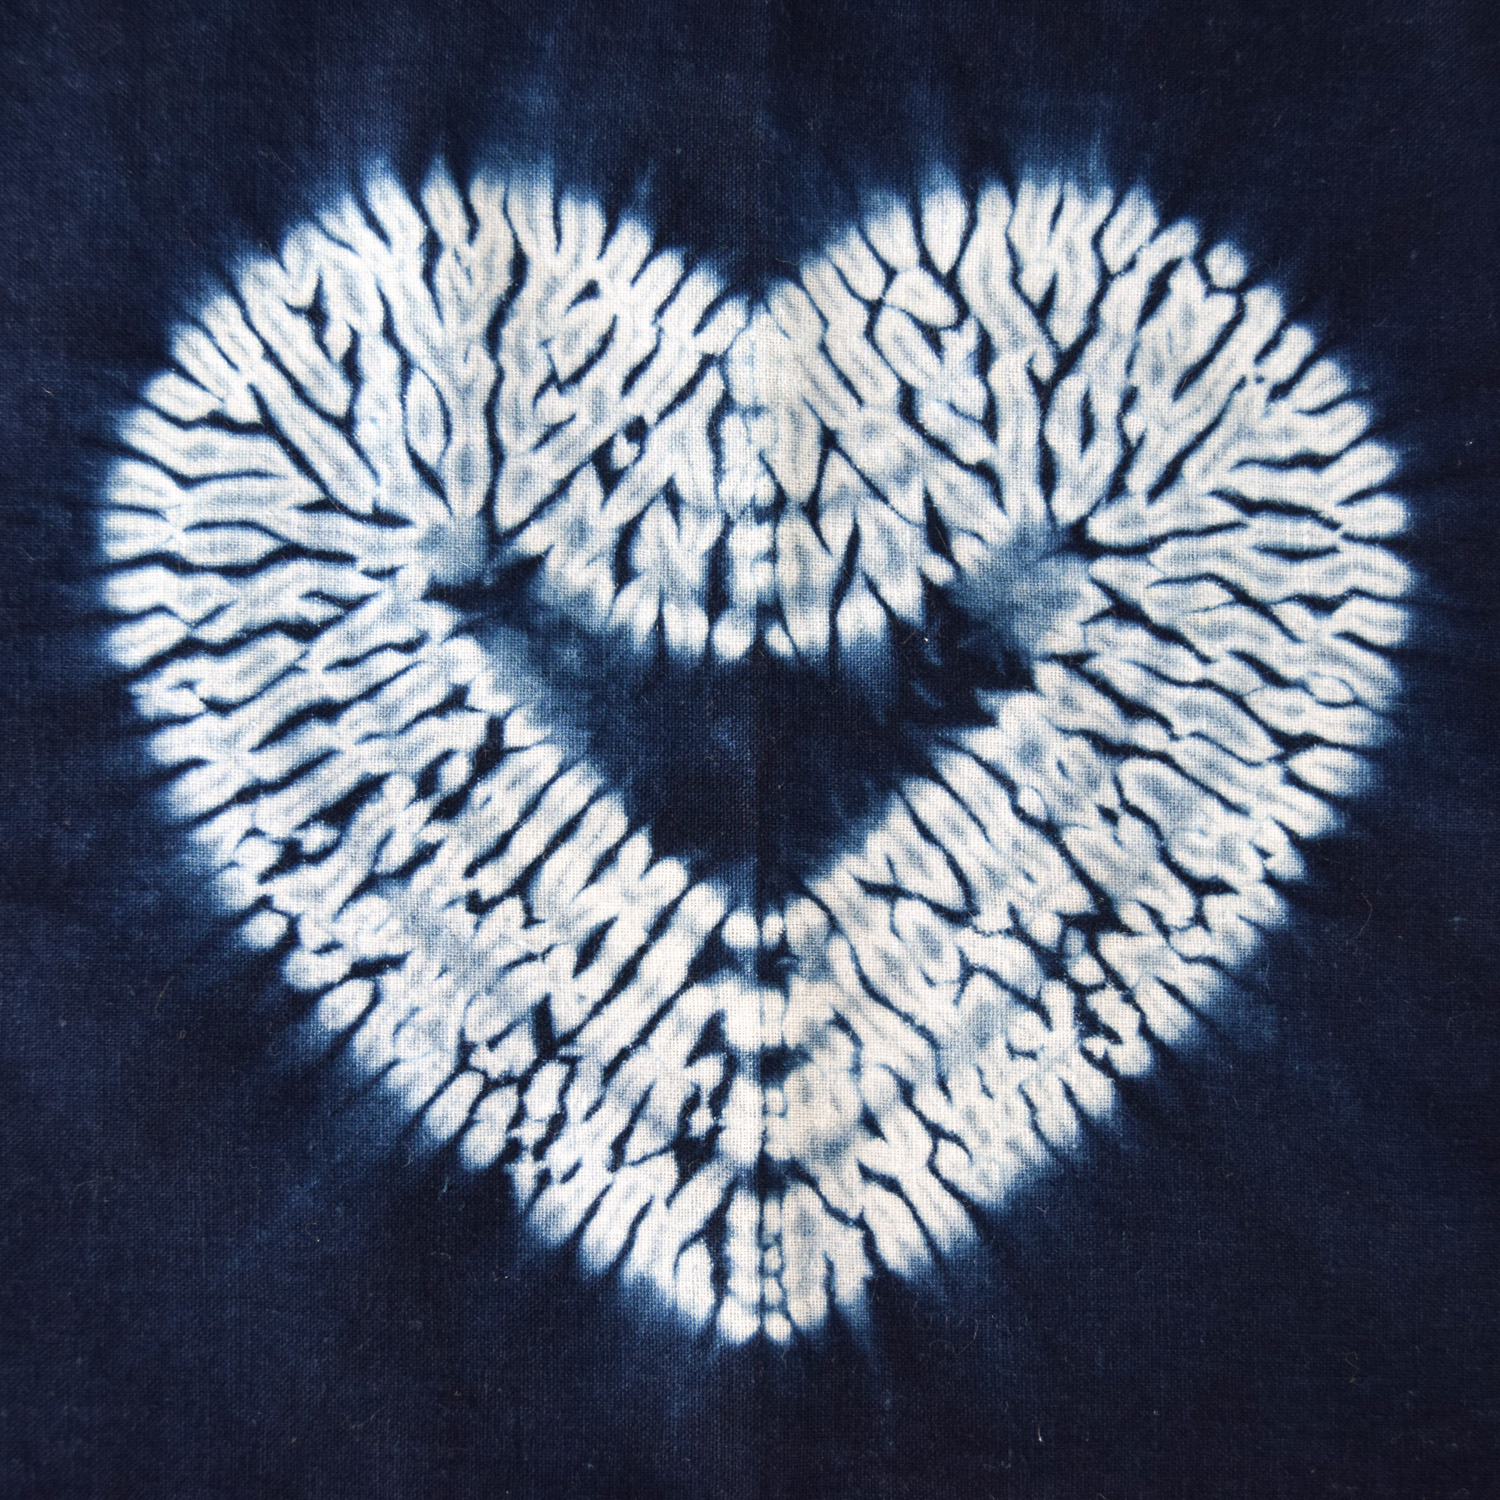
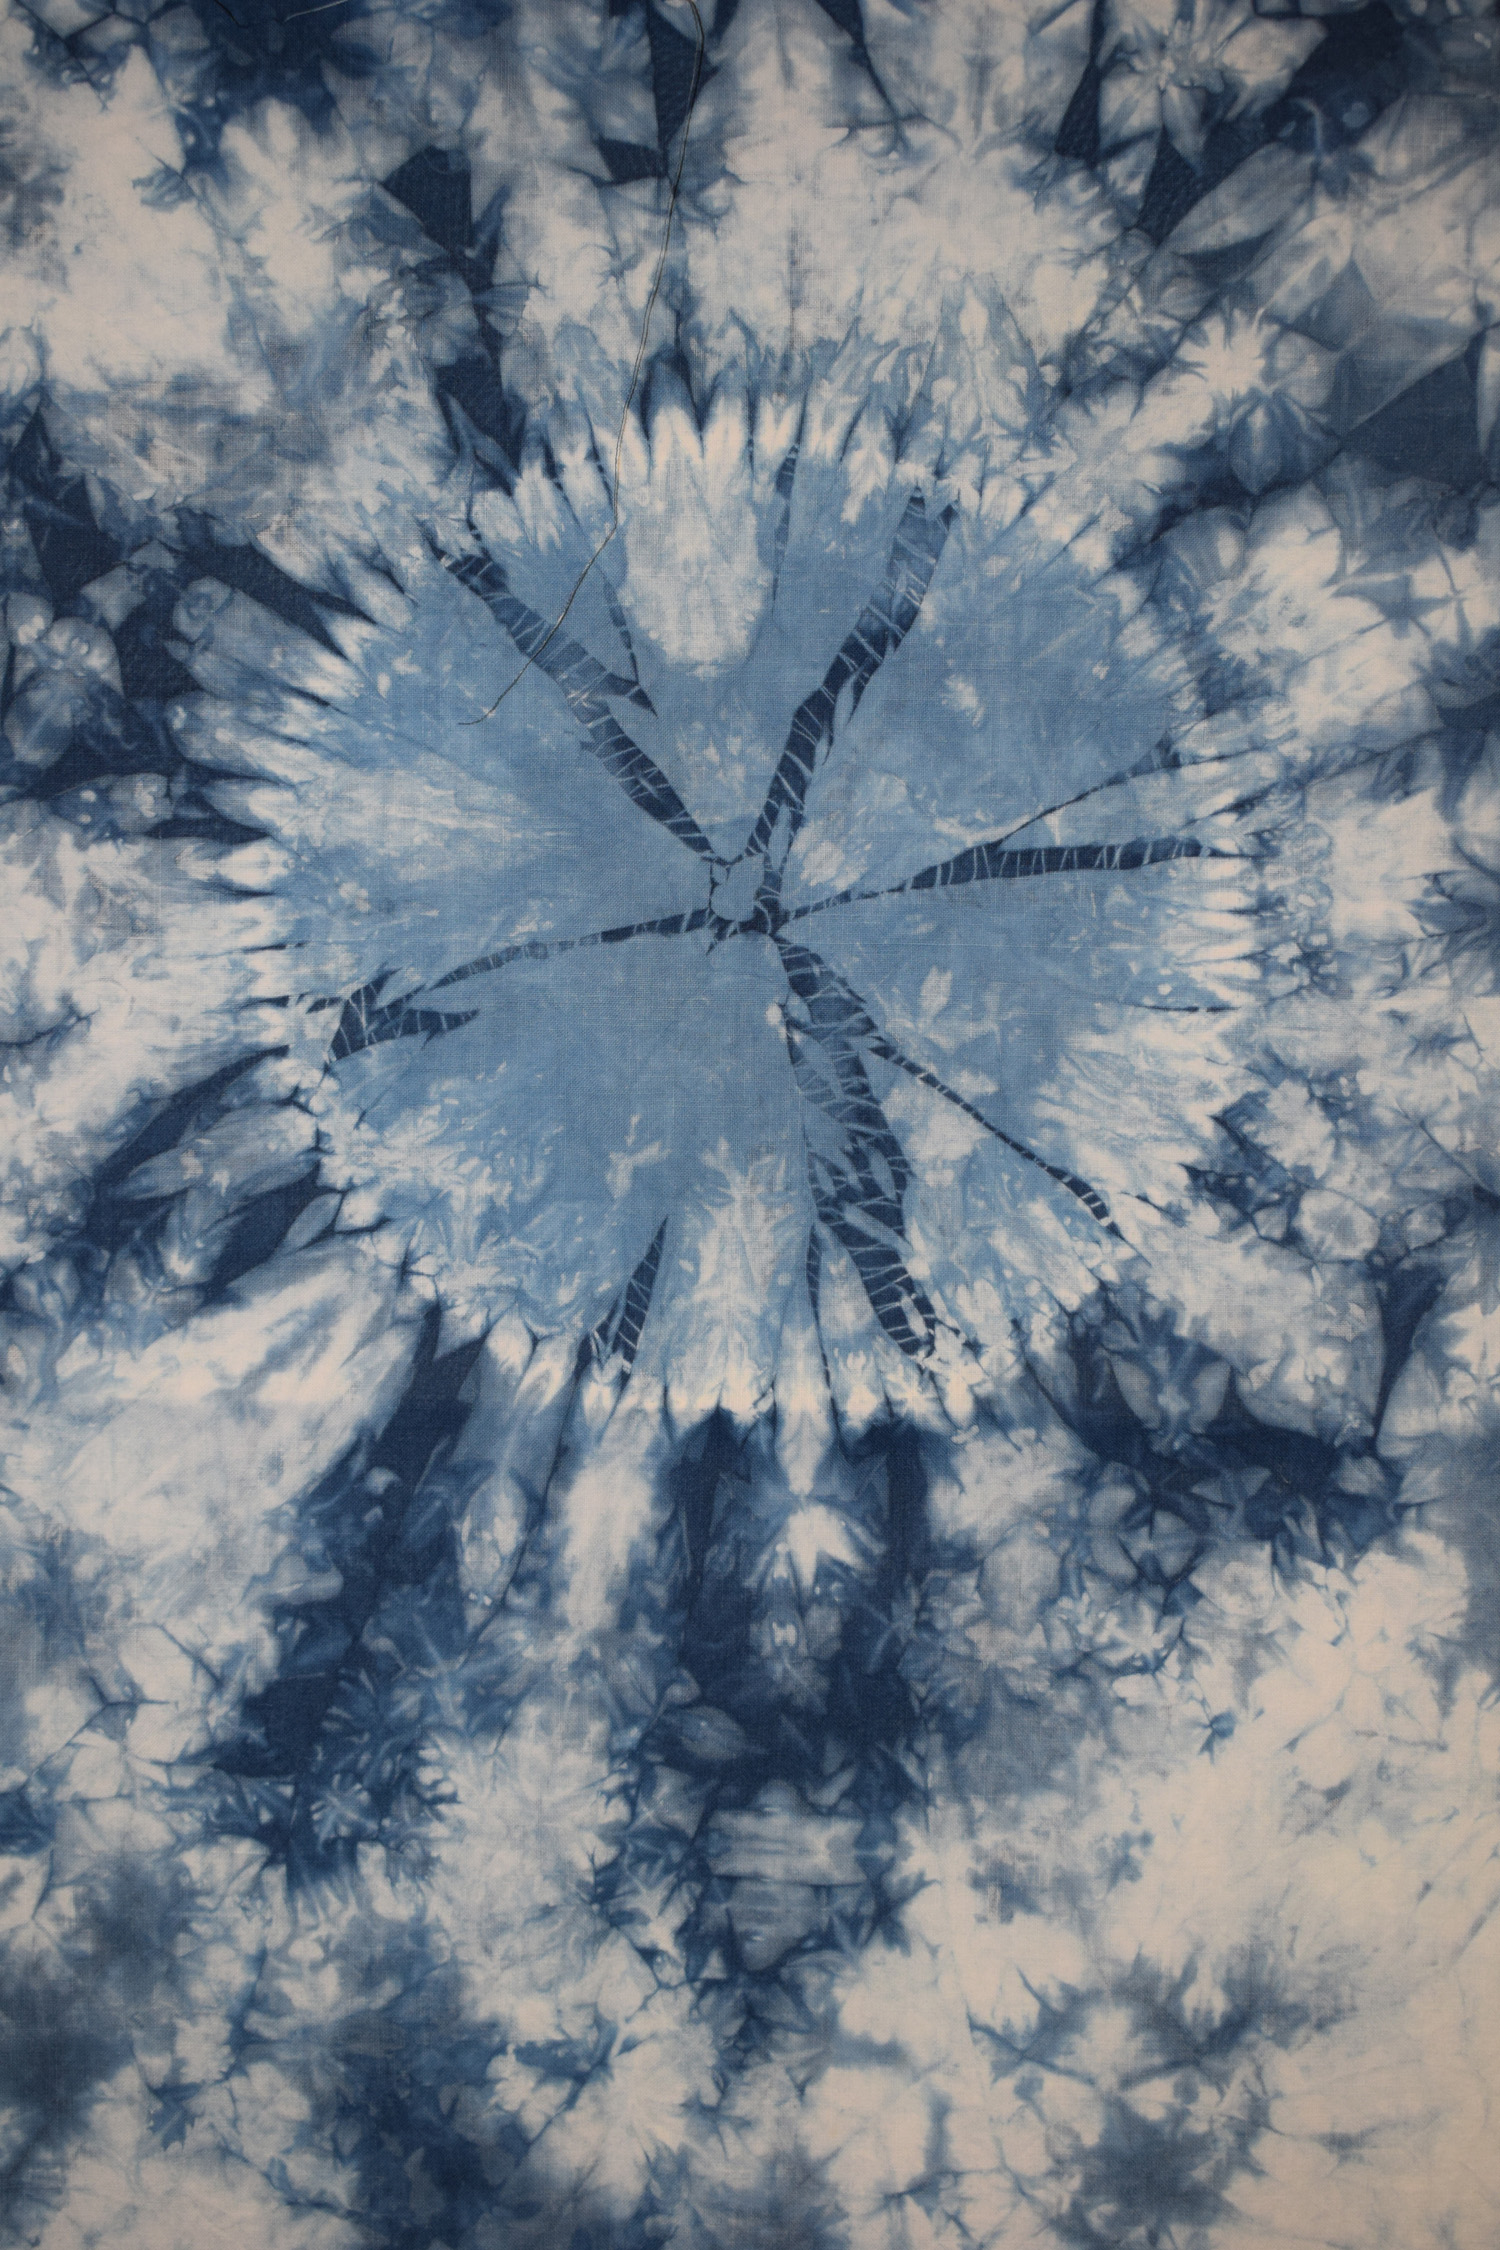
The lefthand picture shows the Yanagi shibori piece after its been wrapped up (where it resembles a branch with twigs or some strange alien creature!) and is my work; the second is a nice example from one of my students. The third image is the Hinode shibori pattern that I did. This had 10 dips in the indigo as did one of my student's pieces which is the last one shown. This is a variation on Hinode where the suns are connected by Ori nui stitch and is very effective as a design.
Itajime work
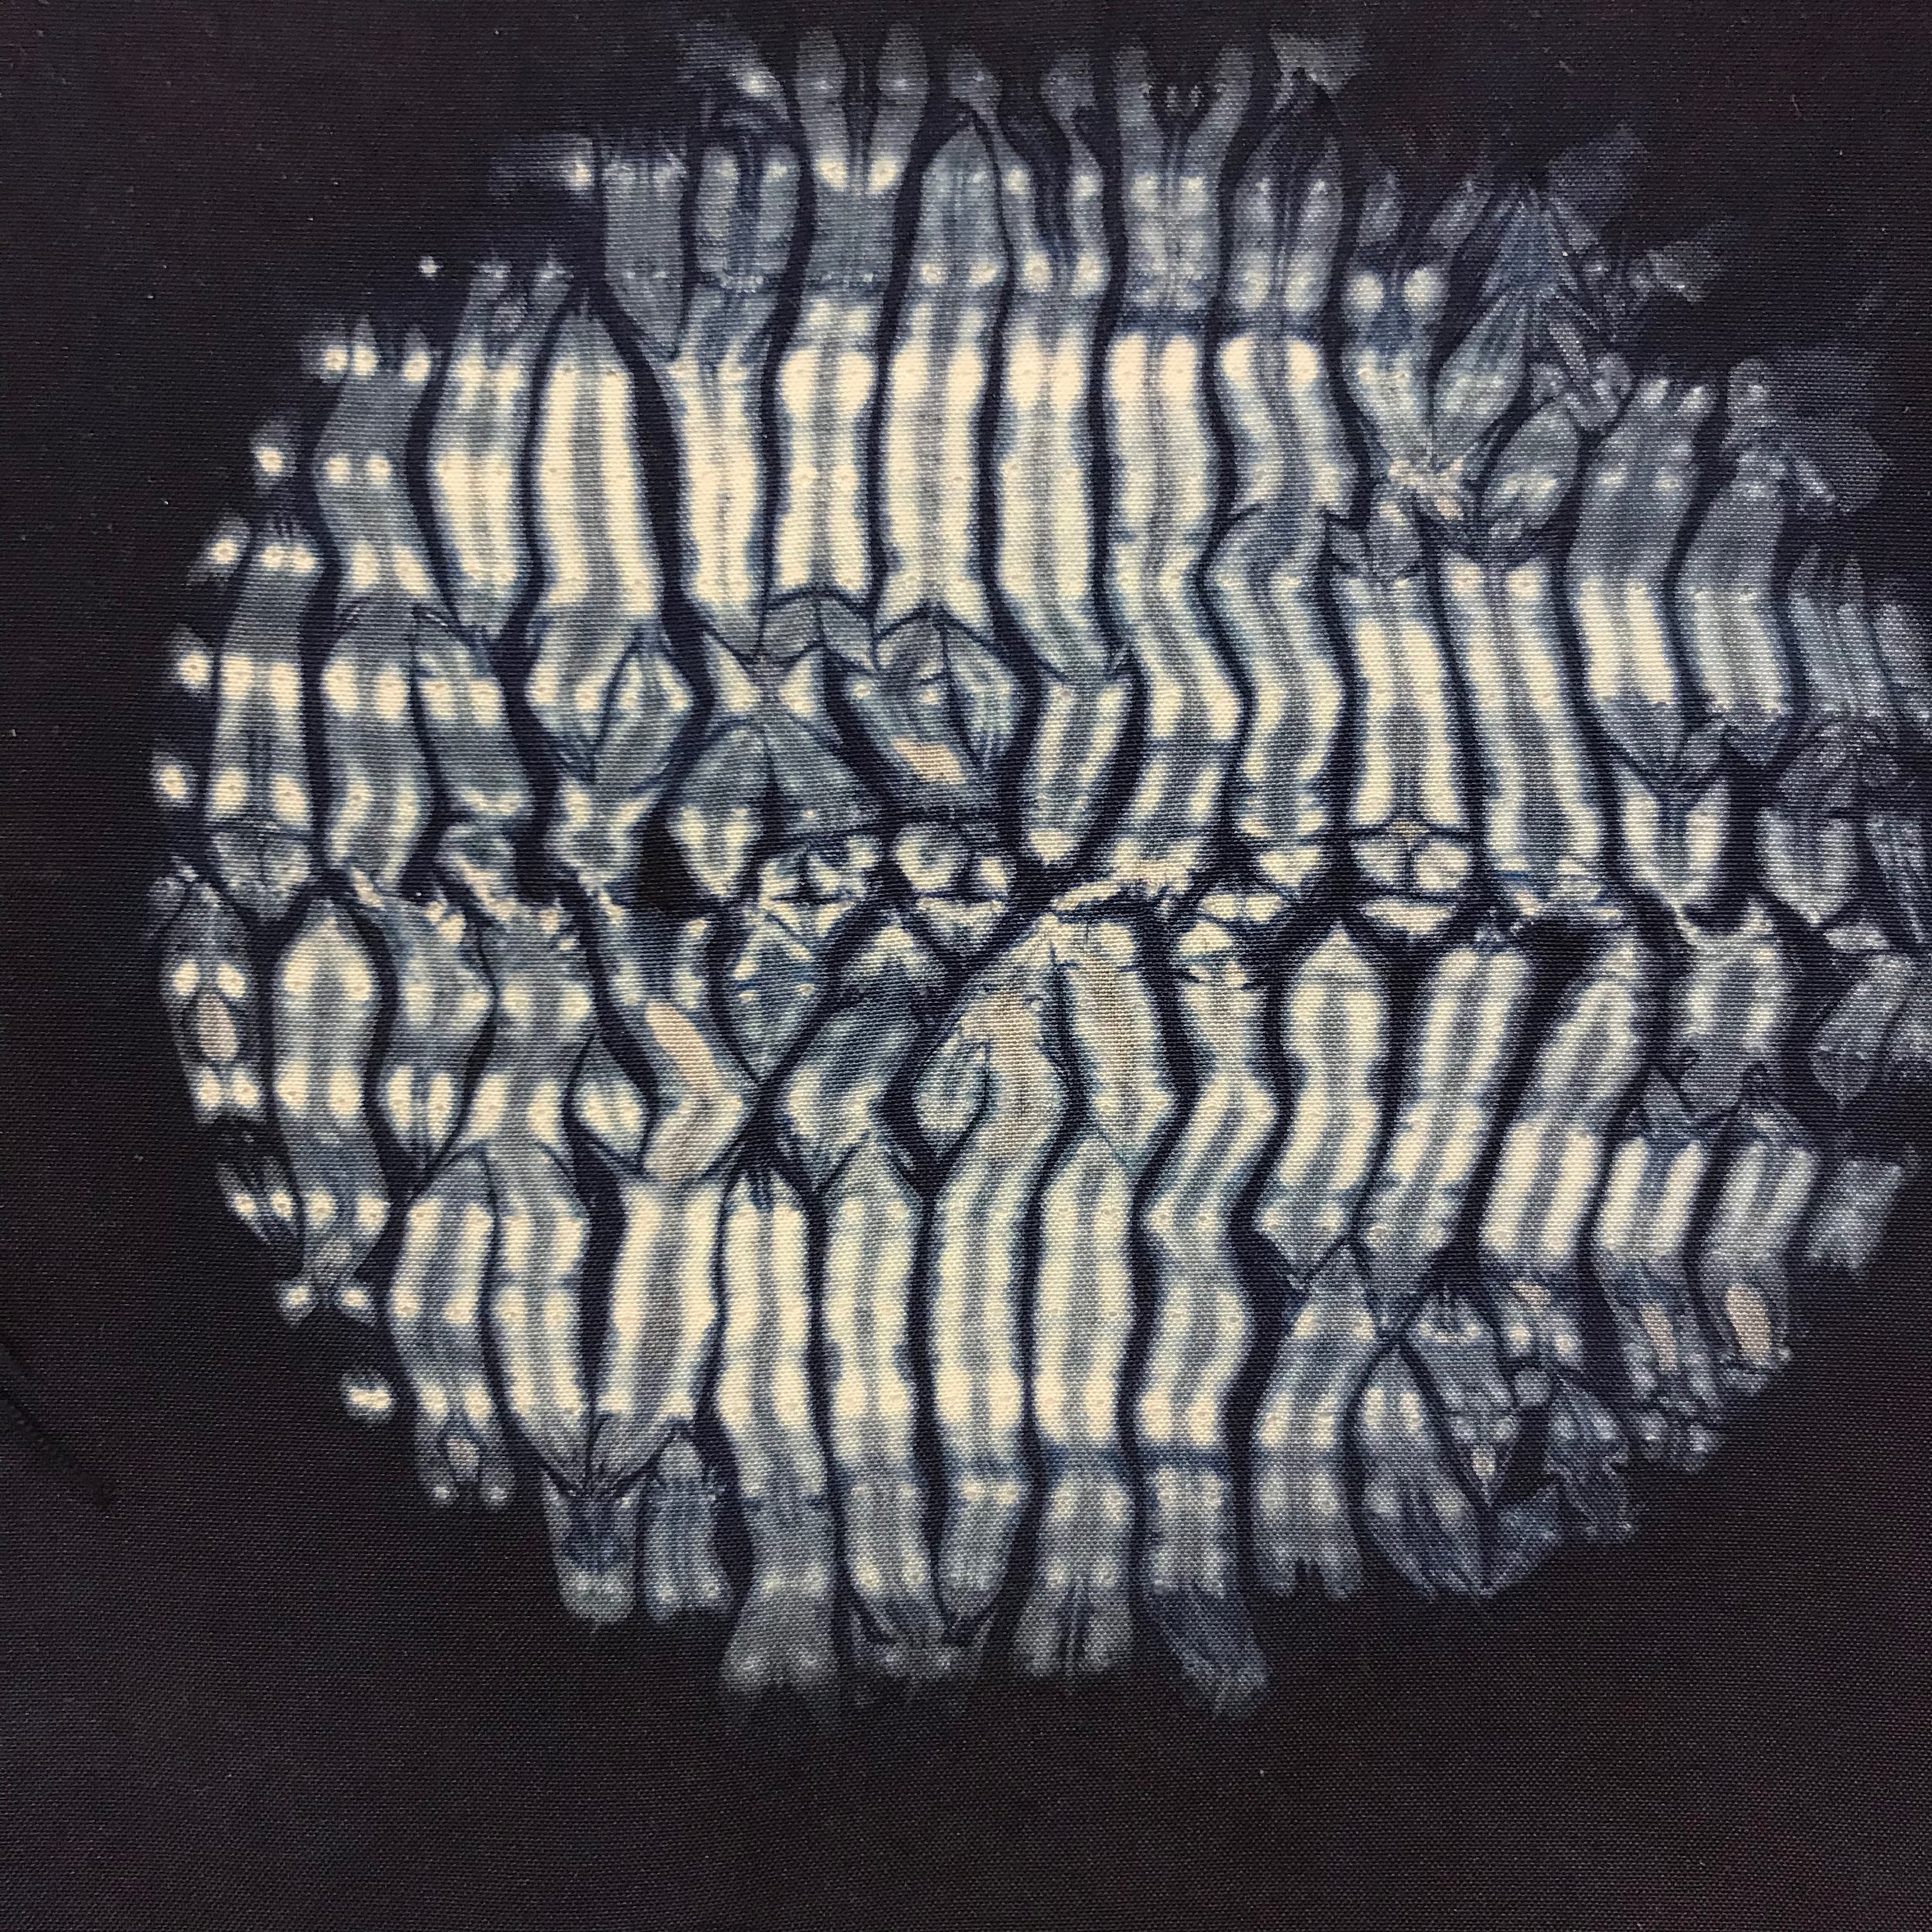
One morning we looked at Itajime board clamping techniques. This involves folding and ironing the fabric into pleated parcels and then covering certain areas with boards that are tightly clamped to either side of the parcel using a G clamp. I'd bought a large quantity of 5mm perspex boards made to my specifications that worked really well. Examples below...
The first three are my work and the last one is by one of my students. Its interesting because they weren't keen on their first attempt so they refolded the piece at 90 degrees and dyed it again. I was particularly taken with it as its quite abstract within its structure.
Other techniques
We also covered Arashi (pole dyeing) with some students wrapping the traditional way with cord around the pole that they pushed down and others using the Bo-murakumo methods of sewing a sleeve for the pole and pushing it down onto it by hand. Here are some examples...
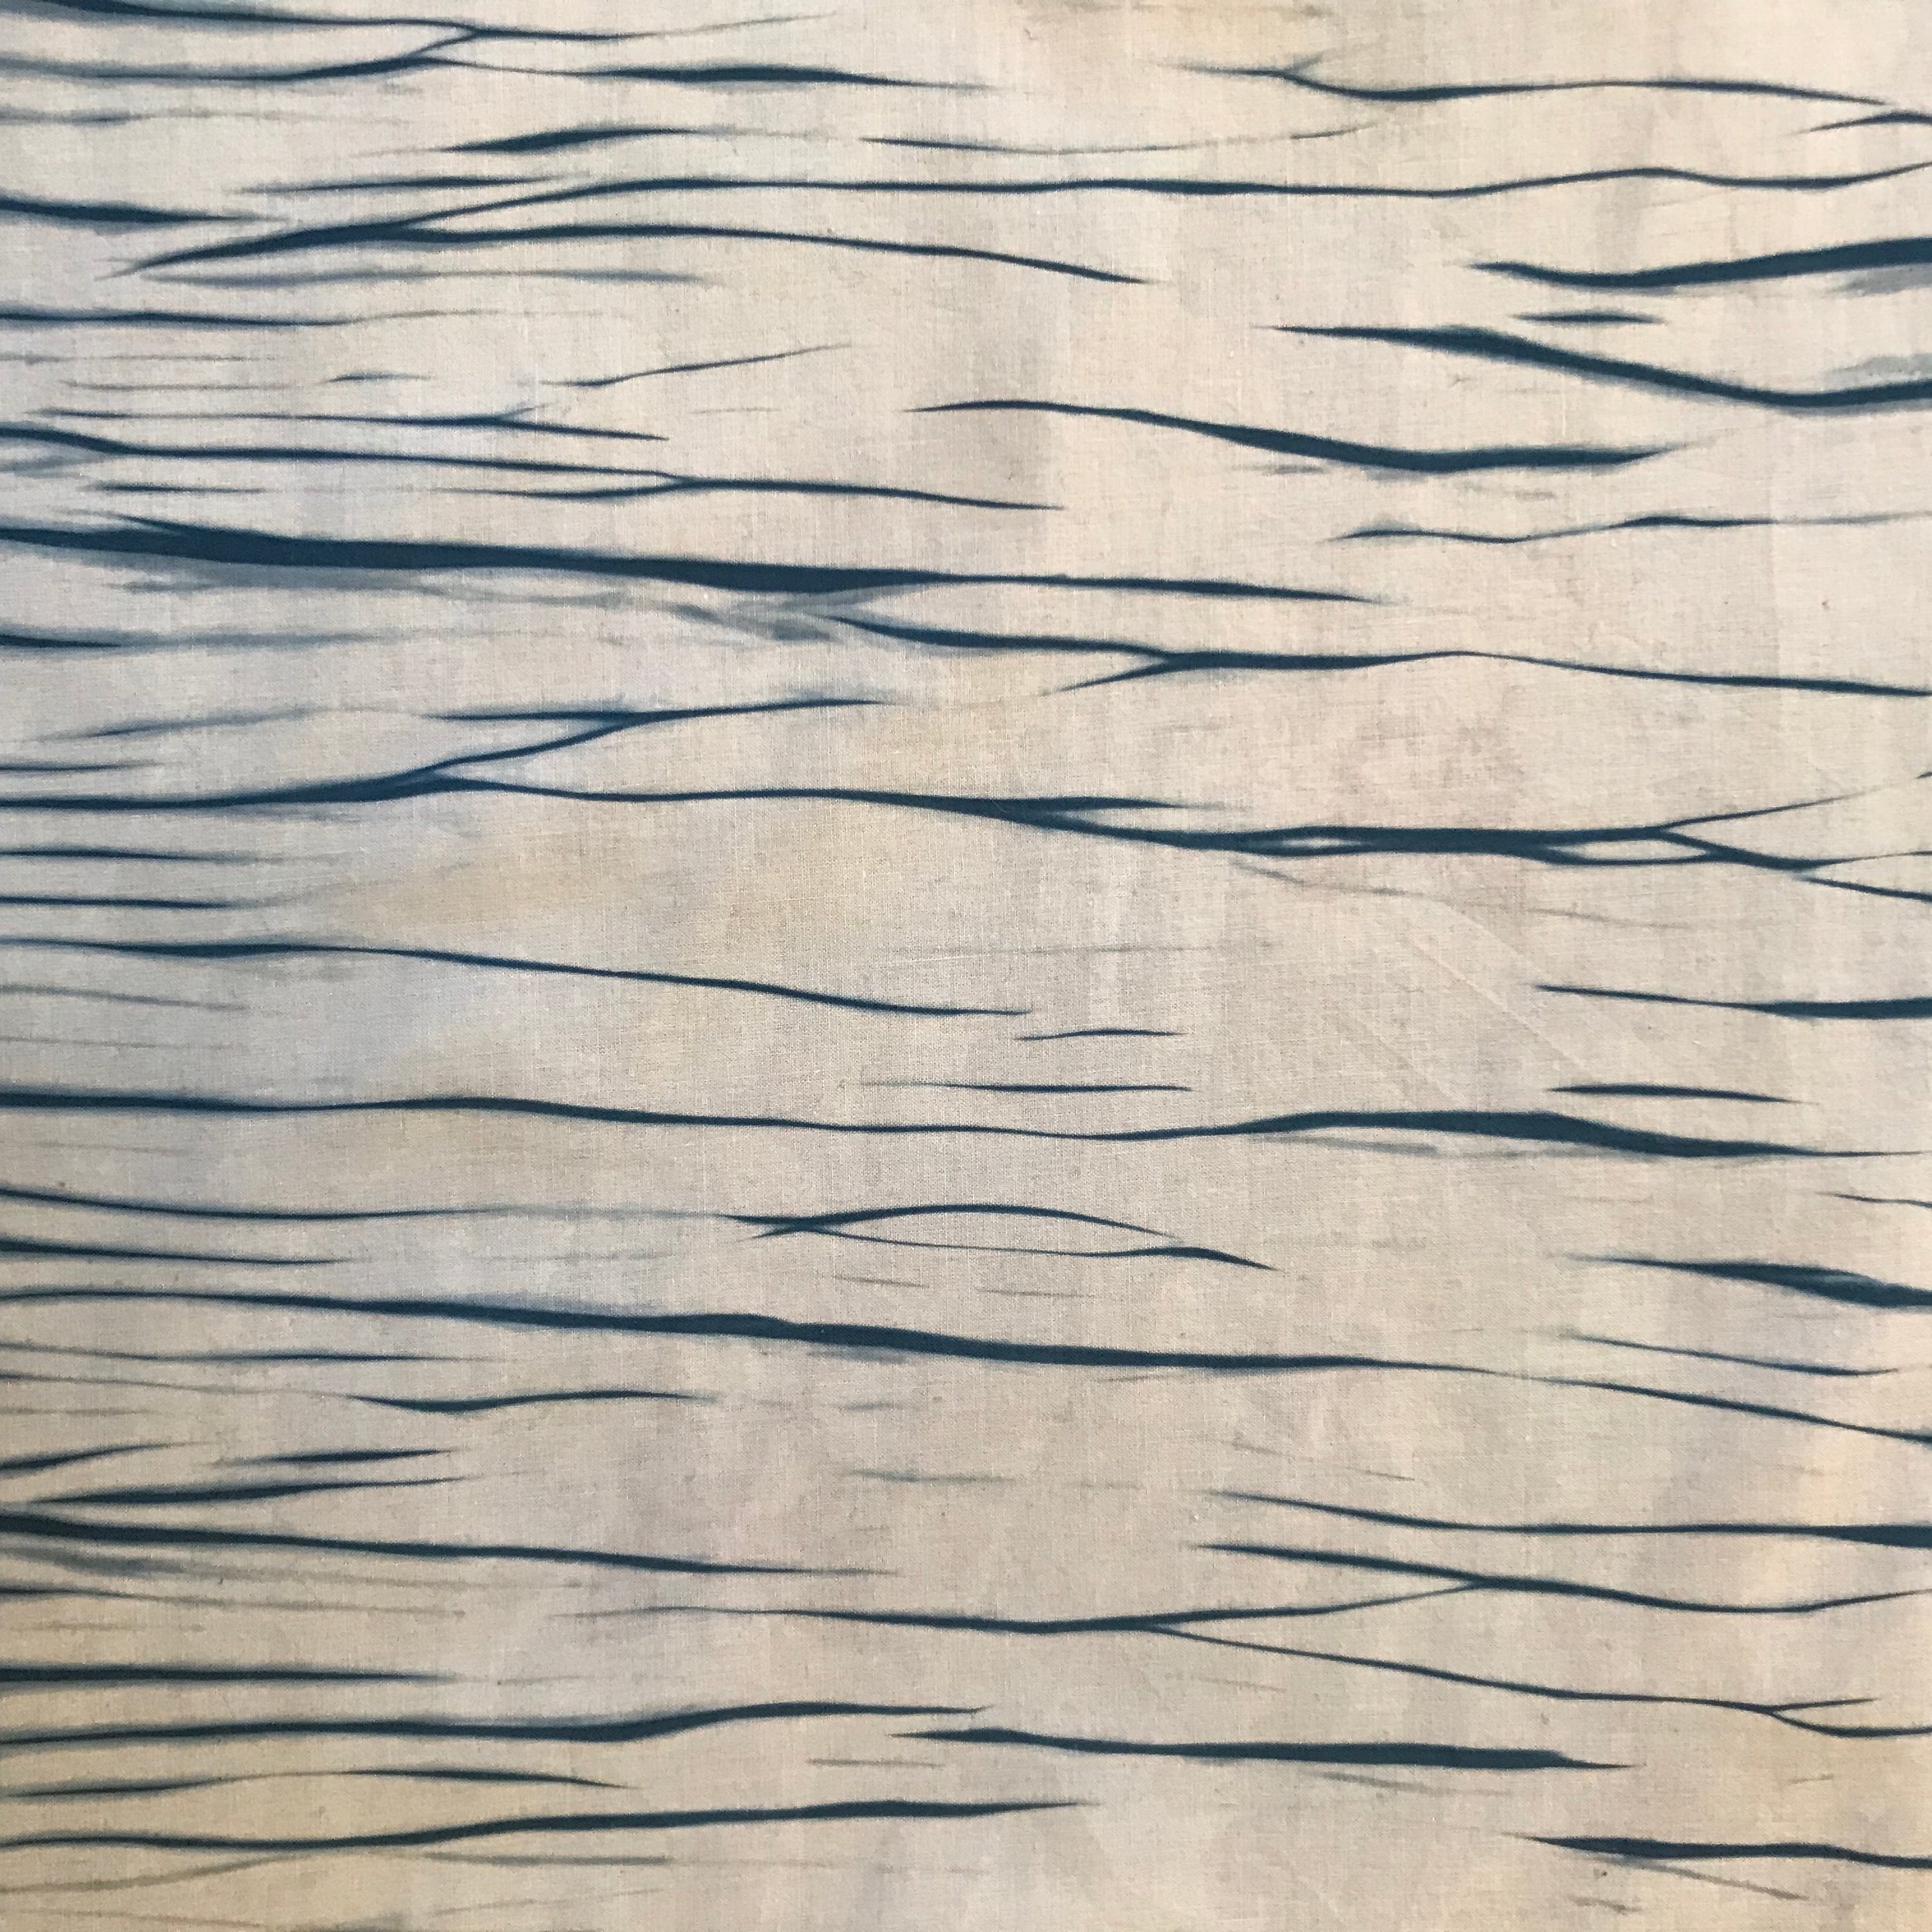

The first is my Bo-murakumo piece on cotton lawn which works well on the pole and the others are hand-bound arashi piece by my students.
Another technique that worked well was Komasu or "diamonds". This involves pleating, sewing and binding and is therefore a good combination of the various different techniques covered during the week. Here are a couple of examples... The first is a large sample I did on cotton lawn and the second is one of my student's work.
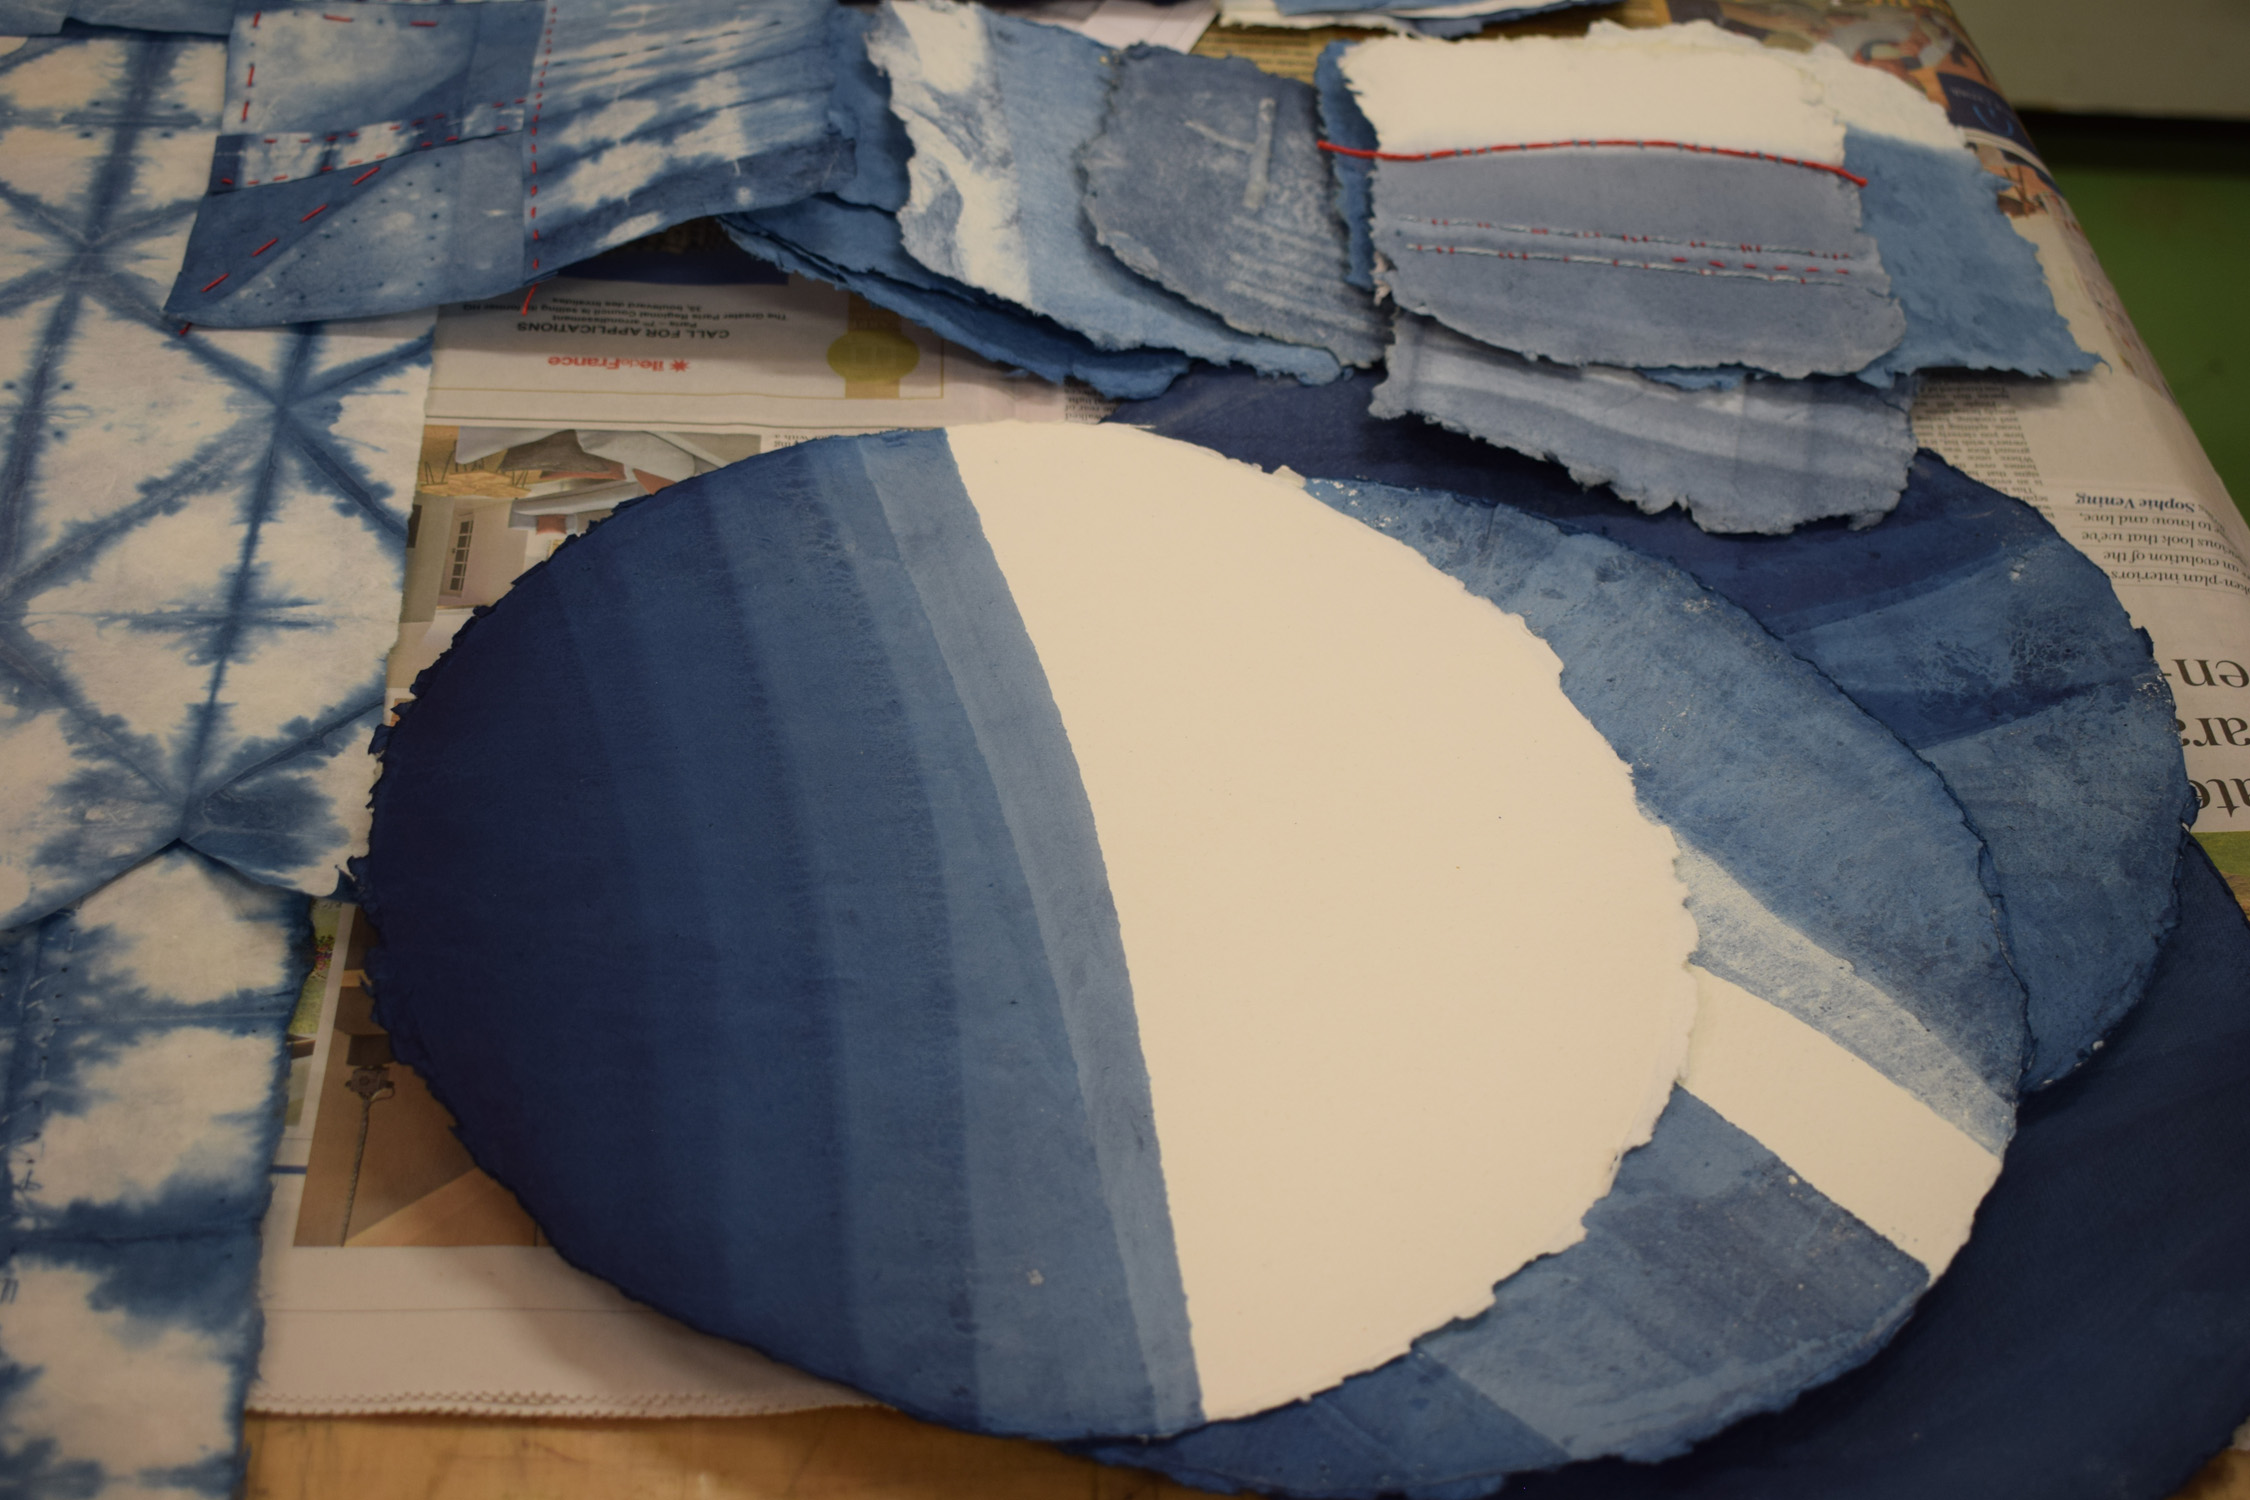
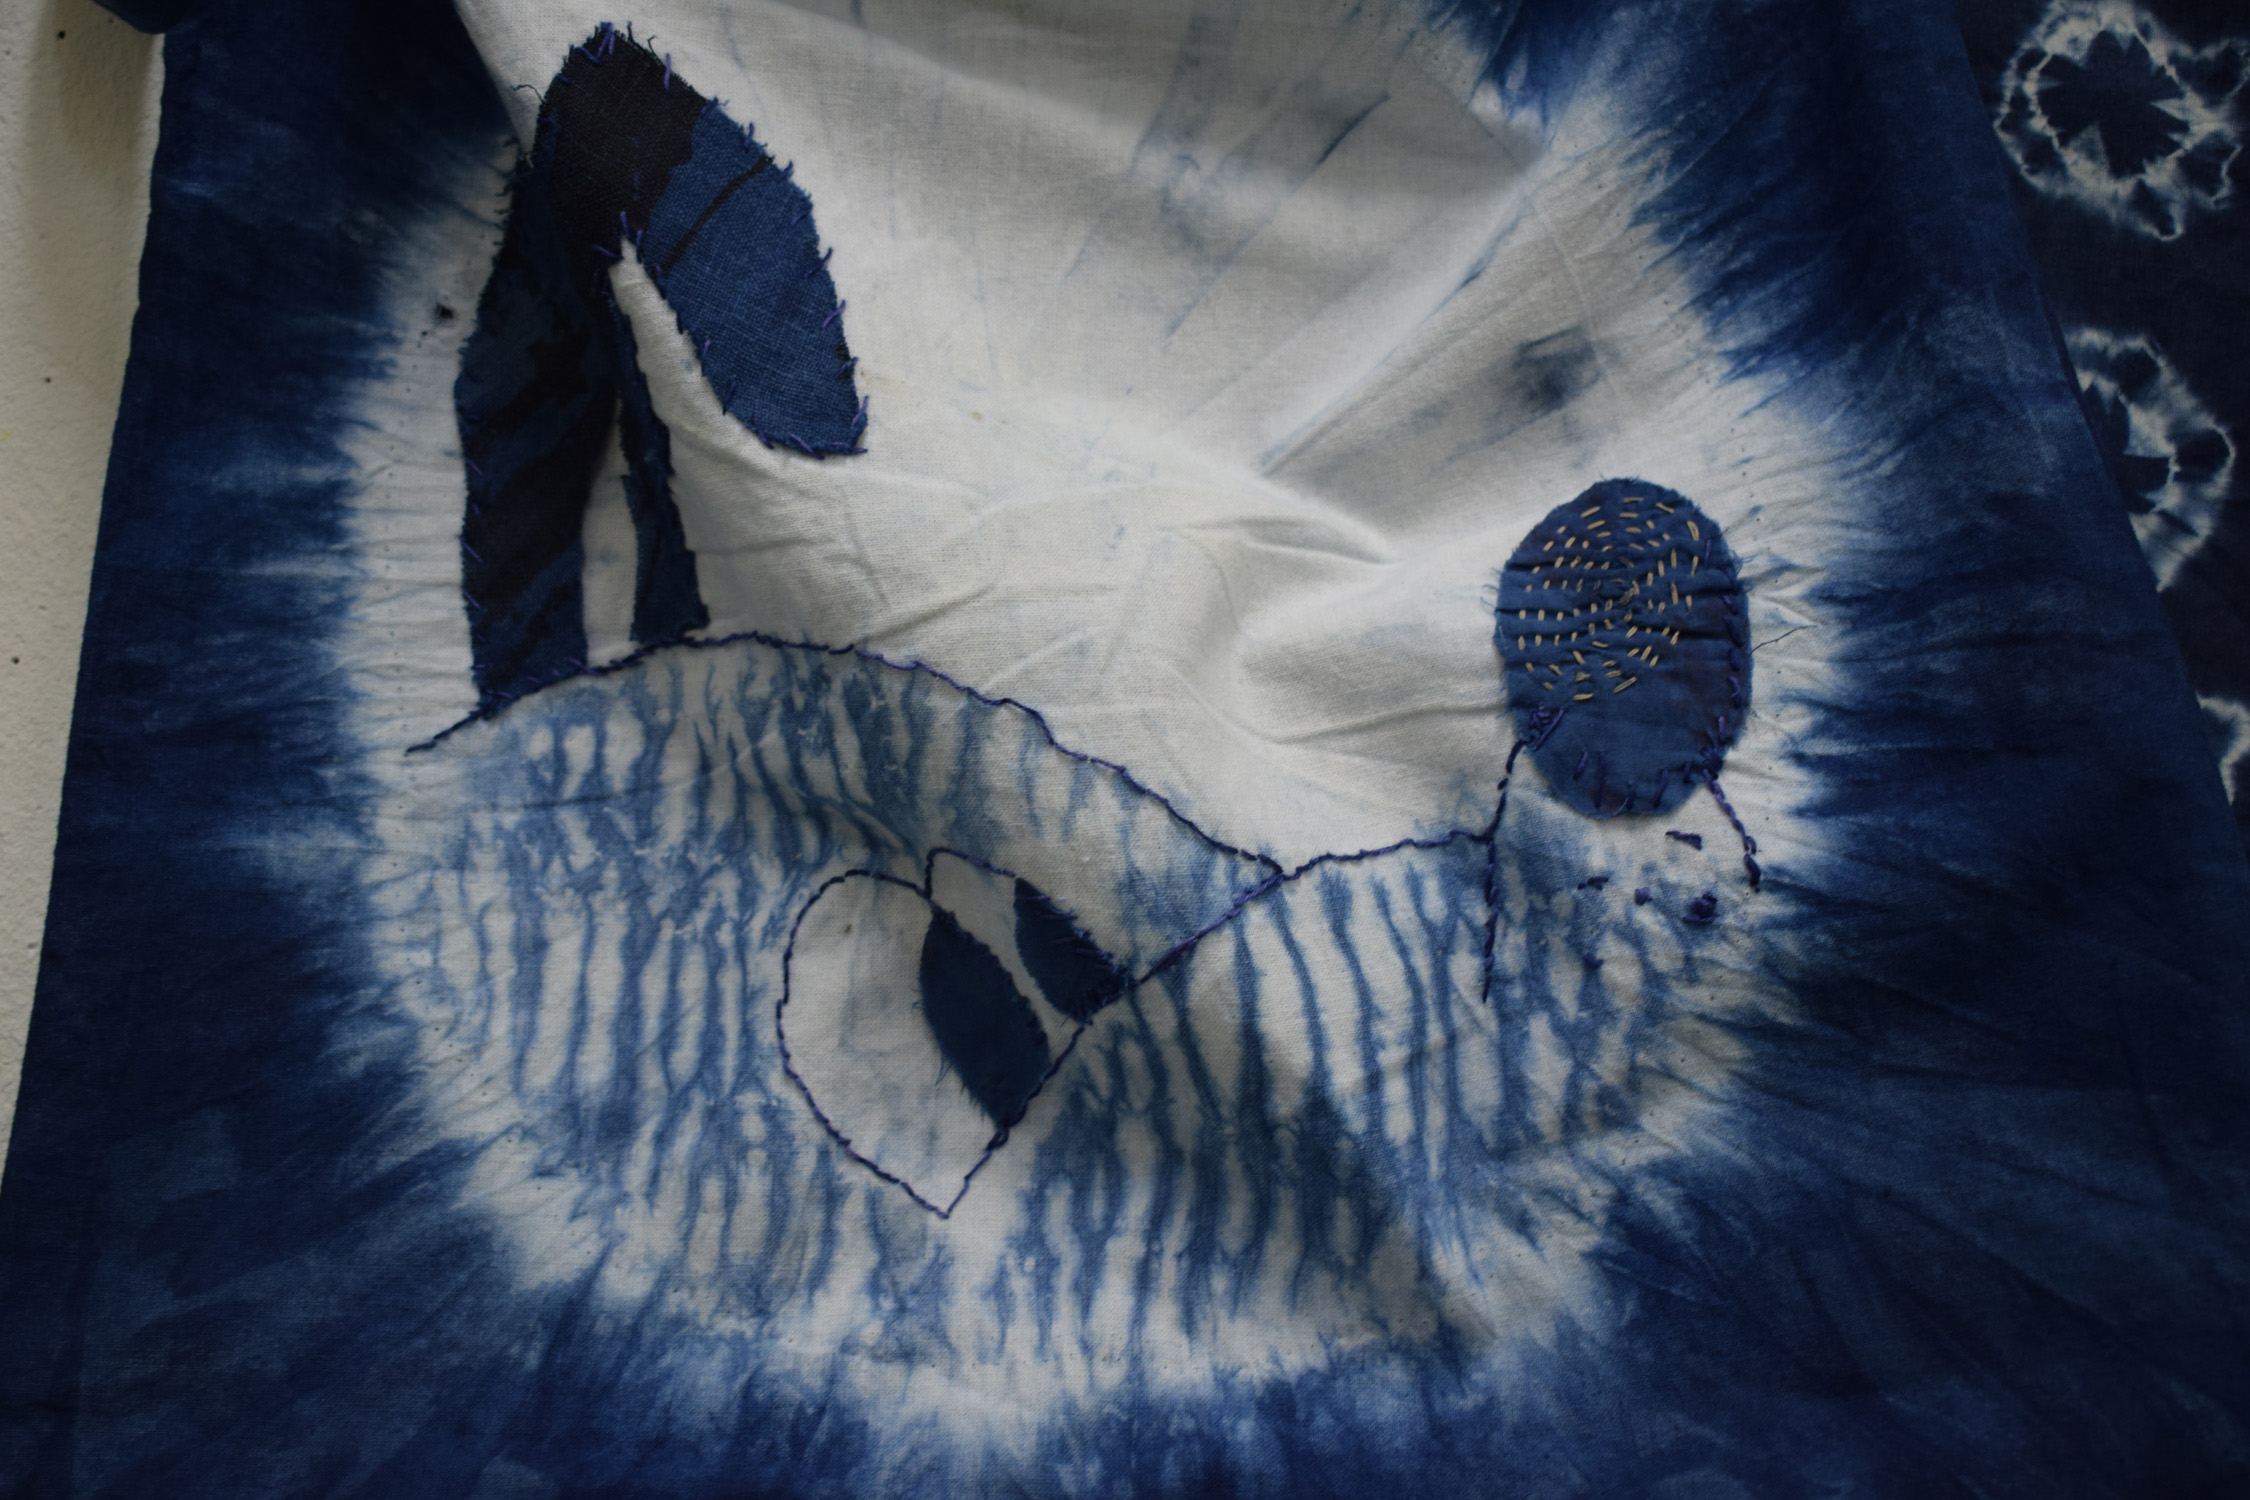
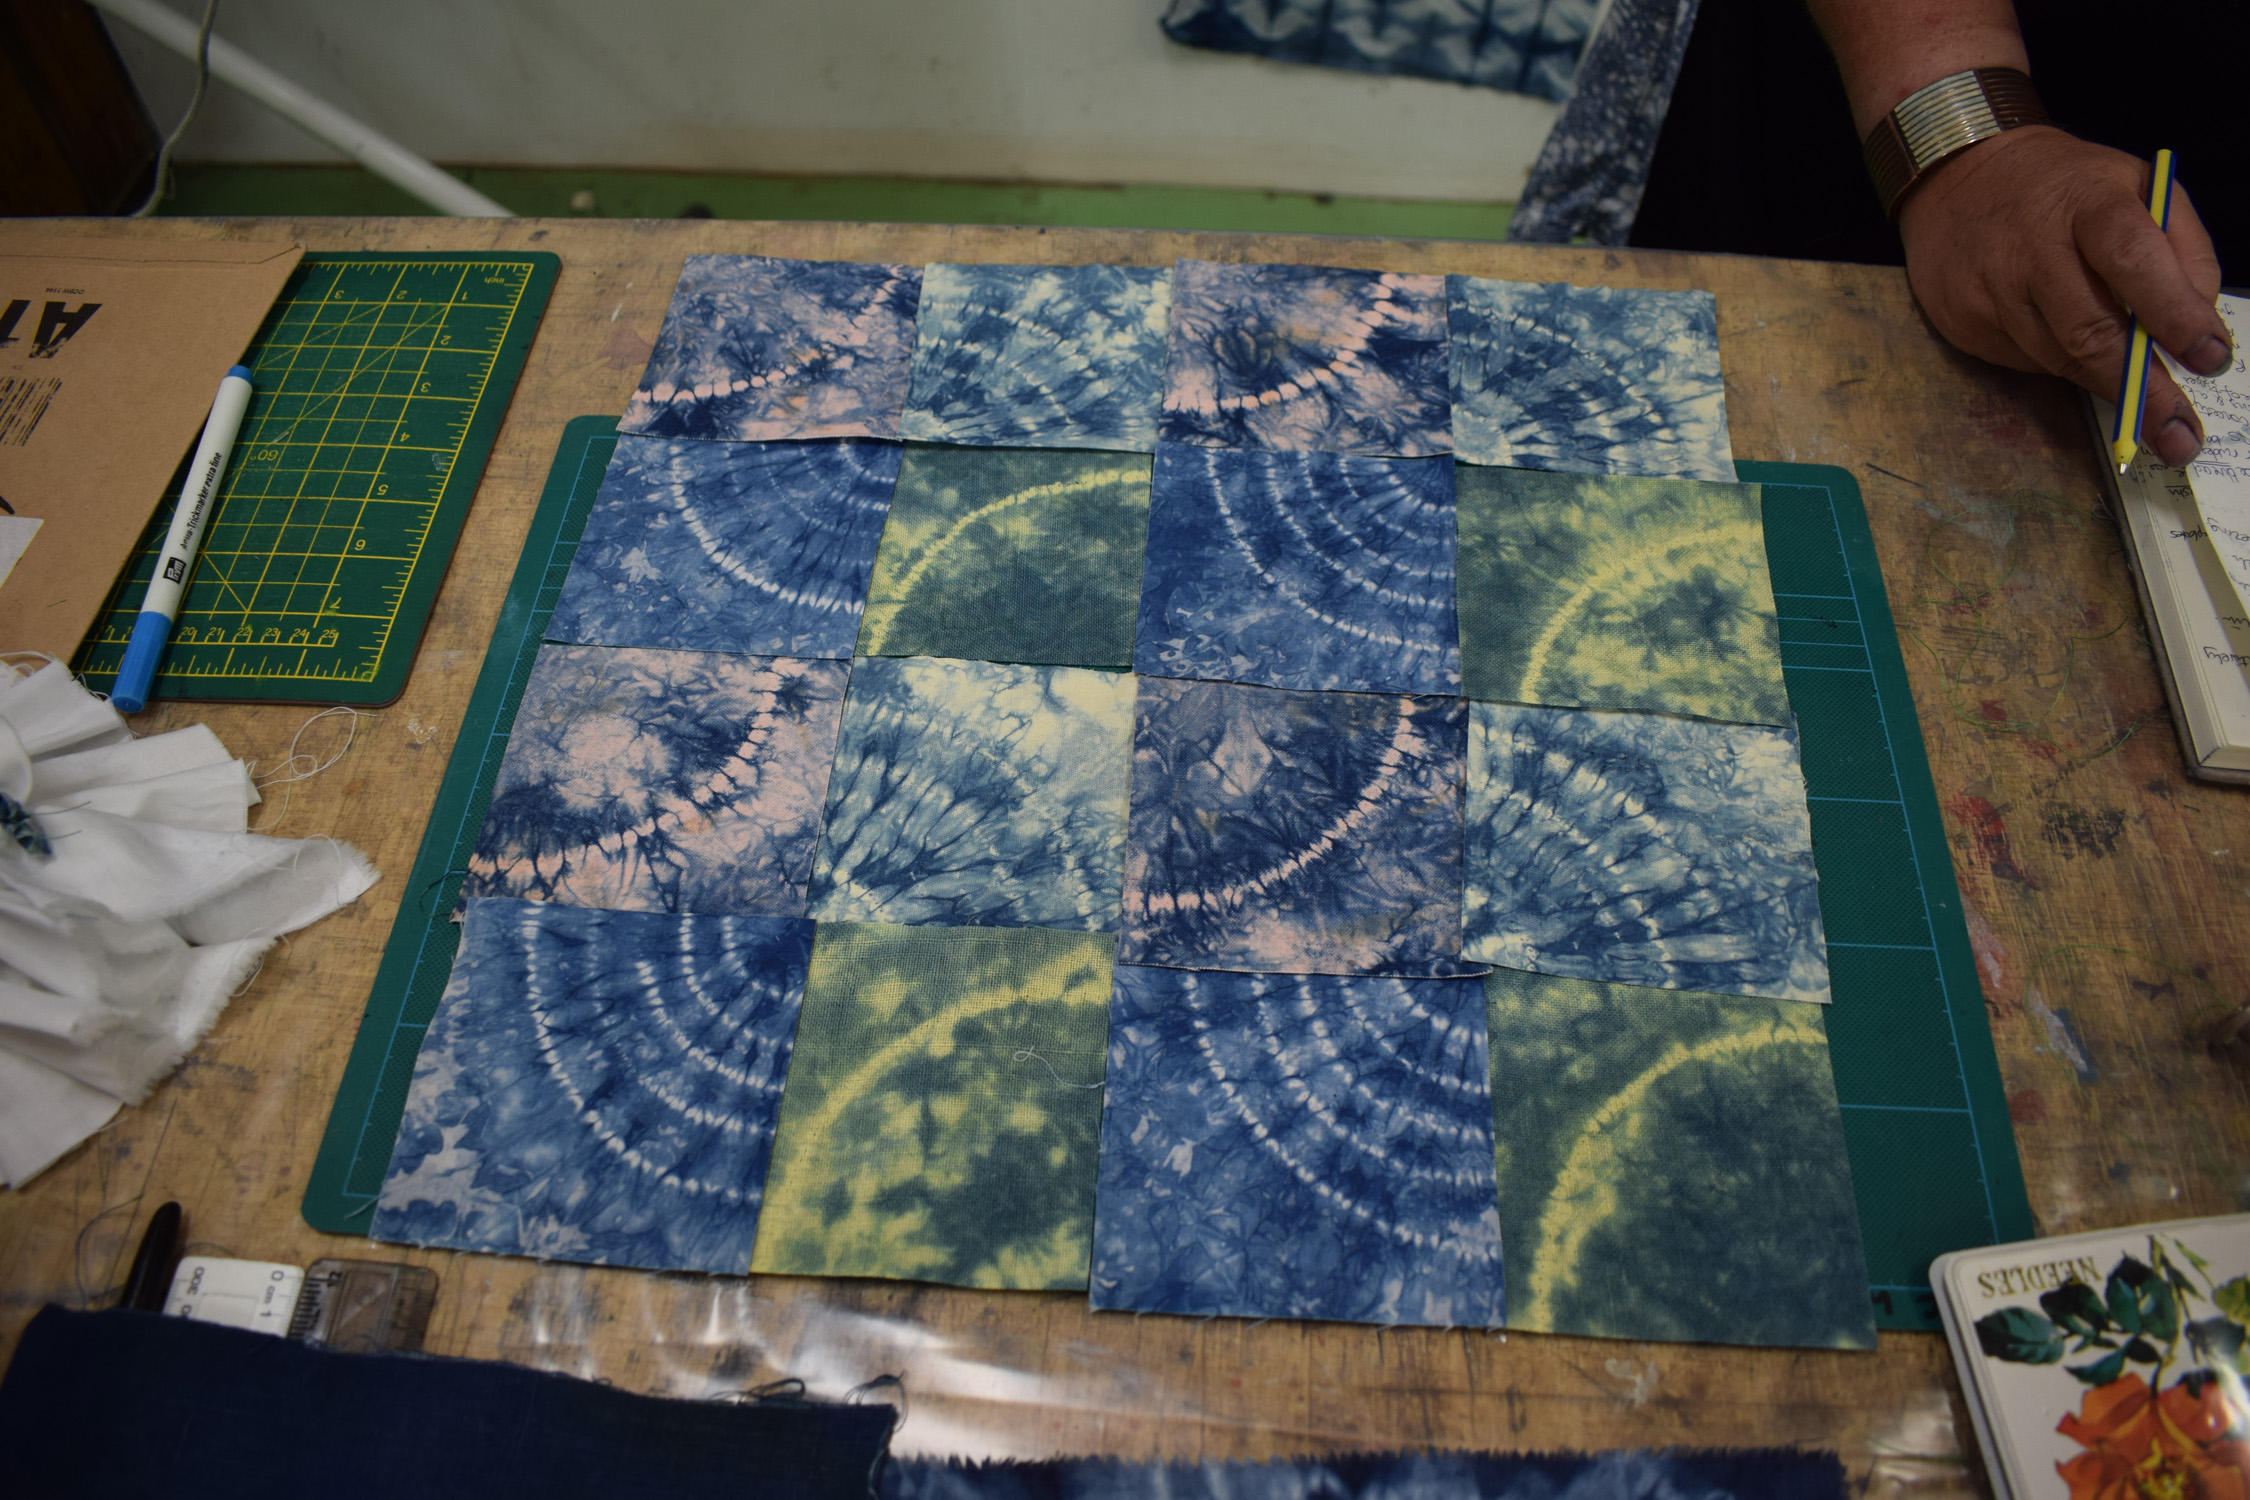
Finally here are just a few of the many pieces my students made across the week including some very interesting work on paper, which really merits a course of its own...!

If you've enjoyed reading this and are inspired to have a go yourself please visit my Workshops page where you can try out a number of the techniques at a Beginners or Traditional shibori class.